MBOX to Office 365 Migration Tool
4.9
A user-friendly application with an intuitive design for beginners to navigate effortlessly.
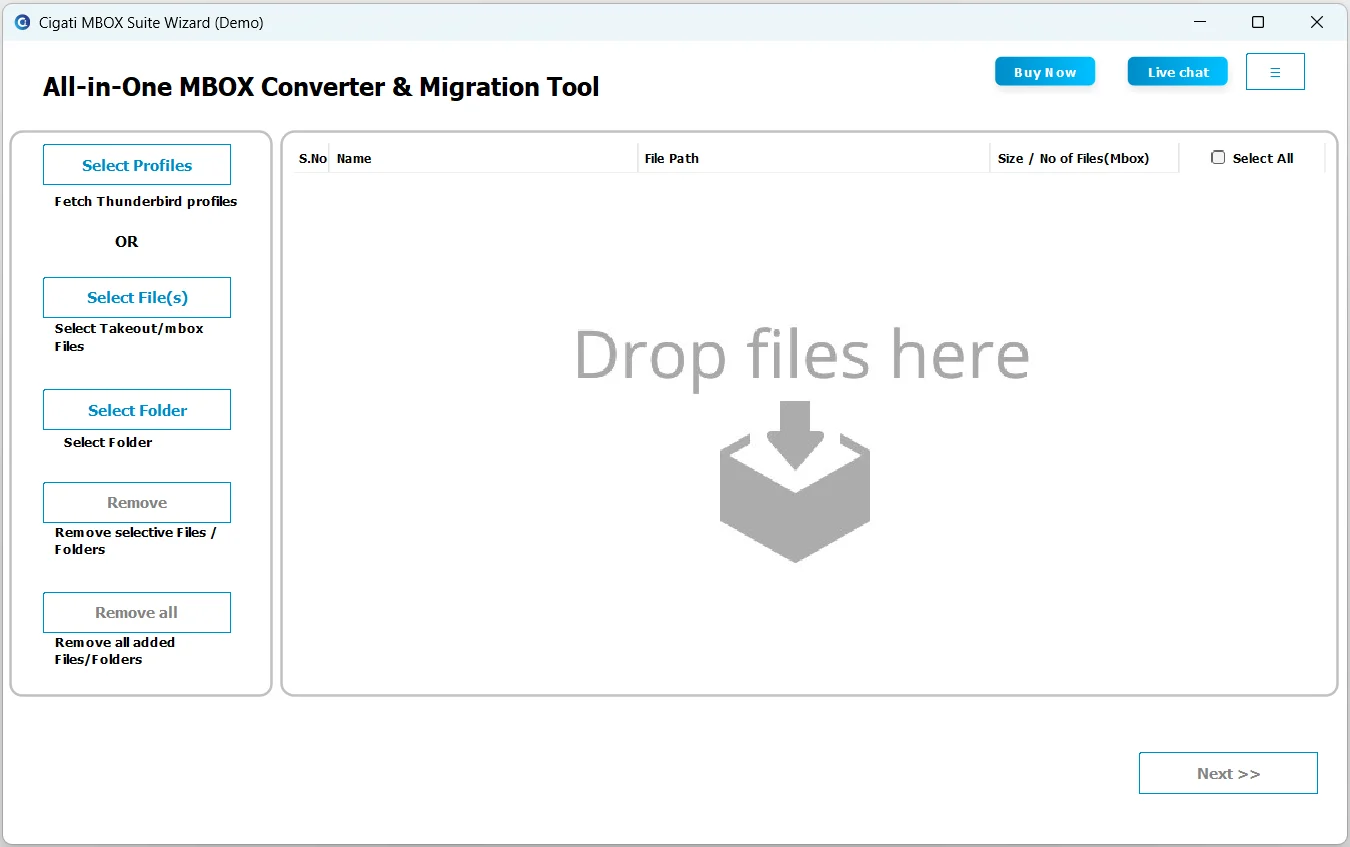
Download and launch the Cigati MBOX Suite Wizard on your local system.

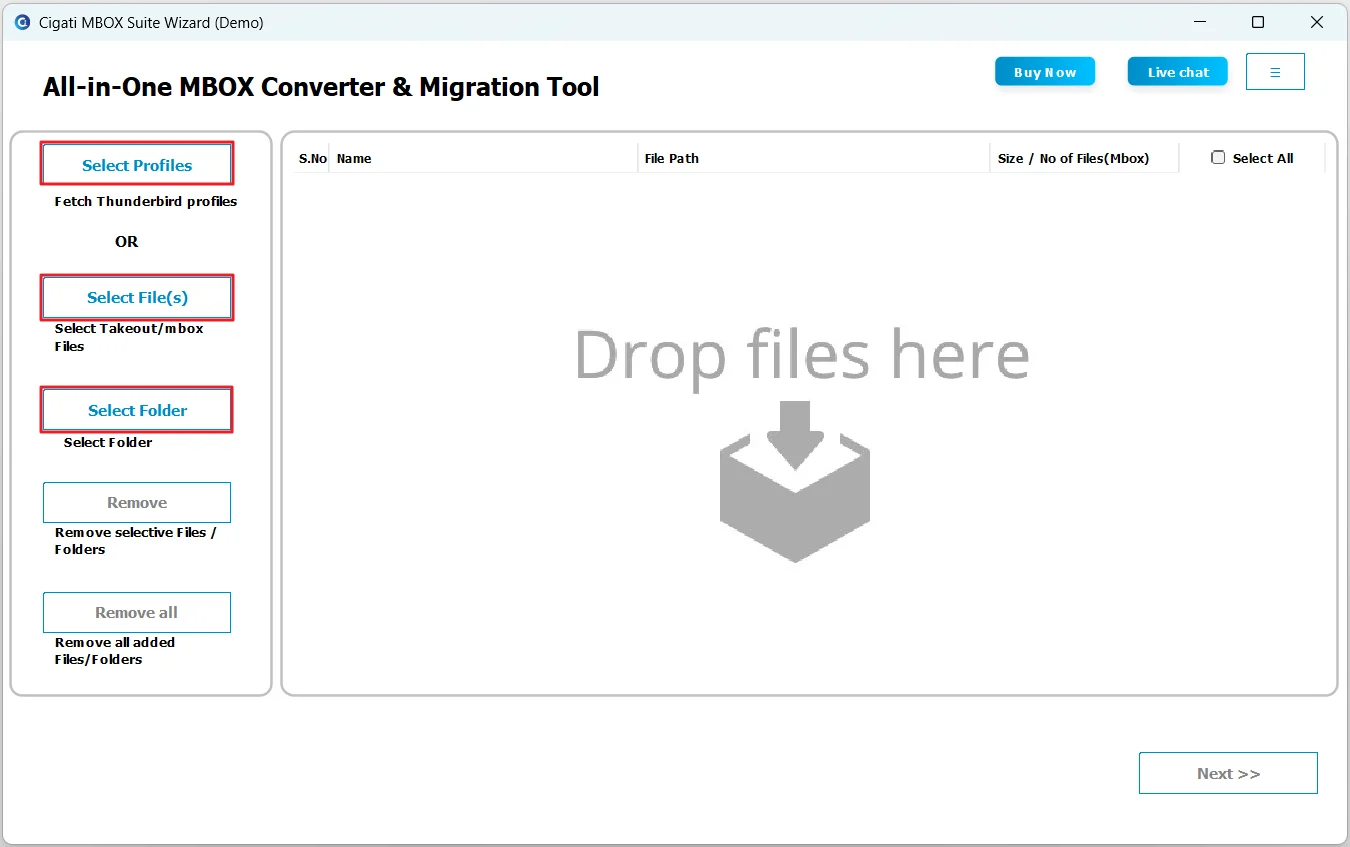
Select Thunderbird Profile or choose MBOX Files/Folder to proceed.
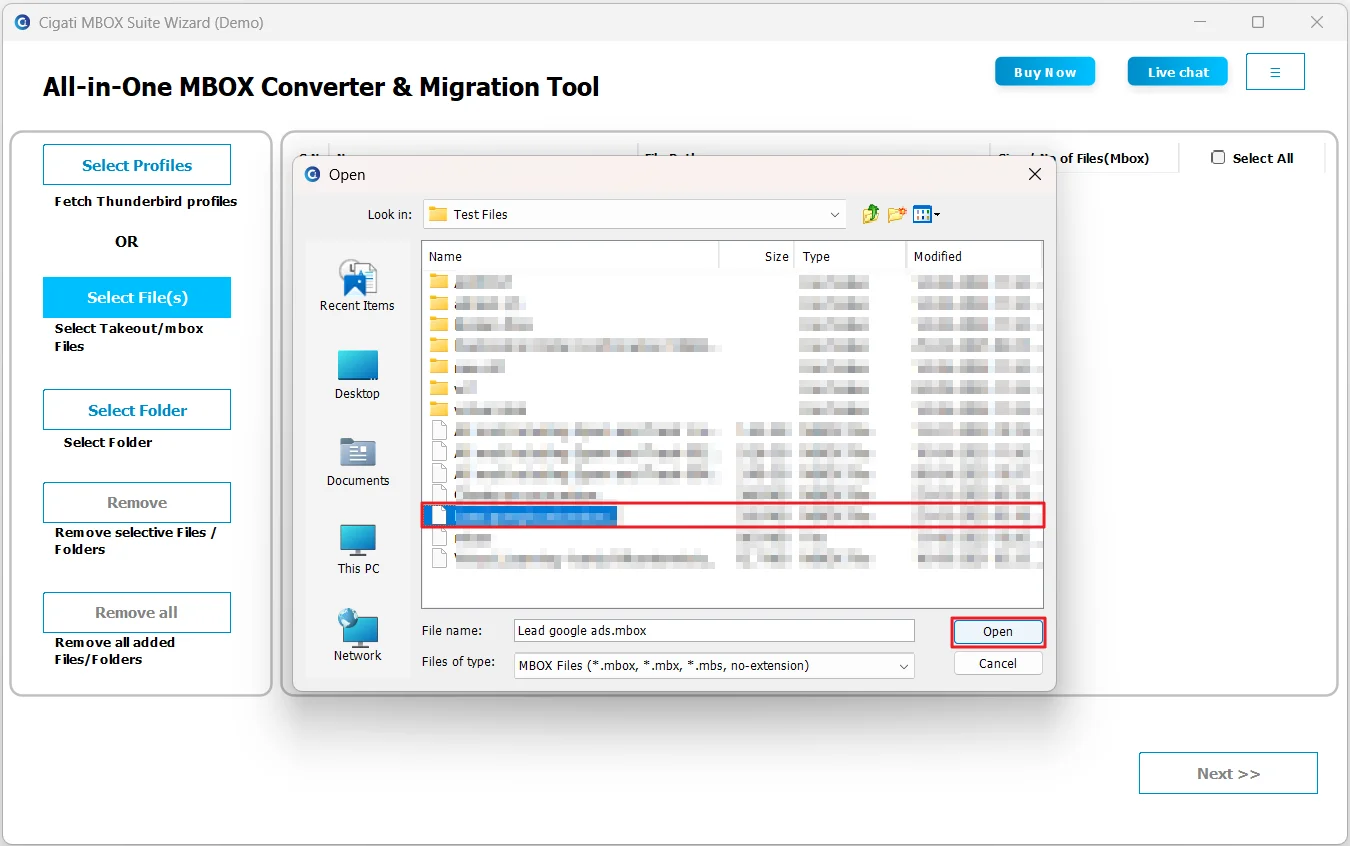
Browse and select the required MBOX file or folder, then click Open to add it.
The added MBOX files will appear in the list. Select the required file(s) and click Next to continue.
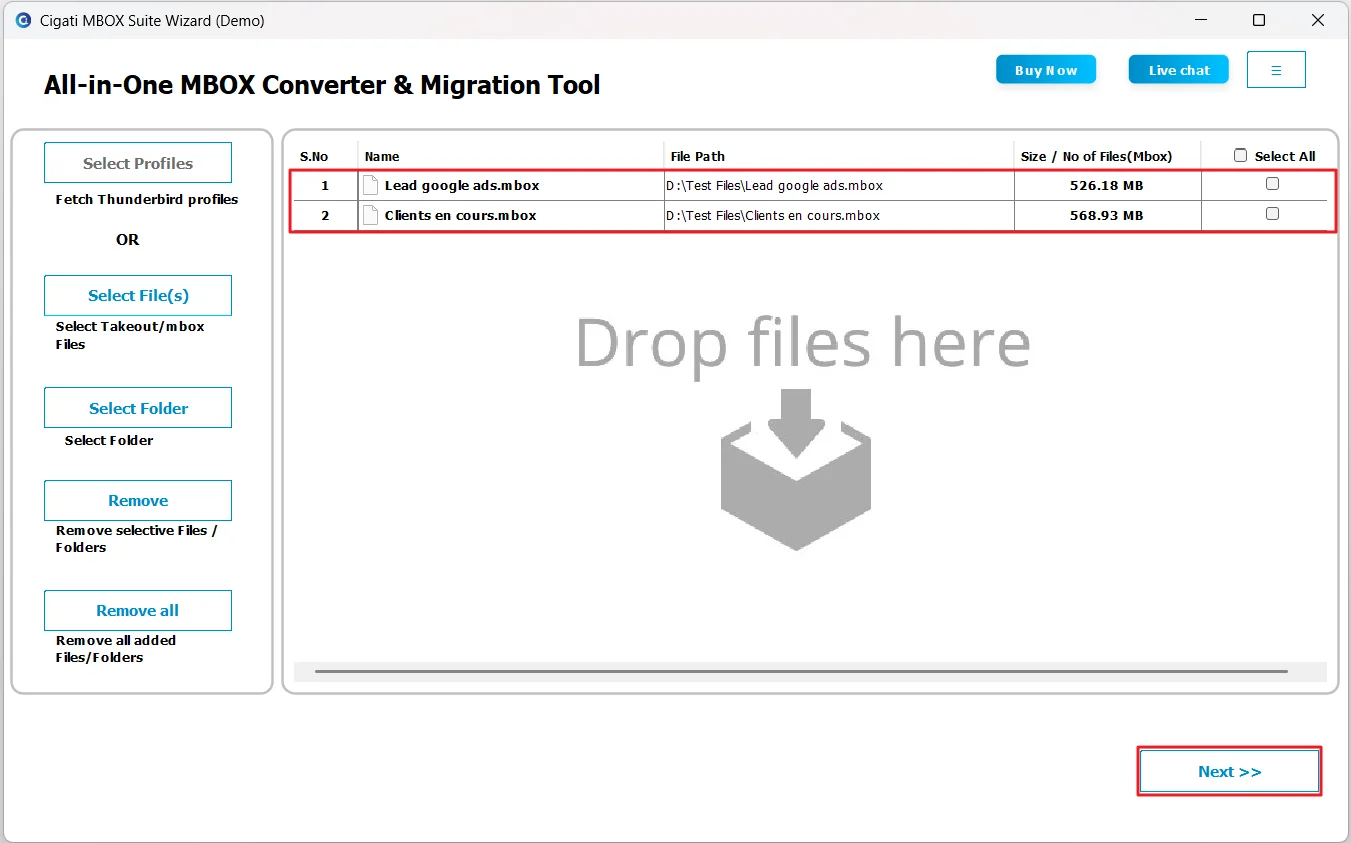
In the left panel, click the Expand All button to view all folders. Then, click on a folder to display all emails contained within it.
Note: Double-click an email to view its content. If the preview fails, you can also use the View in Browser option to open the email.
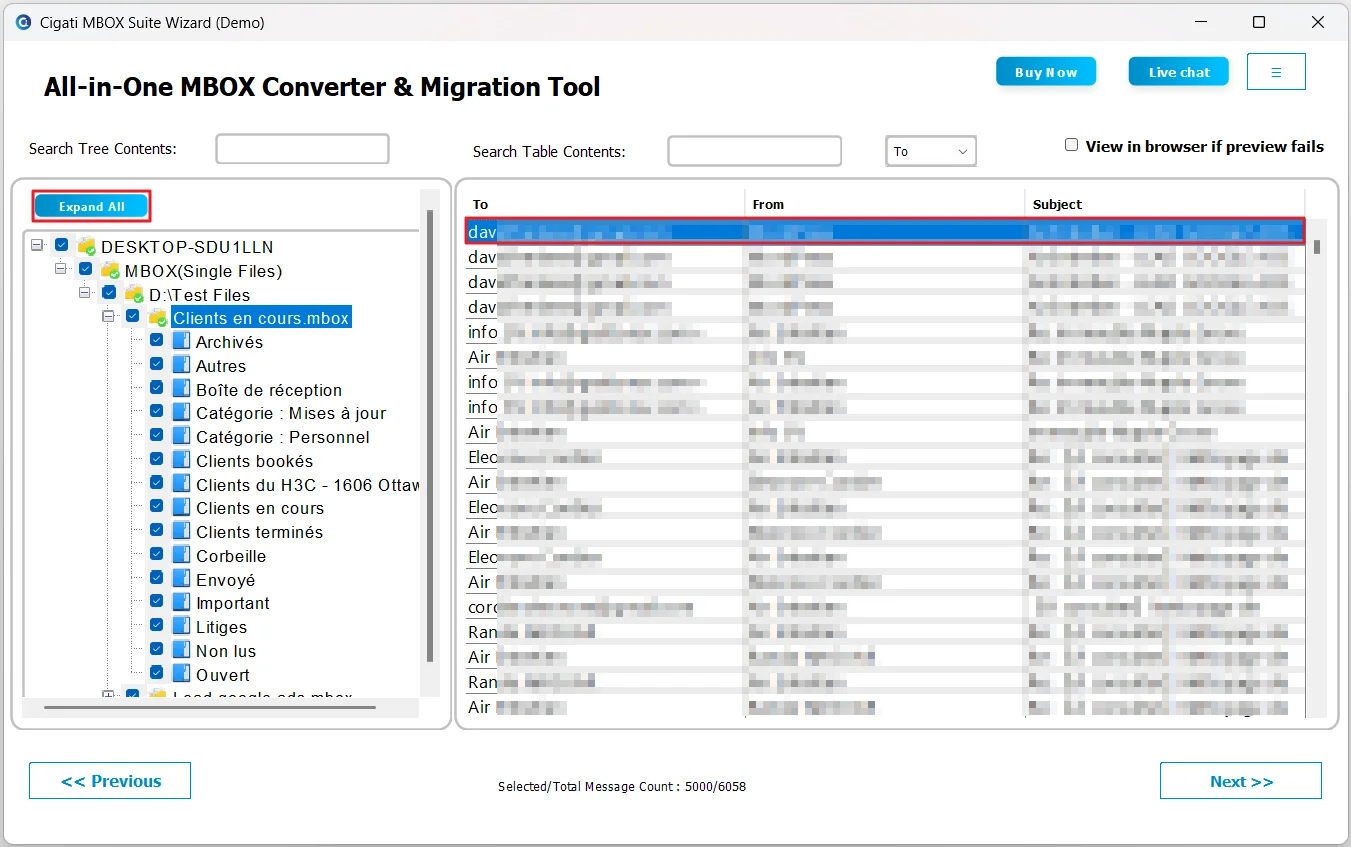
Select the required folder from the left pane, then click the Next button to continue.
Note: If you want to convert or import a specific folder, select only that folder. To process all MBOX emails, select all the listed folders.
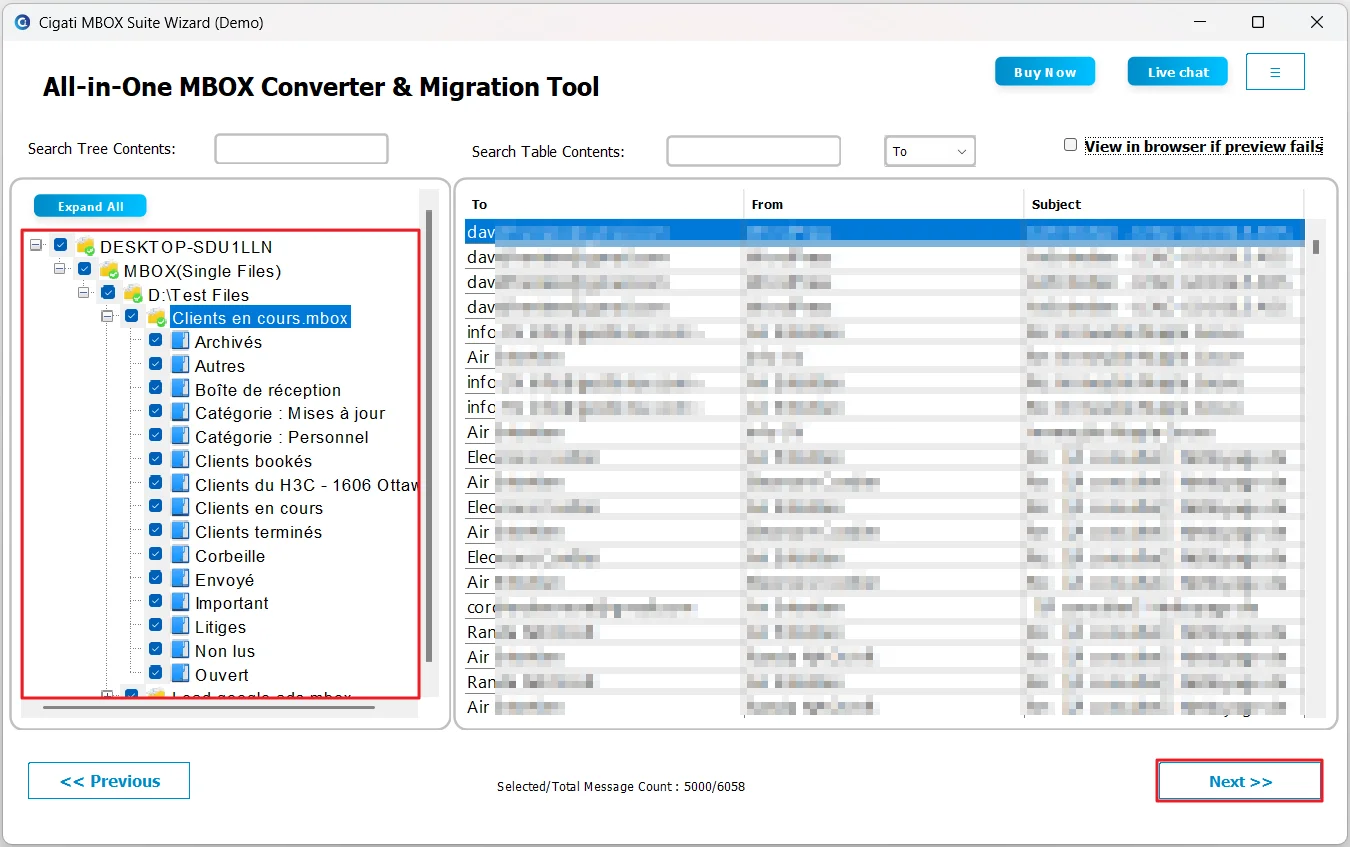
Choose the required File Format or Email Client as the destination format (for example, Office 365 ).
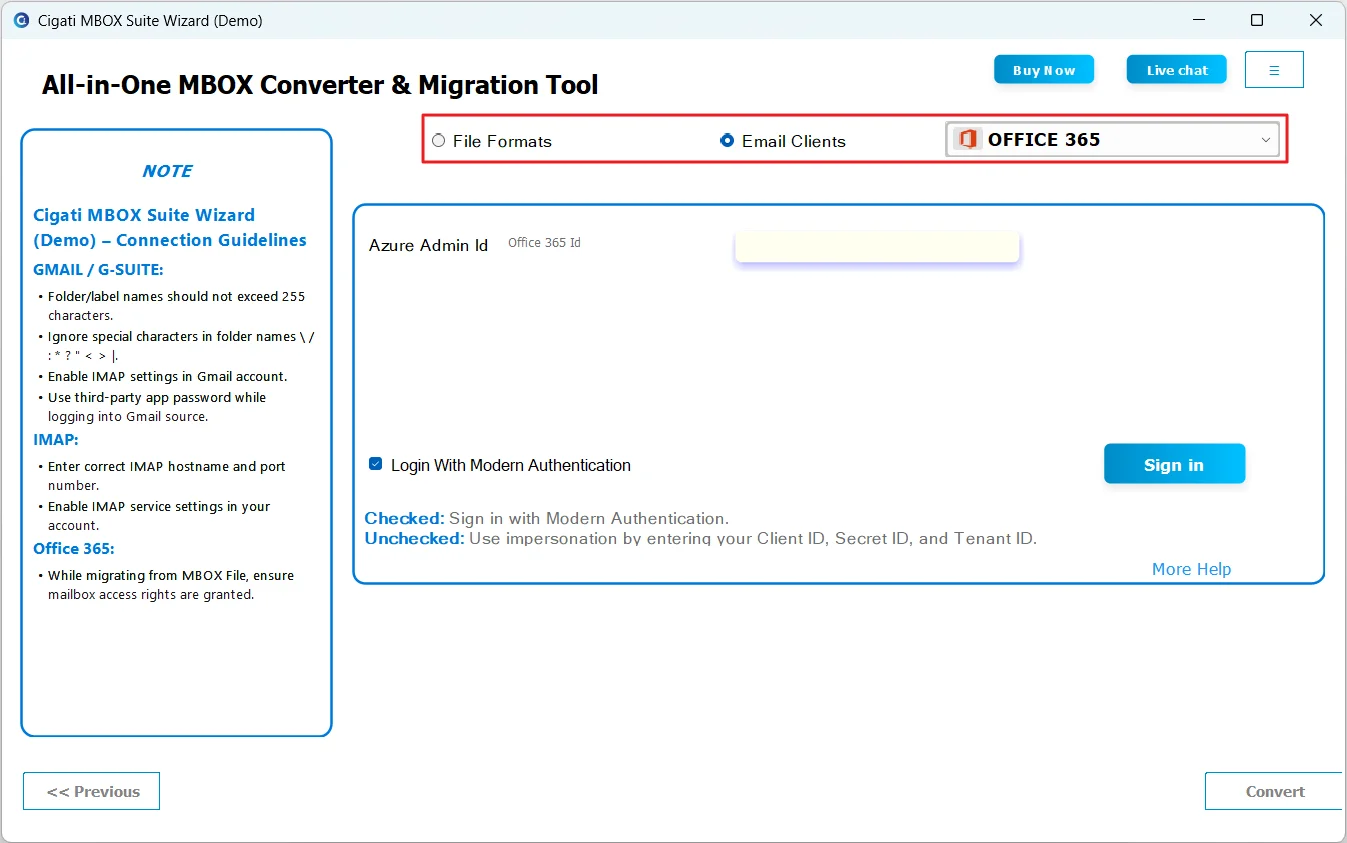
Select your preferred Login Method.
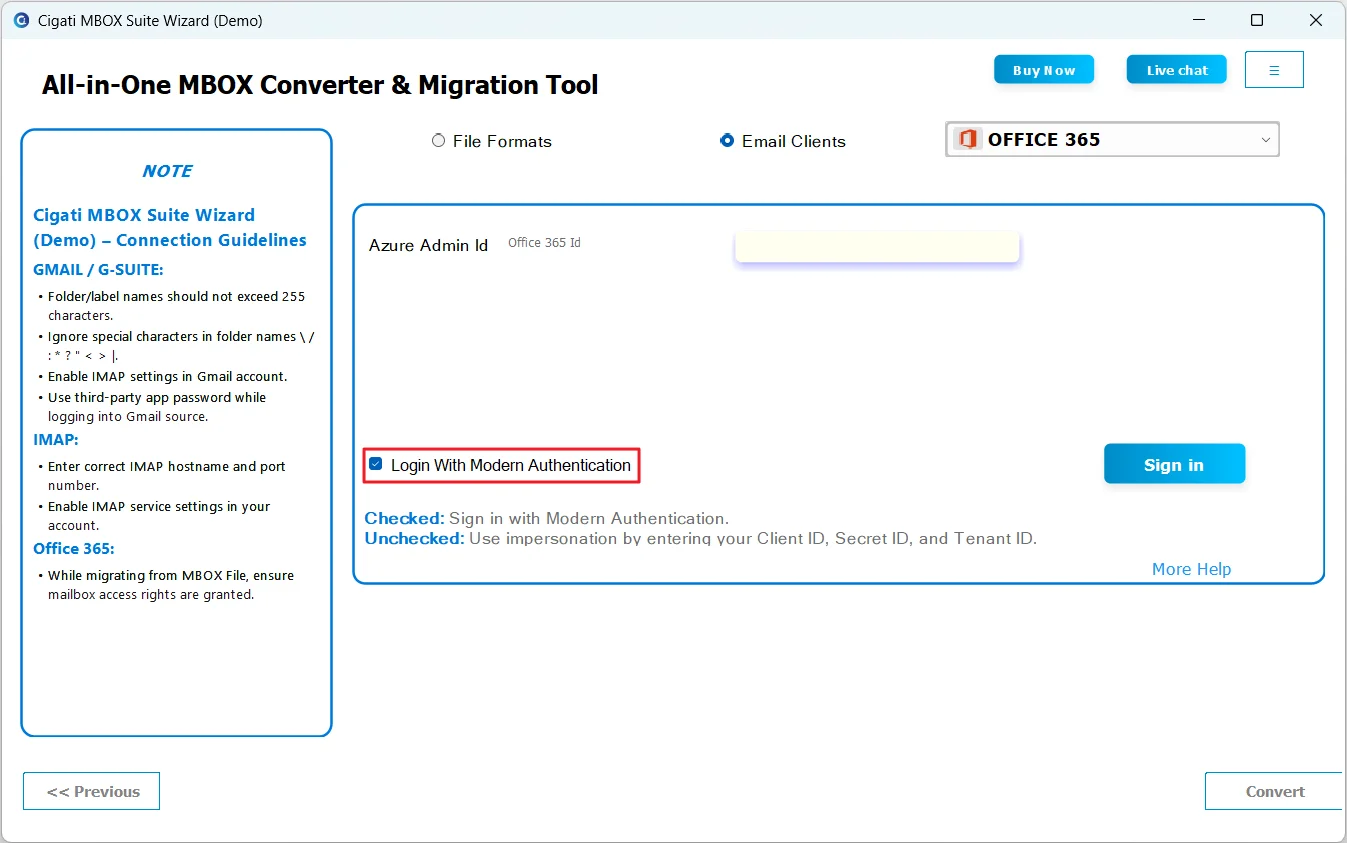
Login with Modern Authentication
Enter your Office 365 email ID and click the Sign In button.
Note: Before using Modern Authentication, ensure that your Office 365 account is set as the default account in your browser. If you are already signed in, select the account into which you want to import the data.
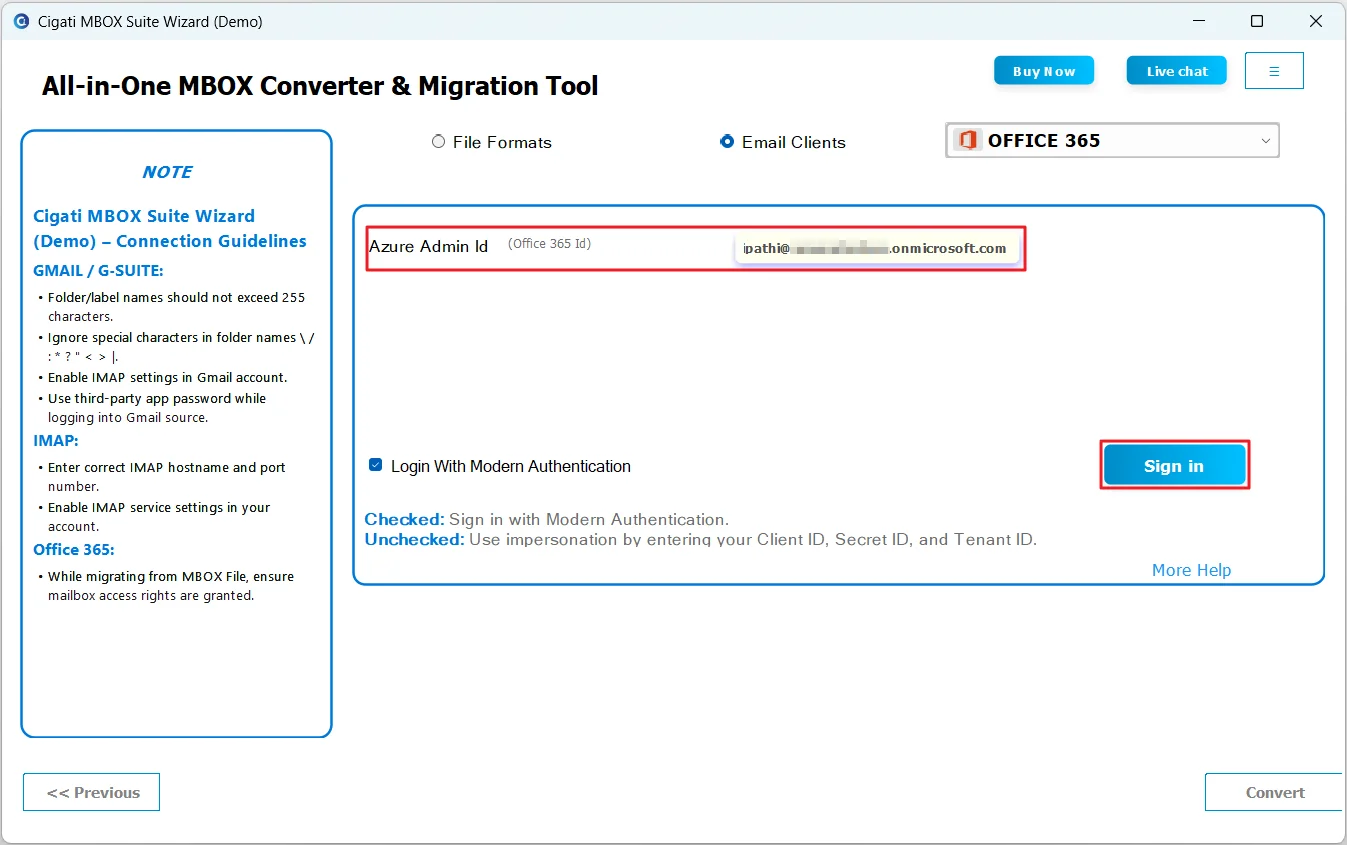
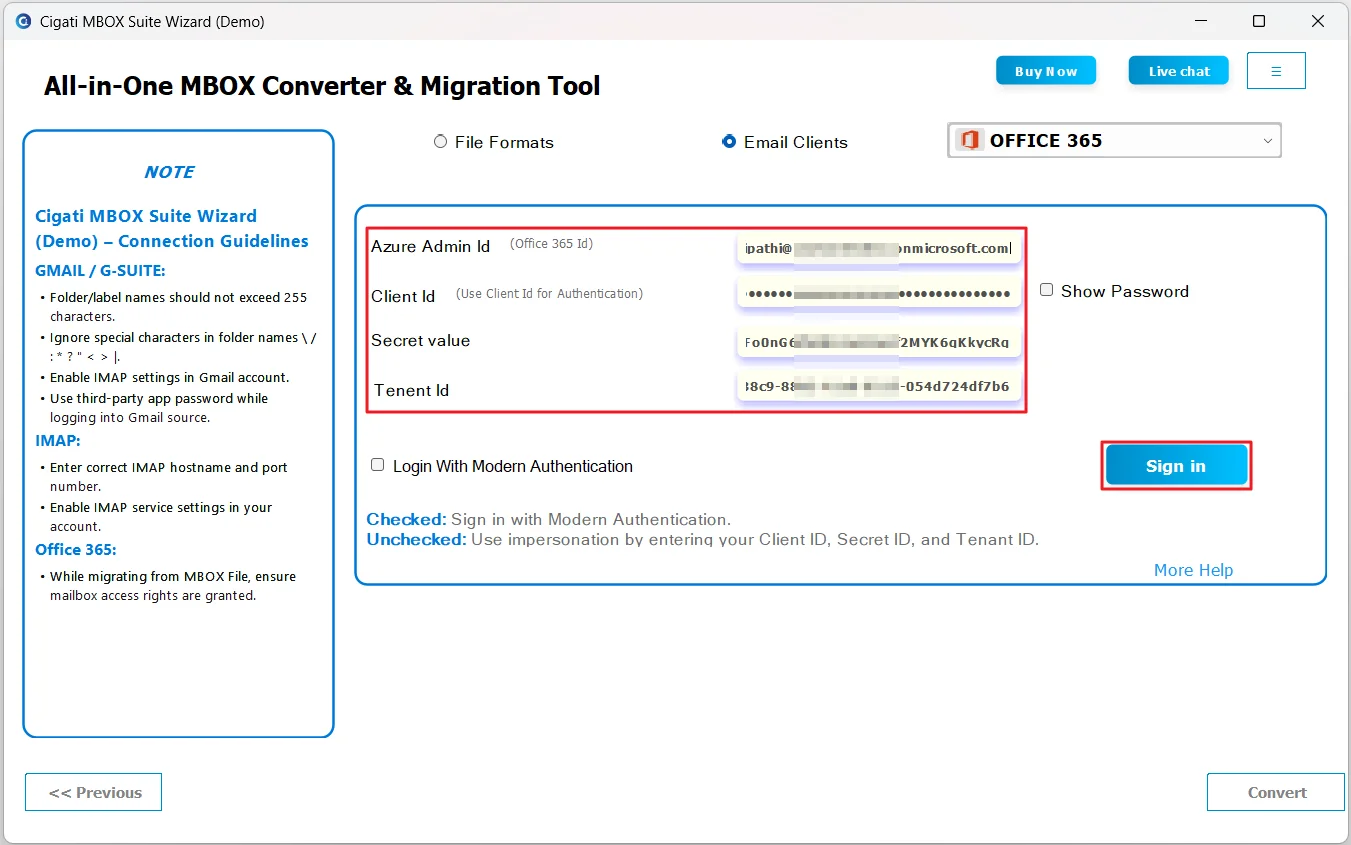
Login with Client ID and Secret
Enter the required Office 365 credentials (Admin ID, Client ID, Secret Value, and Tenant ID), then click the Sign In button.
Note: If you are unsure how to obtain the Admin ID, Client ID, Secret Value, or Tenant ID, refer to the guide on creating an Azure Active Directory Application and enabling API permissions. This method allows you to import data into admin or tenant accounts.
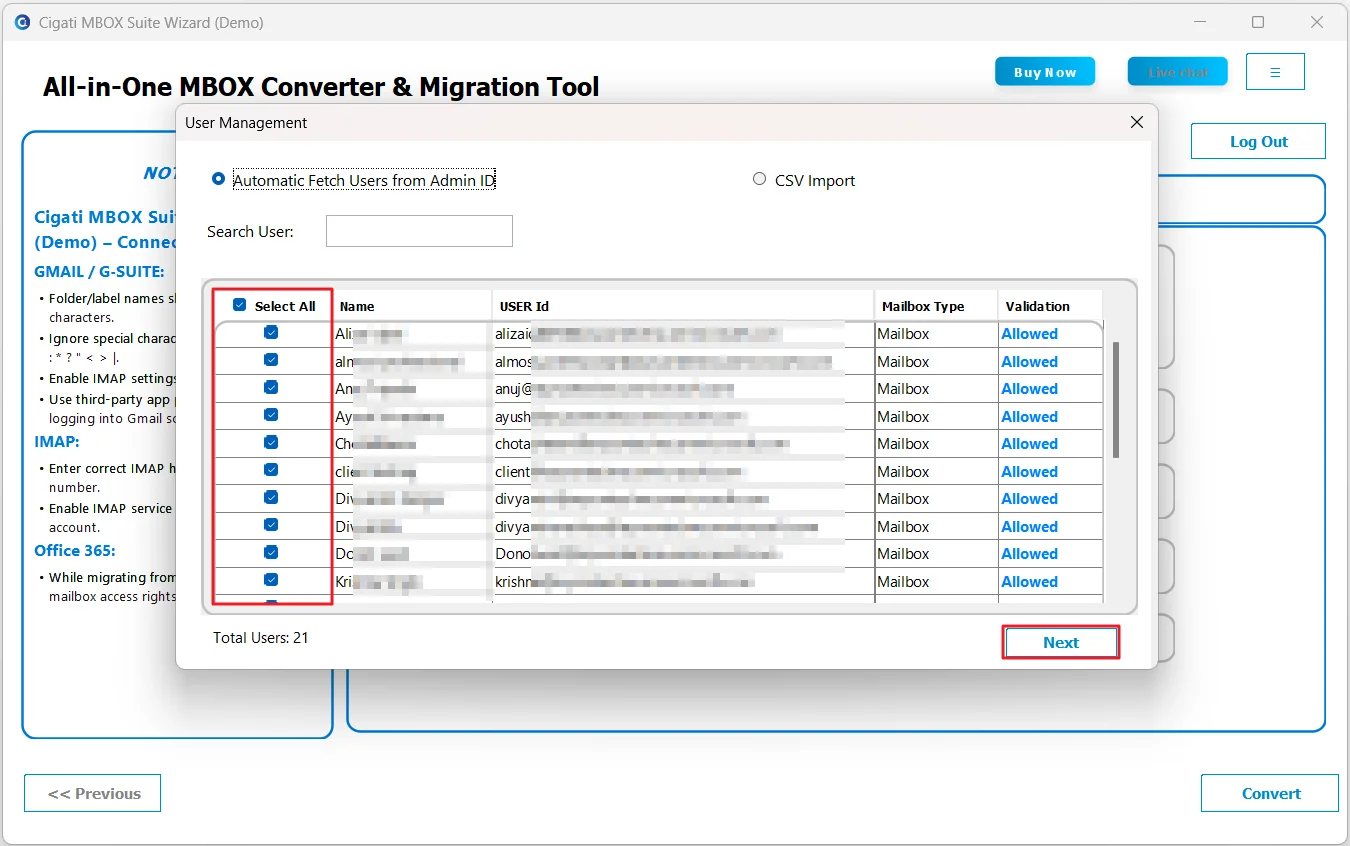
The list of users fetched from the Admin ID will be displayed. Select the required user and click Next to proceed.
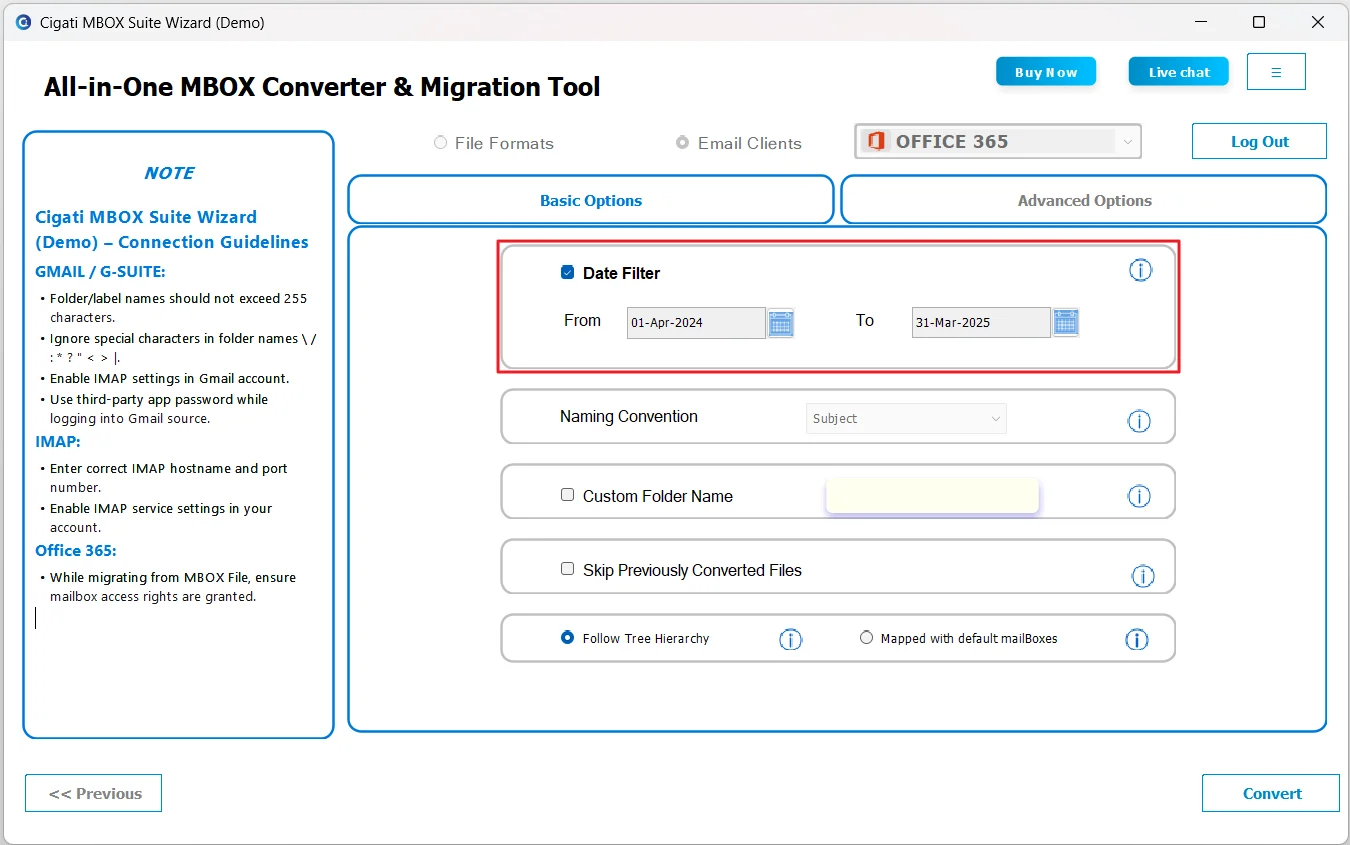
Use the Date Filter to perform selective conversion by specifying the Start Date and End Date.
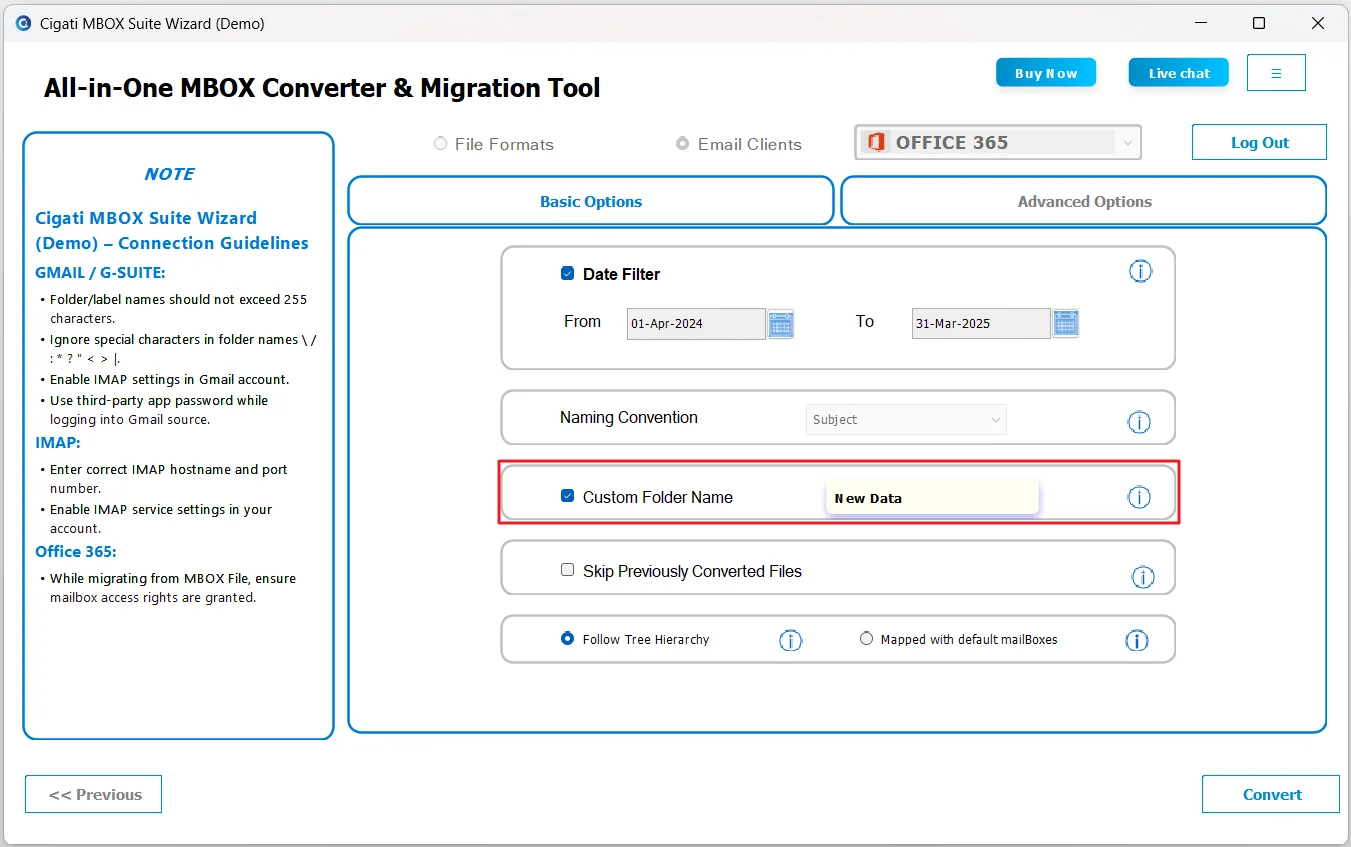
Select the Custom Folder Name option to assign a custom name to the folder where the output files will be saved.
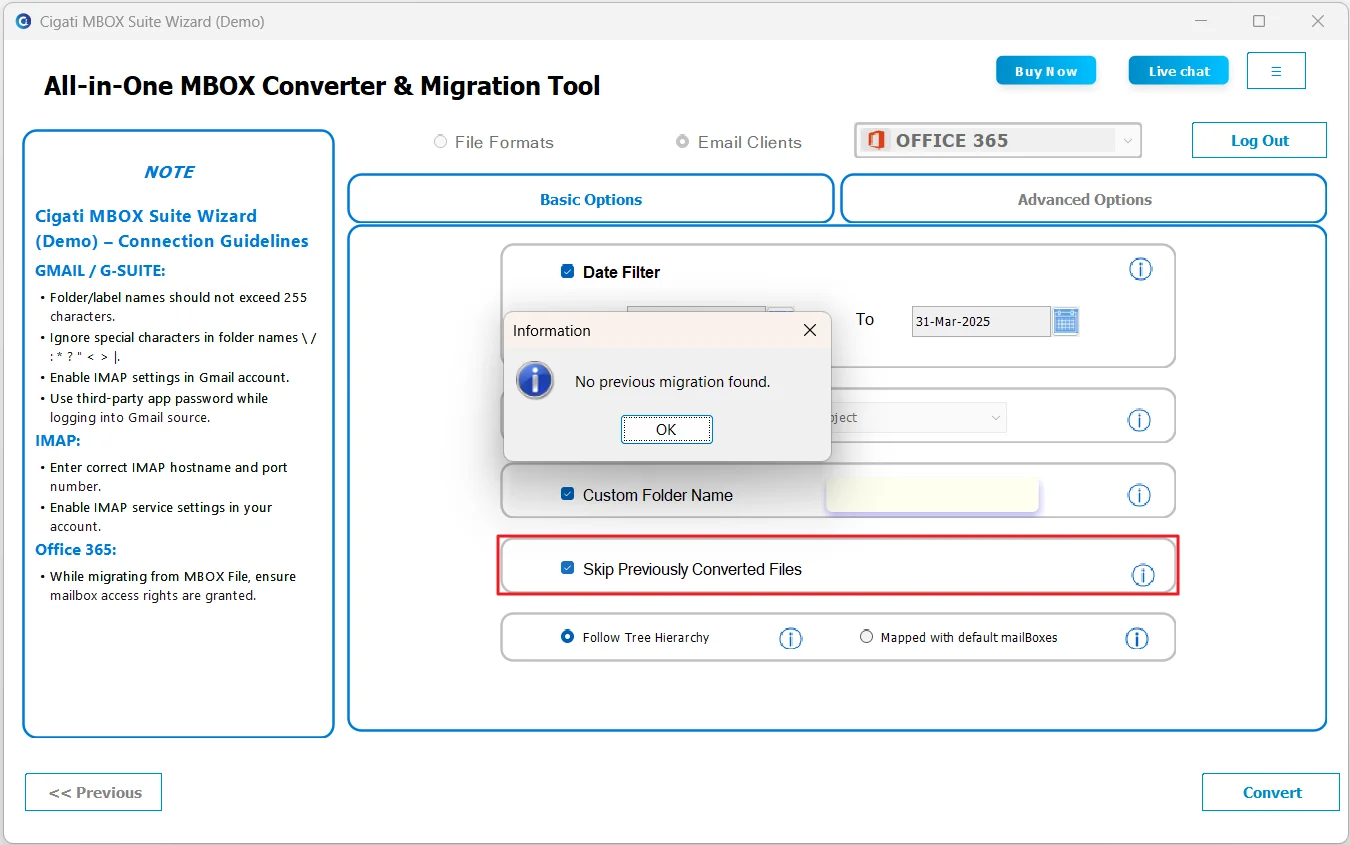
Use the Skip Previously Converted Files option to prevent duplicate data if the previous migration process was accidentally interrupted.
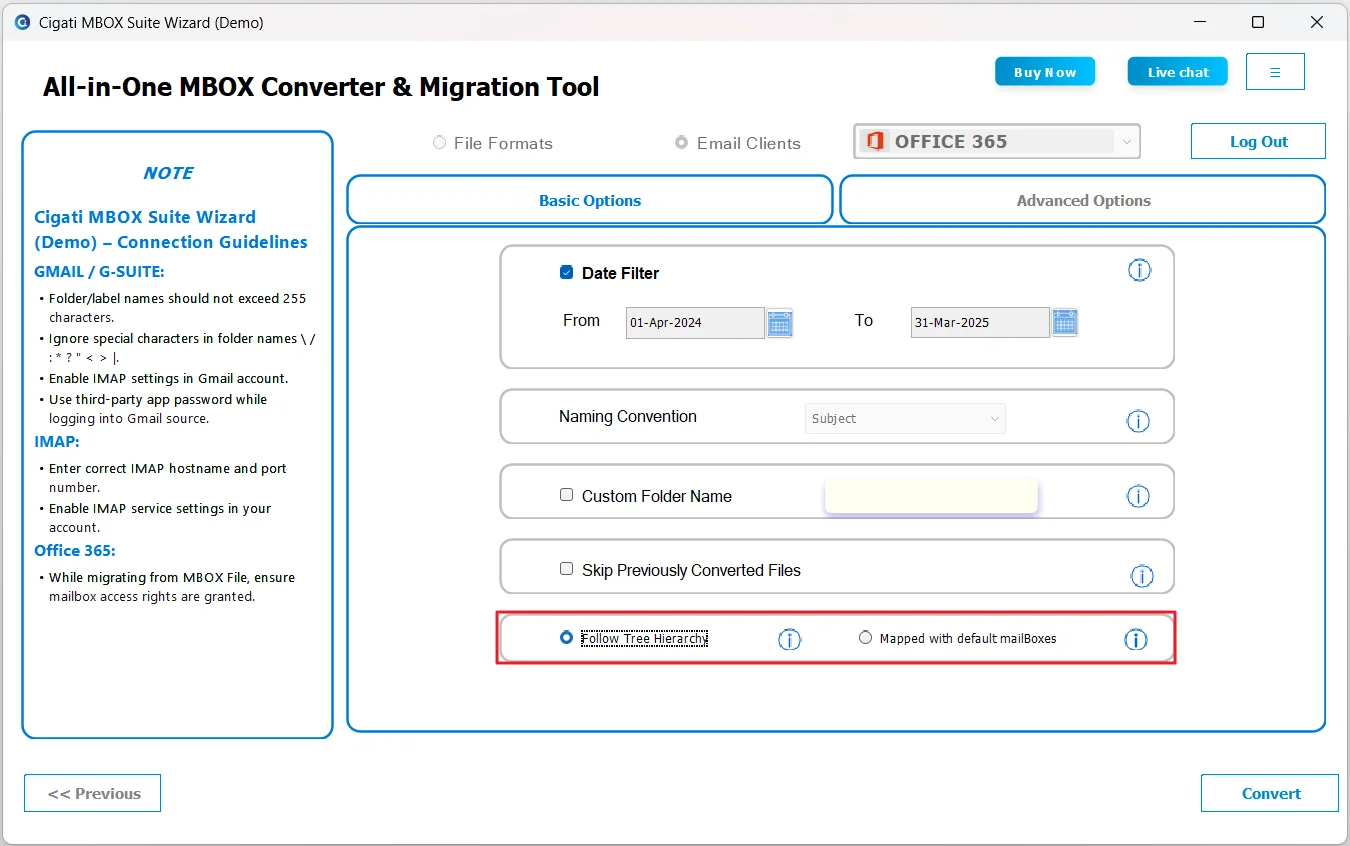
Choose Follow Tree Structure to preserve the original folder hierarchy, or select Map with Default Mailboxes to map Google Takeout emails to Outlook’s default folders.
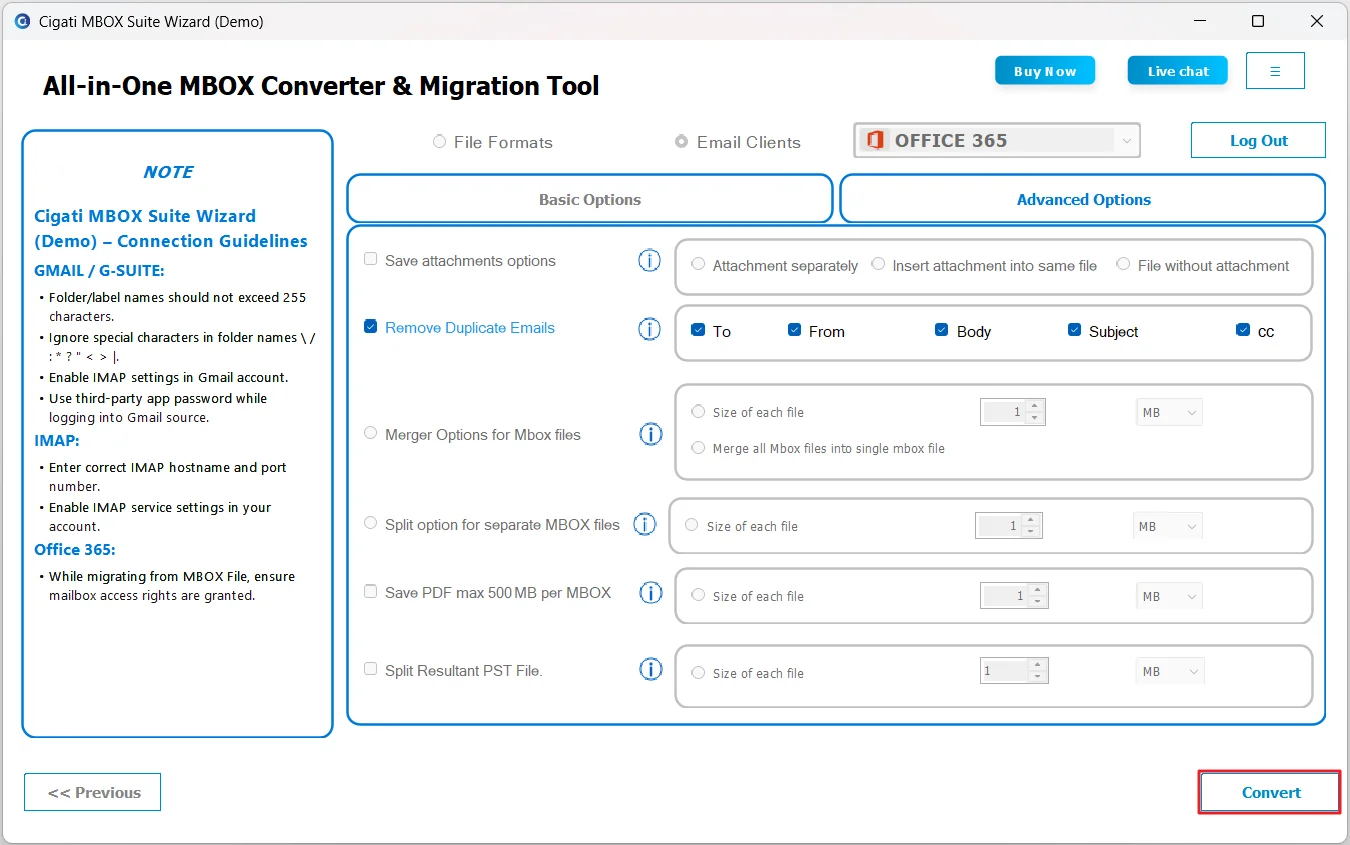
Use the Remove Duplicate Emails option to eliminate duplicate emails based on To, From, CC, Subject, and Body fields.
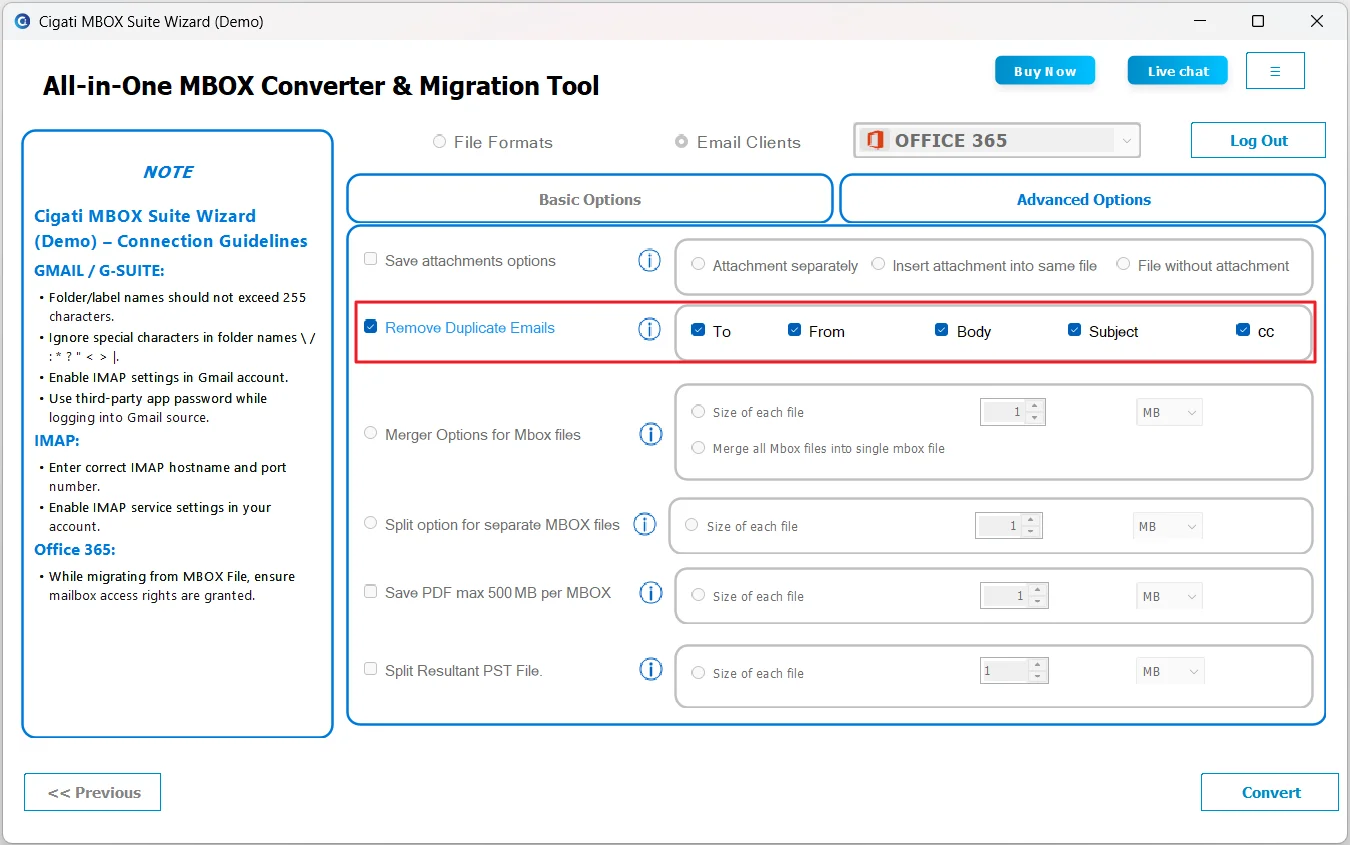
Finally, click the Convert button to initiate the migration process.