OneDrive Duplicate Finder and Remover
4.7
Steps to Find and Remove OneDrive Duplicate Files
A user-friendly application with an intuitive design for beginners to navigate effortlessly.
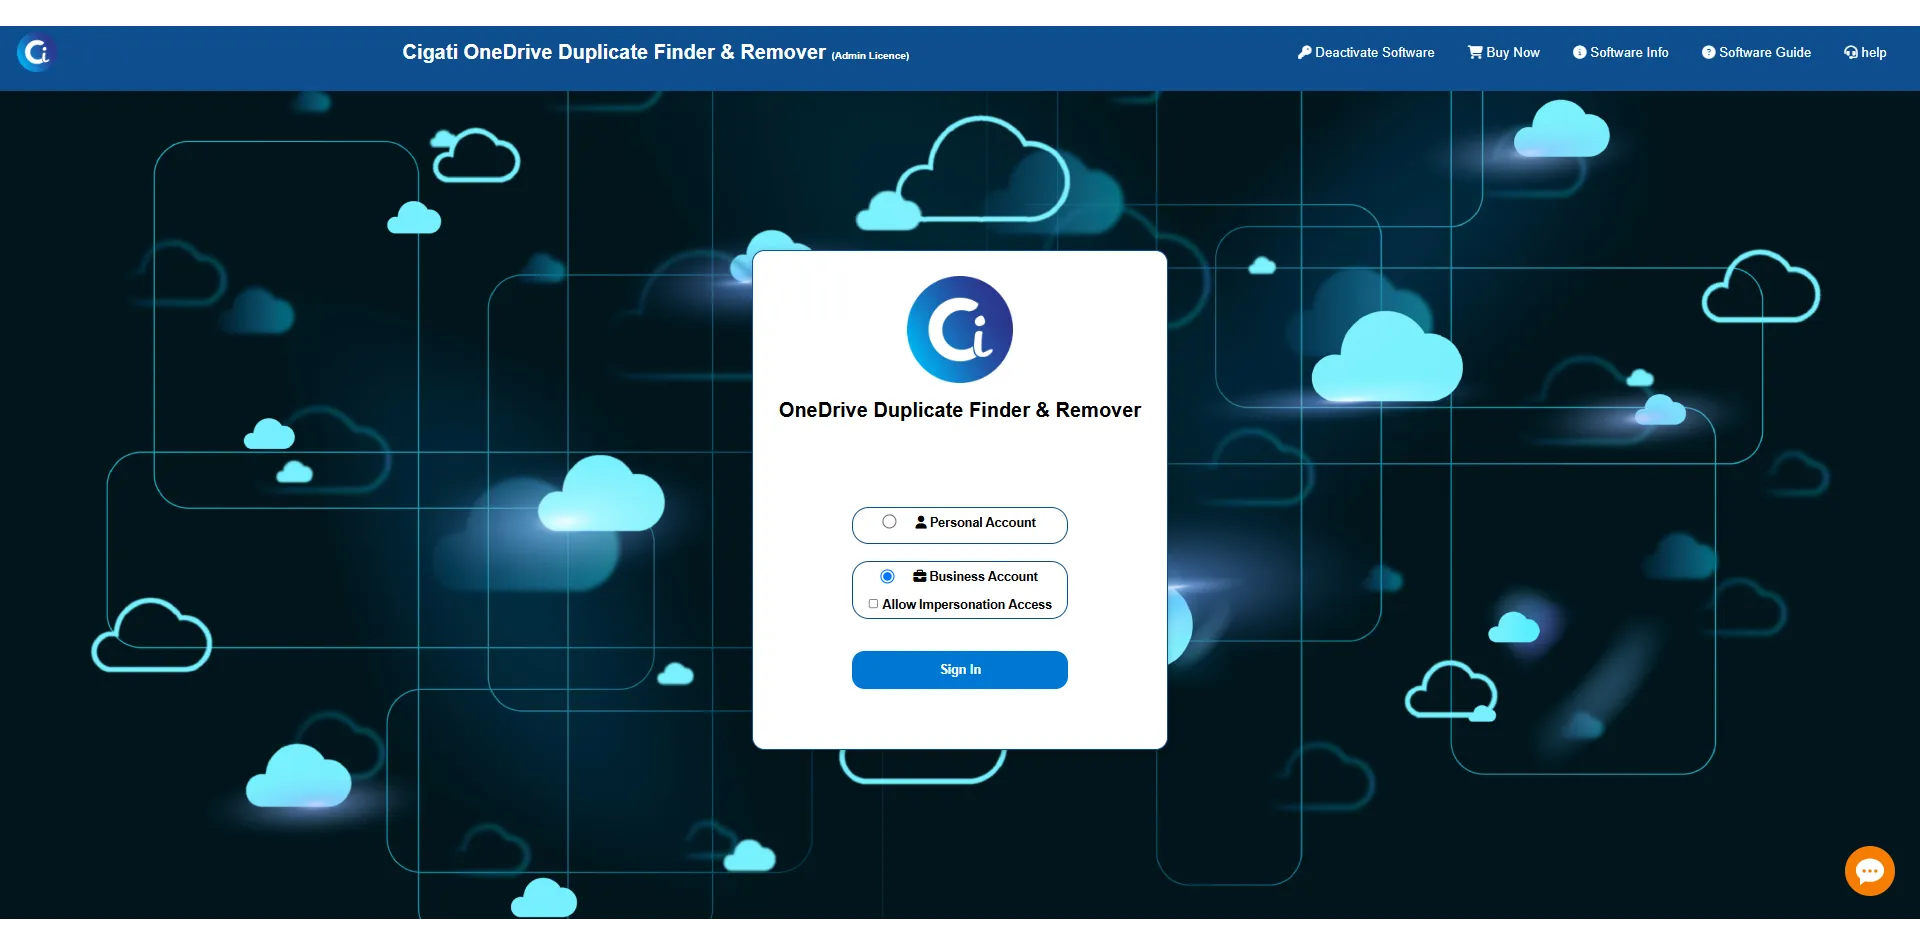
Install and Run the Cigati OneDrive Duplicate Finder and Remover Tool.
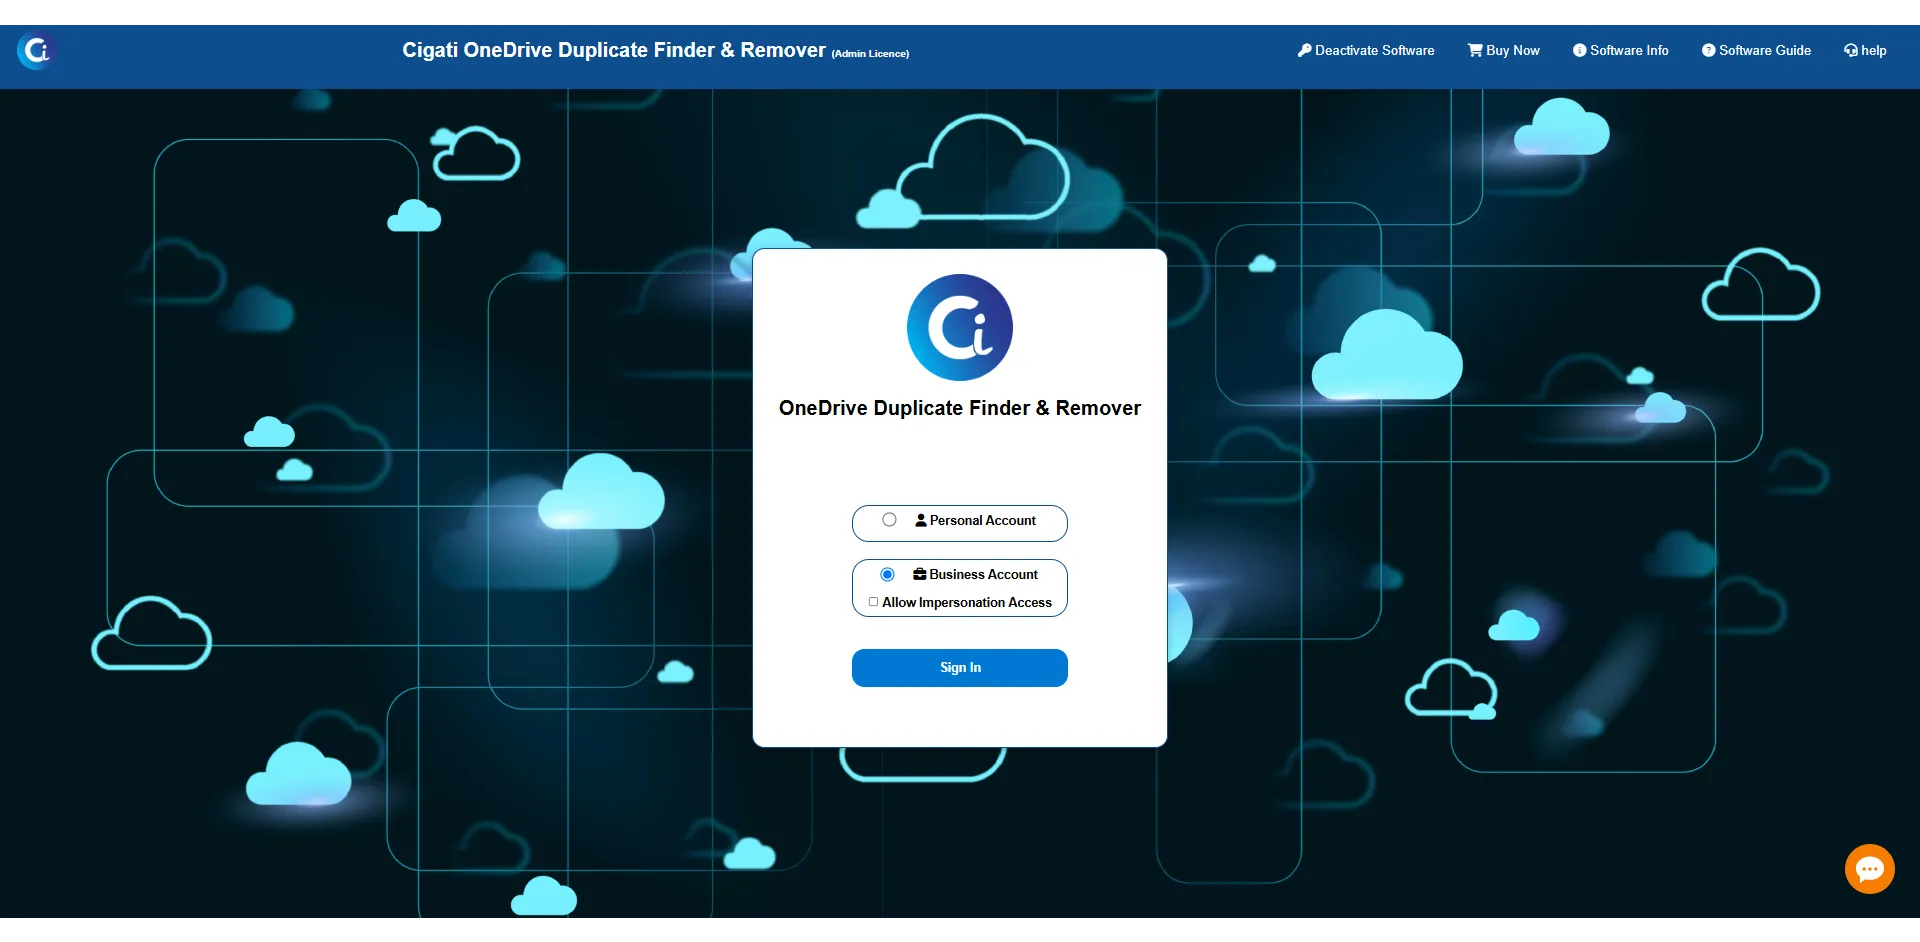
Choose the account type you want to use: Personal or Business Account. Then click Sign In.
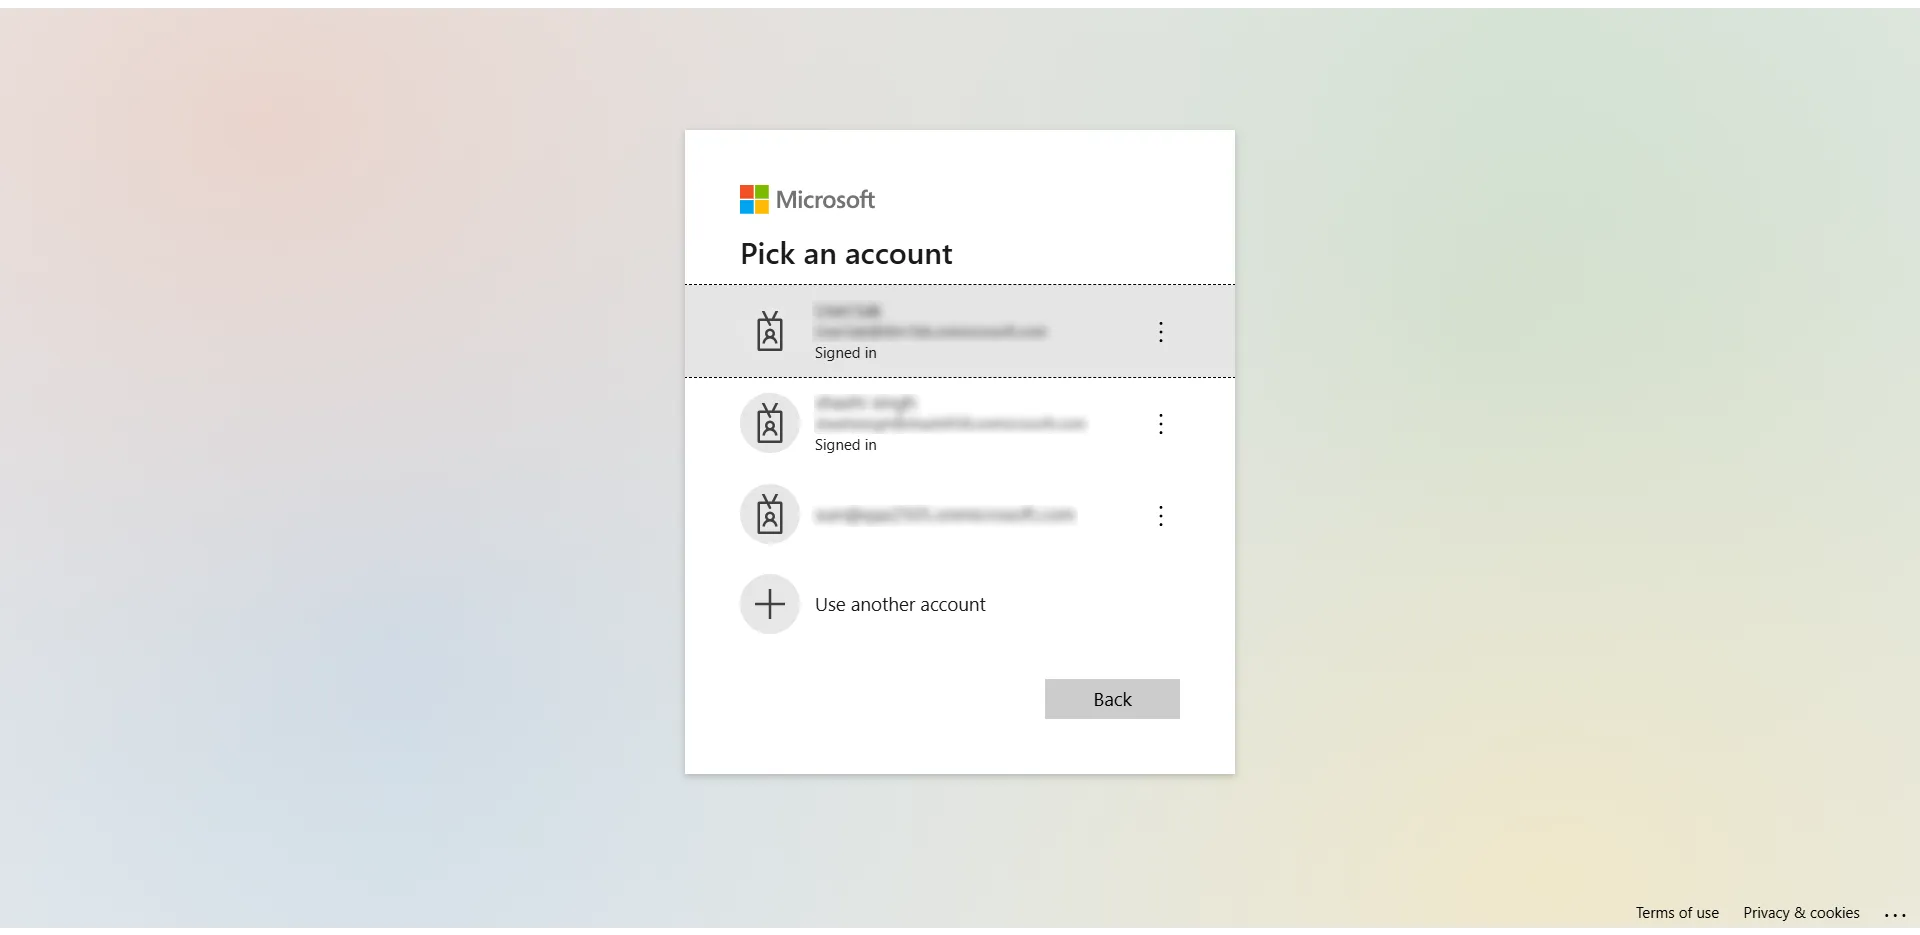
Now, enter your valid login details to sign in and verify your identity. (Make sure your OneDrive ID is open in your default browser.)
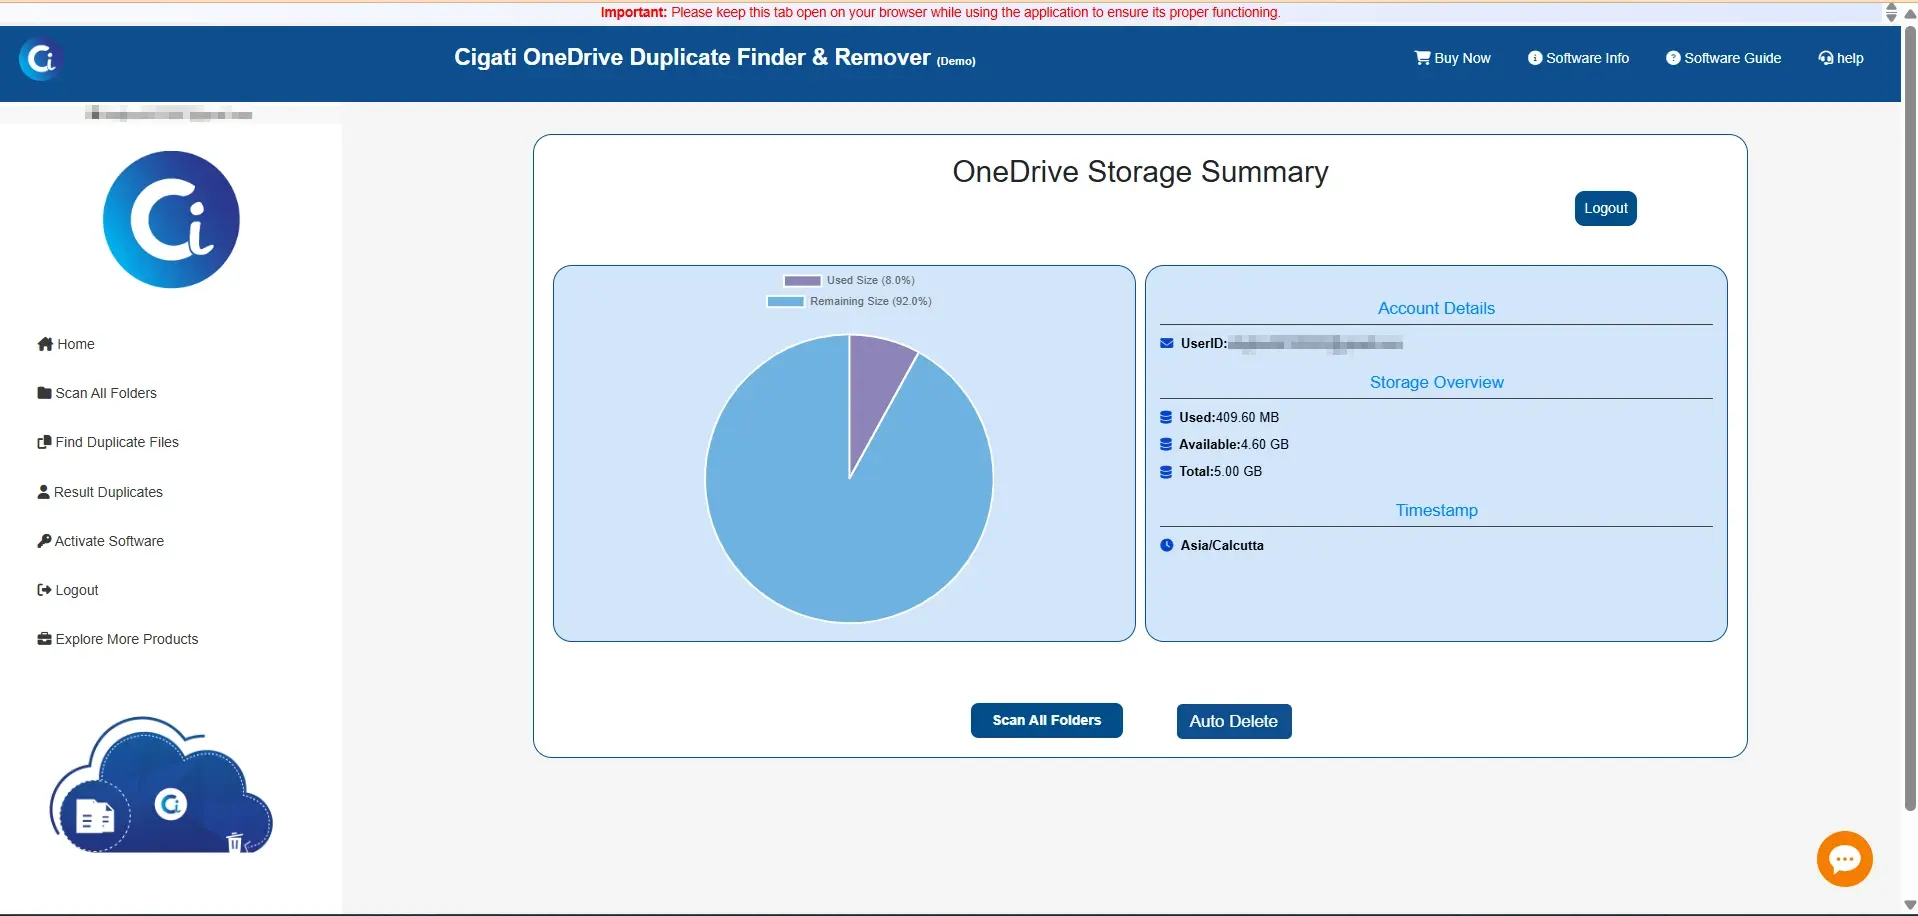
Here, you can view the Drive Storage Summary for your selected account. This summary displays essential information, including your account details, current storage usage, and a relevant timestamp.
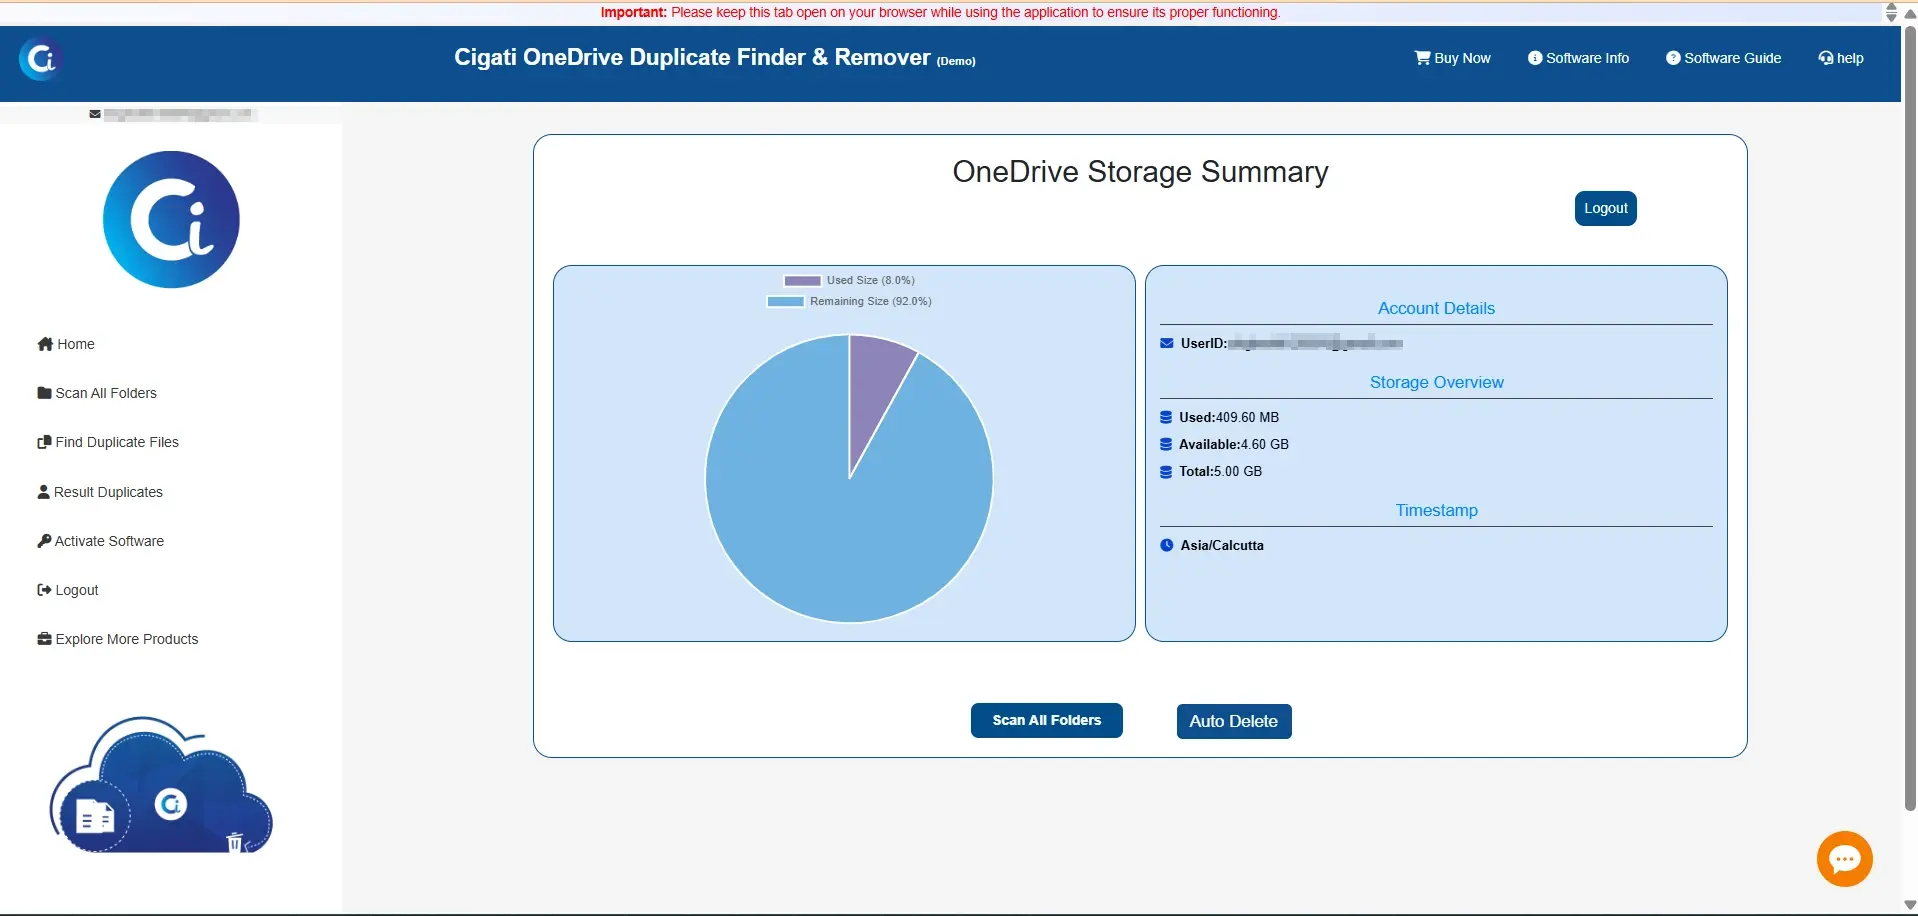
You can select one of two options as per your requirement:
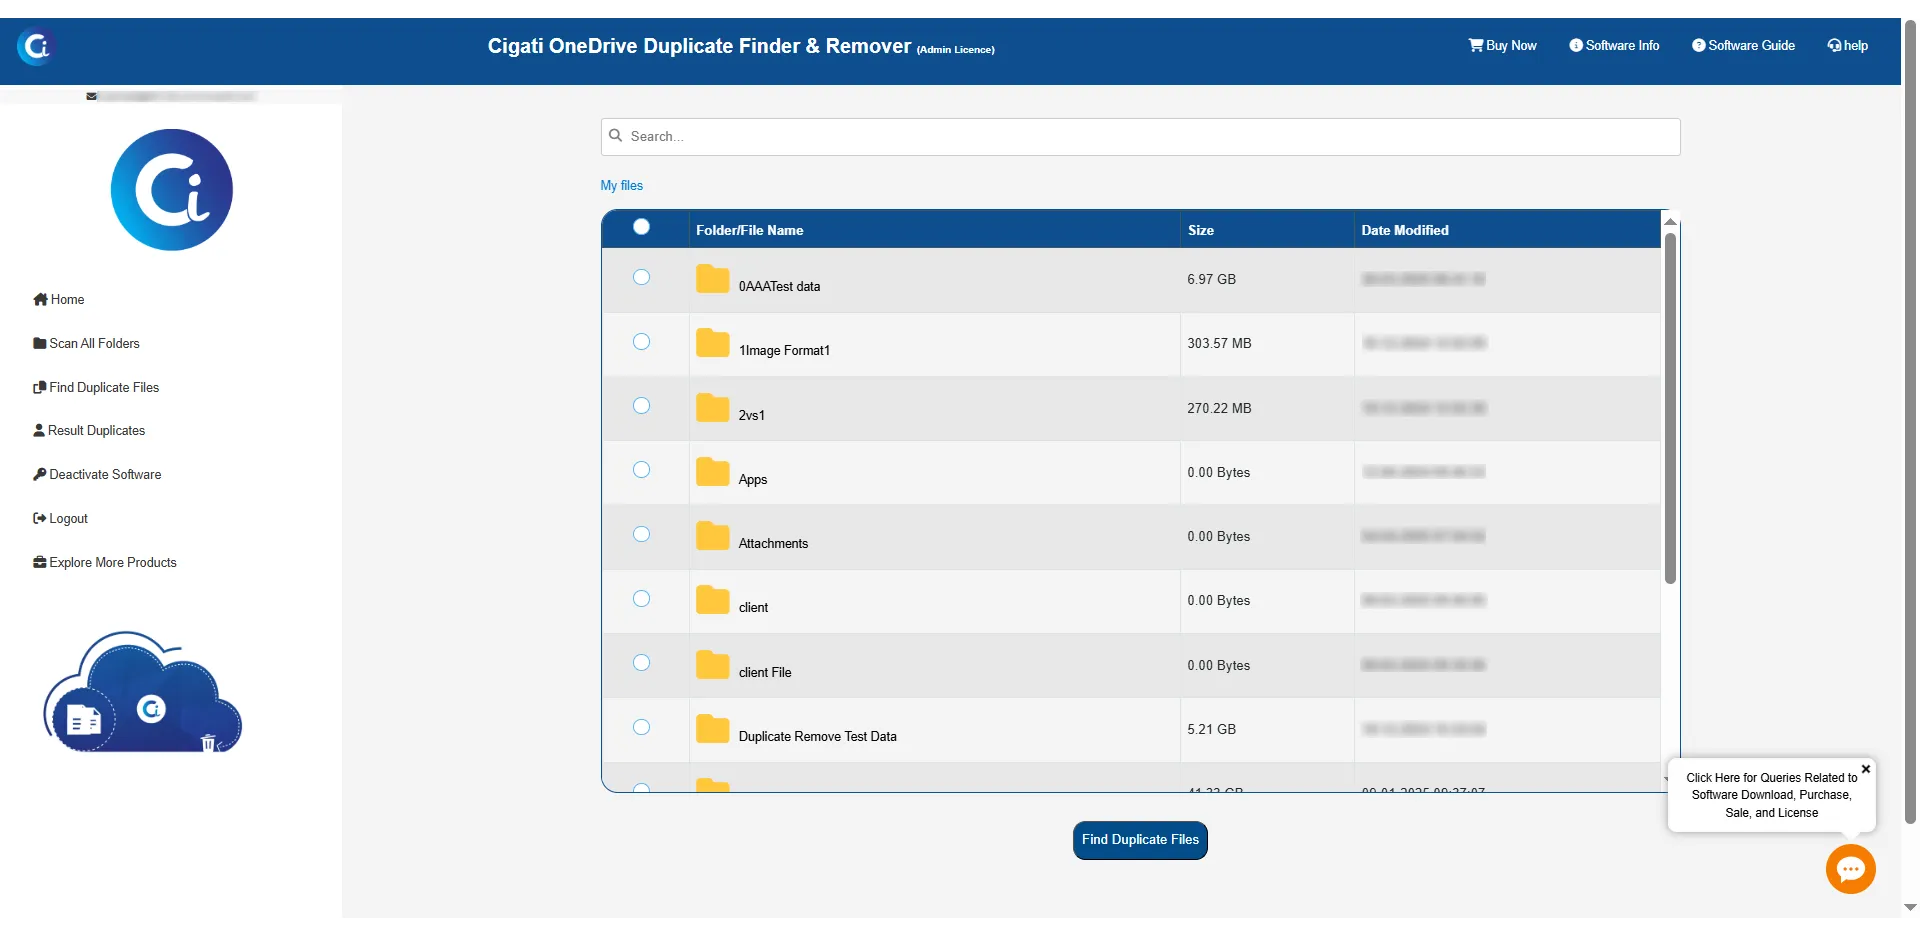
Now, you’ll see a preview of all the files and folders linked to the selected account.
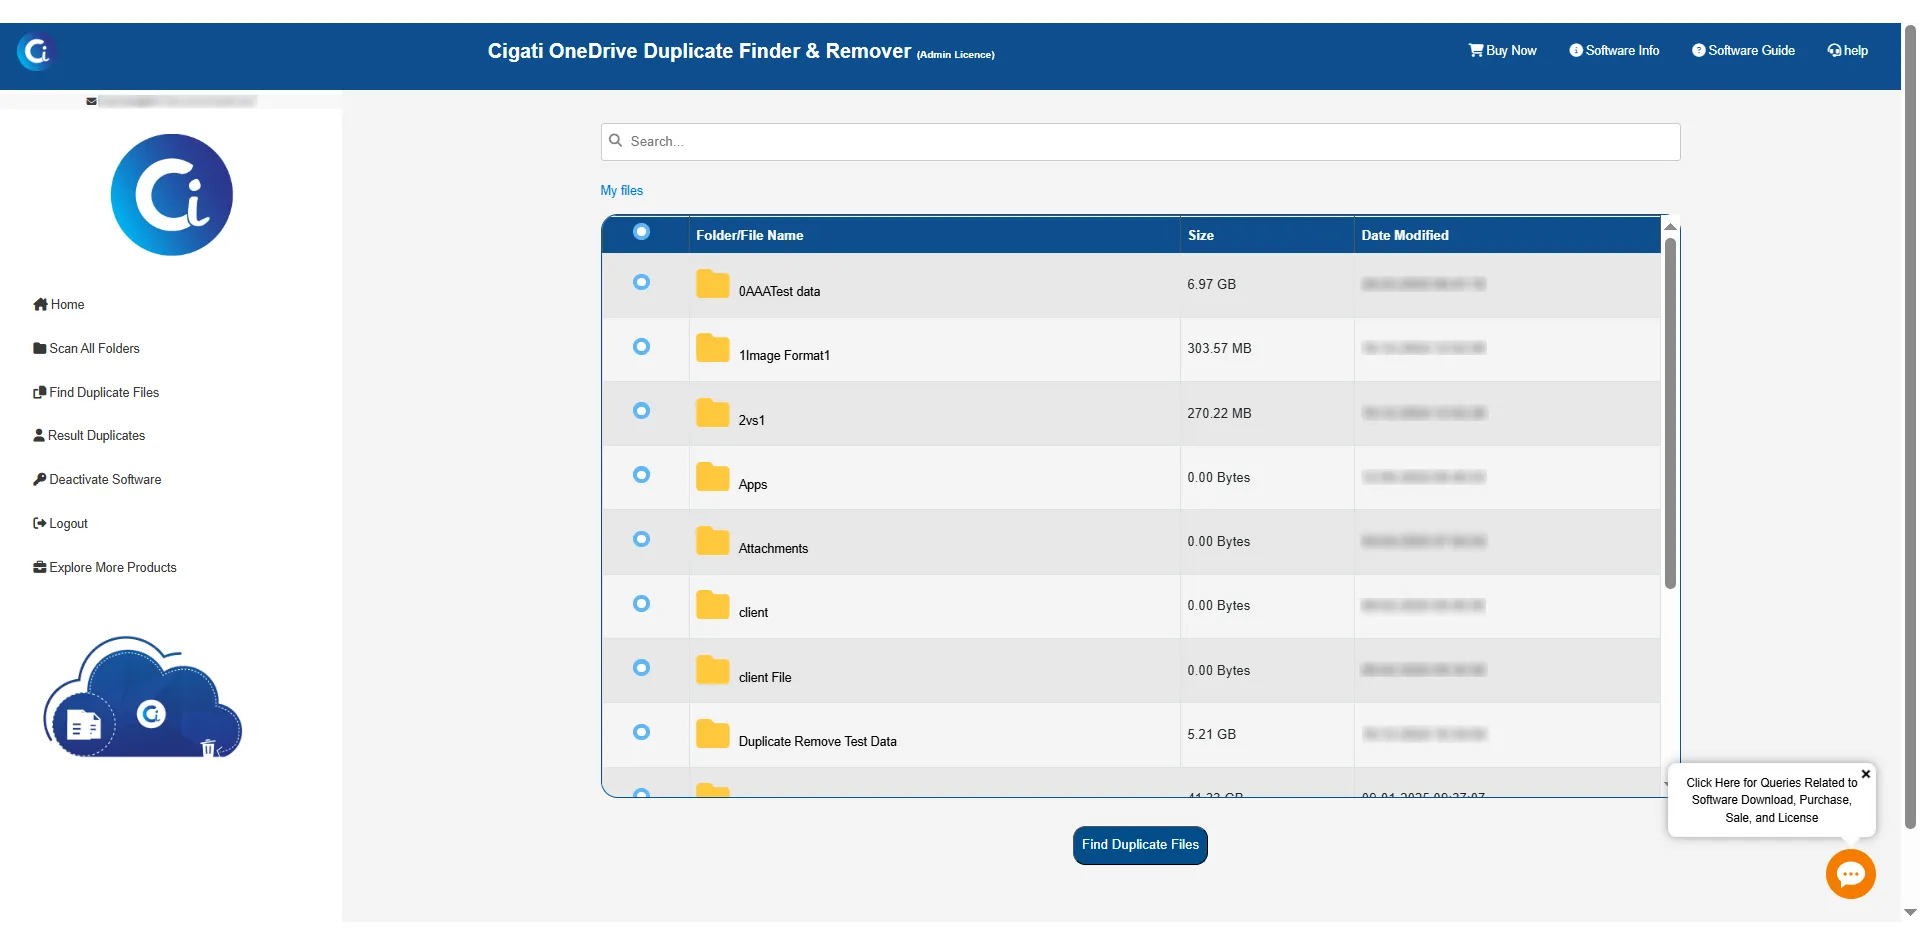
Here, you can select the file you want to check for duplicates in the chosen folder. Then, click Find Duplicate Files.
Please wait while the tool scans for duplicate files.
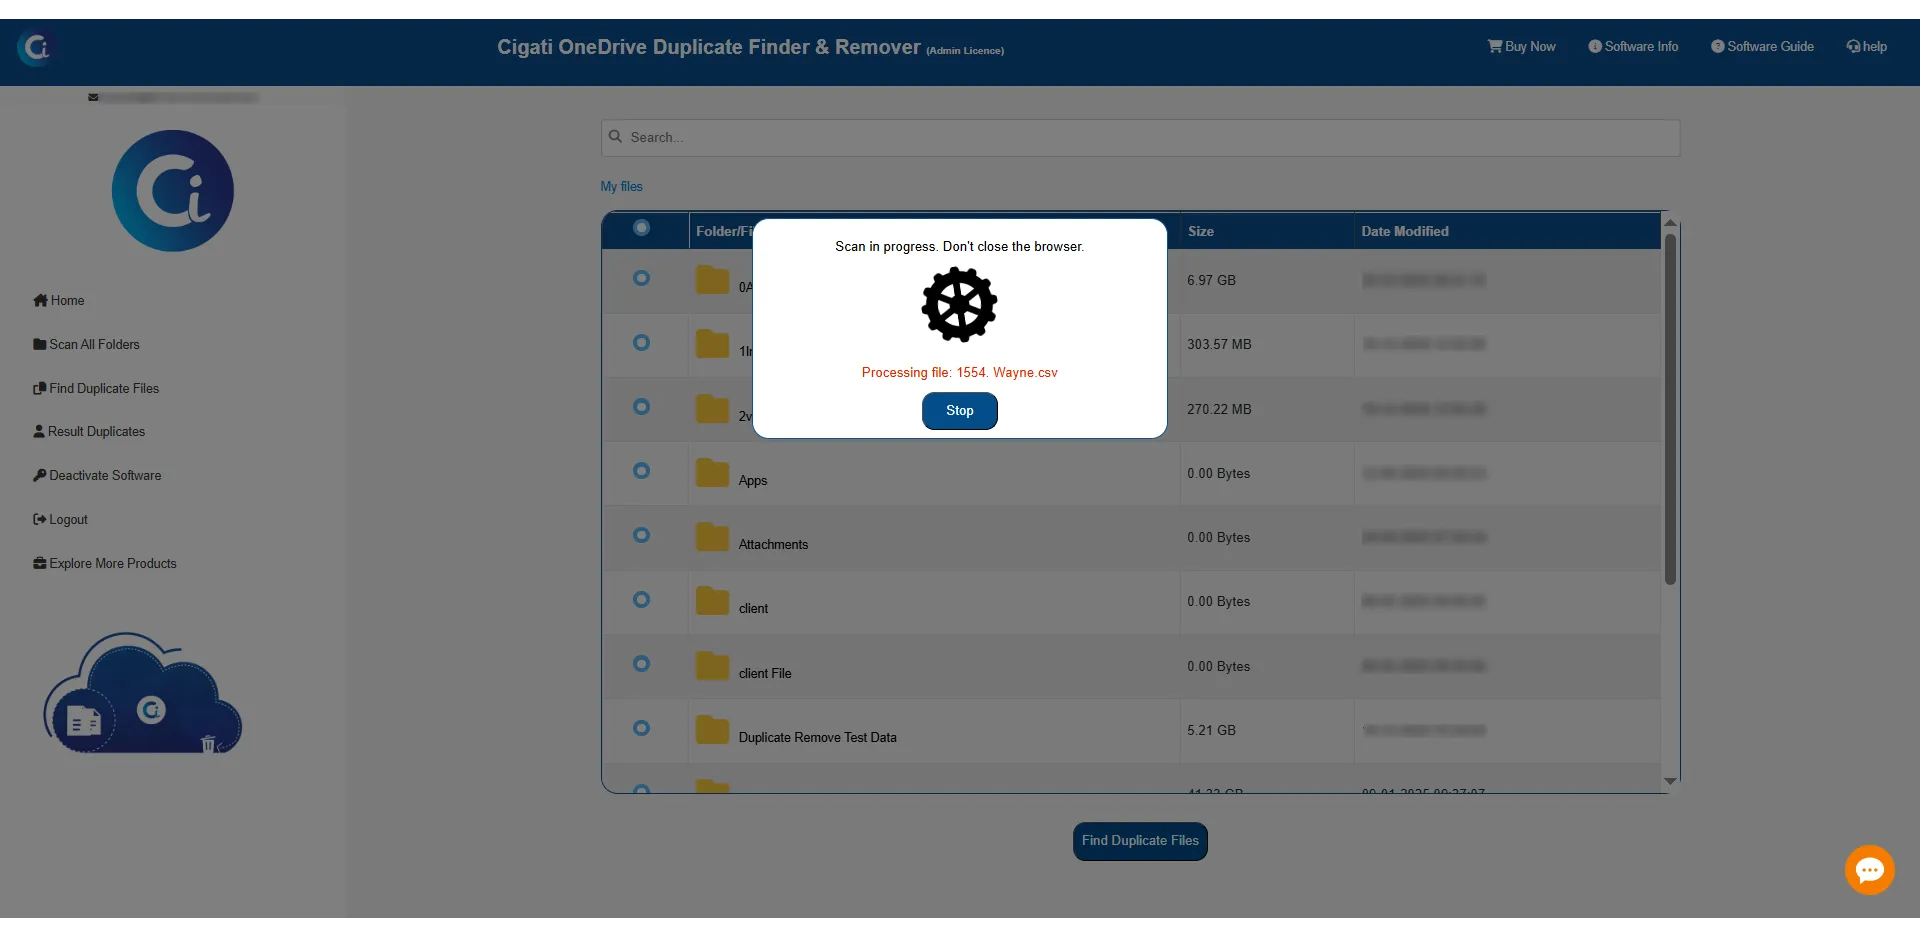
A pop-up message will appear, showing the total number of duplicate files and groups found in your folder.
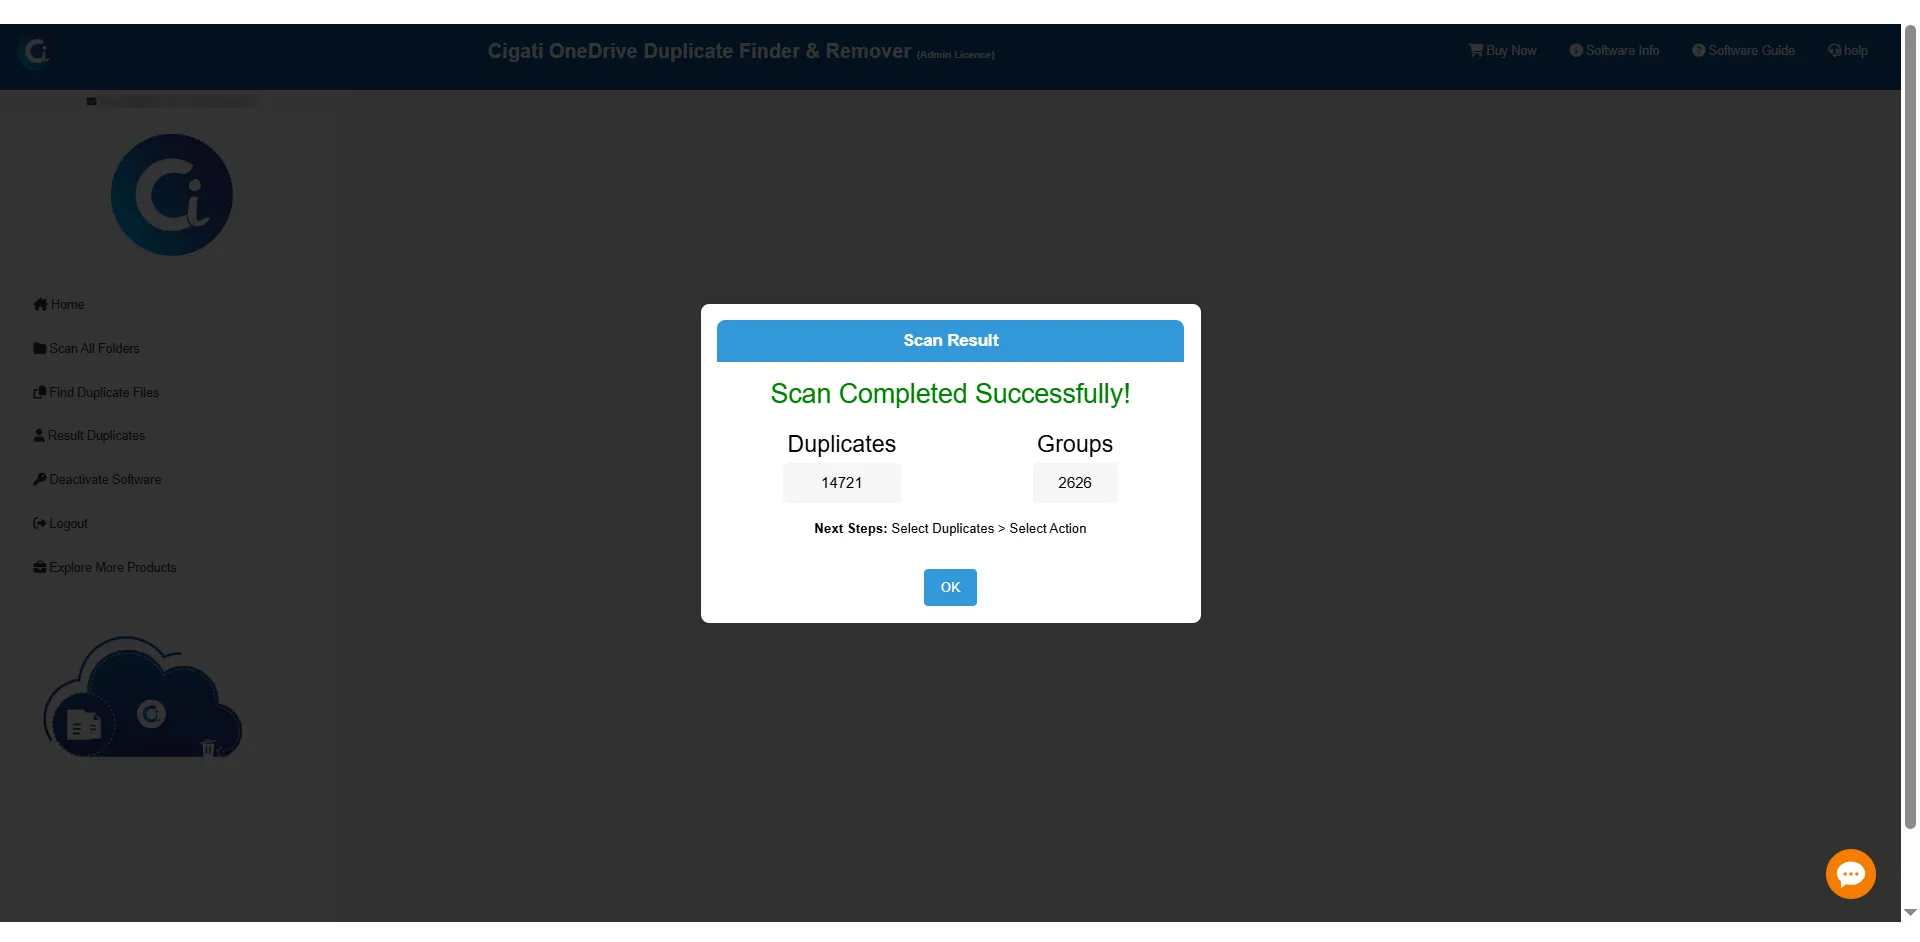
In the next panel, all duplicate files will be listed for review and management. If the dataset is large and spread across multiple pages, you can click Next to go to the next page and Previous to return to the previous one.
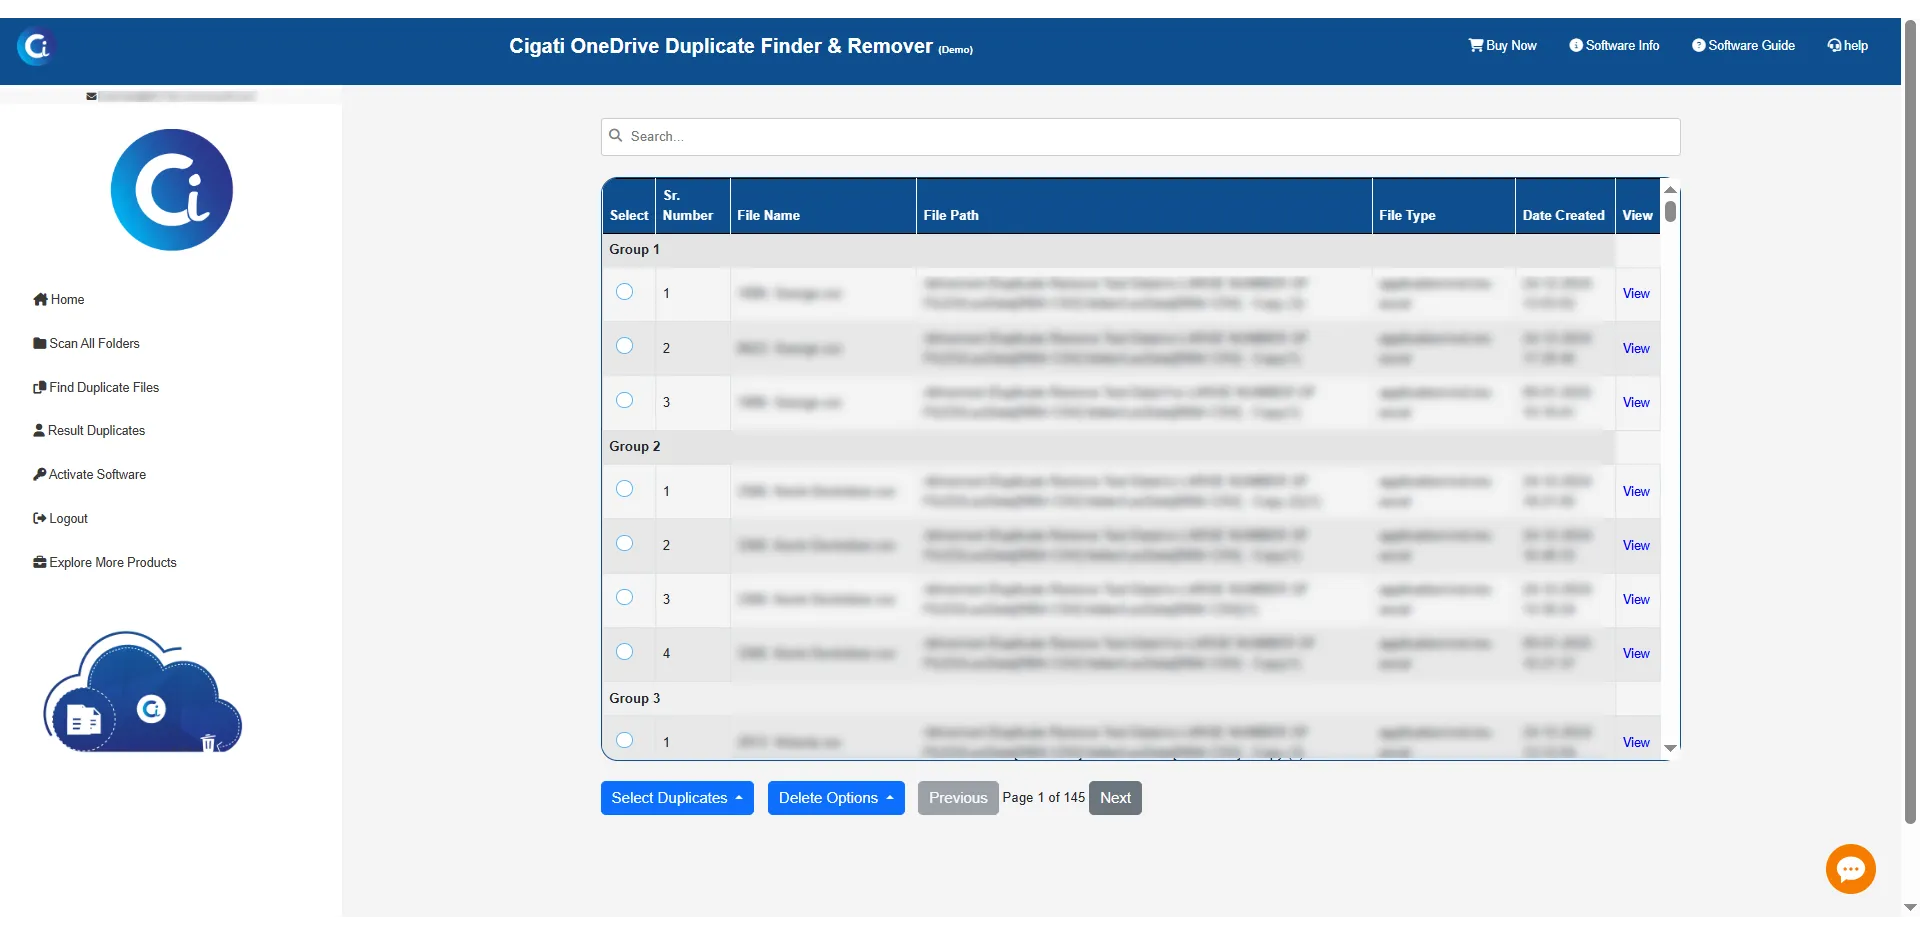
Next, under Select Duplicates, you’ll find several options:
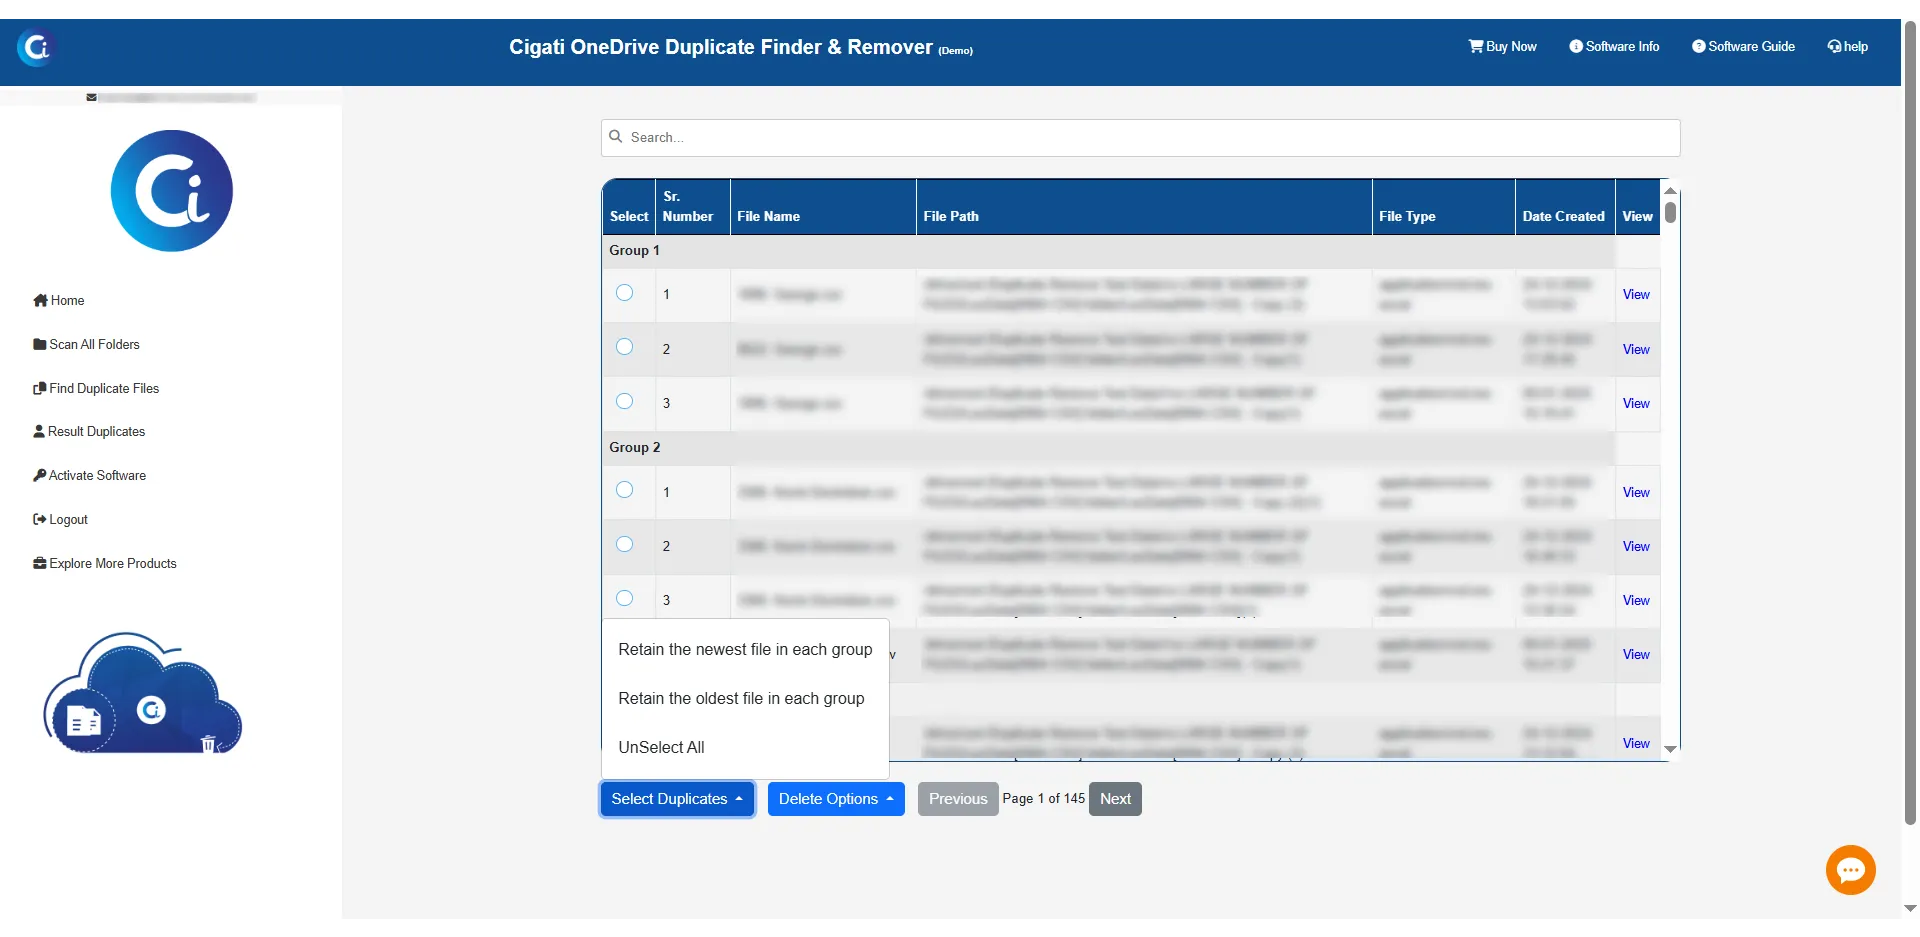
In the final section of this tab, you’ll see two options:
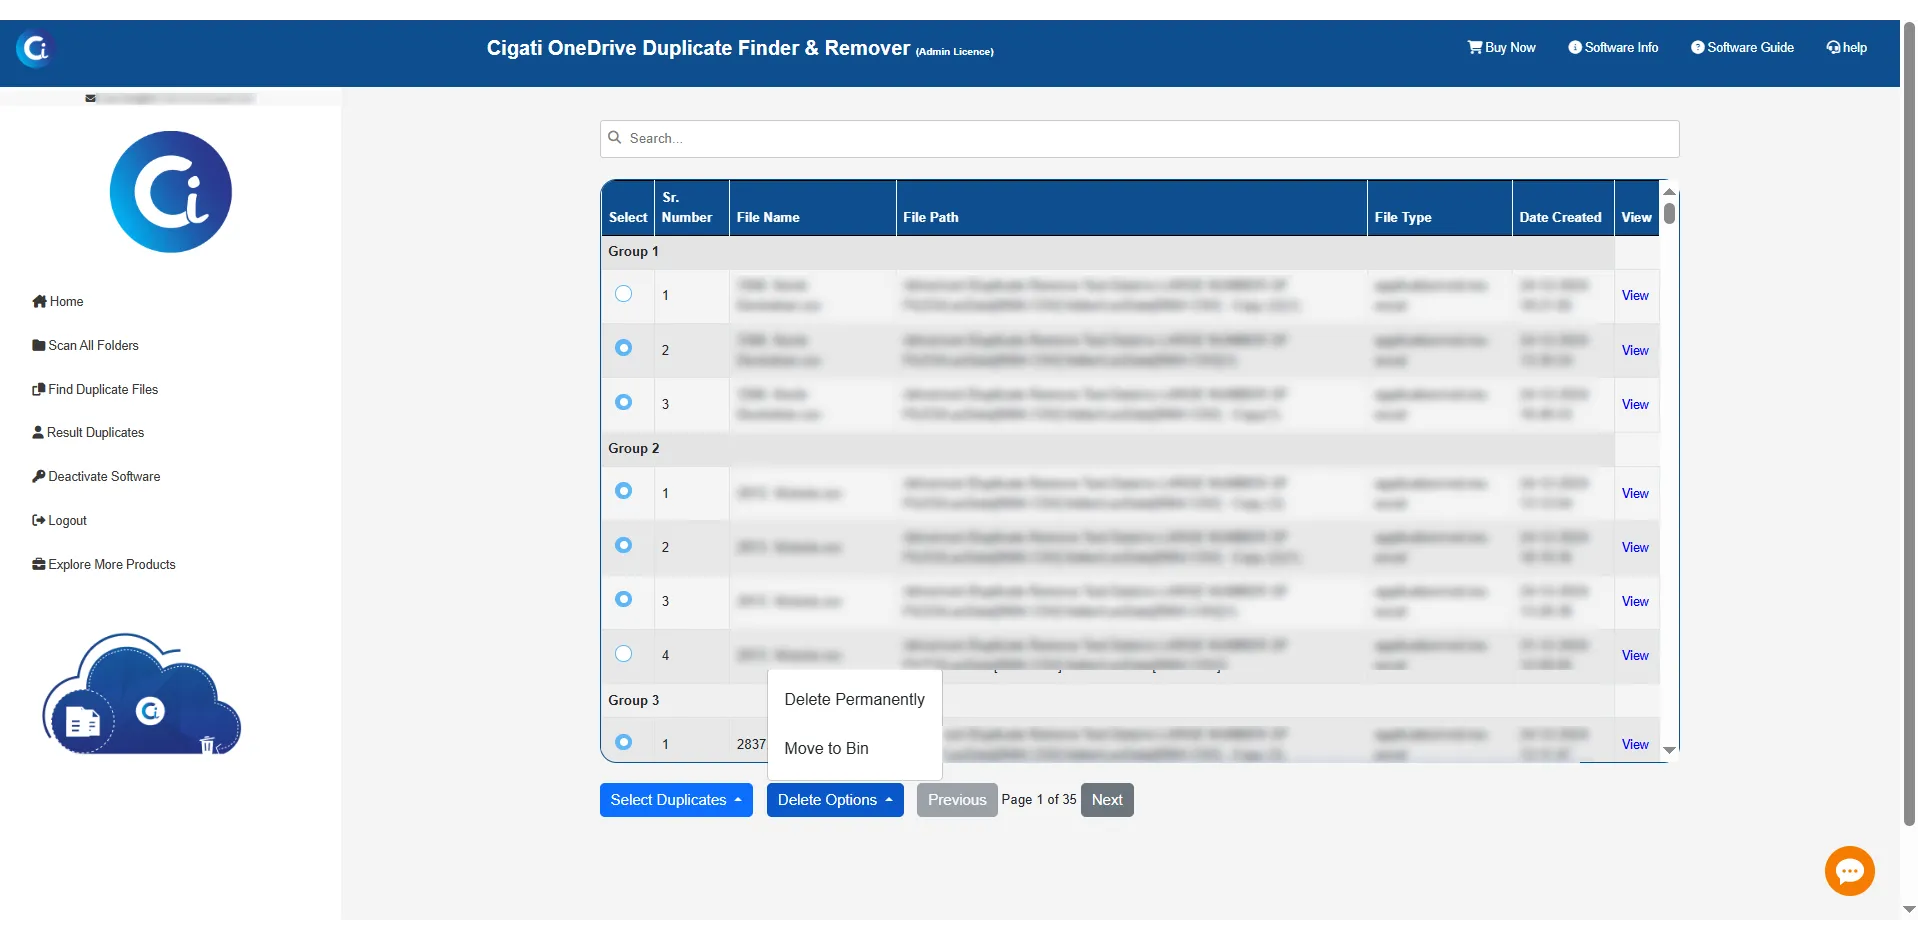
After that, a pop-up will appear asking for your confirmation to delete the files - either permanently or temporarily. Click OK to proceed.
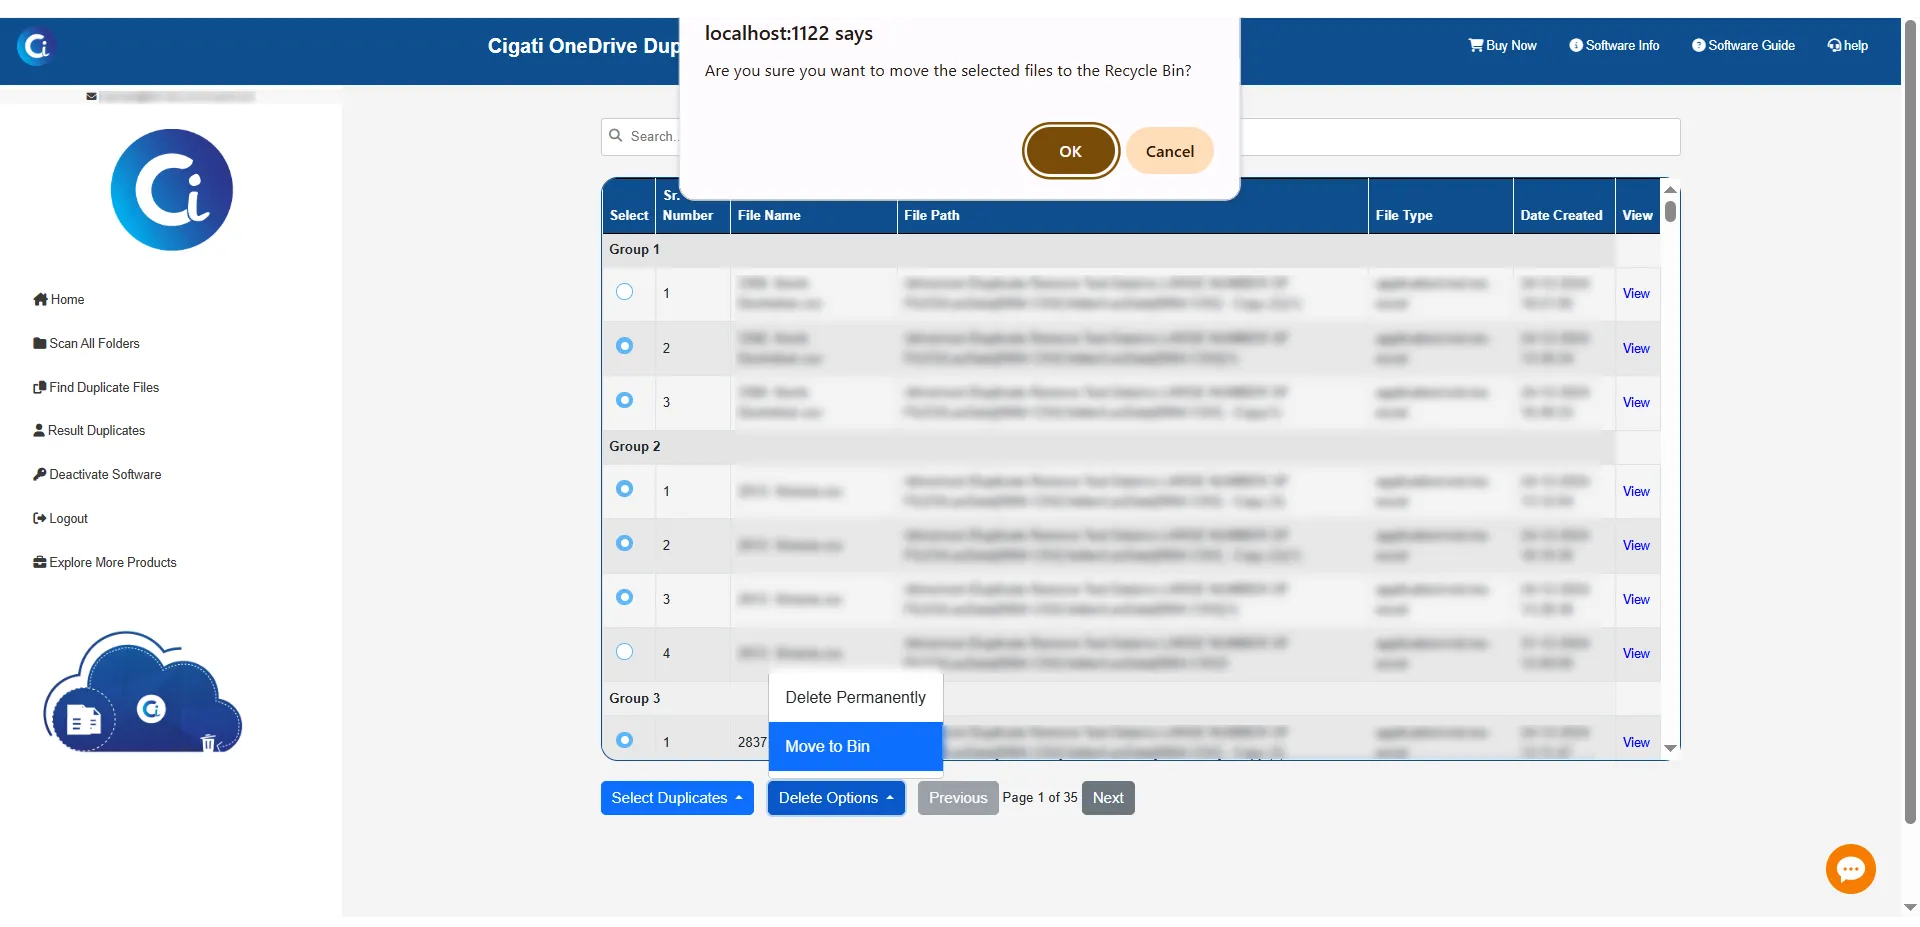
Please wait while the tool deletes the duplicate files from your selected account and folder. Once done, click OK to continue.
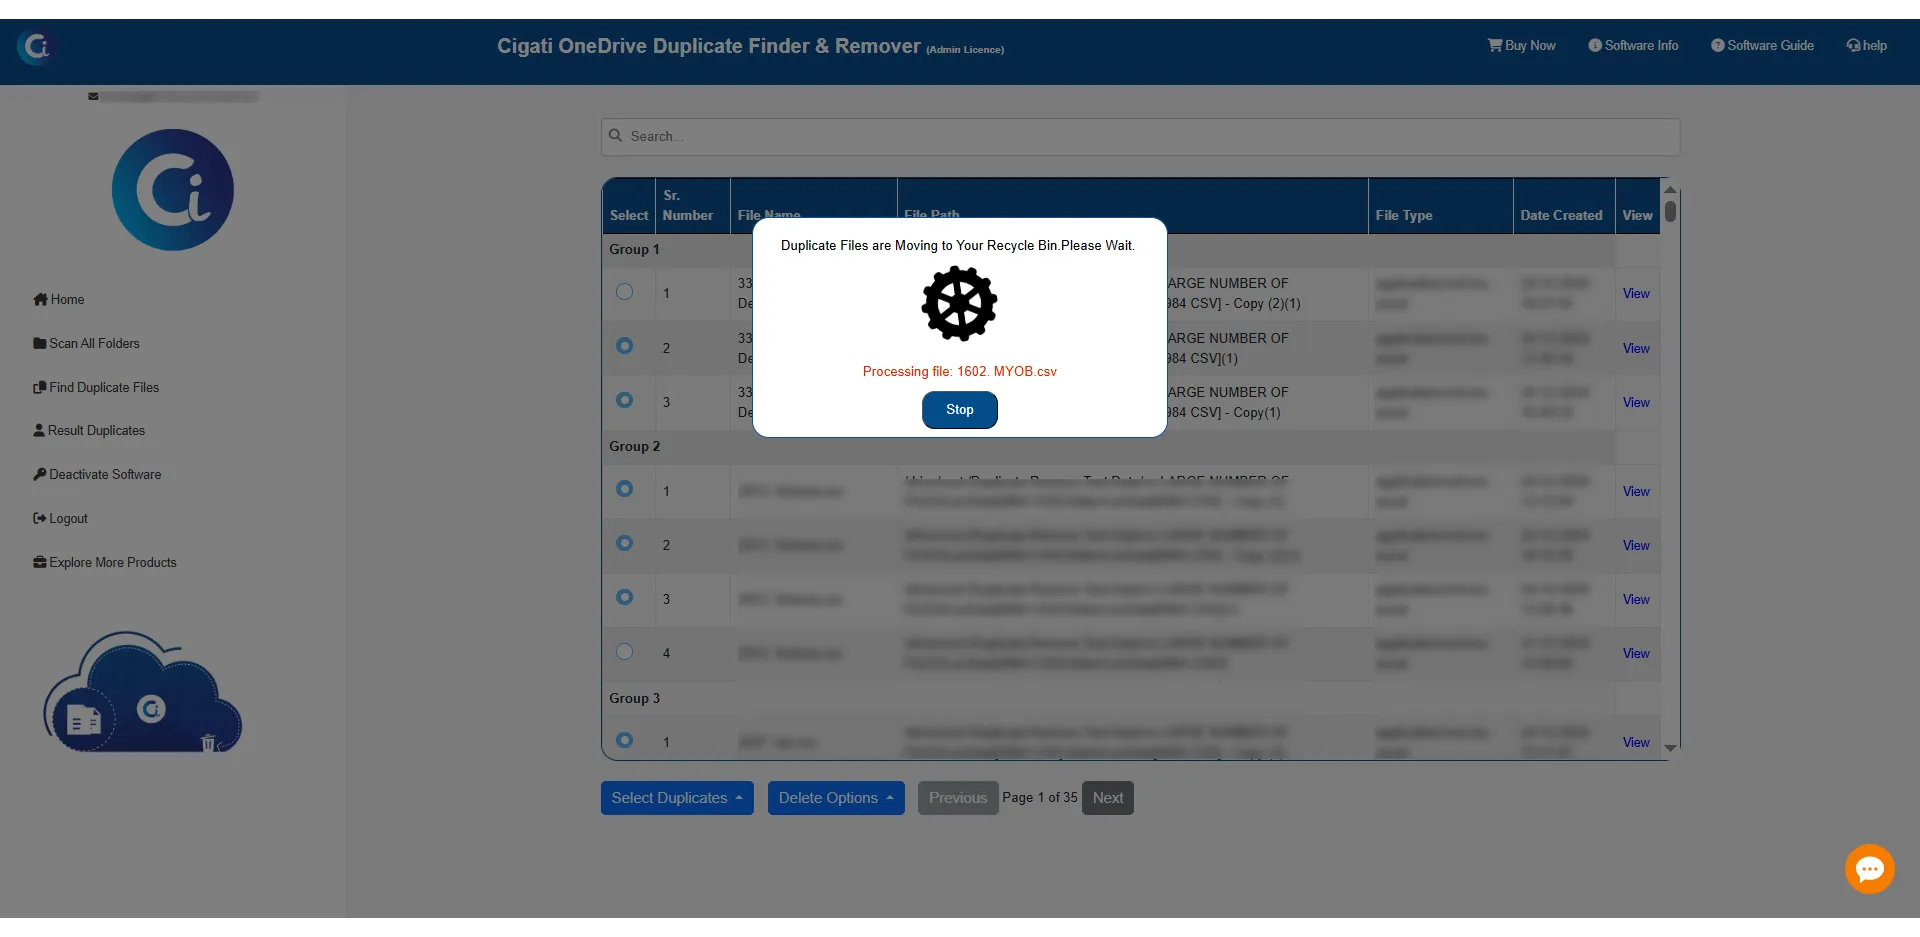
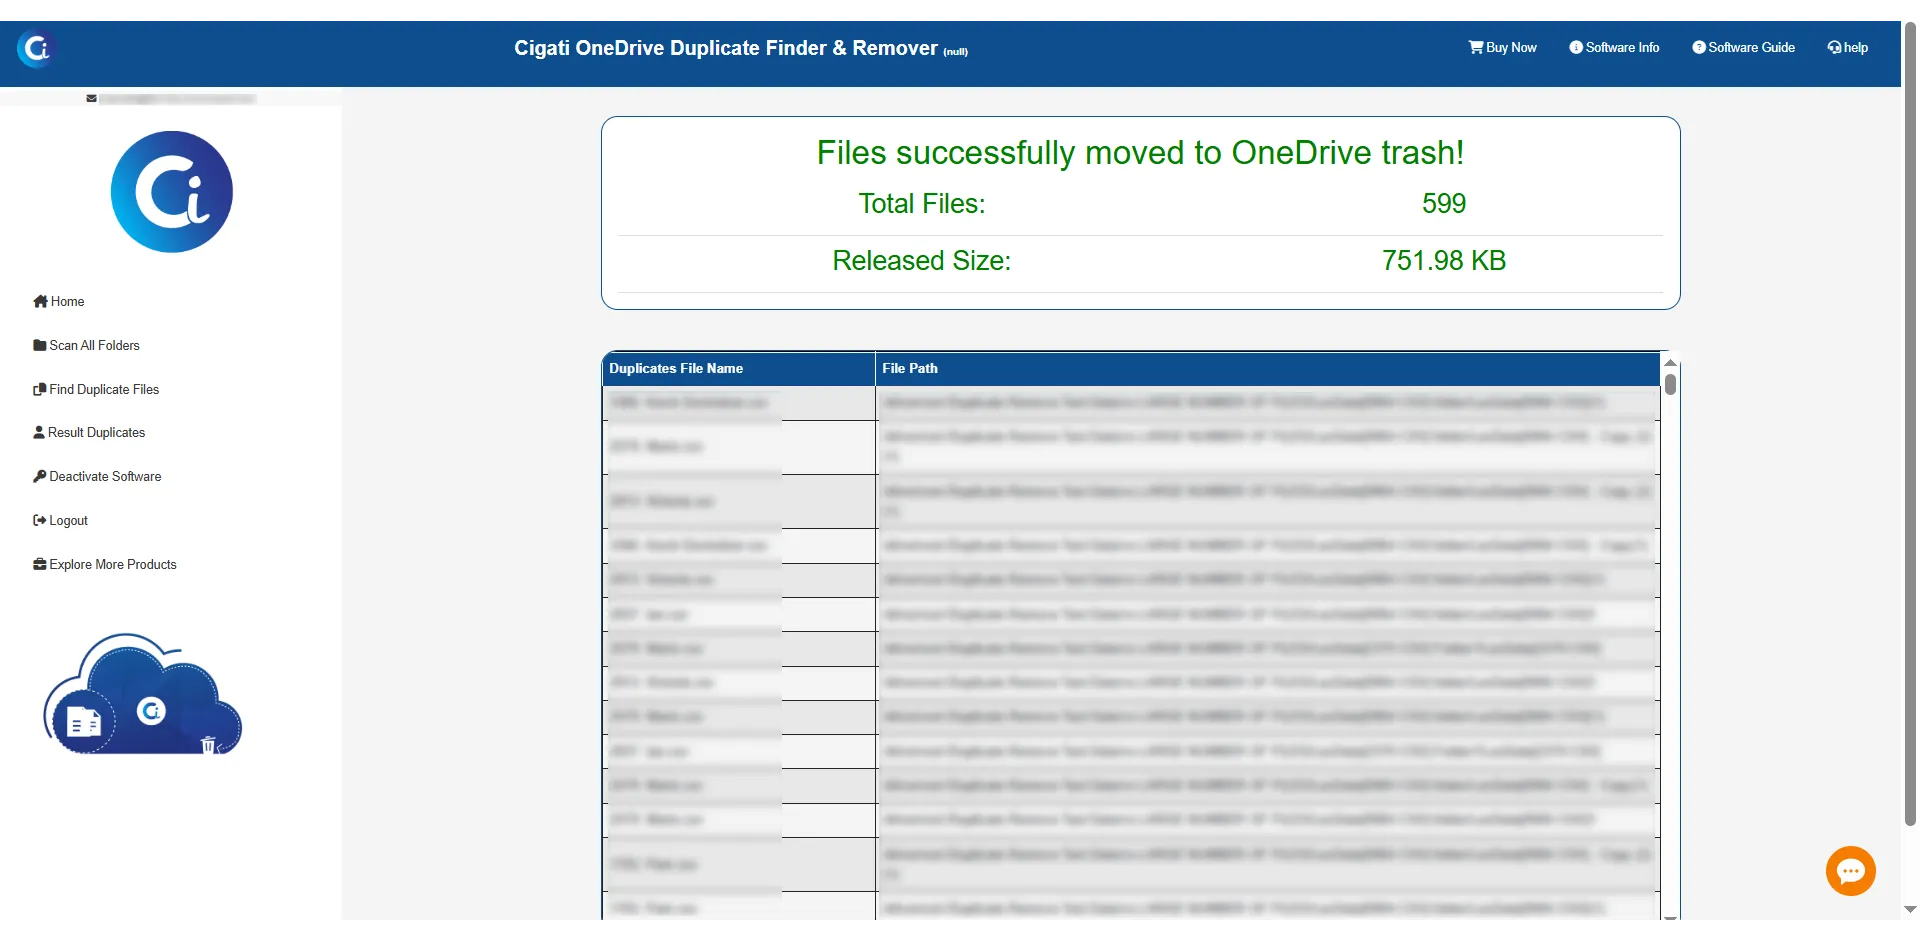
After completing the action, the software will display the results: