OneDrive Migration Tool
4.7
A user-friendly application with an intuitive design for beginners to navigate effortlessly.
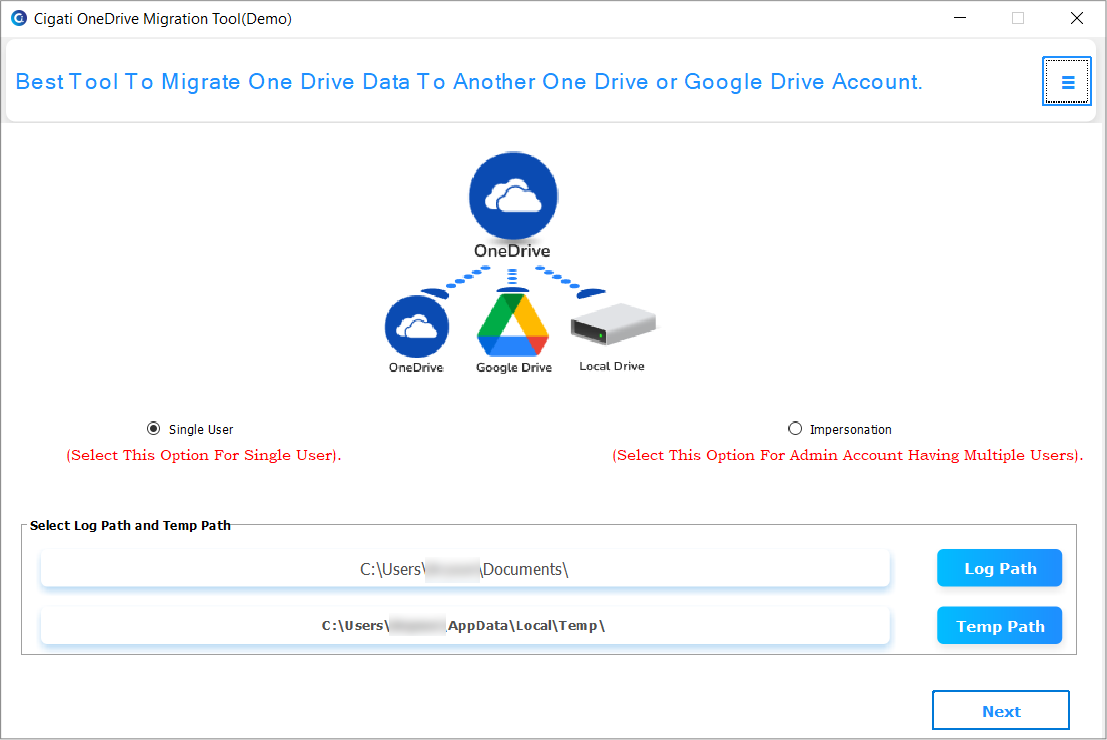
Install the Install the Cigati OneDrive Migration Tool and run it as an administrator.
Choose between Single User and Impersonation to add accounts, then click the Next button.
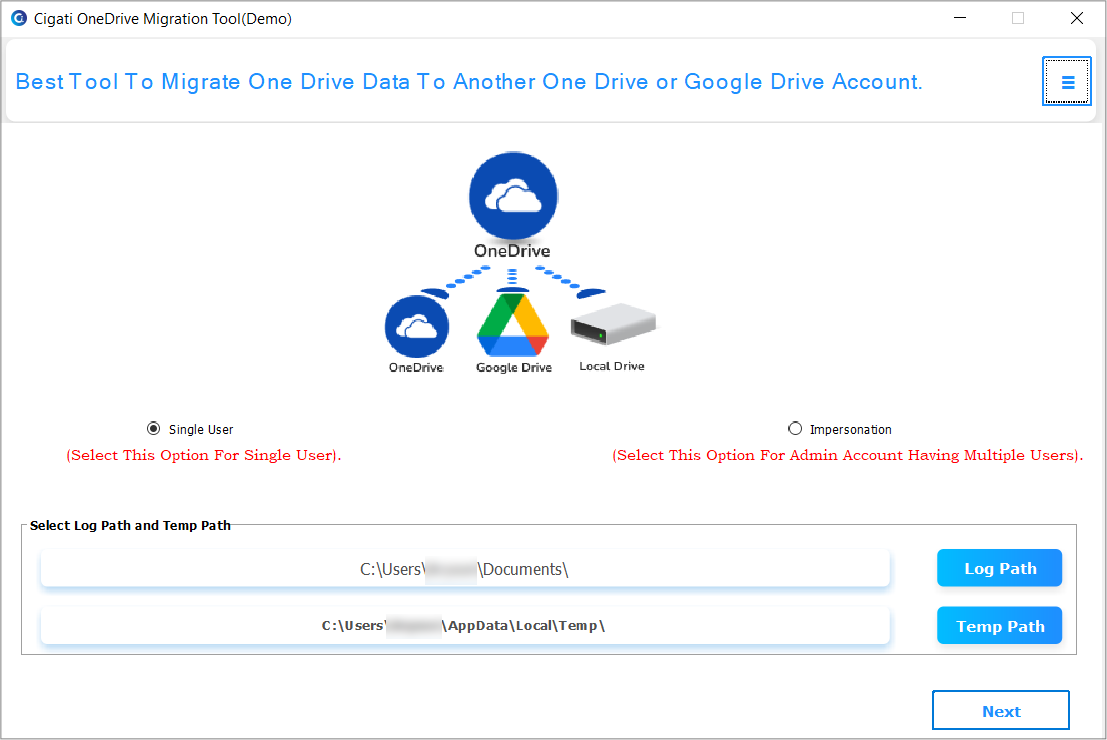
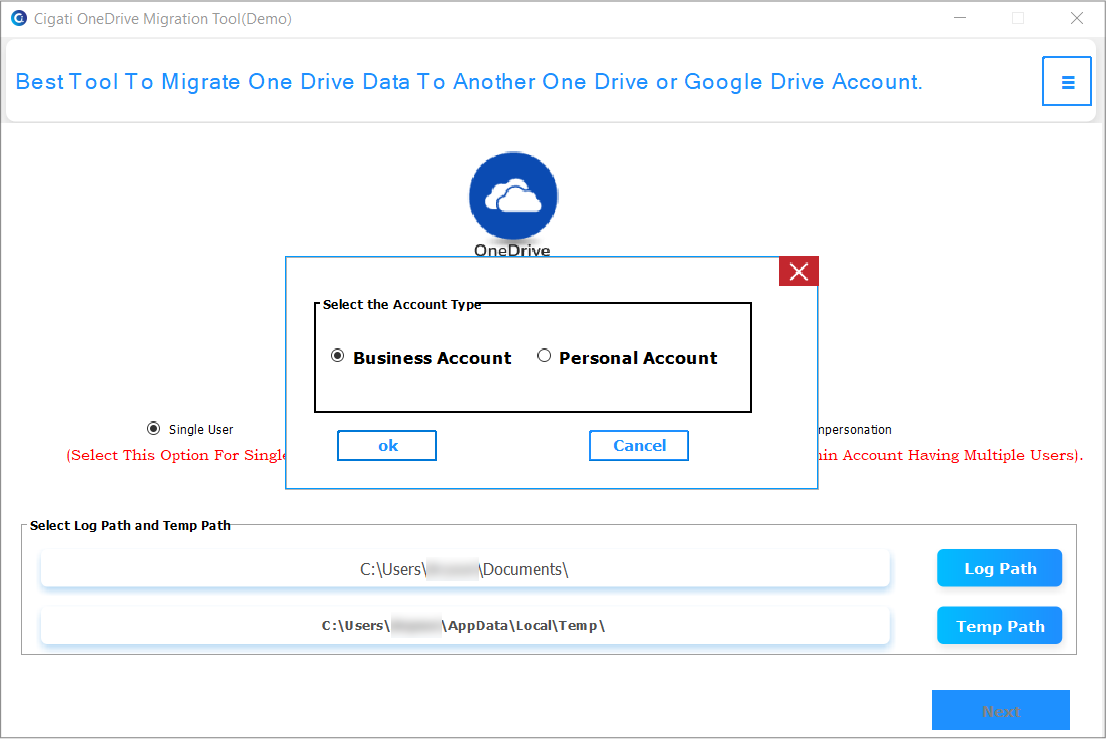
If you select Single User, you need to choose your account type: Business or Personal.
If you select Impersonation, you need to enter your Microsoft Azure Active Directory credentials to authenticate the admin account.
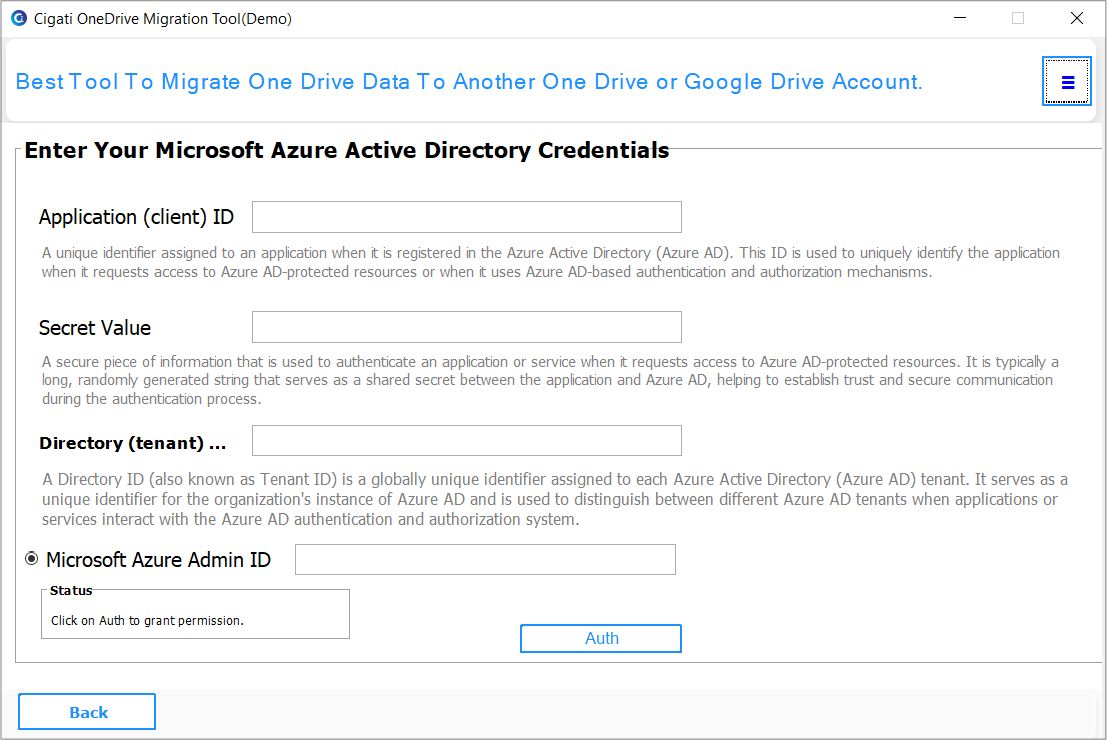
Select the OneDrive account you want to migrate from the user list.
Note: Before starting the migration process, please log in to both your source and destination accounts in your default browser (Chrome or Microsoft Edge).
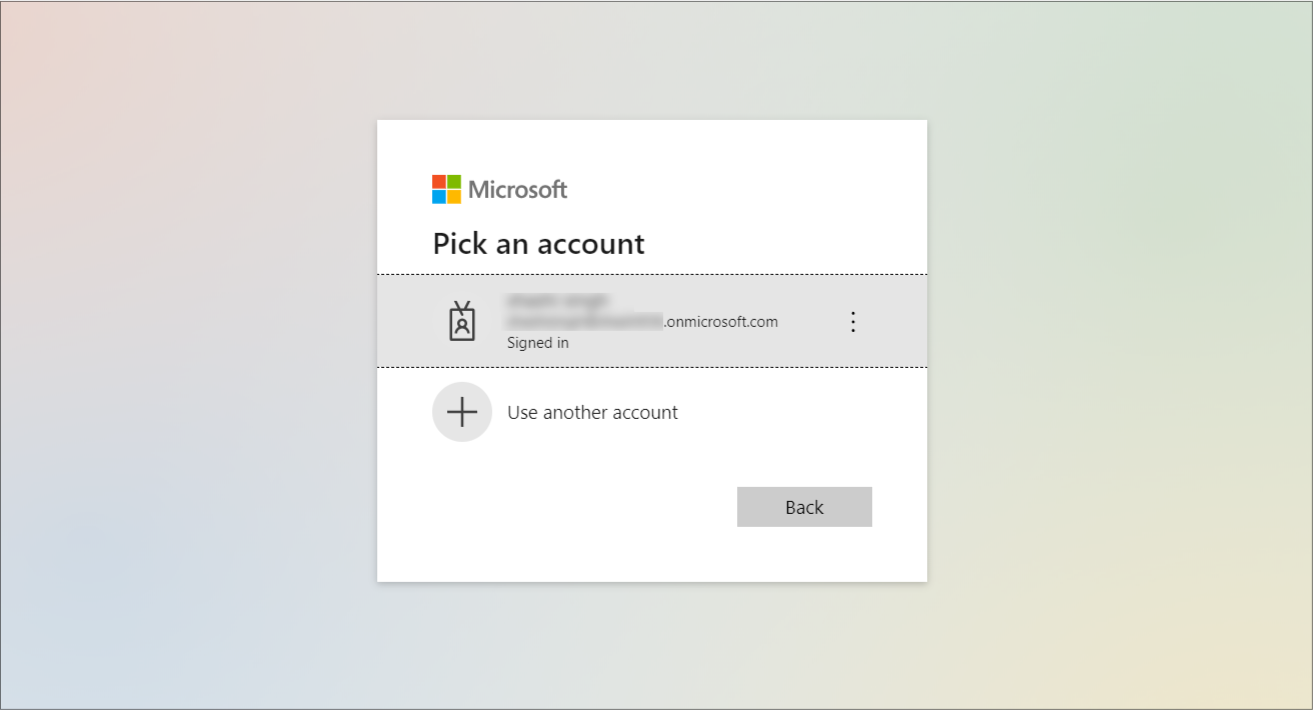
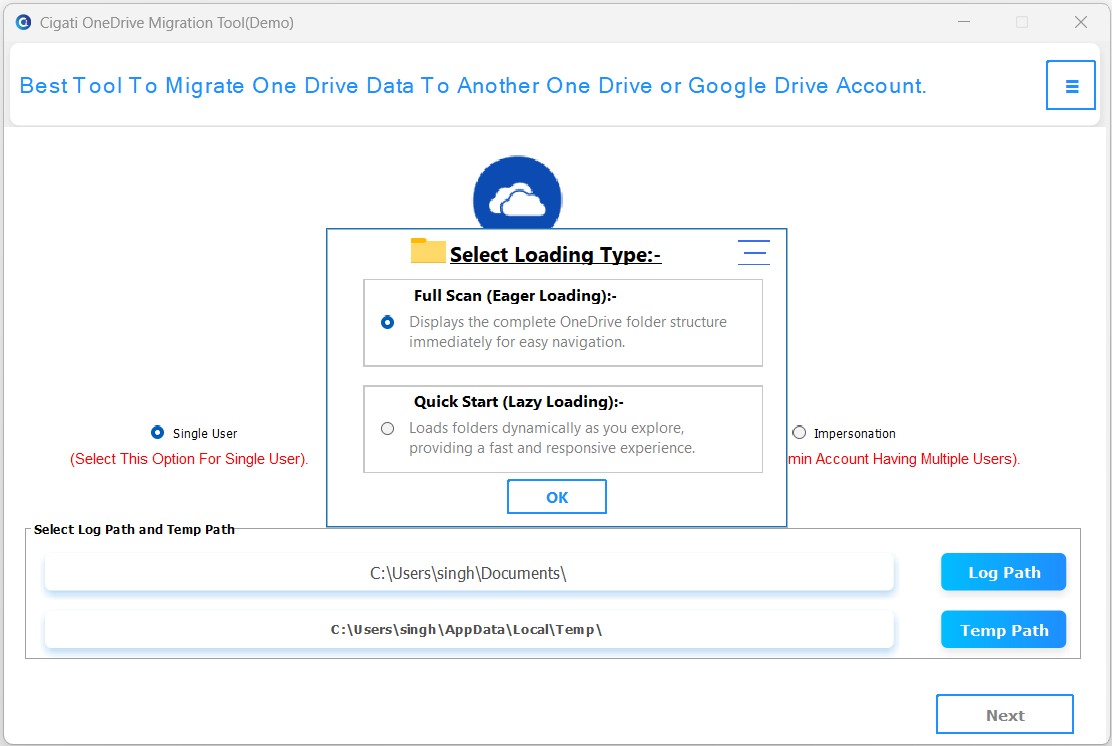
After successful authentication, choose either the Full Scan or Quick Scan option, and click Open to proceed.
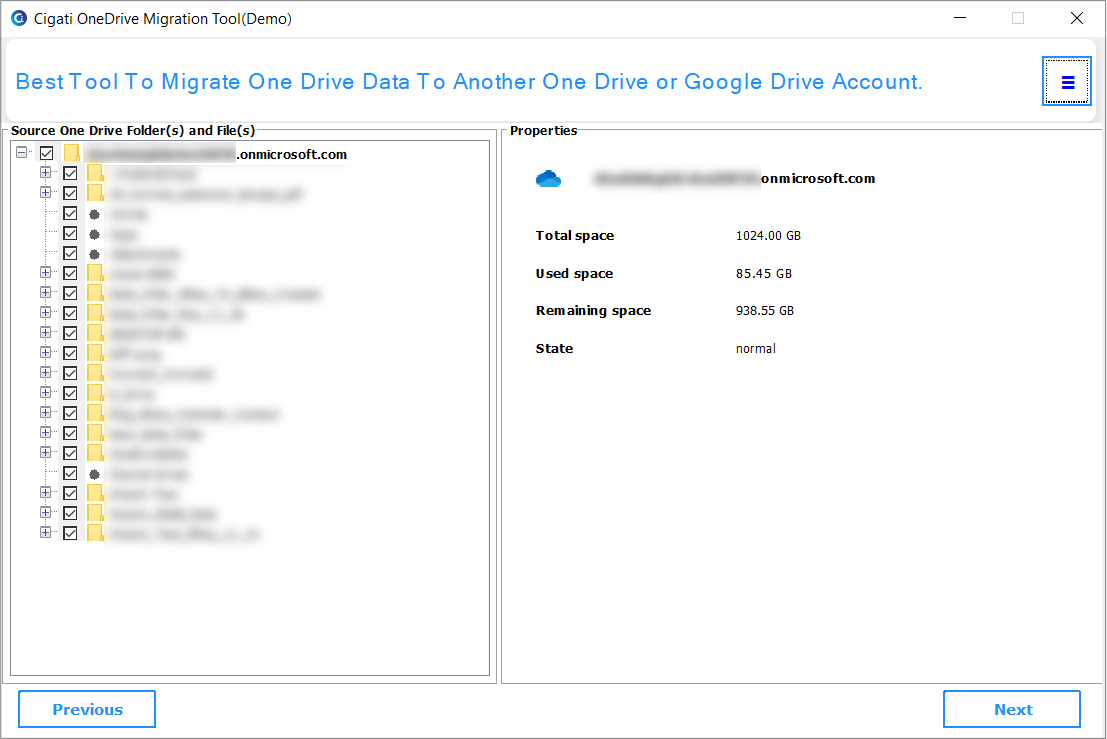
Here, you can preview your OneDrive files and folders or view their properties. Click the Next button.
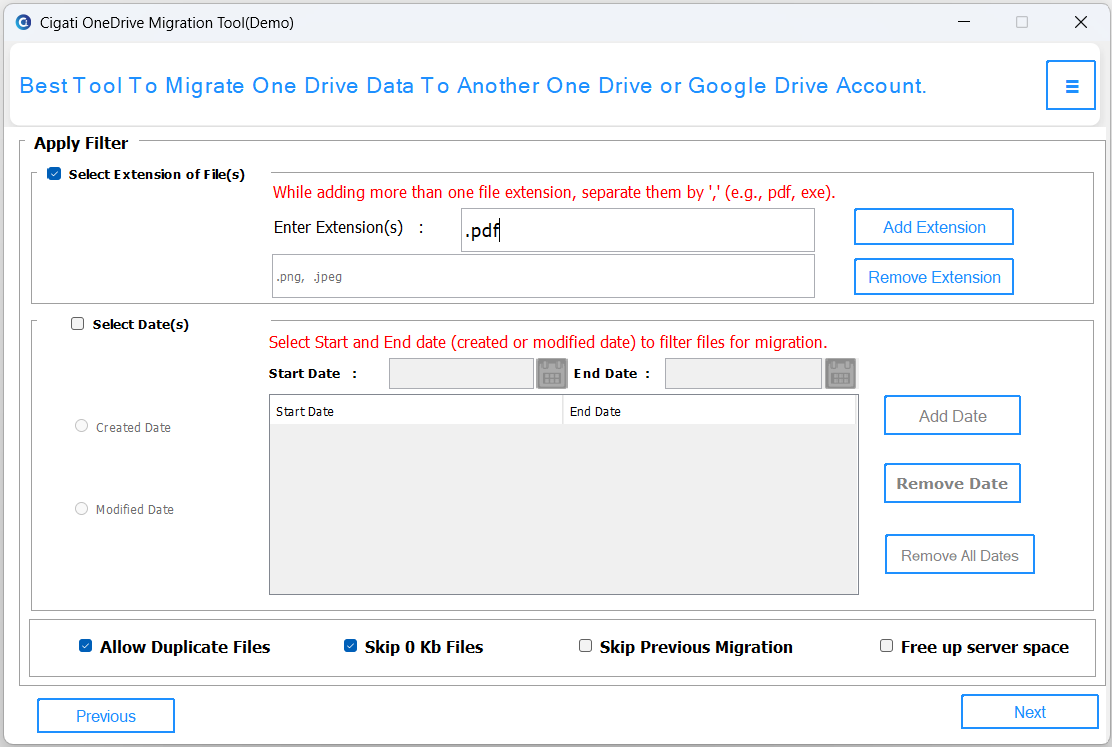
Select the file extensions you want to migrate from the list of specific extensions.
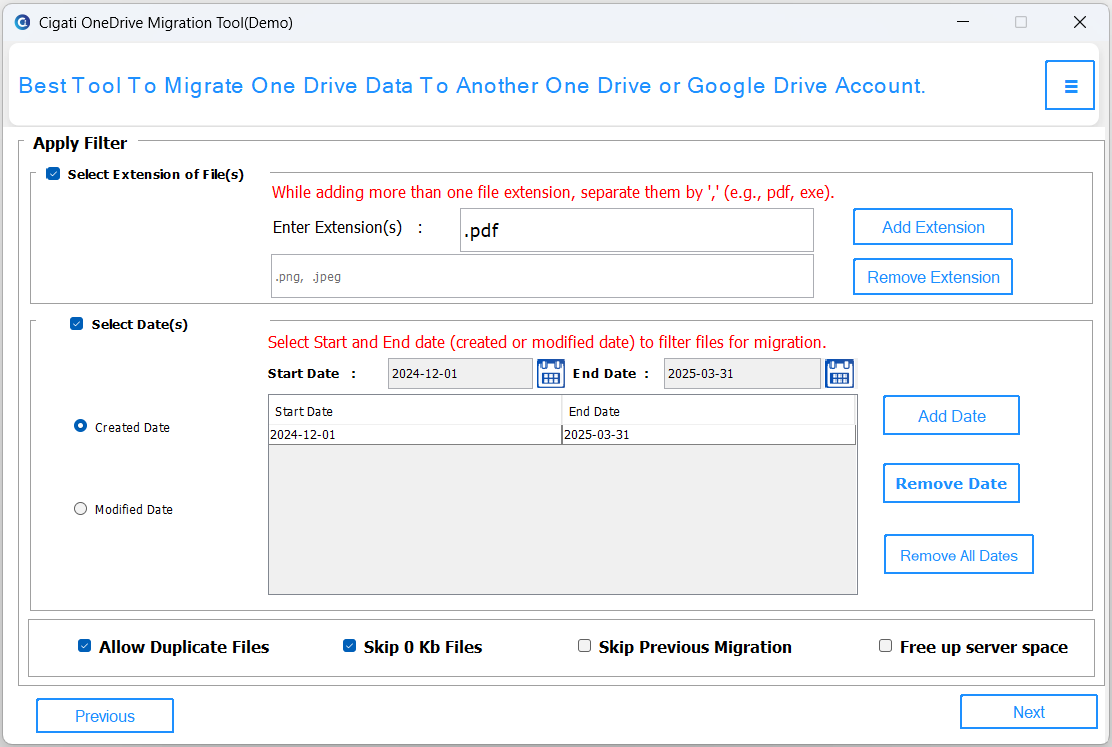
You can migrate your OneDrive data from your desired periods. Simply select the start and end dates, then click Add Date.
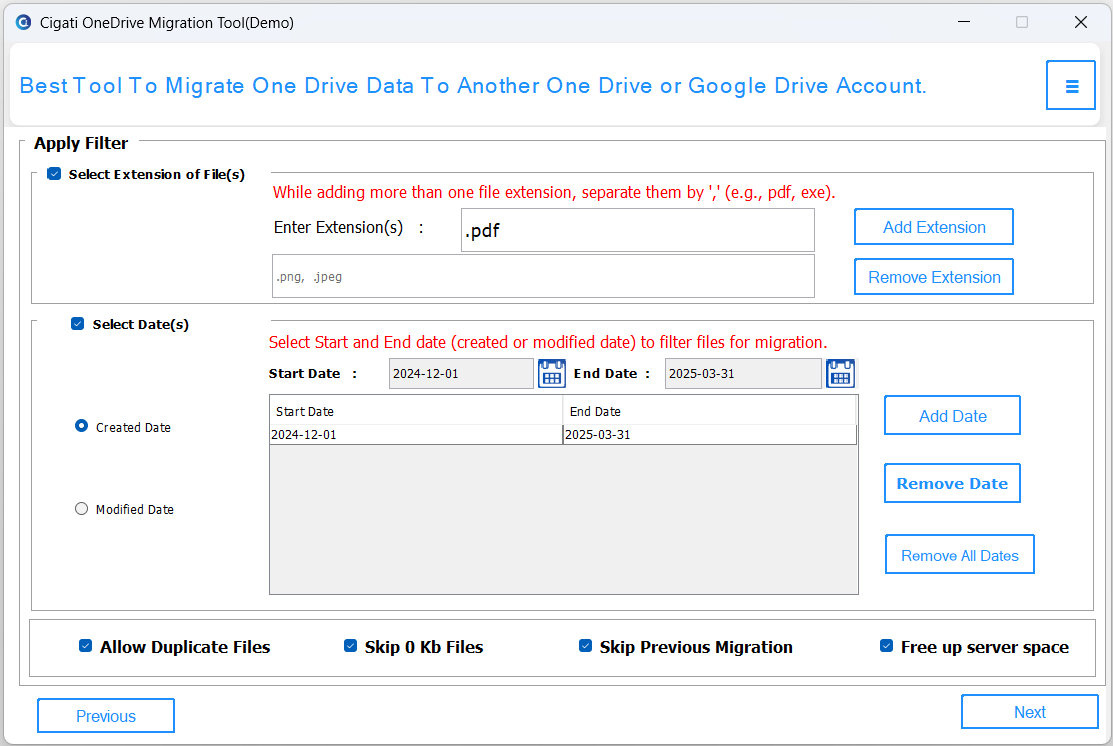
Tick the Options:
Here, you can select the destination drive: OneDrive, Google Drive, or backup to a local drive. Click the Next button.
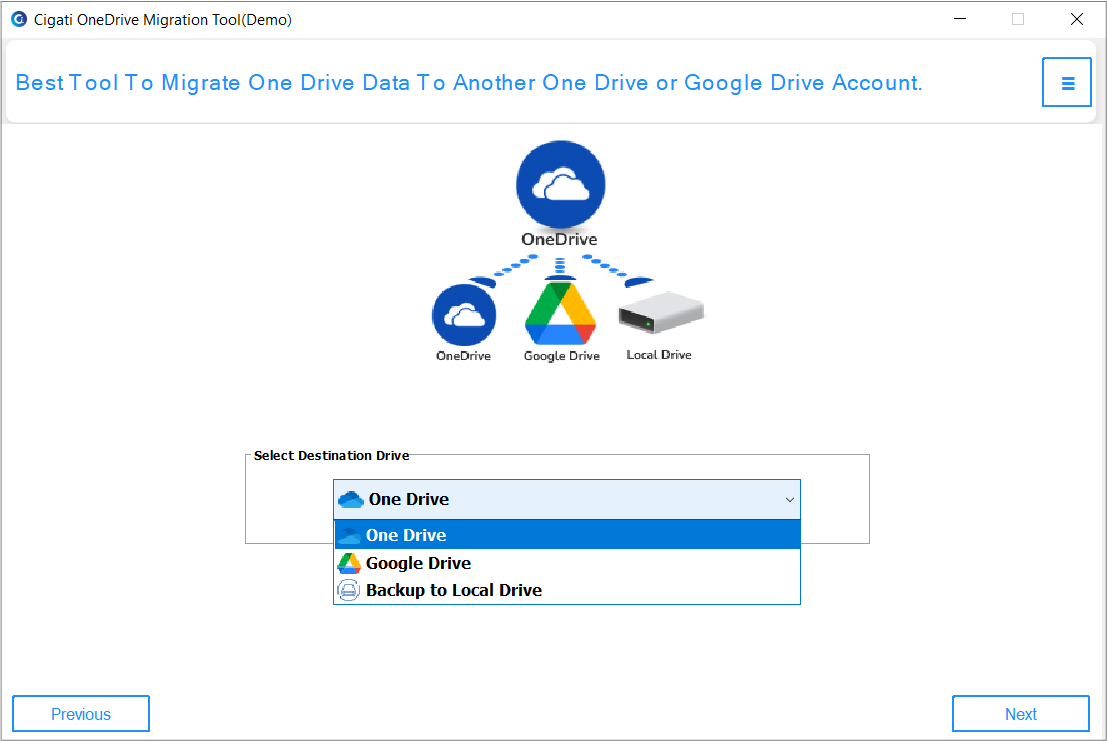
If you select OneDrive, choose your account type: Business or Personal.
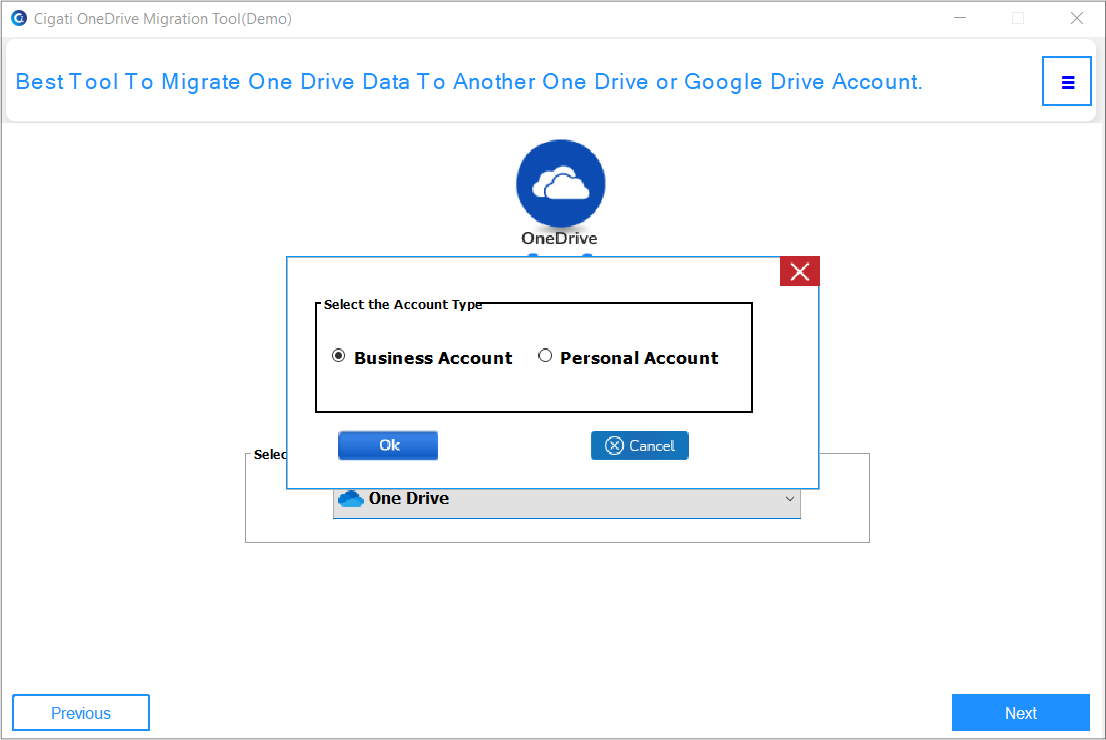
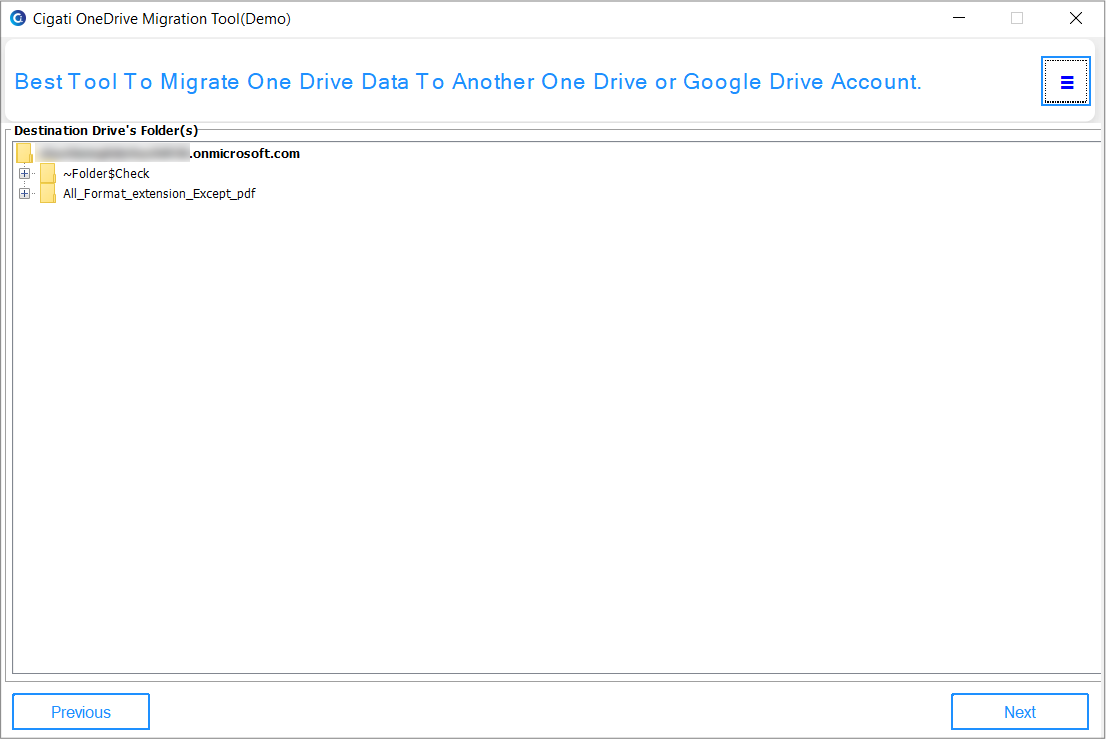
Select the destination folder where you can migrate all your data. After selecting the folder, click the Next button.
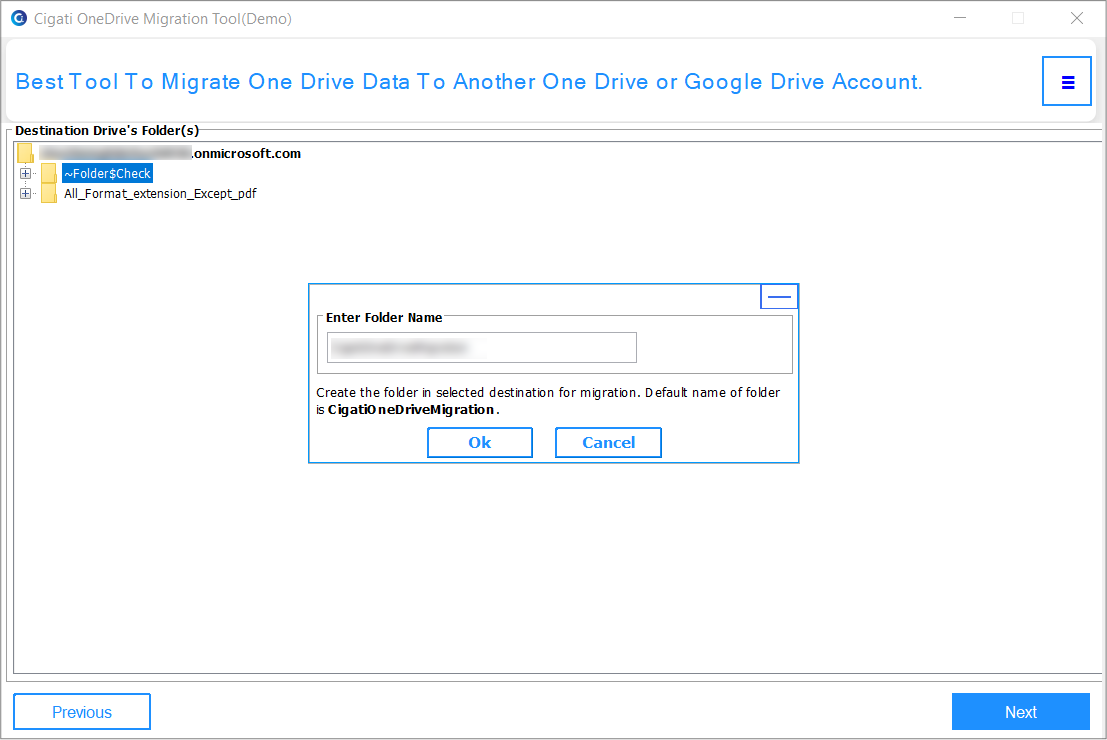
Here, you can enter your desired folder name and click the OK button.
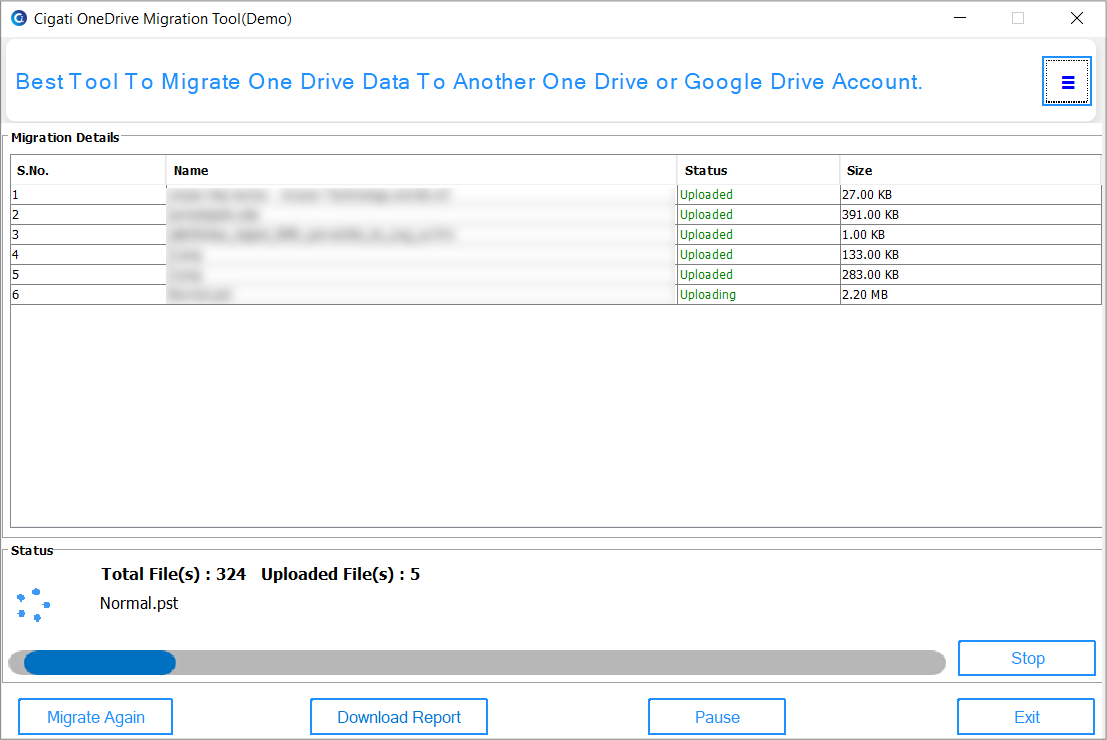
The migration process has started. Here, you can check the migration details.