OST Converter Tool
4.7
A Complete Guide about How To Convert OST Files Using the Cigati OST Converter Software
A user-friendly application with an intuitive design for beginners to navigate effortlessly.
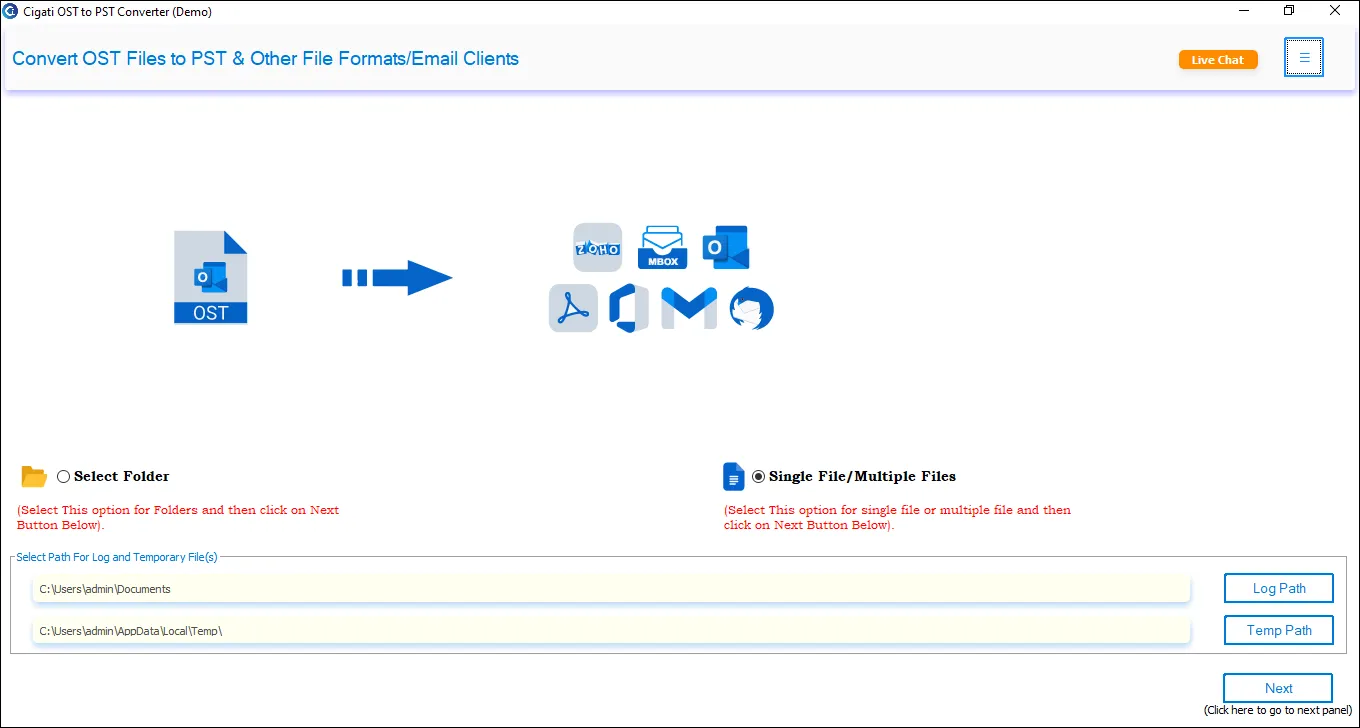
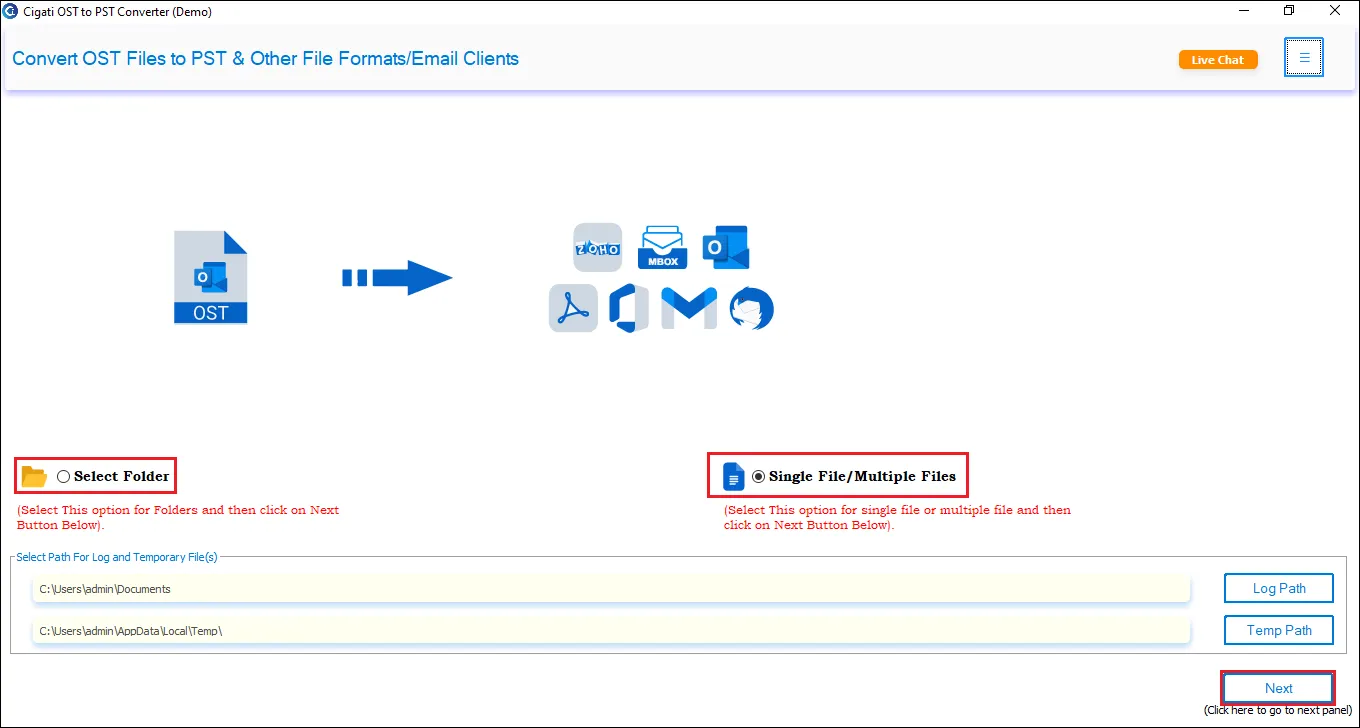
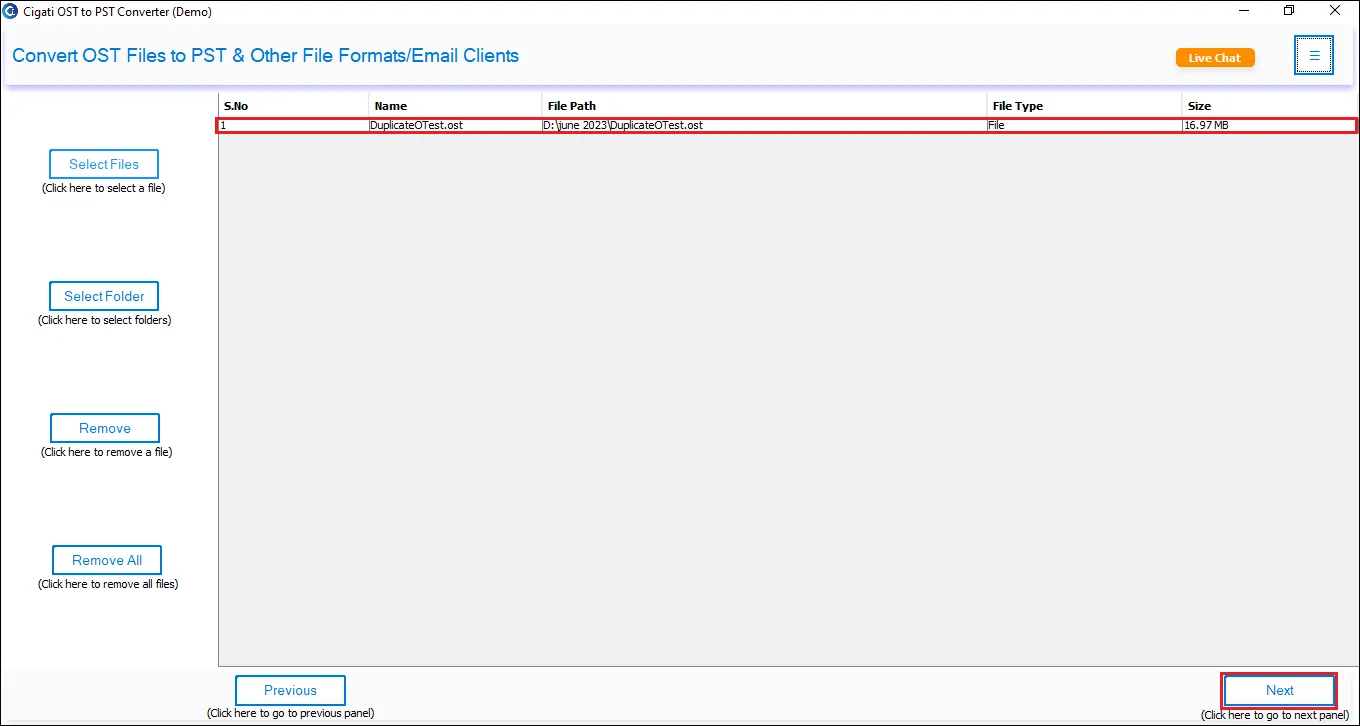
Download and launch the Cigati OST to PST Converter on your system.
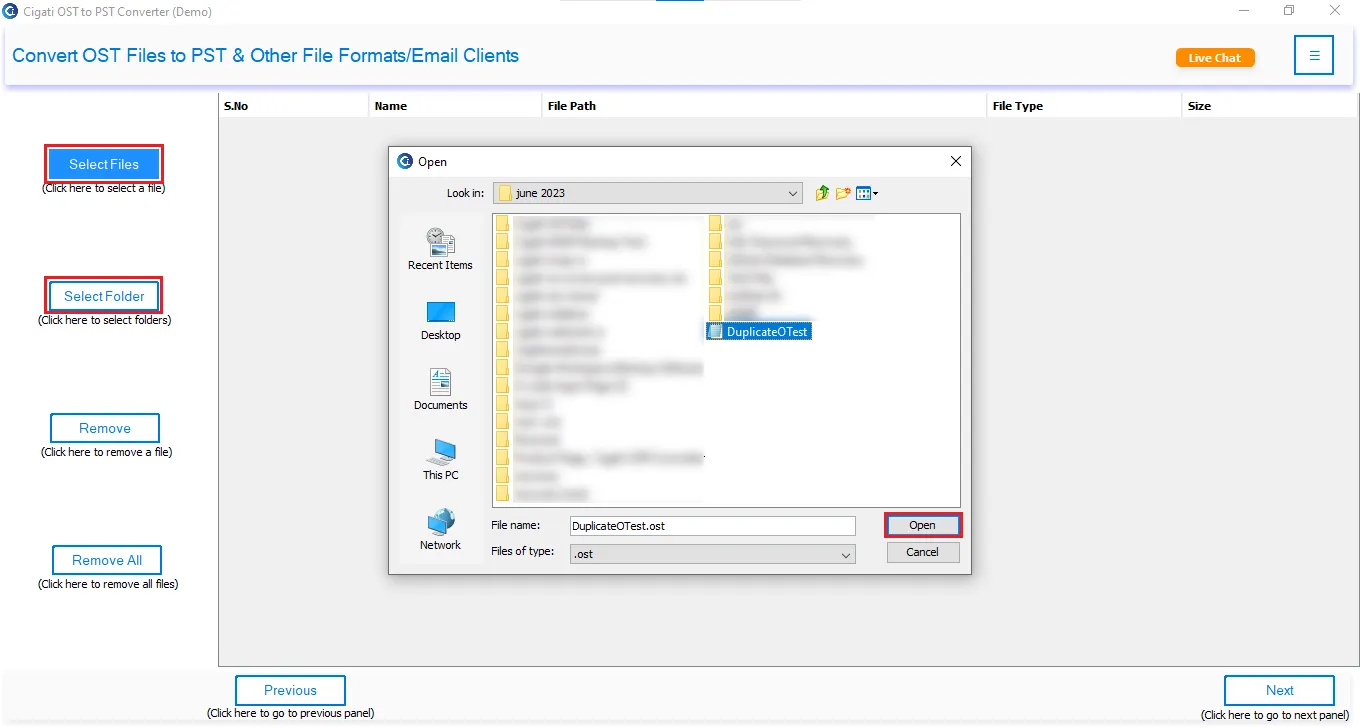
Click Select File(s) or Select Folder to add the OST file(s), then click Open.
After loading the OST file, click Proceed to continue.
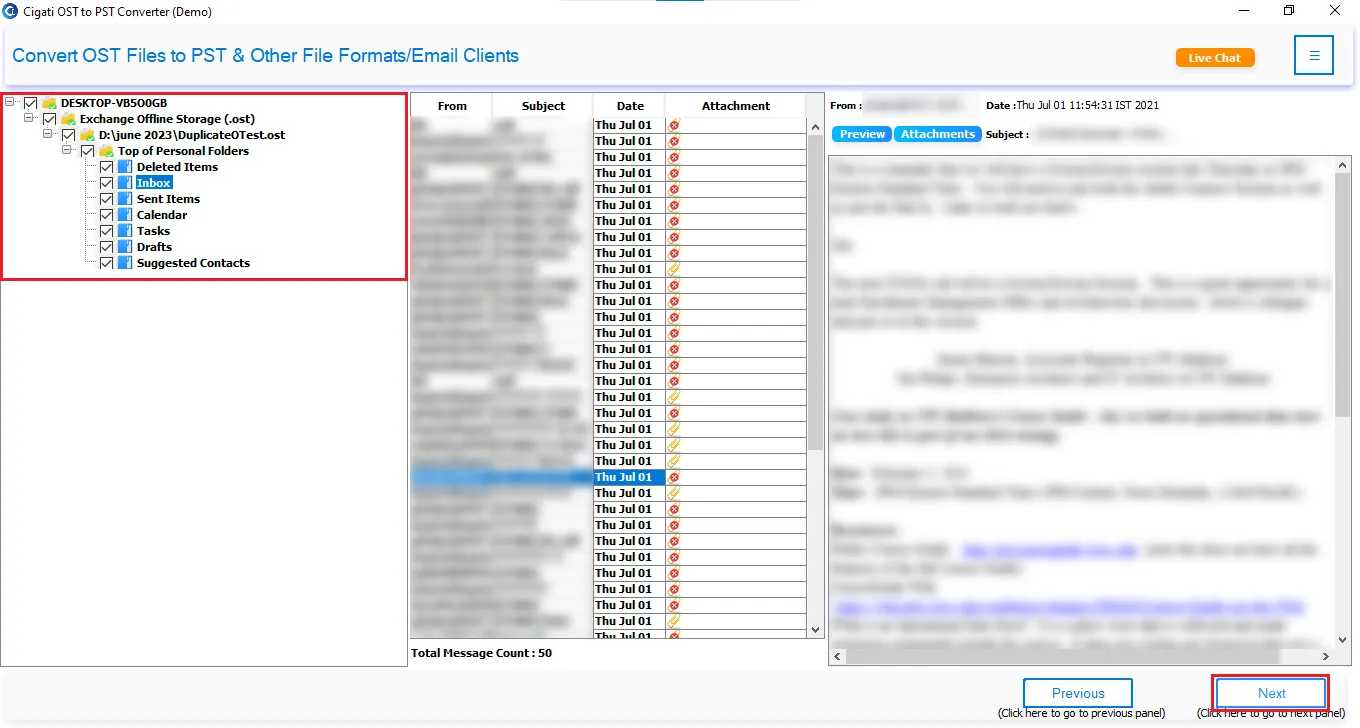
Expand the loaded OST file and select the desired mailbox folder to preview its contents. Then click Proceed.
Choose PST as the output file format.
Apply the Date Range Filter to export emails from a specific time period, if required.
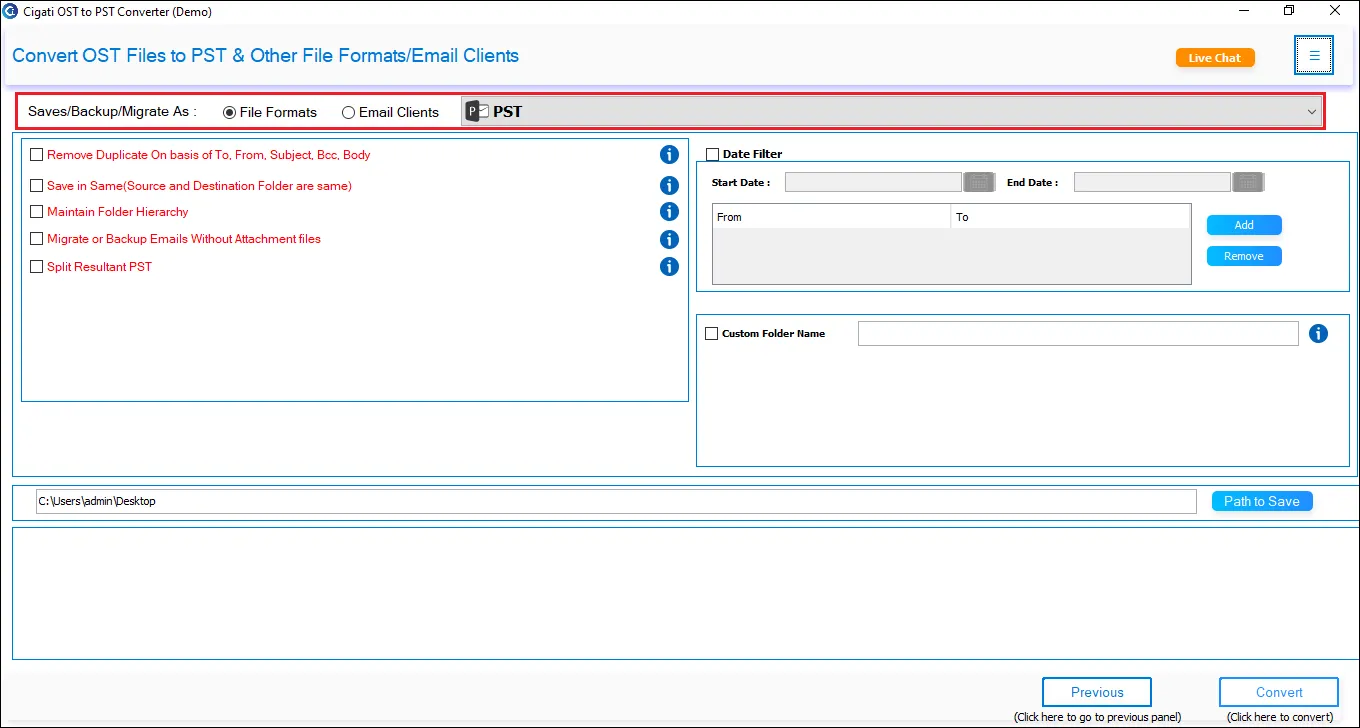
Use the Custom Output Folder option to select the destination location.
Enable Skip Existing Export to prevent exporting emails that have already been converted.
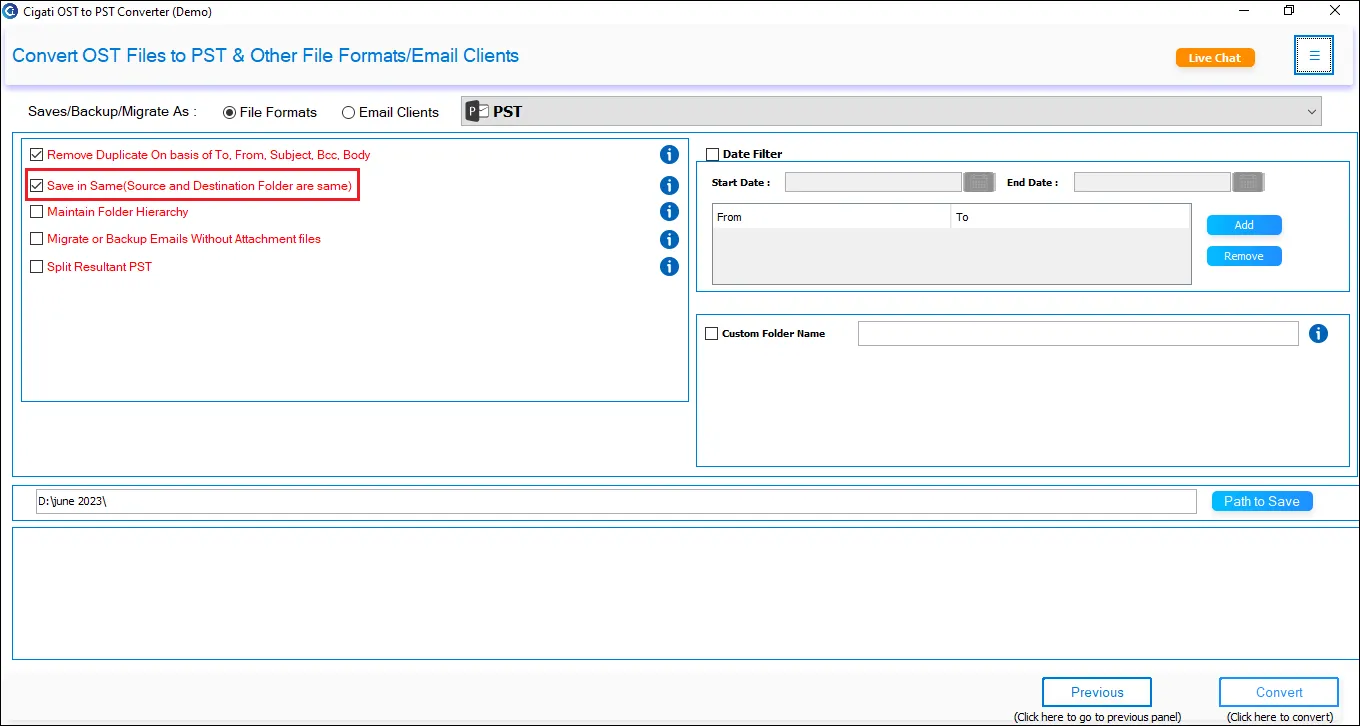
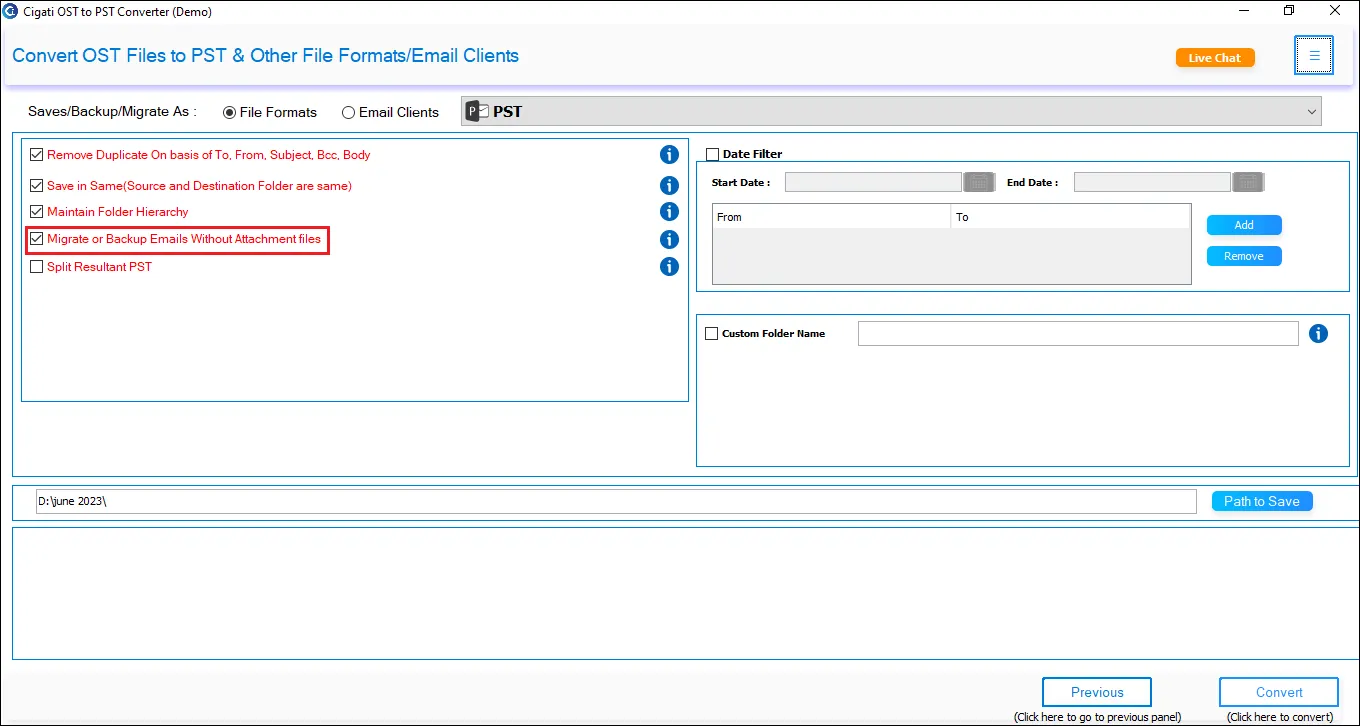
Configure the Attachment Handling settings as needed:
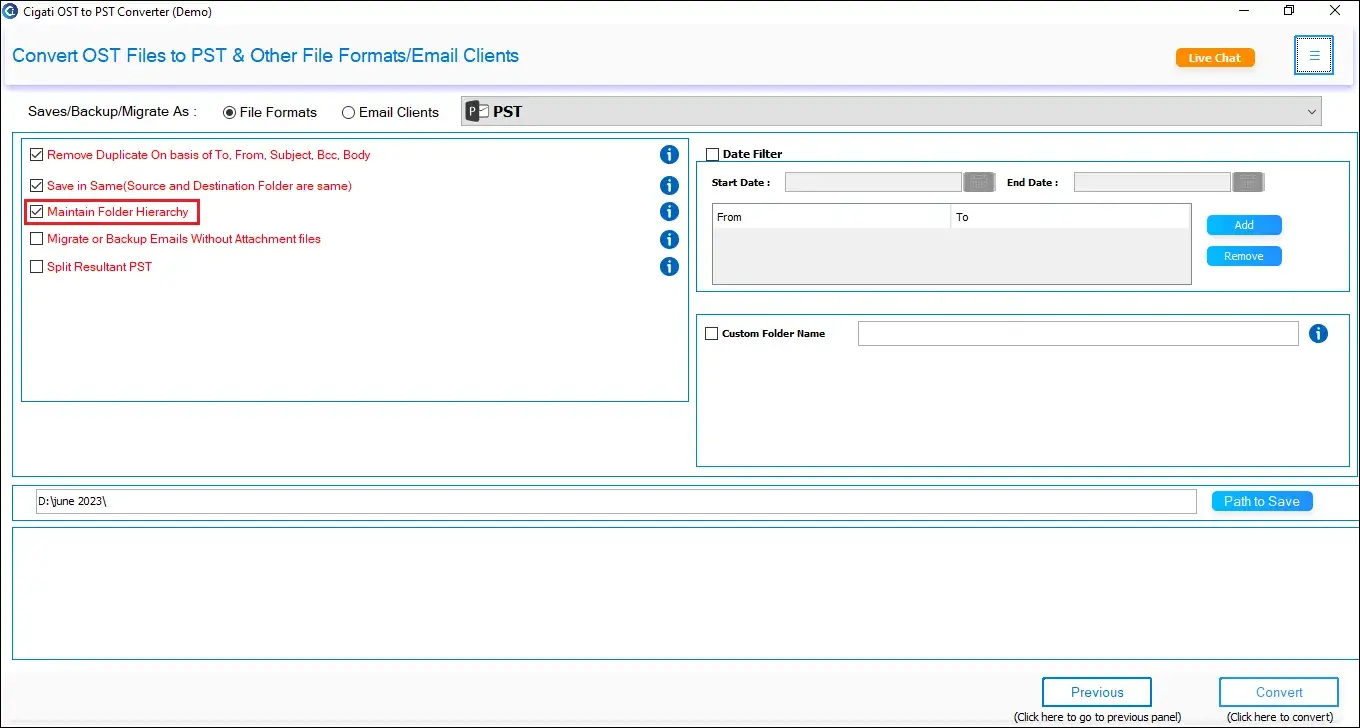
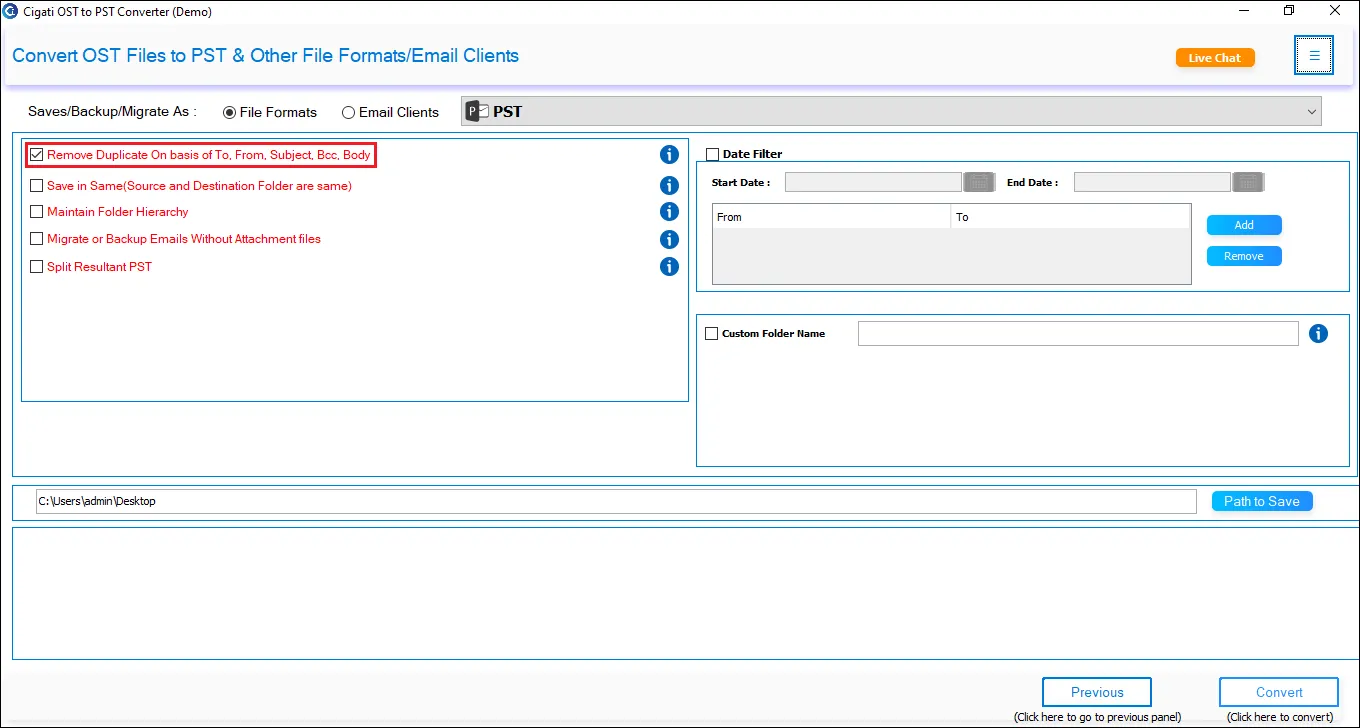
Enable Duplicate Detection to remove duplicate emails based on To, From, CC, Subject, and Body fields.
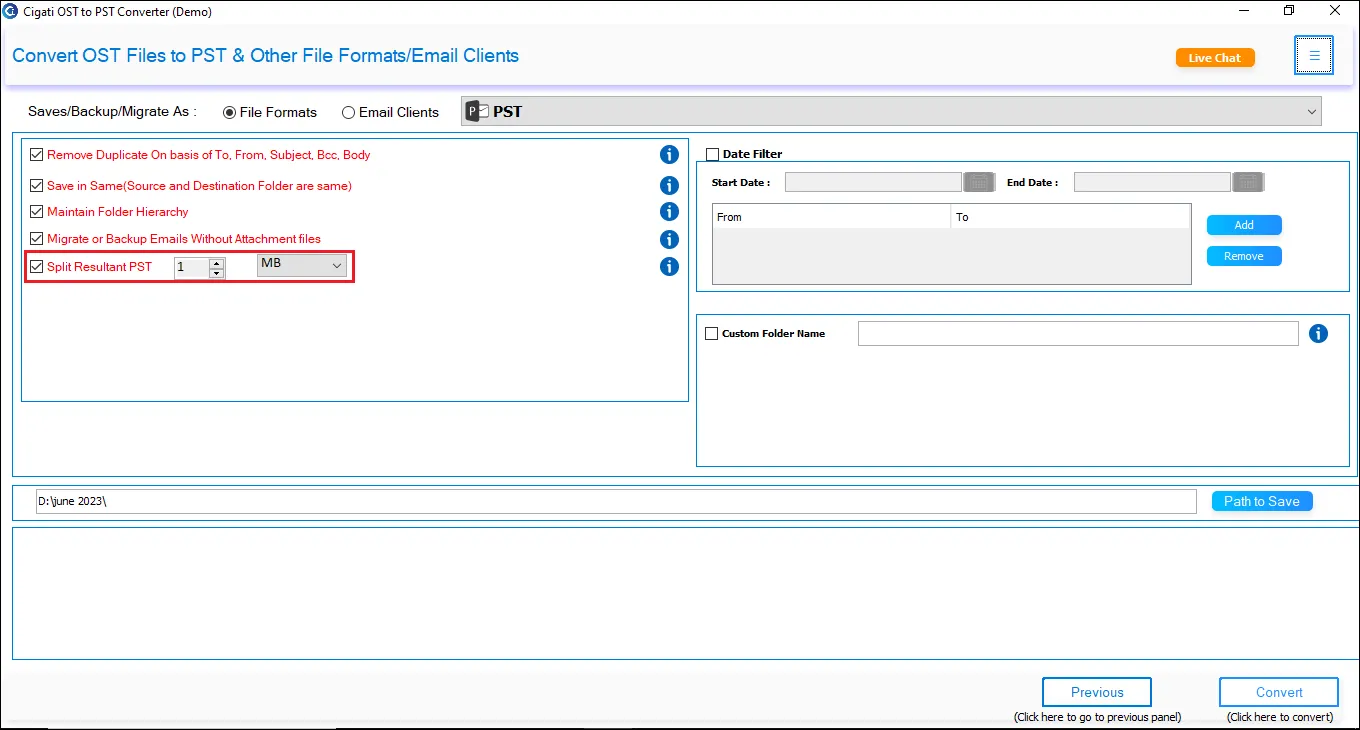
Use the PST Segmentation option to split large PST files into smaller parts by specifying a size limit.
Click Browse and select the destination folder.
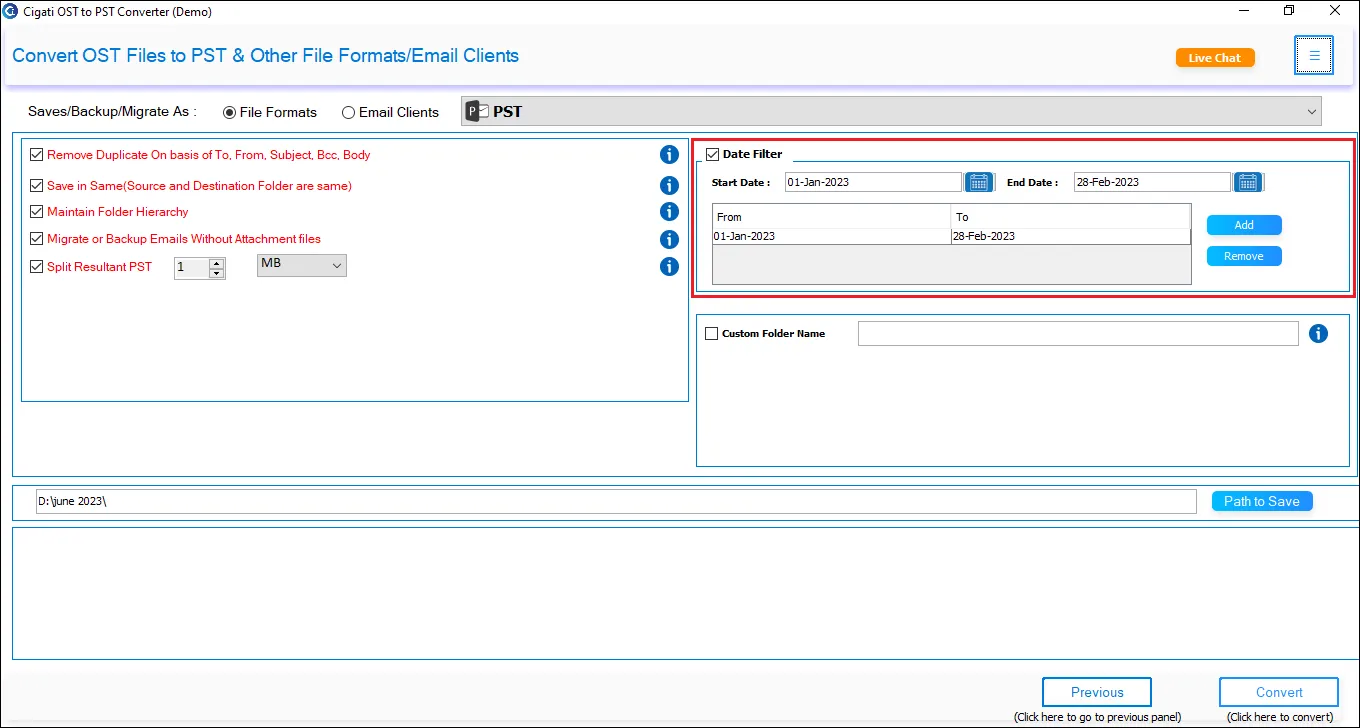
Click Start Export to begin the OST to PST conversion process.
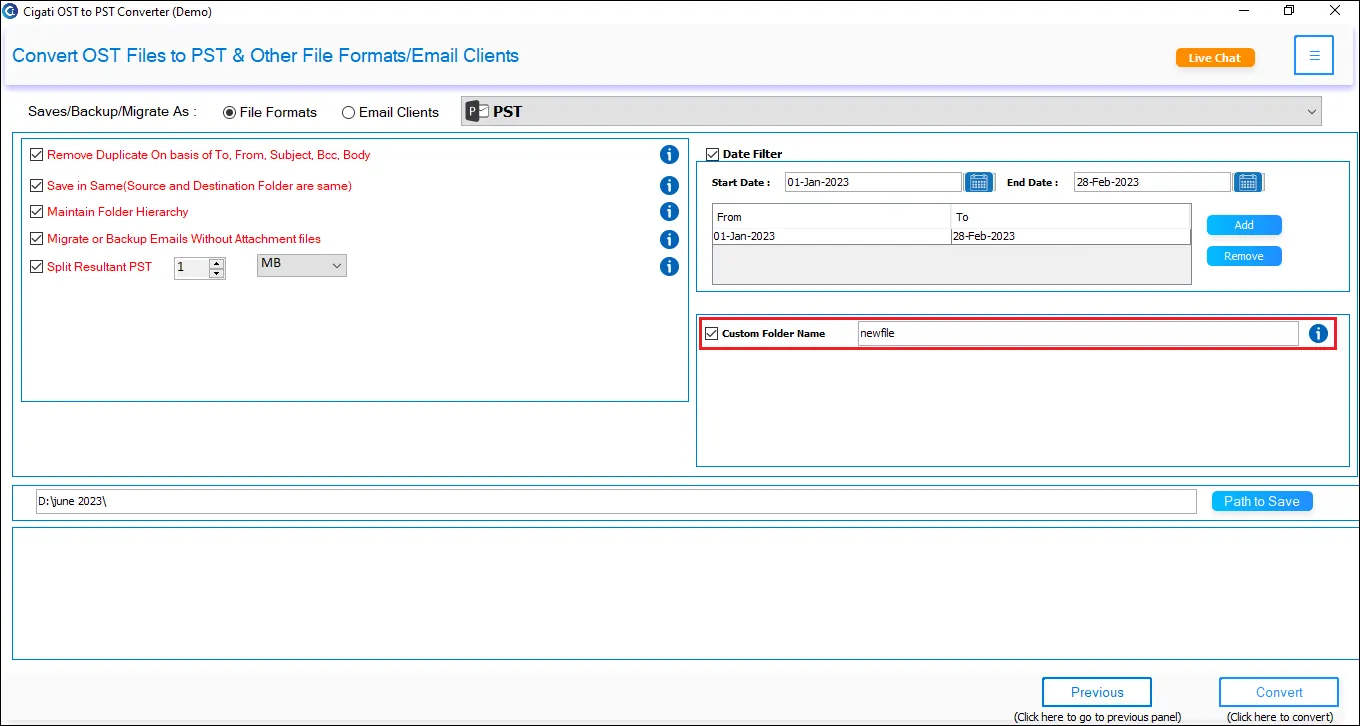
Download and launch the Cigati OST to PST Converter on your system.
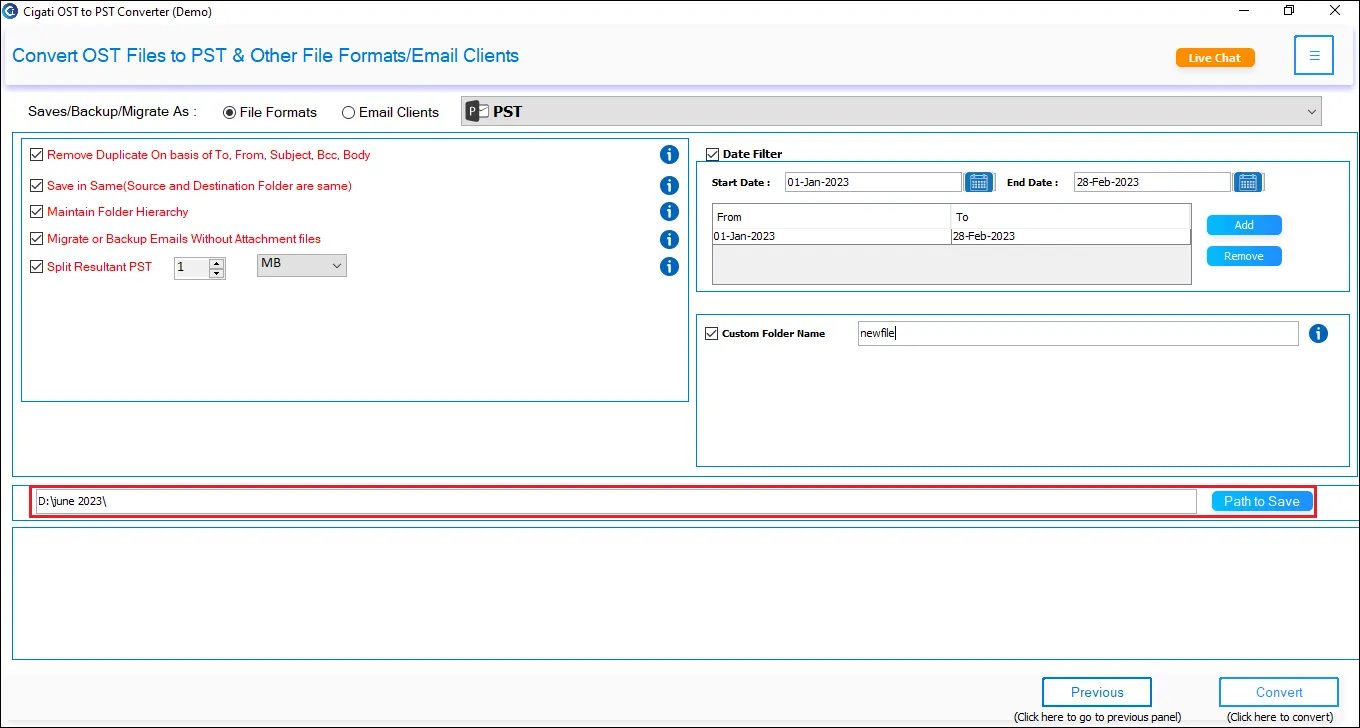
Click Select File(s) or Select Folder to add the OST file(s), then click Open.
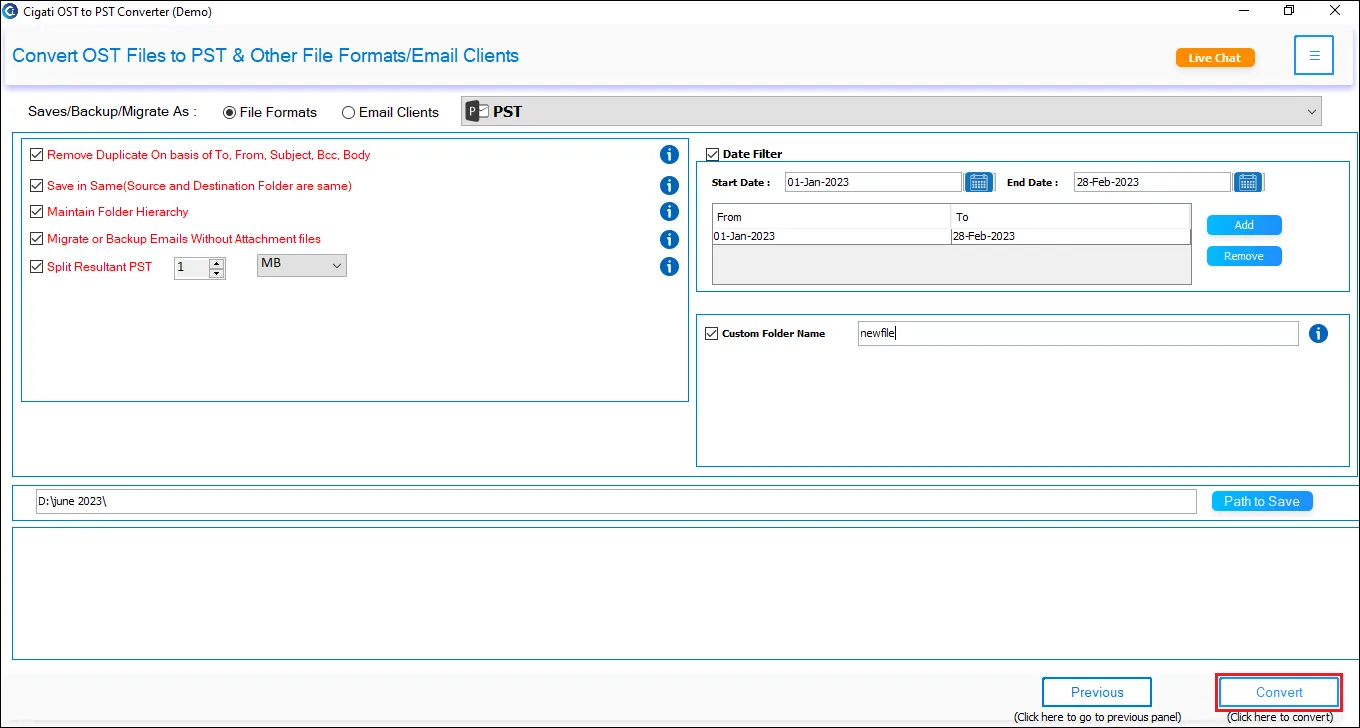
After loading the OST file, click Proceed to continue.
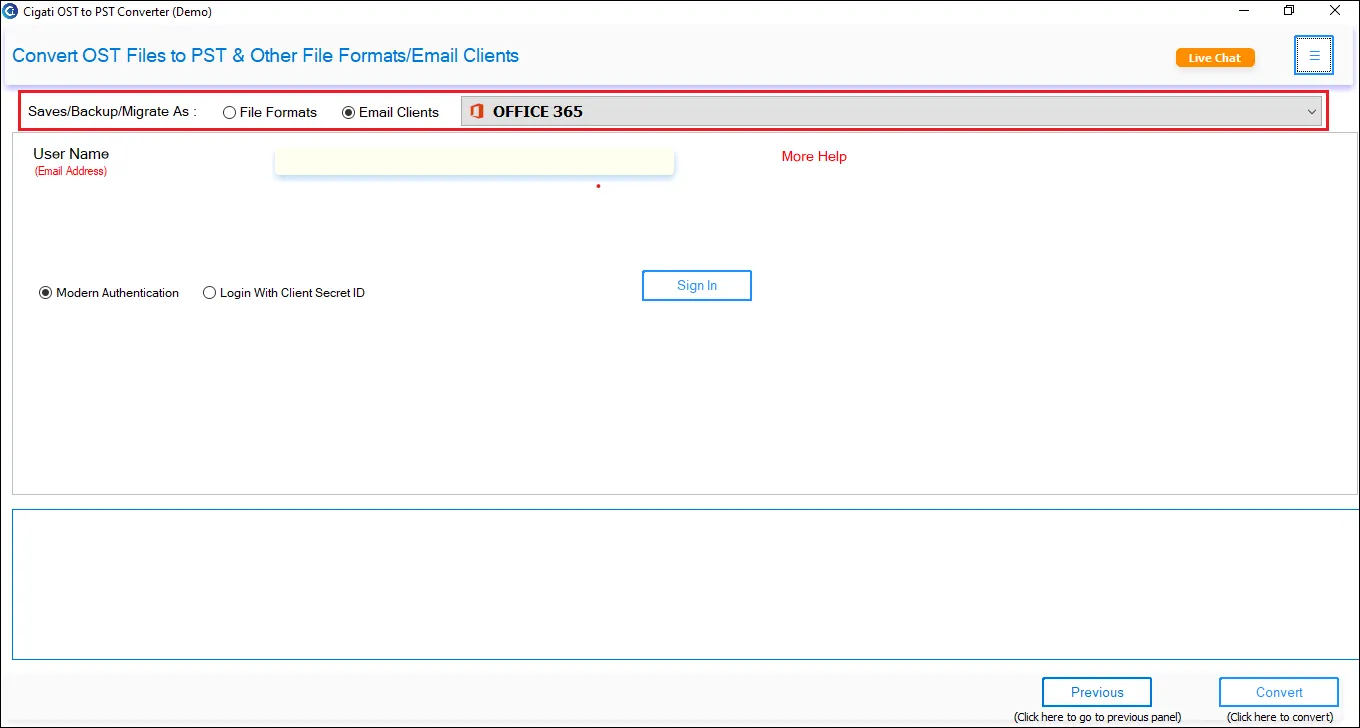
Expand the loaded OST file and select the desired mailbox folder to preview its contents. Then click Proceed.
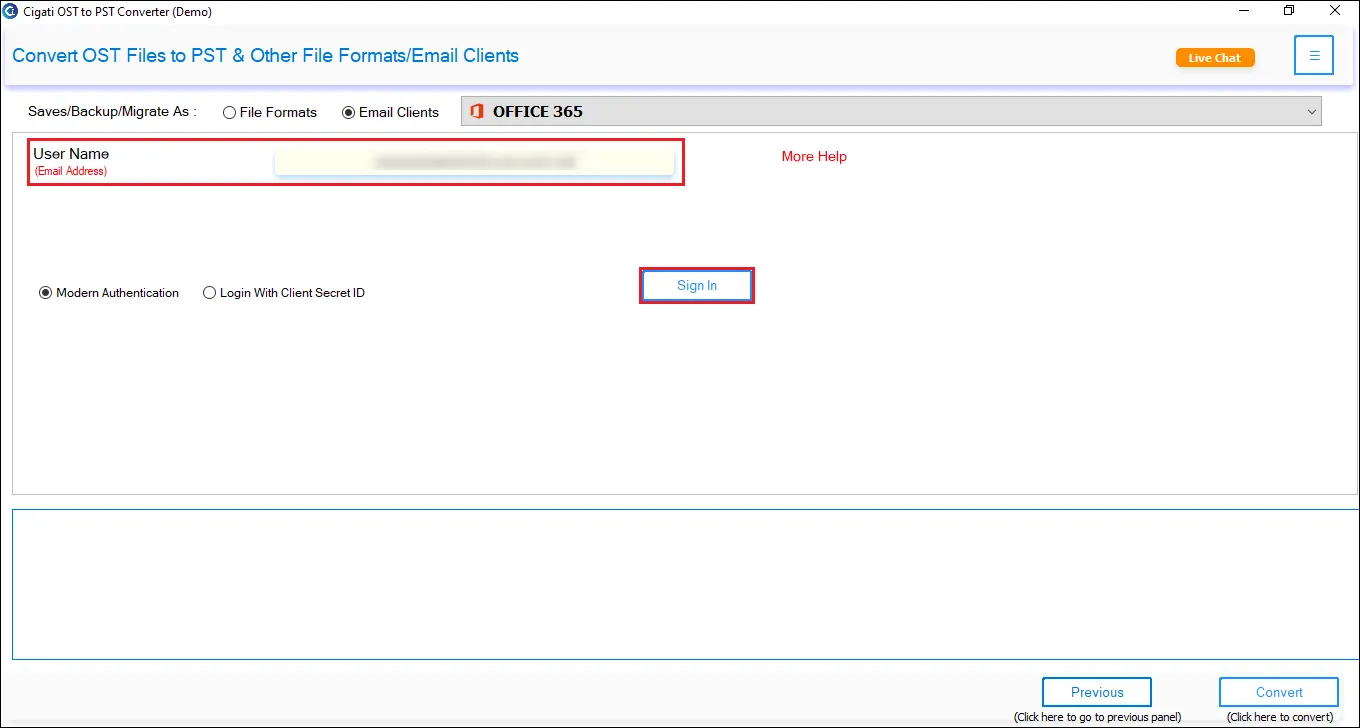
Choose Microsoft 365 (Office 365) as the destination email client.
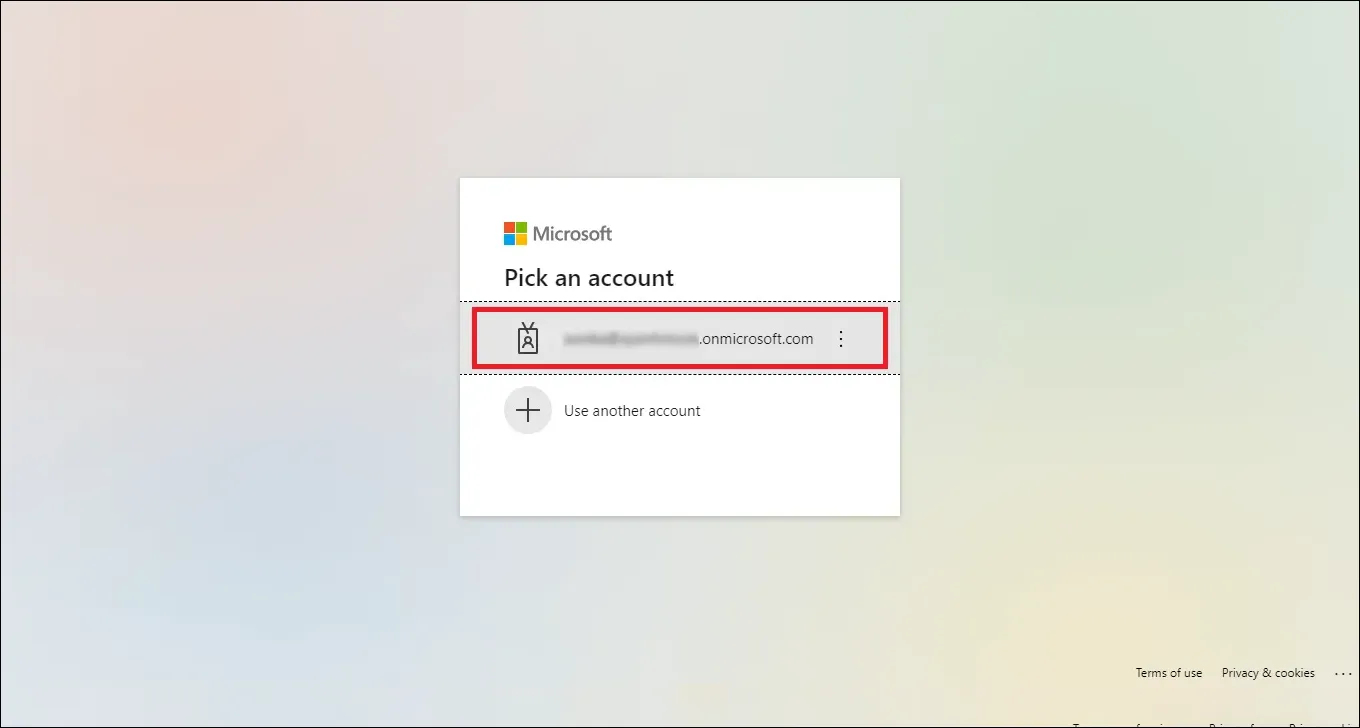
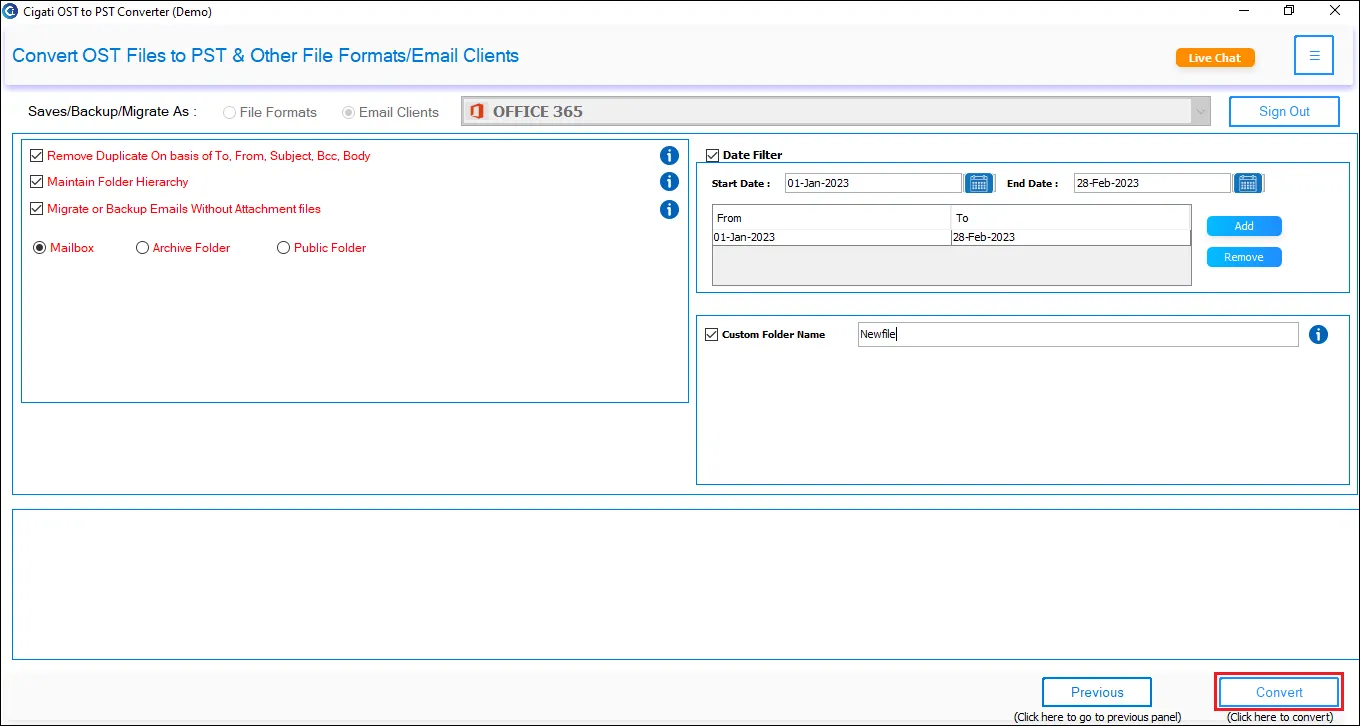
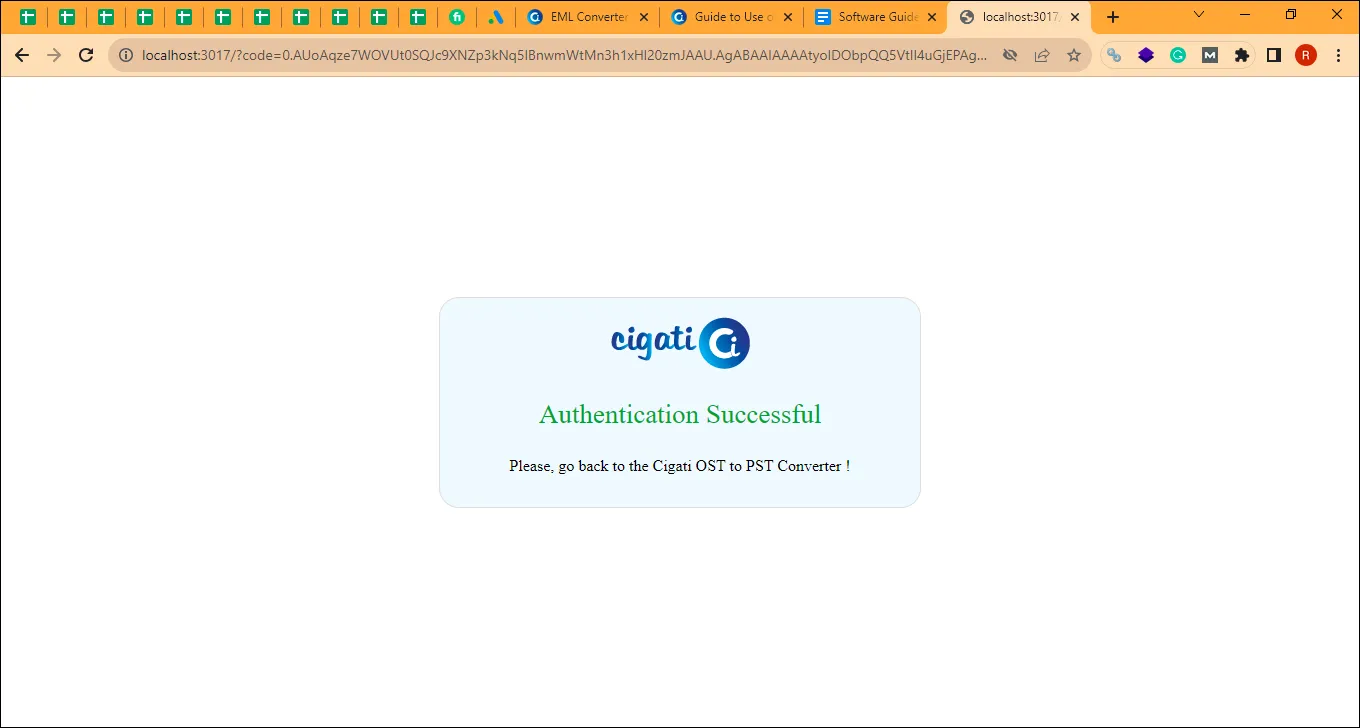
Log in using OAuth 2.0 Authentication by entering your Microsoft 365 Admin account credentials, then click Authenticate.
Use the Date Range Filter to migrate emails within a selected time period.
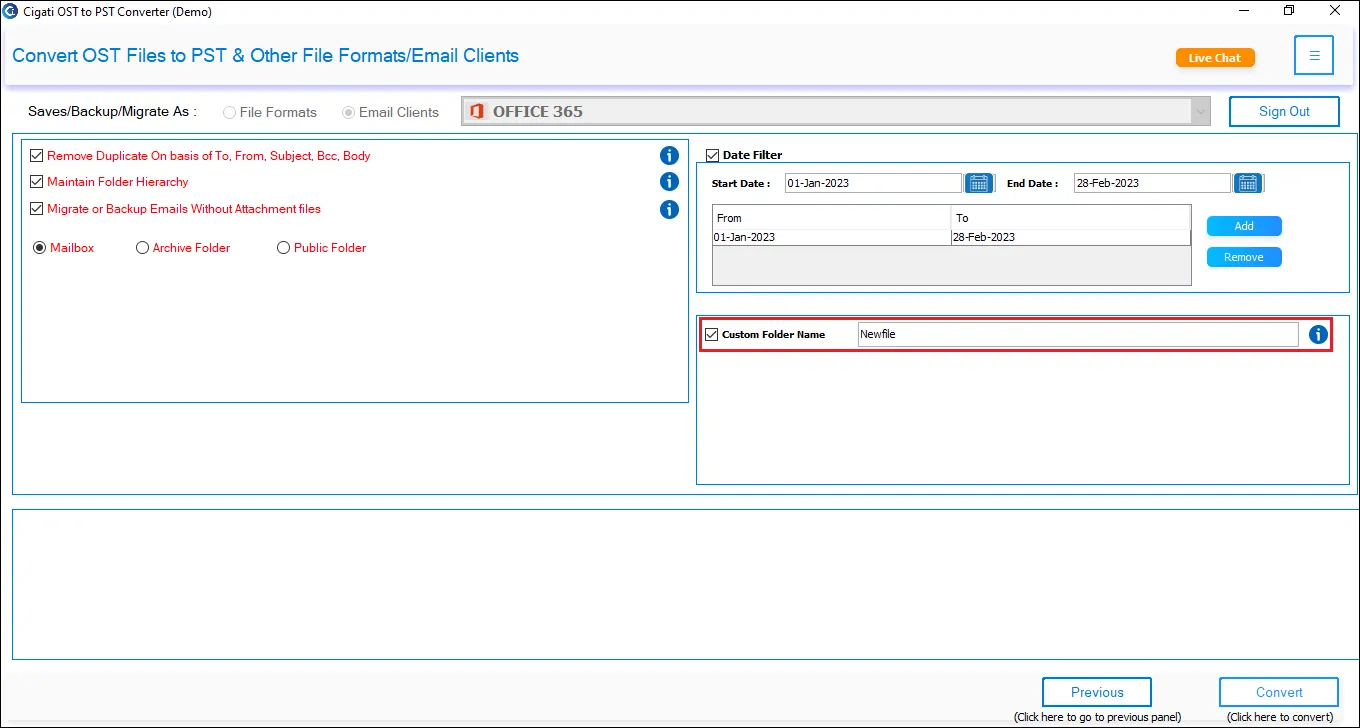
Use the Custom Output Folder option if required.
Enable Skip Existing Export to prevent duplicate migration.
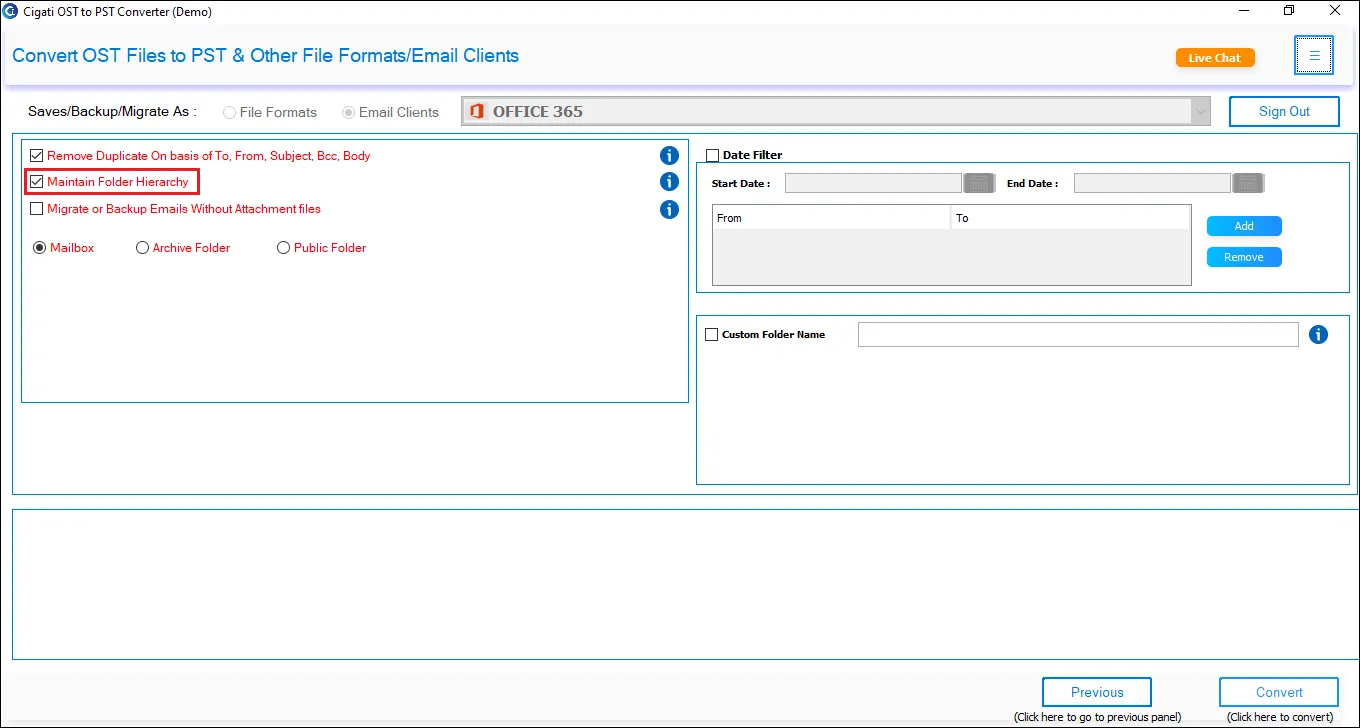
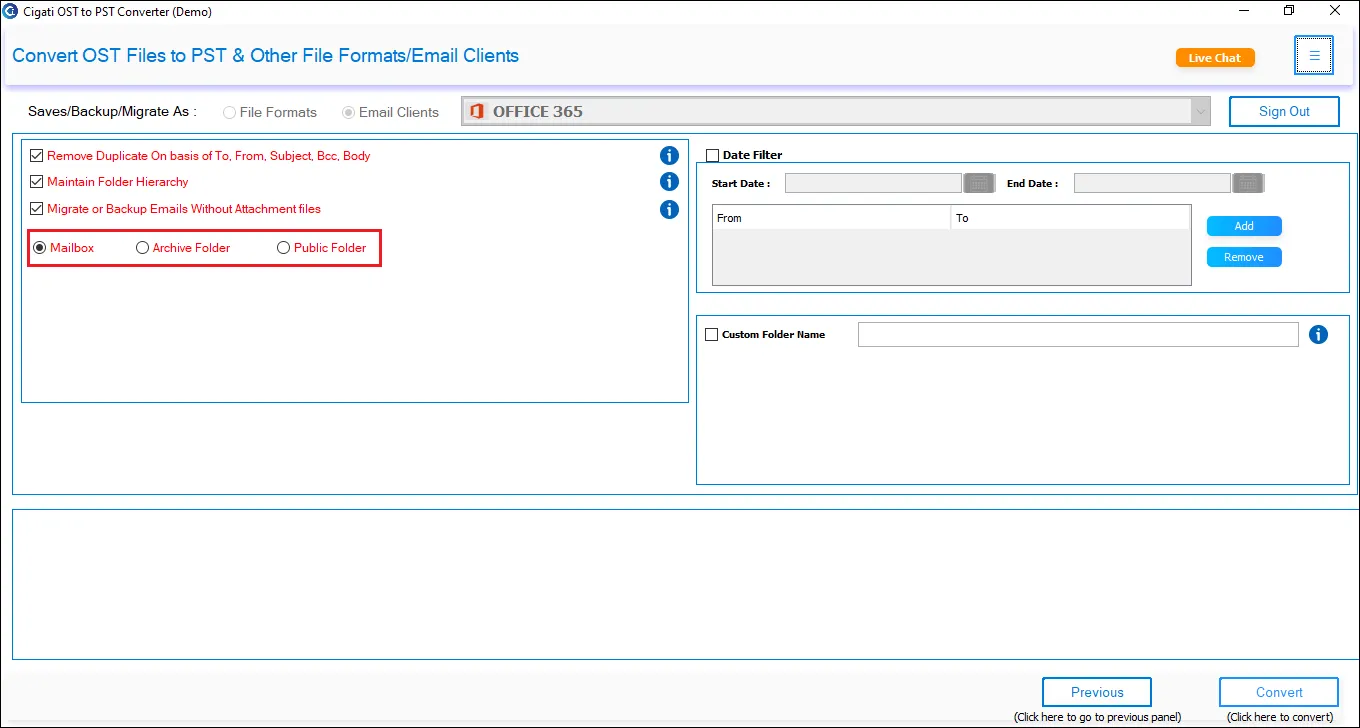
Apply the following advanced settings:
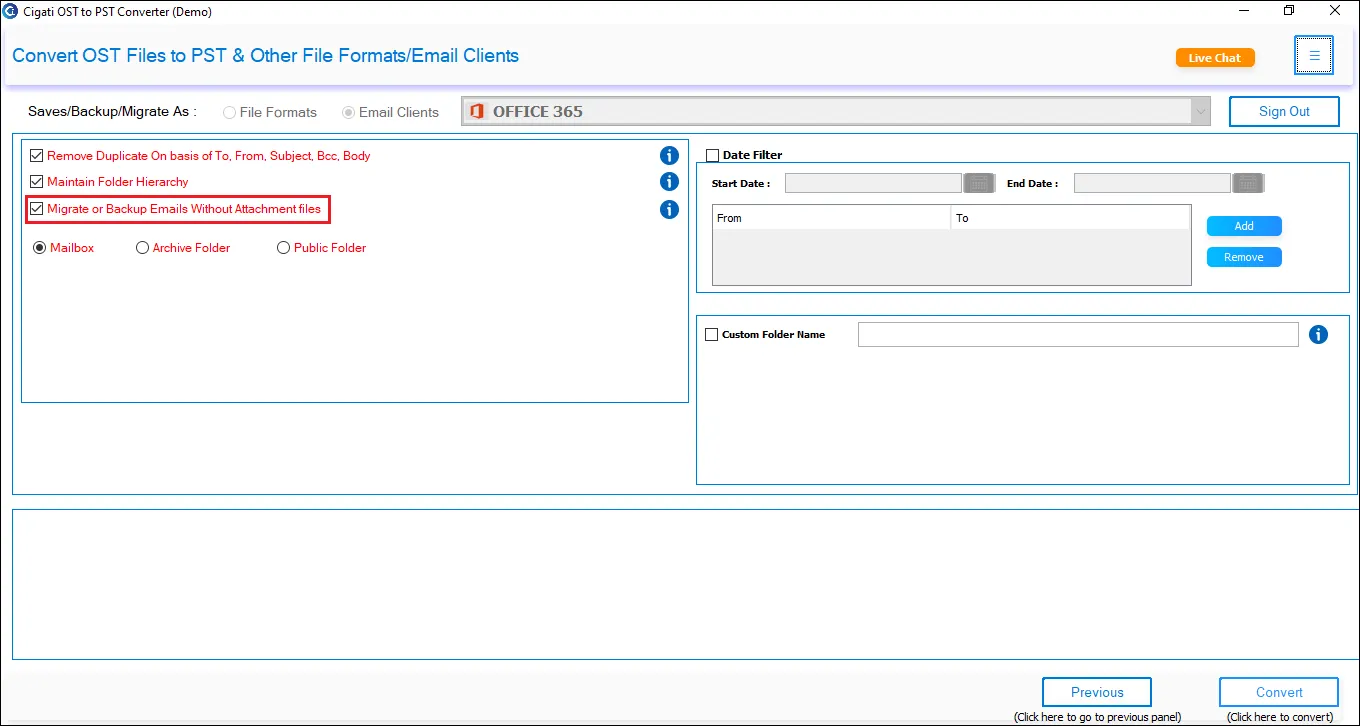
Configure the Attachment Handling Option if needed:
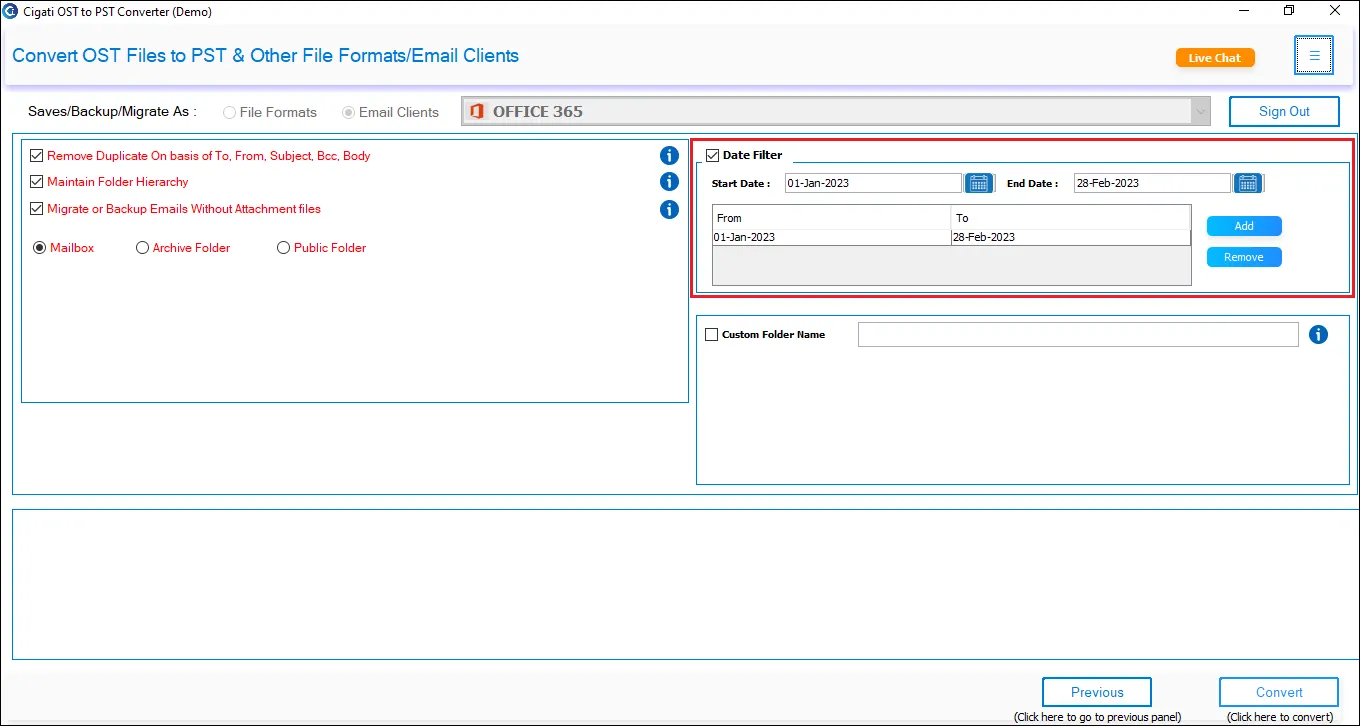
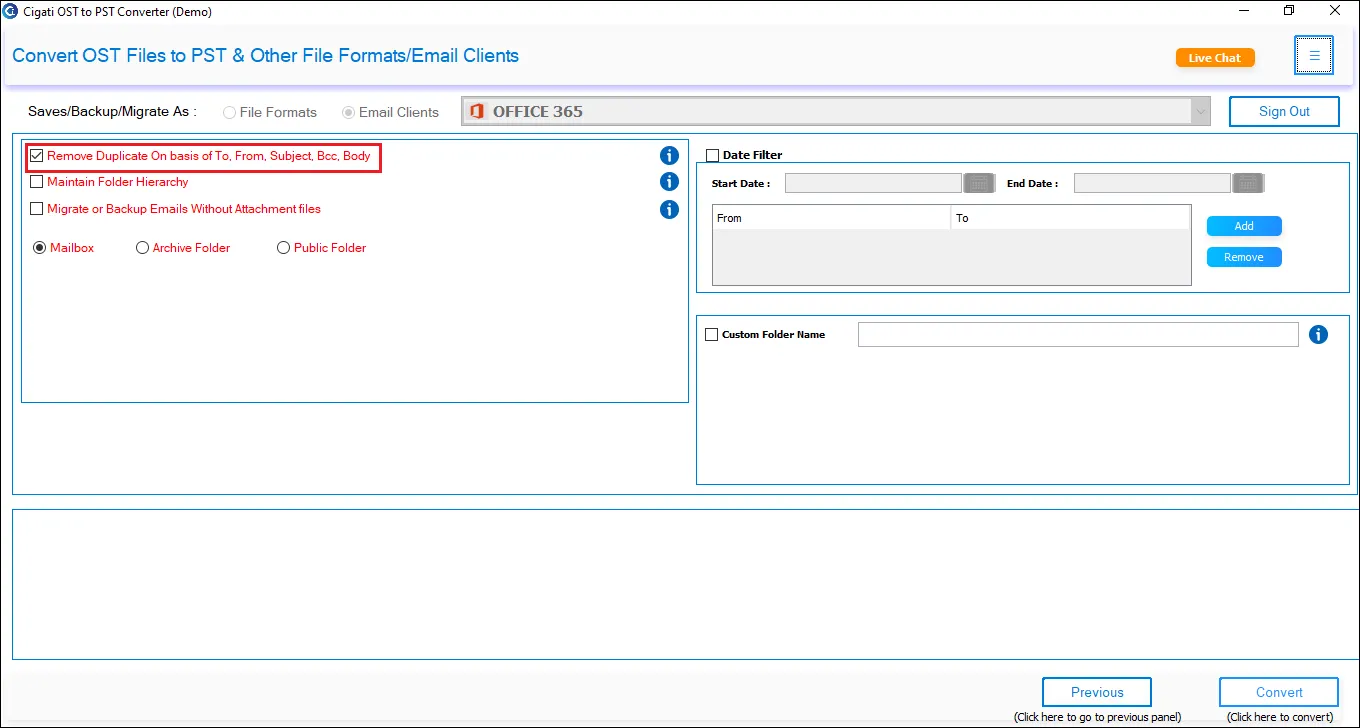
Enable the Duplicate Detection feature to filter duplicate emails based on To, From, CC, Subject, and Body.
Click Start Export to begin the migration process.