OST File Viewer
4.7
A user-friendly application with an intuitive design for beginners to navigate effortlessly.
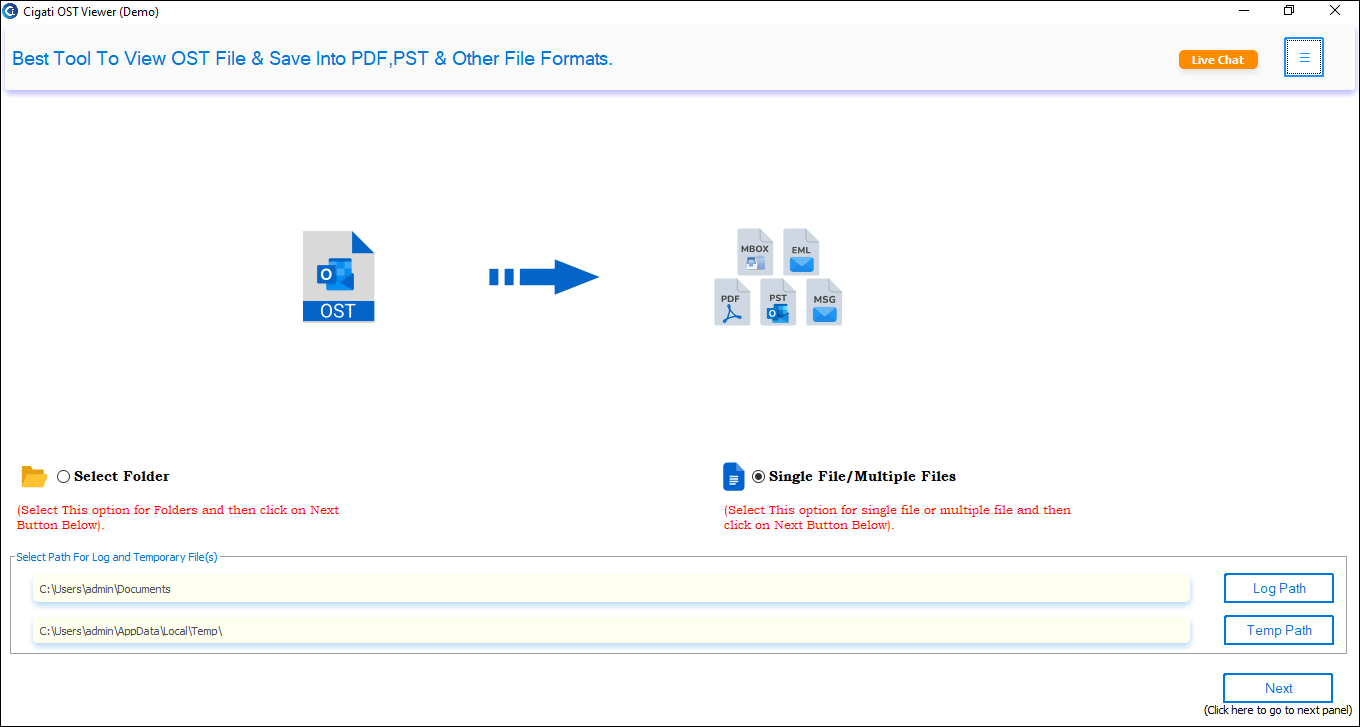
Download the Cigati OST Viewer Tool and run it as an administrator.
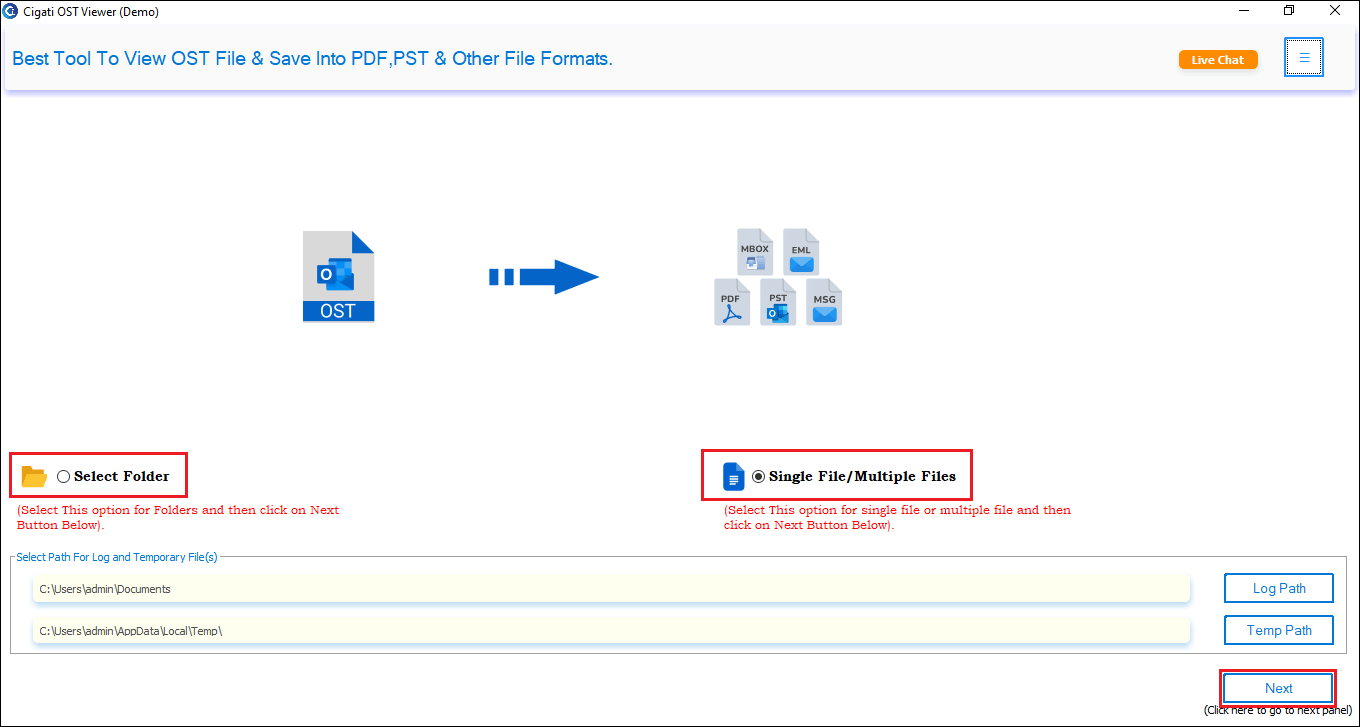
Choose Single File/Multiple Files or Select Folder to add an OST file, then click Next.
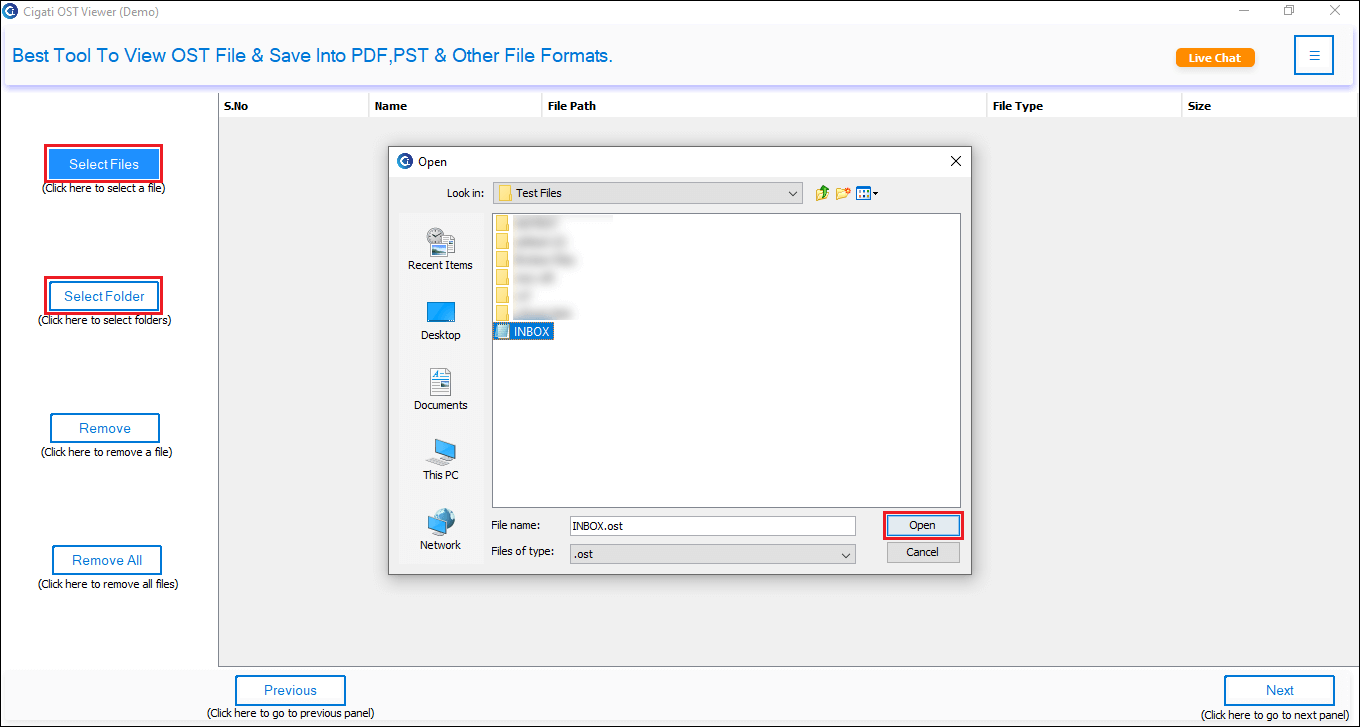
Click the Select Files or Select Folders option to browse to the location of the OST files, select them, and click the Open button.
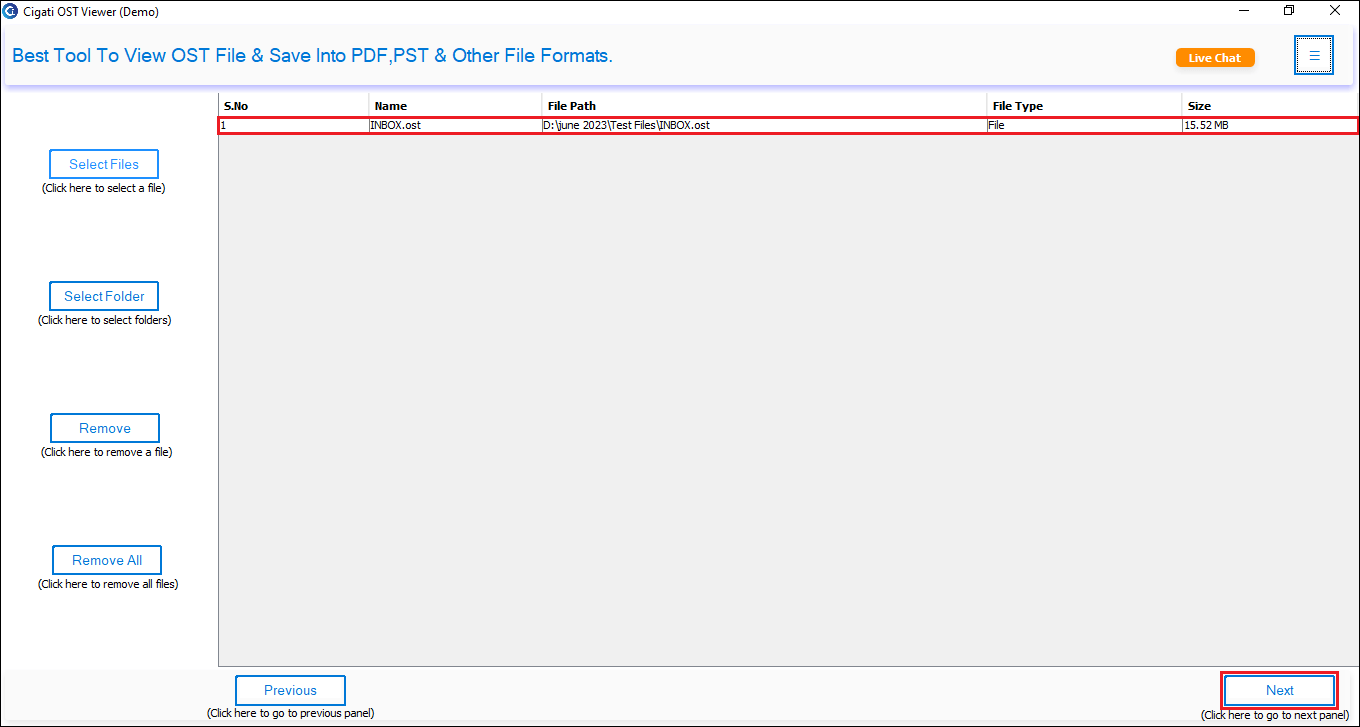
You can now view the added OST file in the list. Click the Next button to continue.
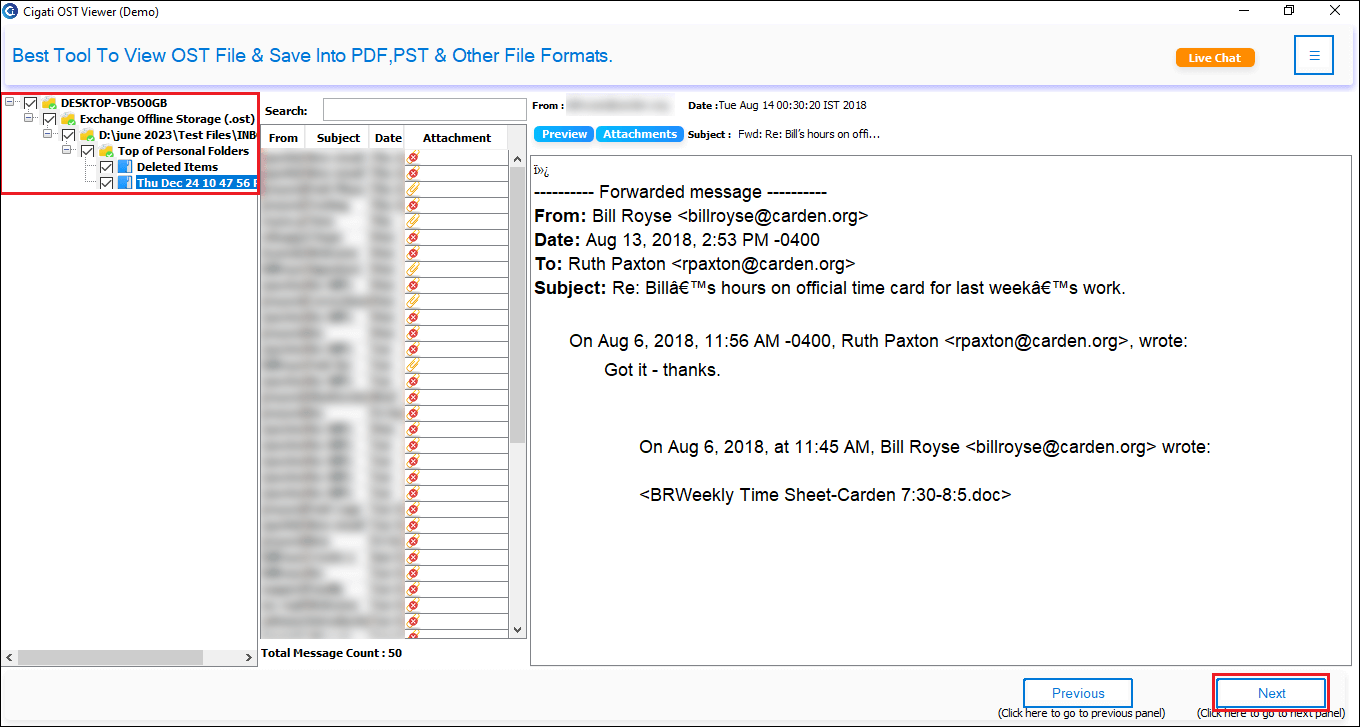
Select the required files or folders from the tree-structured list and click Next.
Note: You can view your OST file emails (Messages) and attachments here.
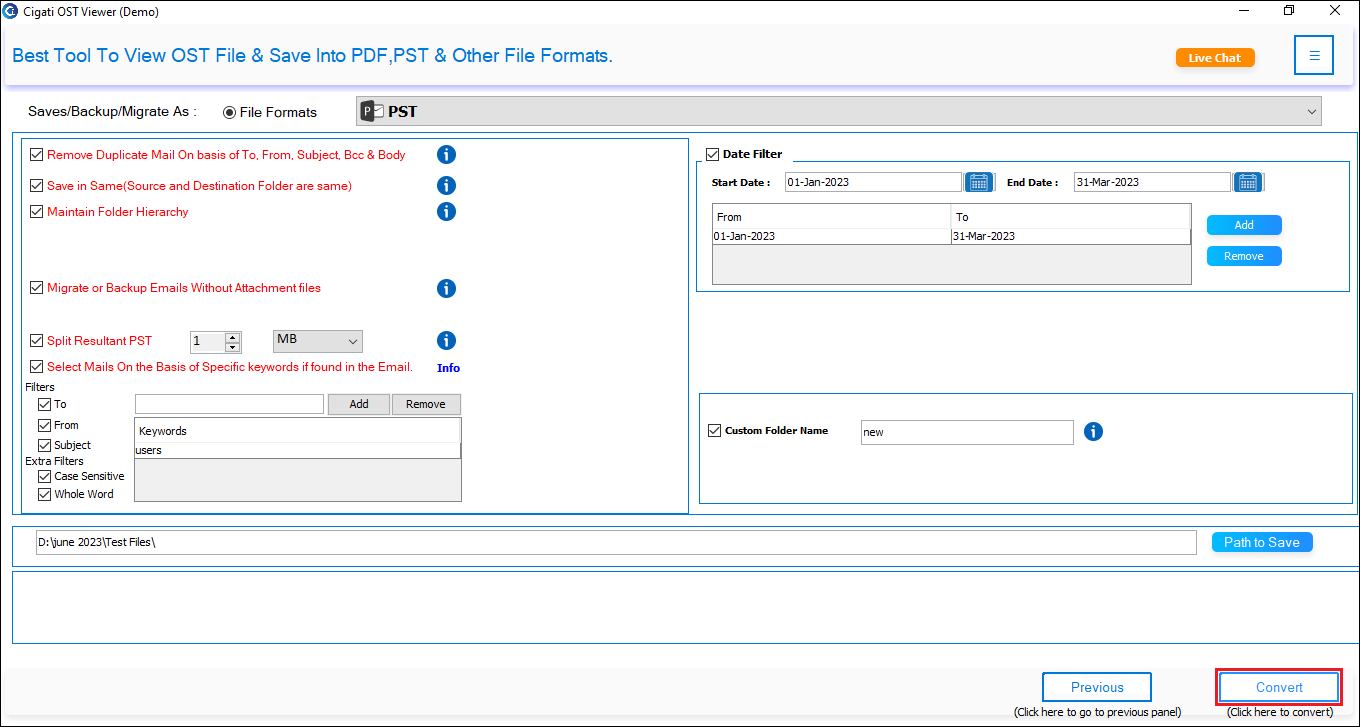
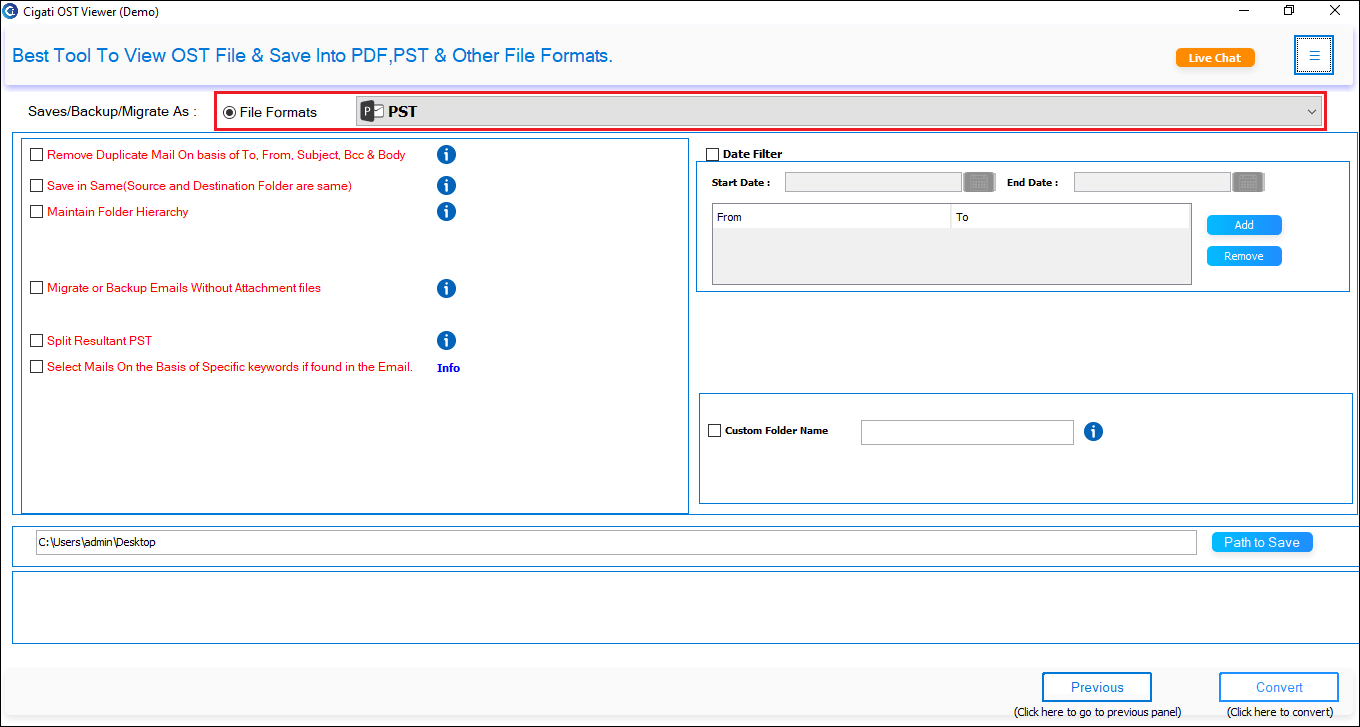
Here, select PST as the saving format from the drop-down list.
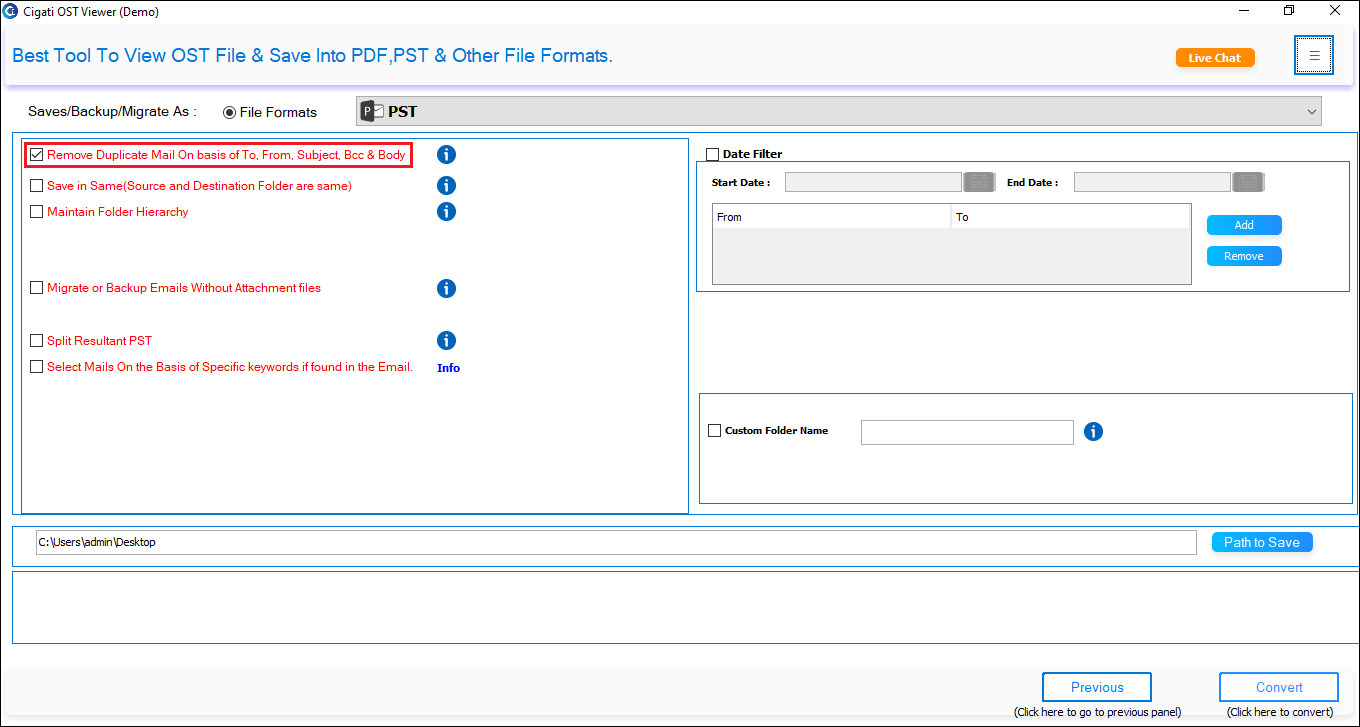
Use the Remove Duplicate Email feature to eliminate duplicate emails based on criteria such as To, From, Subject, and Body.
Select the Save in Same option to save the email in a folder with the same name.
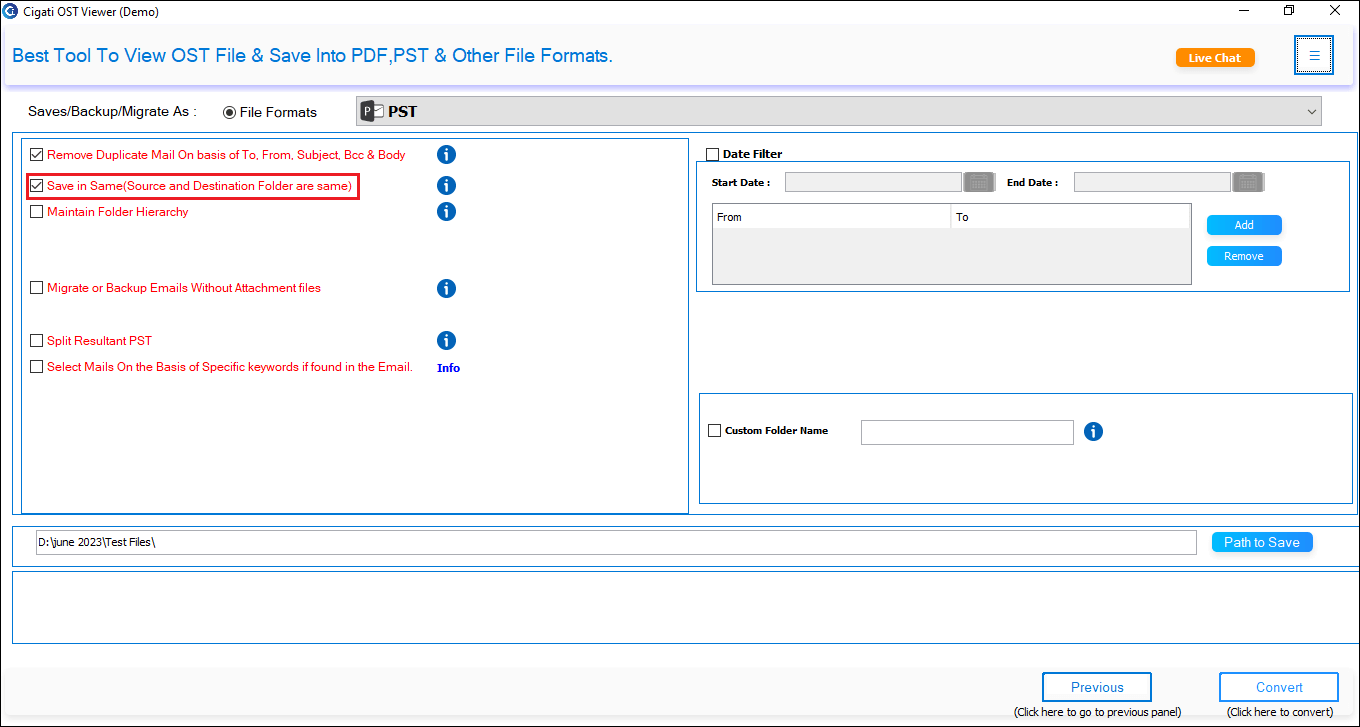
Select the Maintain Folder Hierarchy option to preserve the email structure when saving.
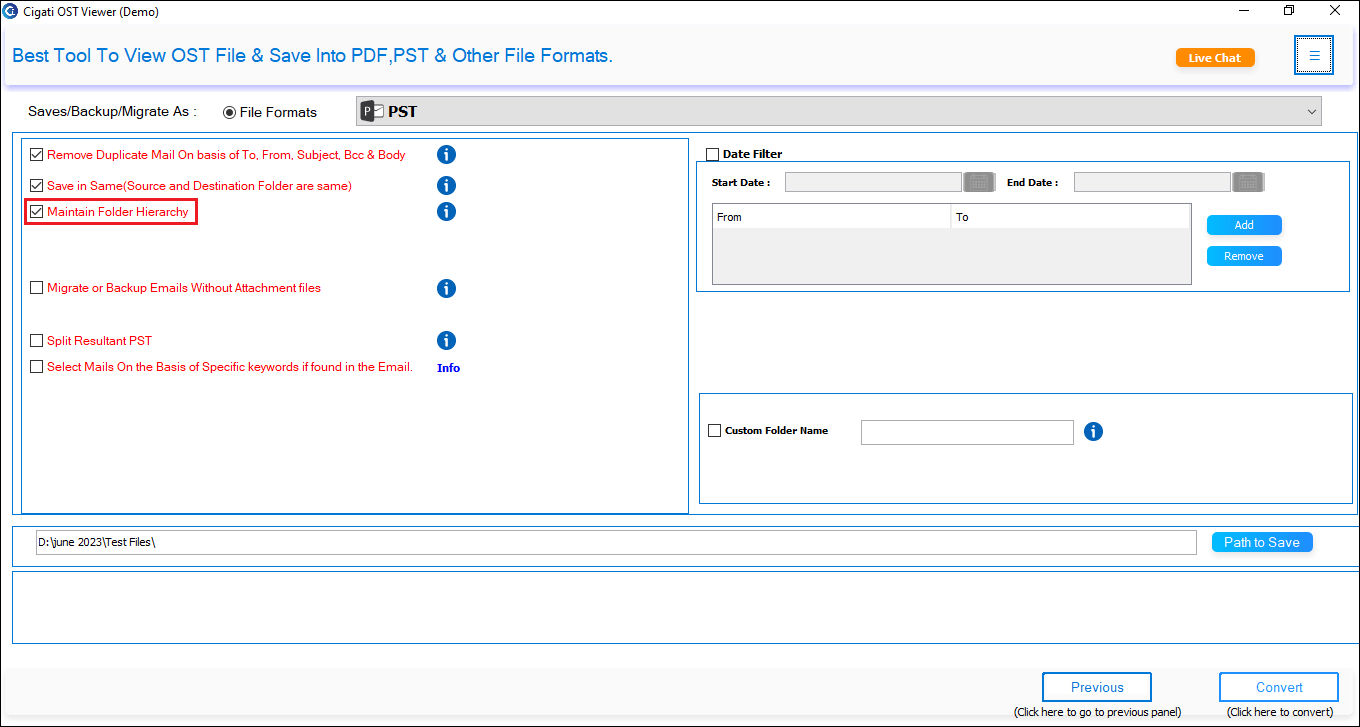
Select the Migrate or Backup Emails without Attachment Files option to exclude email attachments.
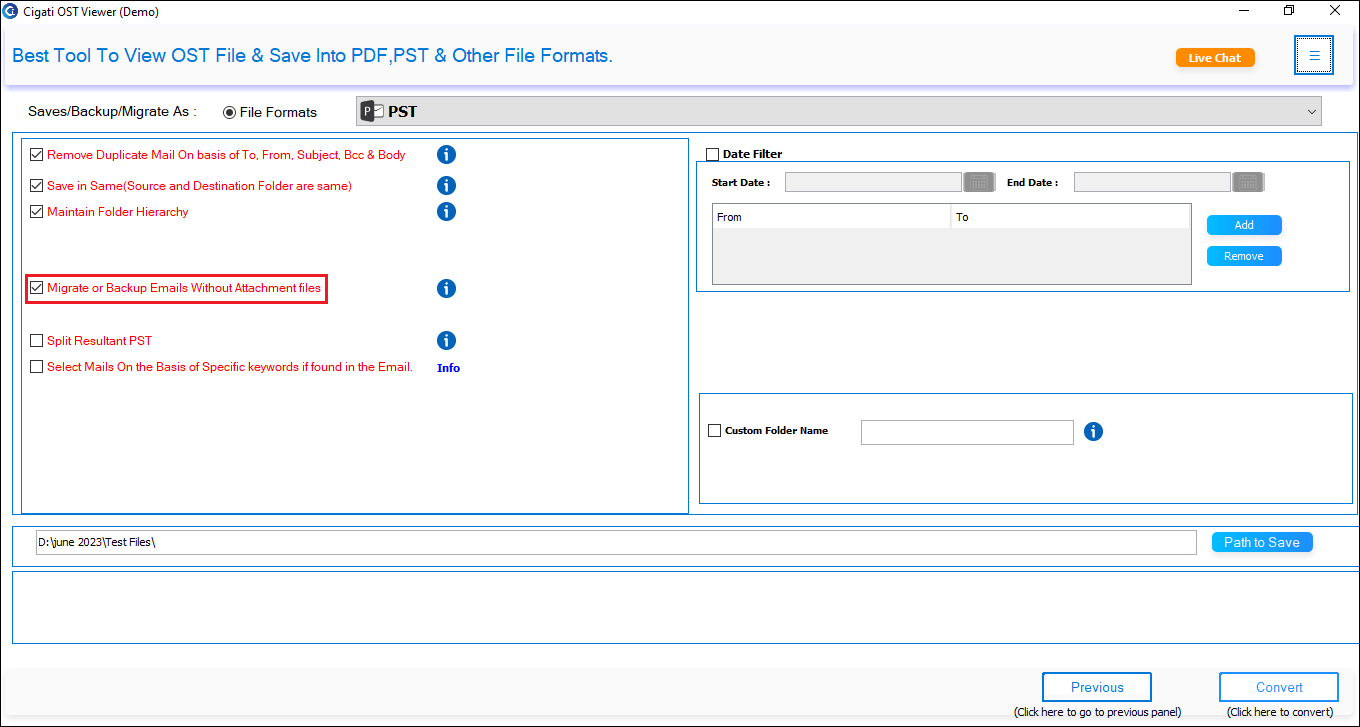
Select the Split Resultant PST option to divide the resulting file into smaller PST files.
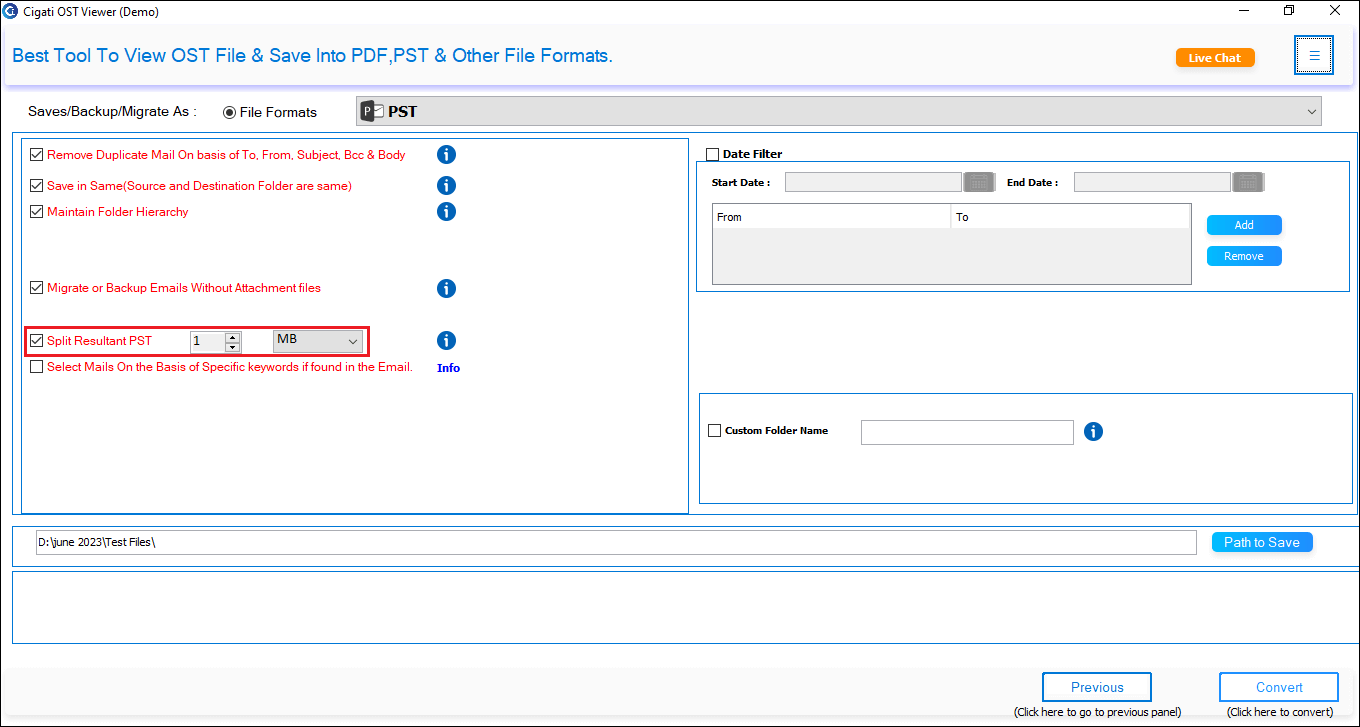
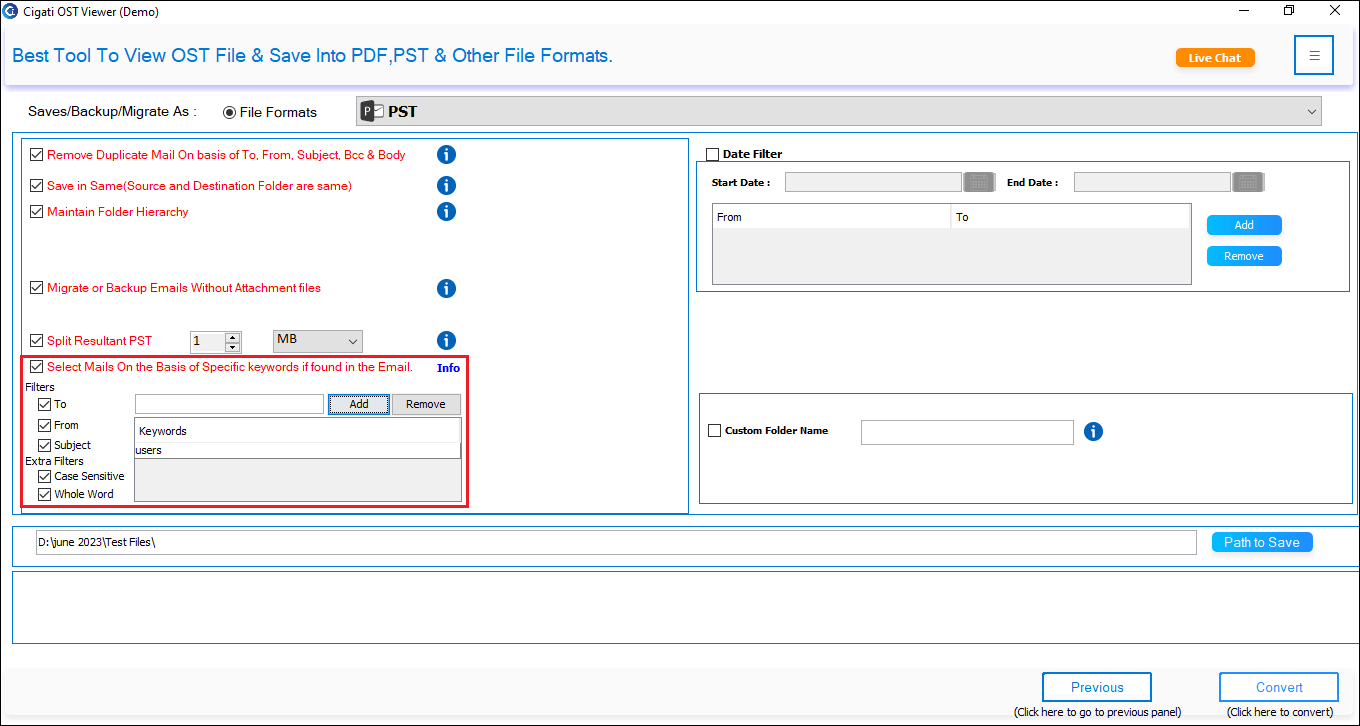
Select the Choose Emails Based on Specific Keyword option to locate emails containing specific keywords for conversion.
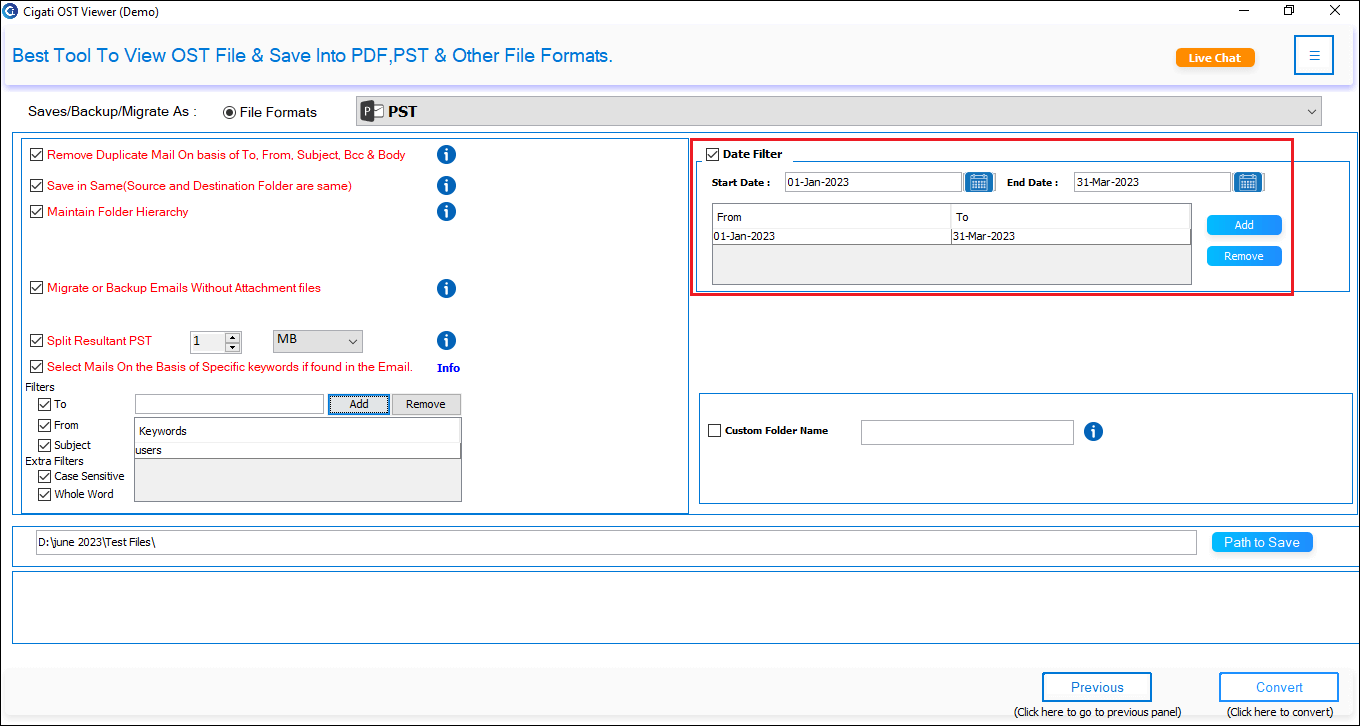
The Date Filter allows for selective conversion based on specified dates.
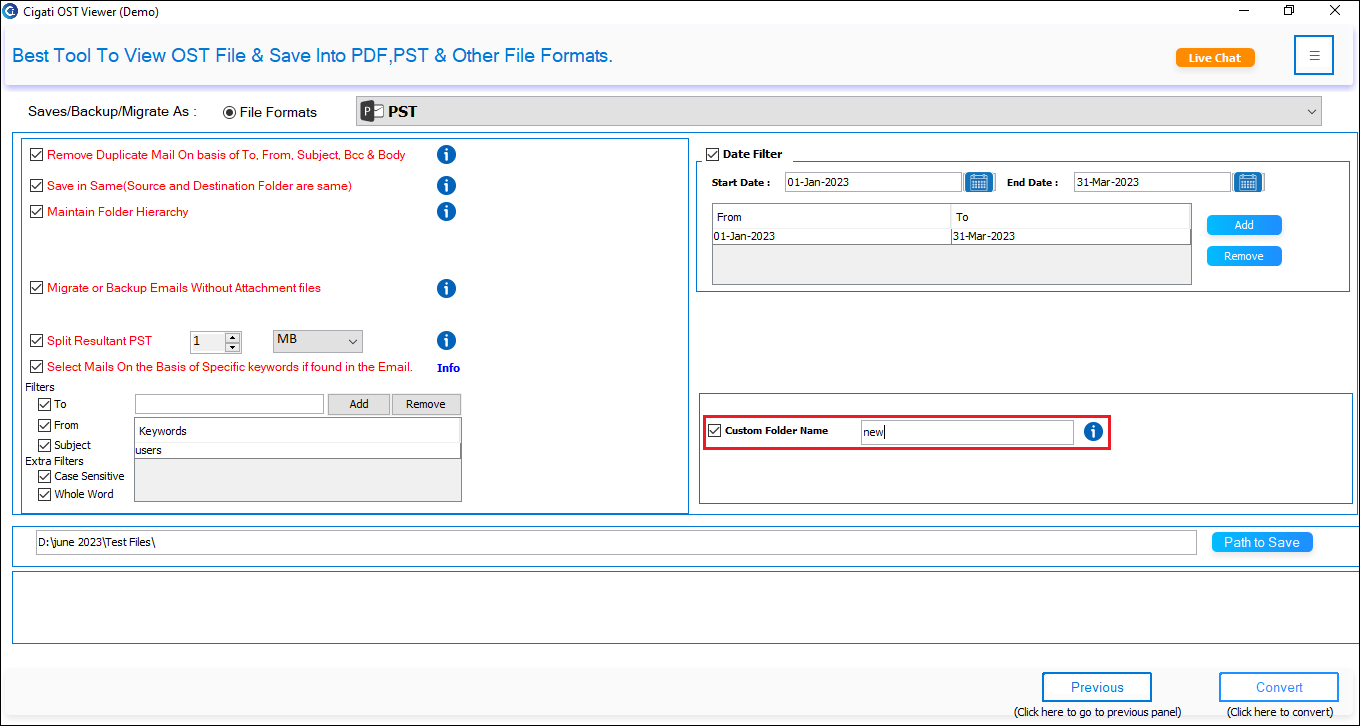
Choose the Custom Folder Name option to assign a specific name to the folder where the output files will be stored.
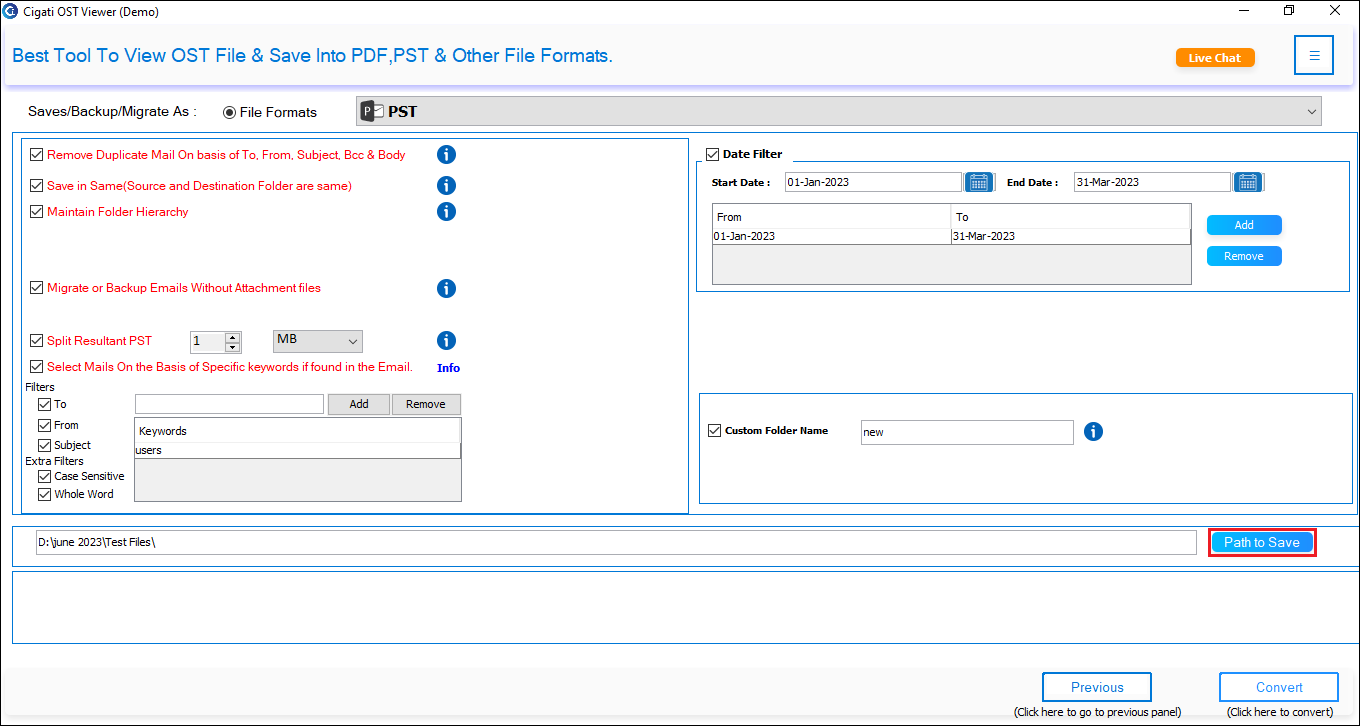
Click the Path to Save button to choose the location for the output file.
Finally, click the Convert button to start the conversion process.