EML Converter Tool
4.7
A user-friendly application with an intuitive design for beginners to navigate effortlessly.
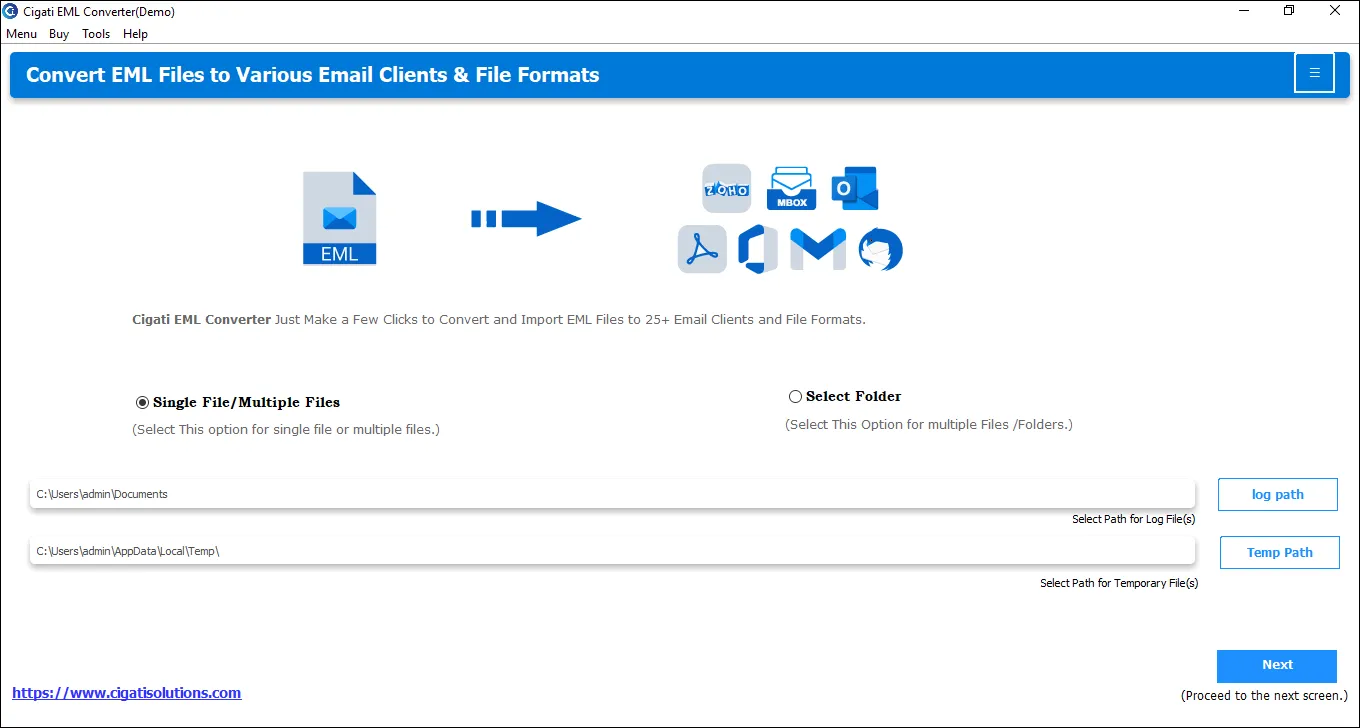
Download and launch the Cigati EML Converter on your local system.
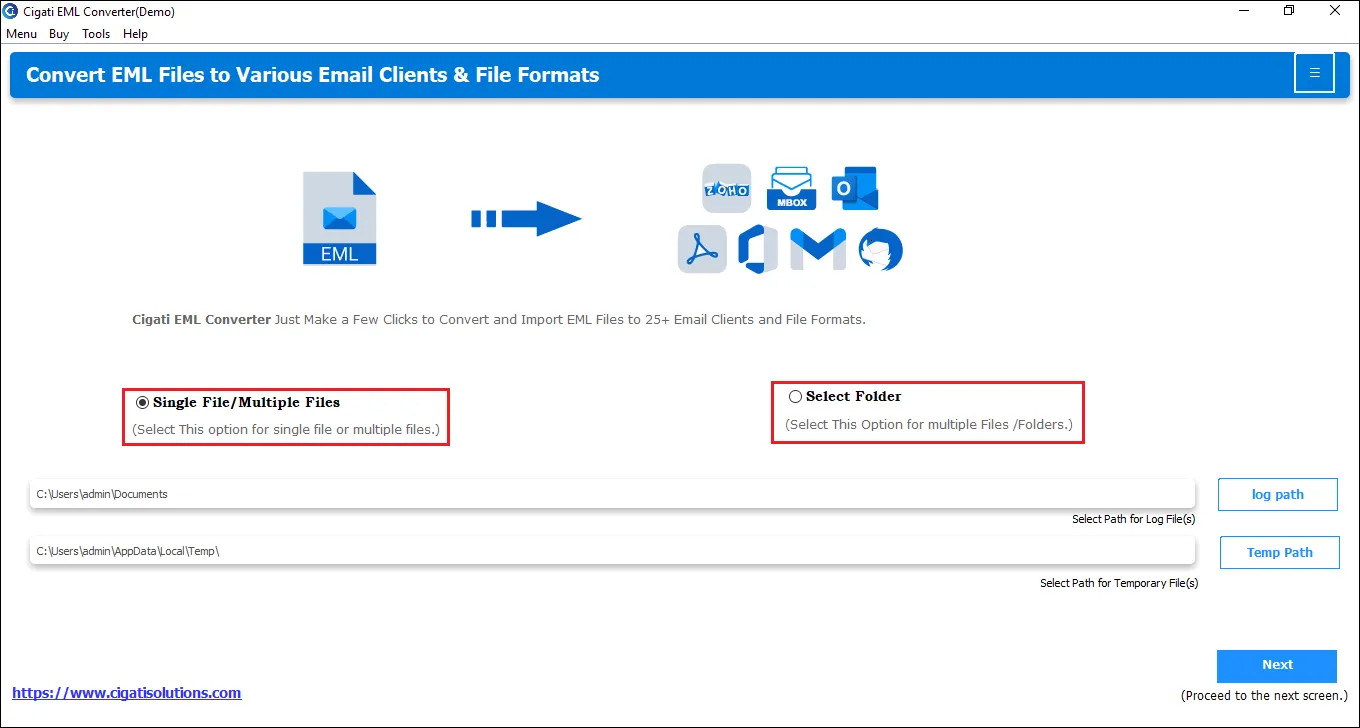
Choose between the Single File, Multiple Files, or Select Folder options to add an EML file.
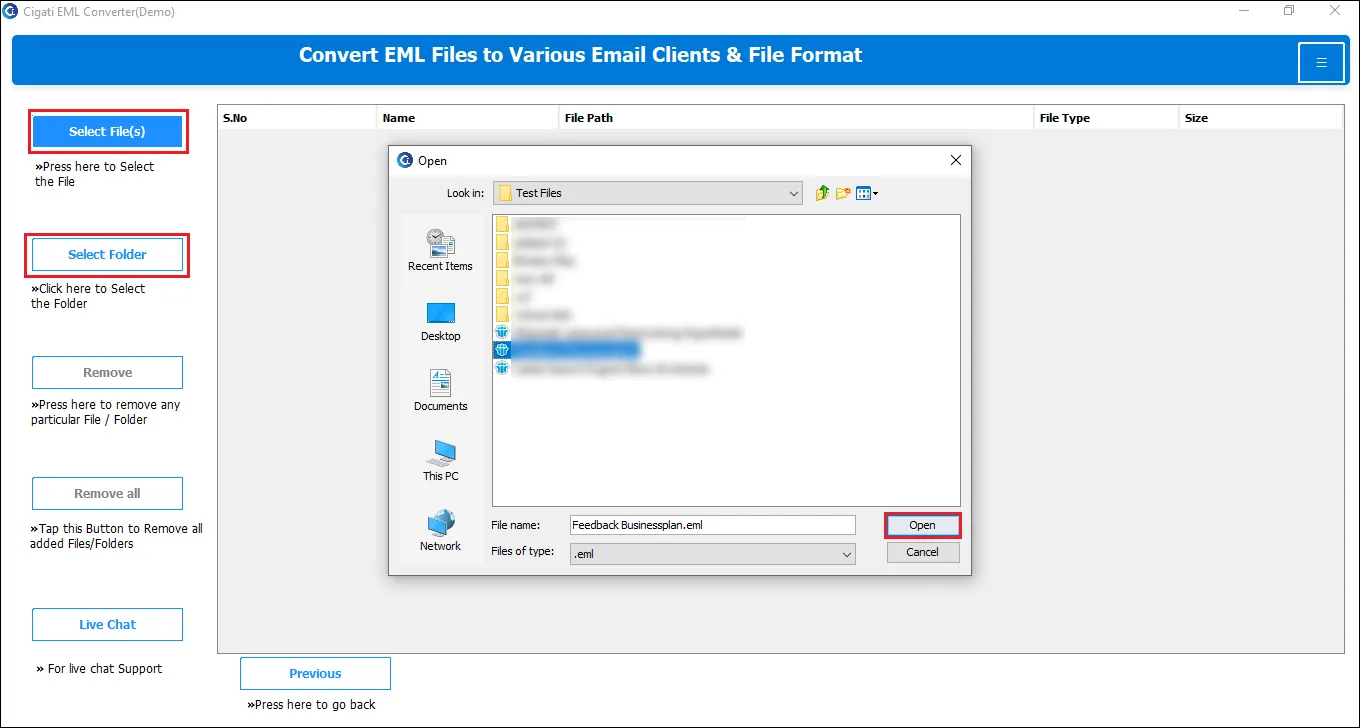
Select Files or Select Folder to choose an EML file, then click Open to add it/them.
You will now see the added EML file in the list. Click Next to continue.
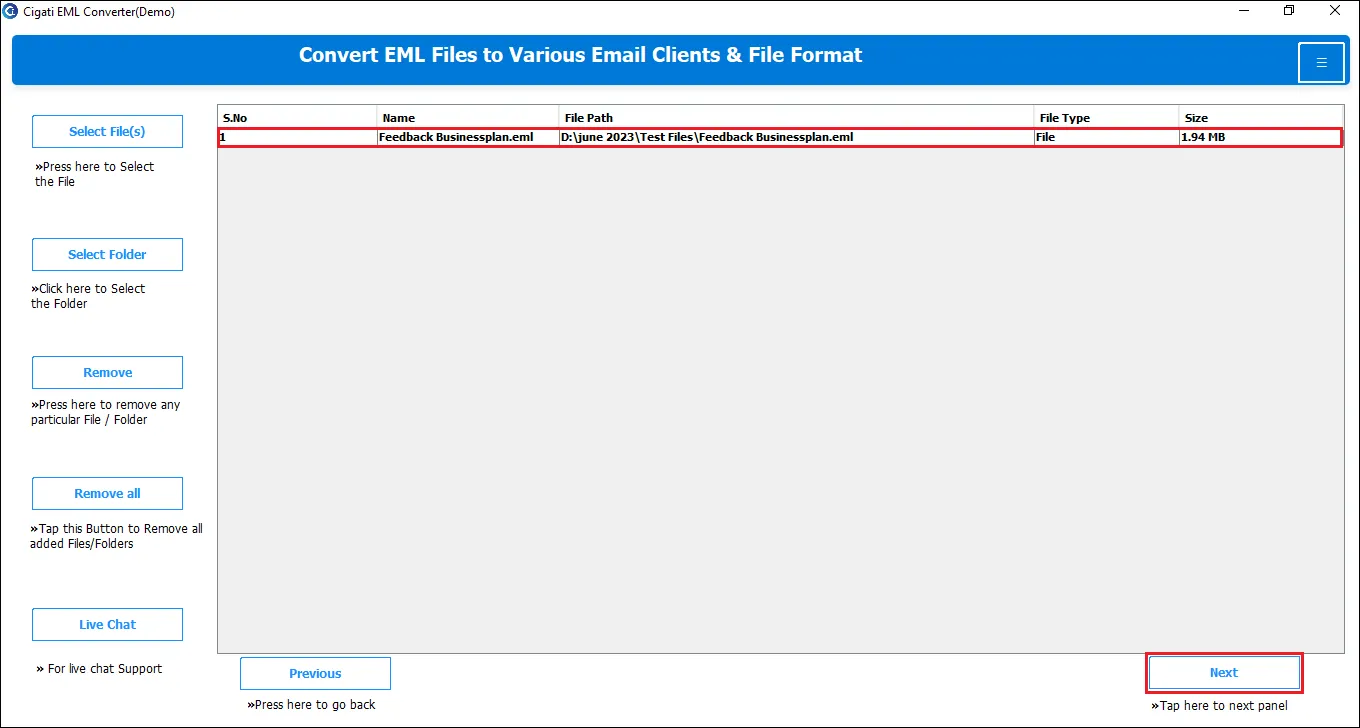
Choose the desired EML files you want to convert and click the Next button.

Select PDF as the desired saving file format.

Use the option to Skip Duplicate Emails based on To, From, Subject, and Body.
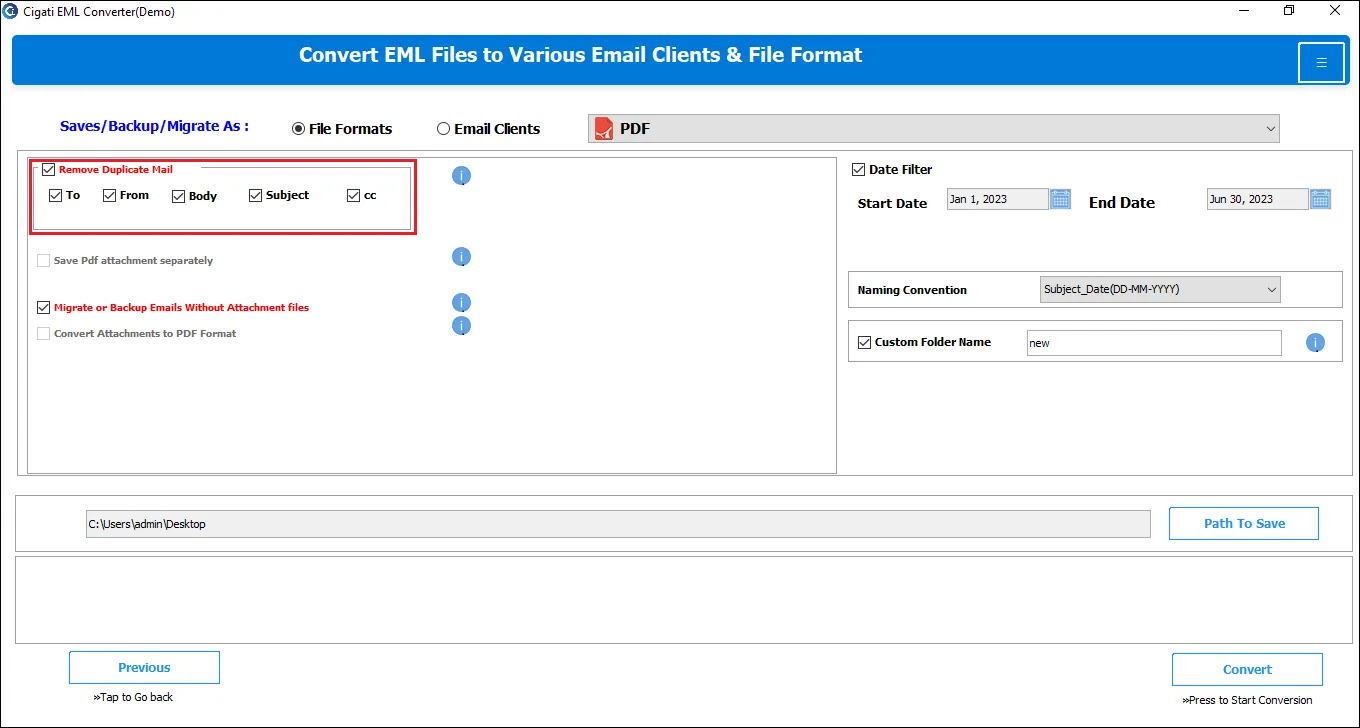
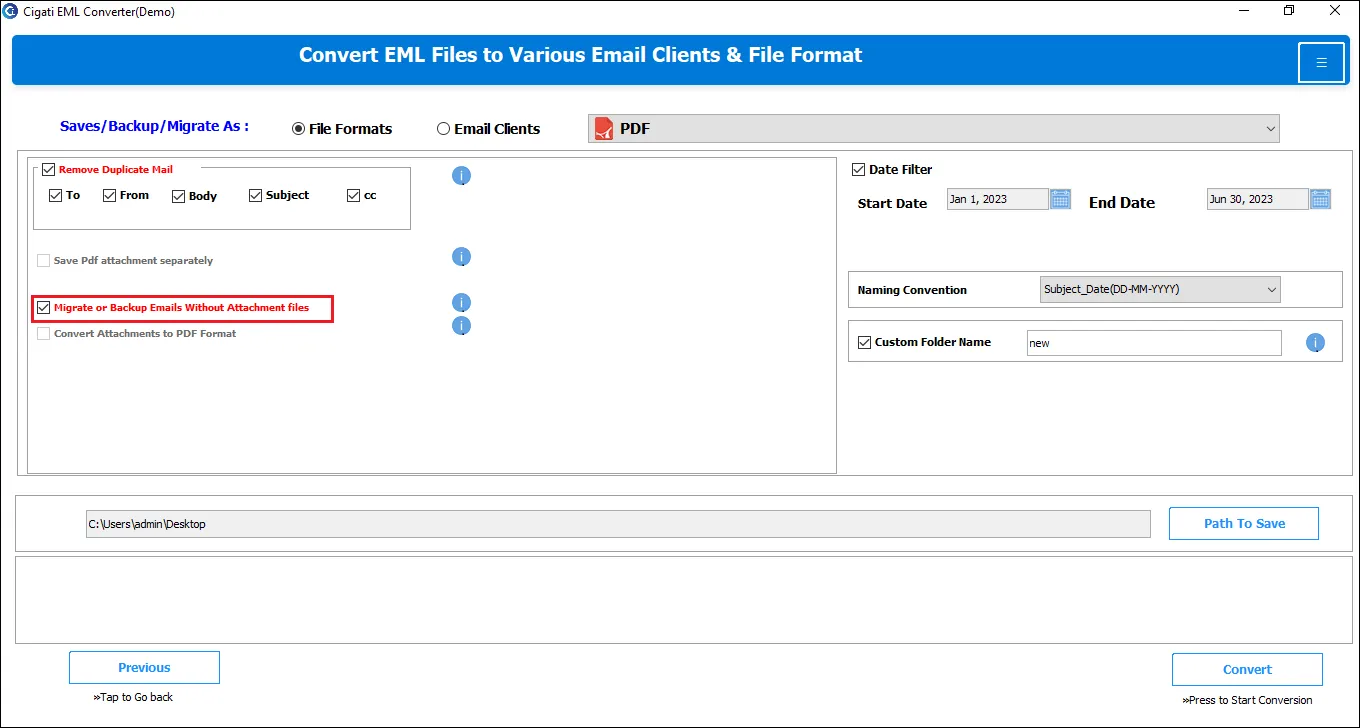
You can also choose to migrate with or without attachments for an easier conversion.
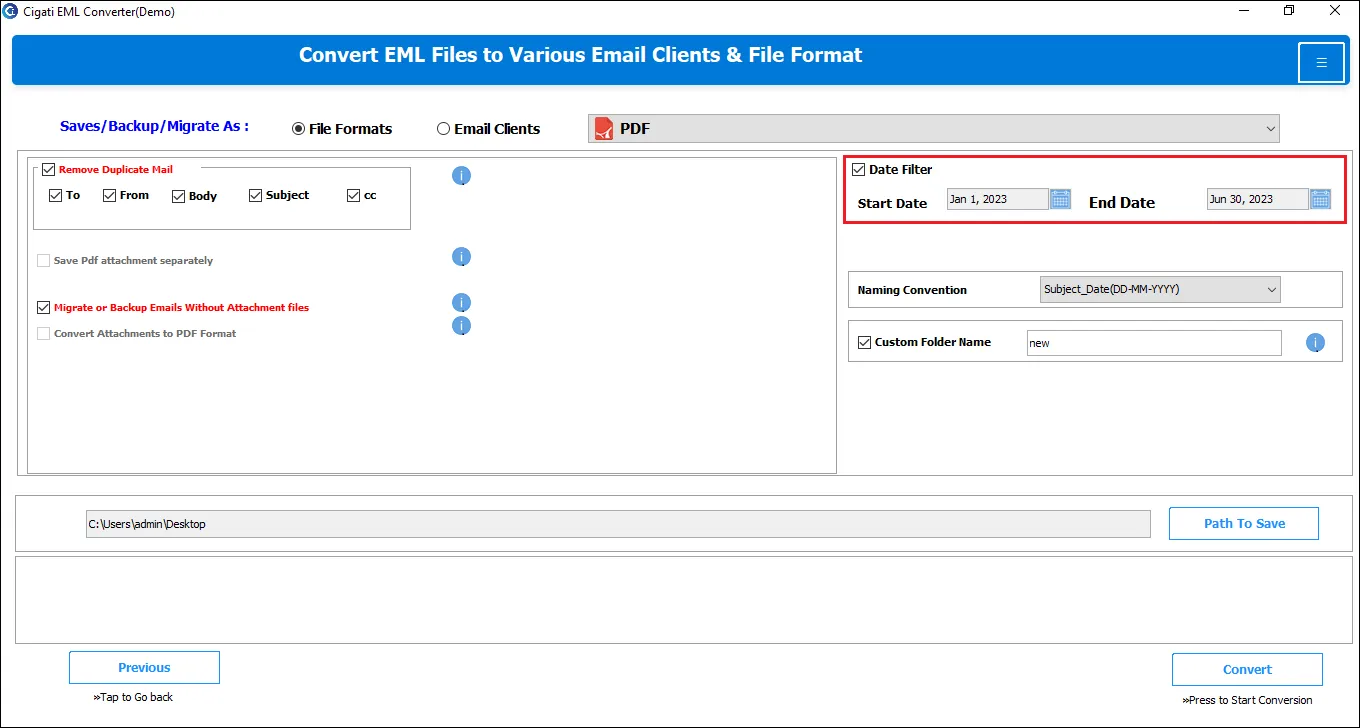
Use the Date Filter to perform a selective conversion process.
Opt for the Name Conversion feature as needed.
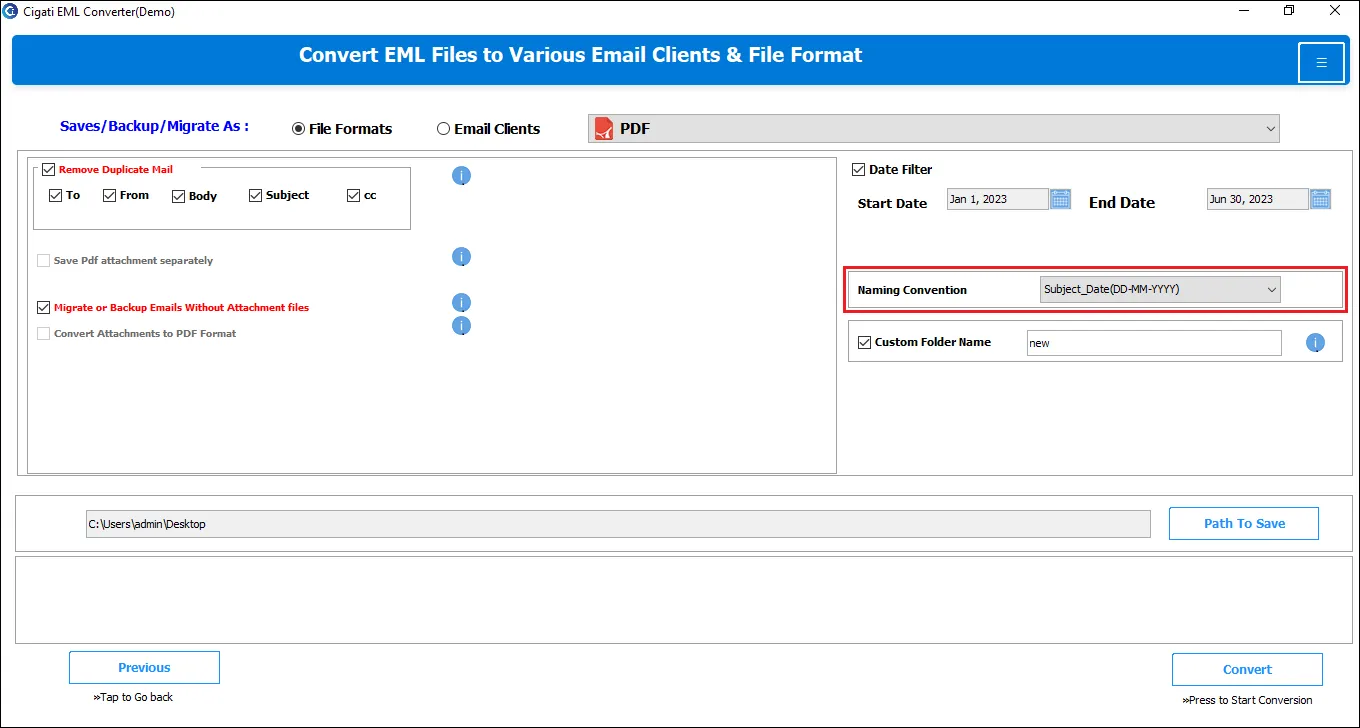
Select the Custom Folder Name option to provide a custom name for the folder where the output files will be saved.

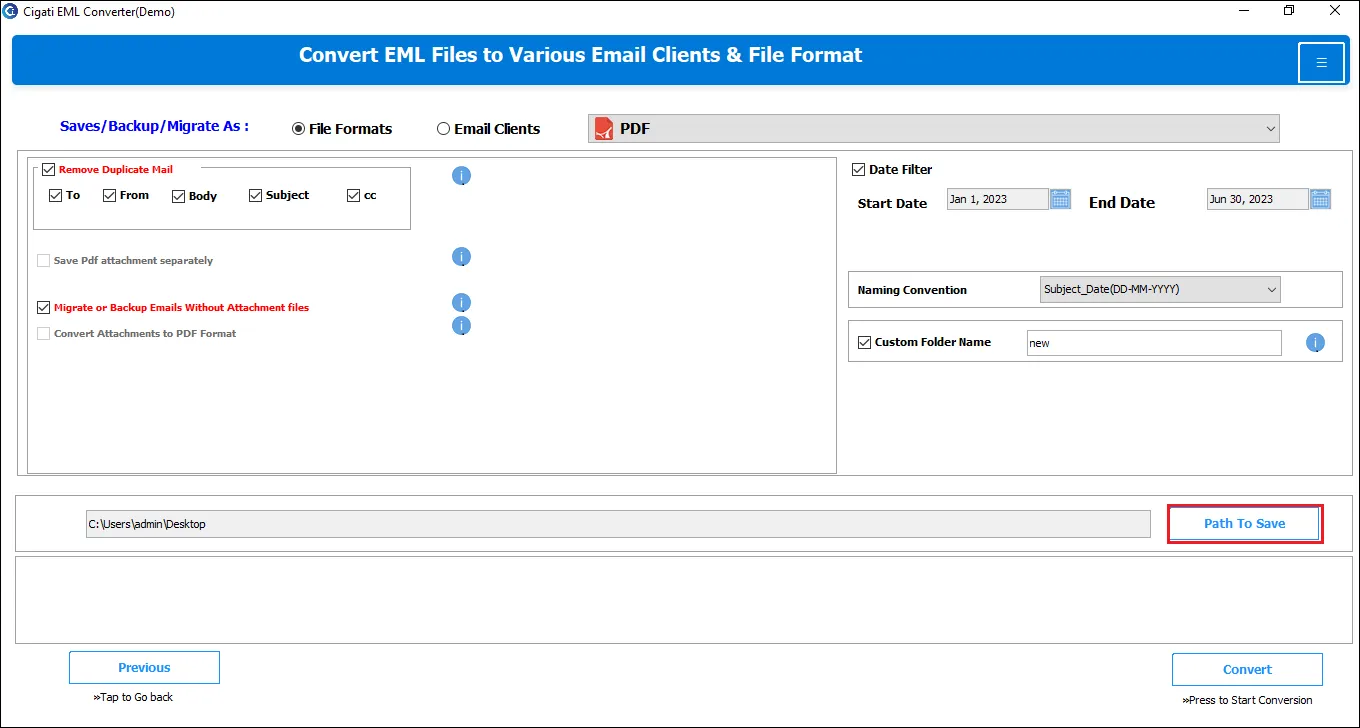
Set the location by clicking the Save to Path button to choose the destination for saving the newly created file.
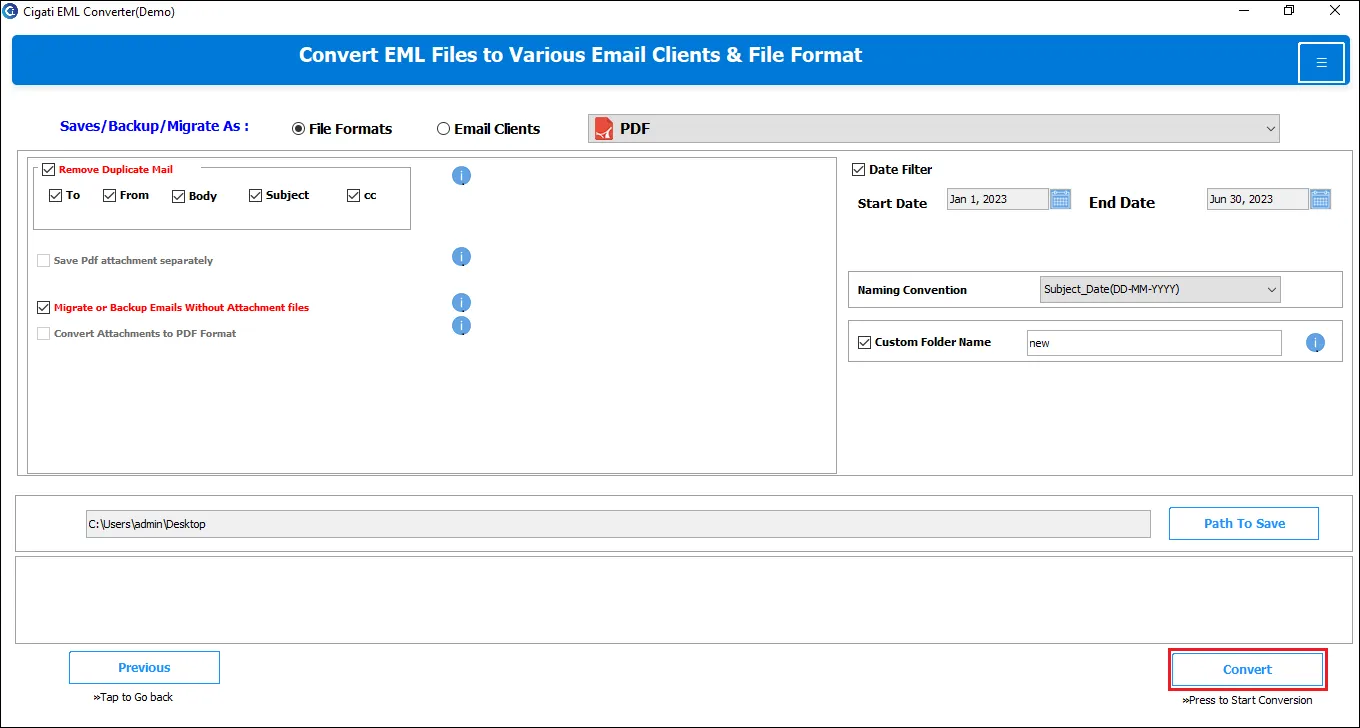
Finally, click the Convert button to begin the conversion process.
Download and launch the Cigati EML Converter on your local system.
Choose between the Single File, Multiple Files, or Select Folder options to add an EML file.
Select Files or Select Folder to choose an EML file, then click Open to add it/them.
You will now see the added EML file in the list. Click Next to continue.
Choose the desired EML files you want to import and click the Next button.
Select the Office 365 email application from the drop-down list.
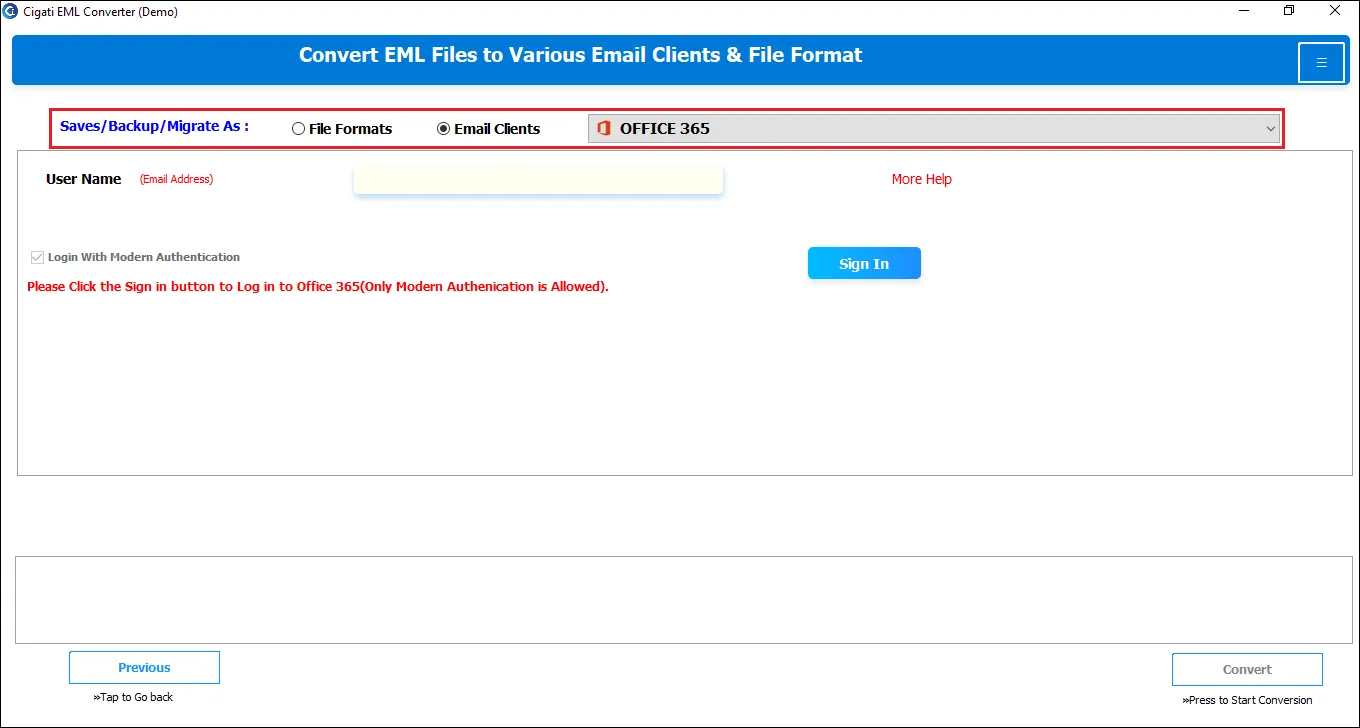
Enter your Office 365 Email ID and click the Sign In button.
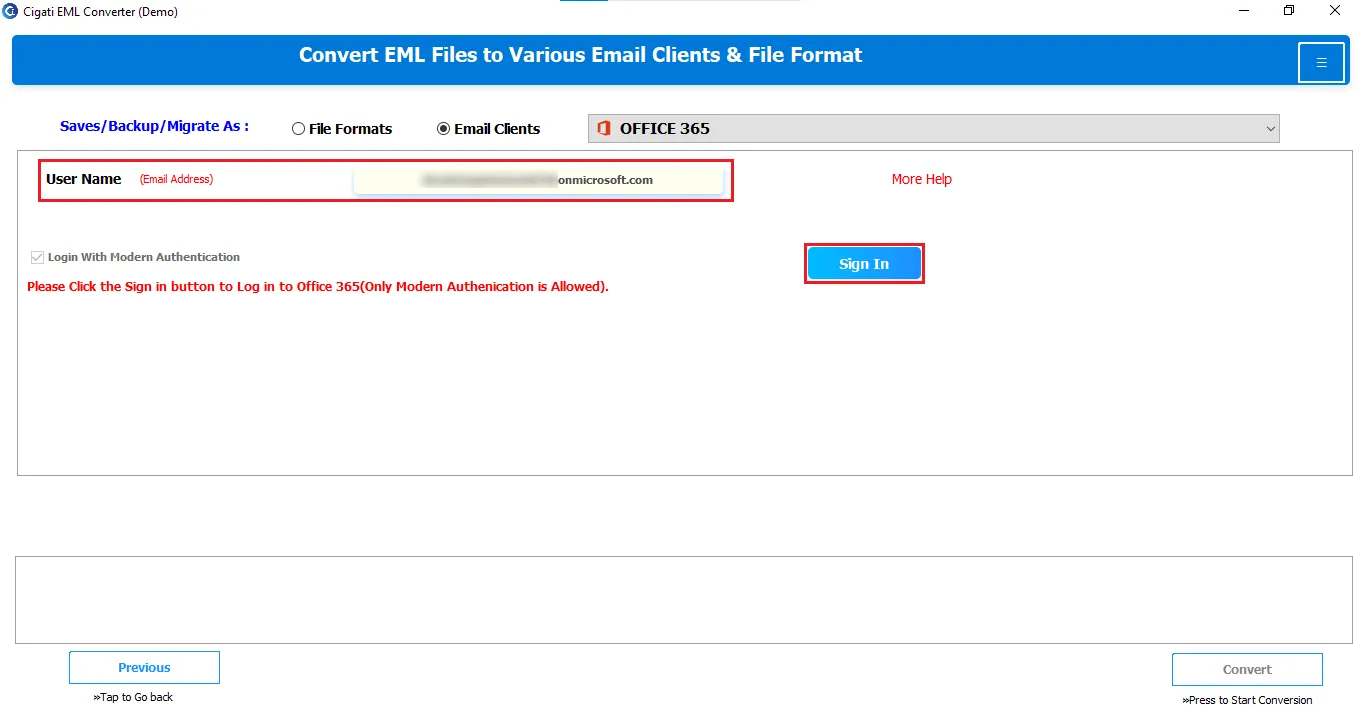
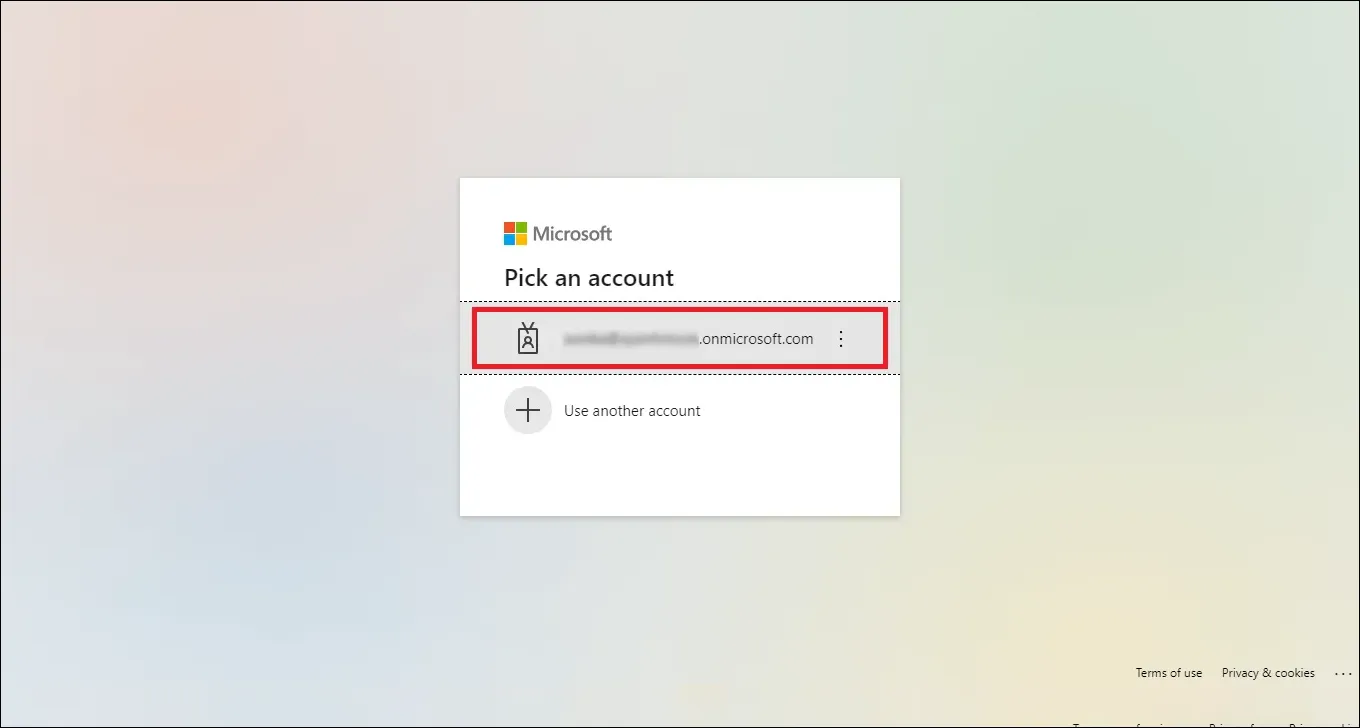
Ensure your Office ID is set in your default browser.
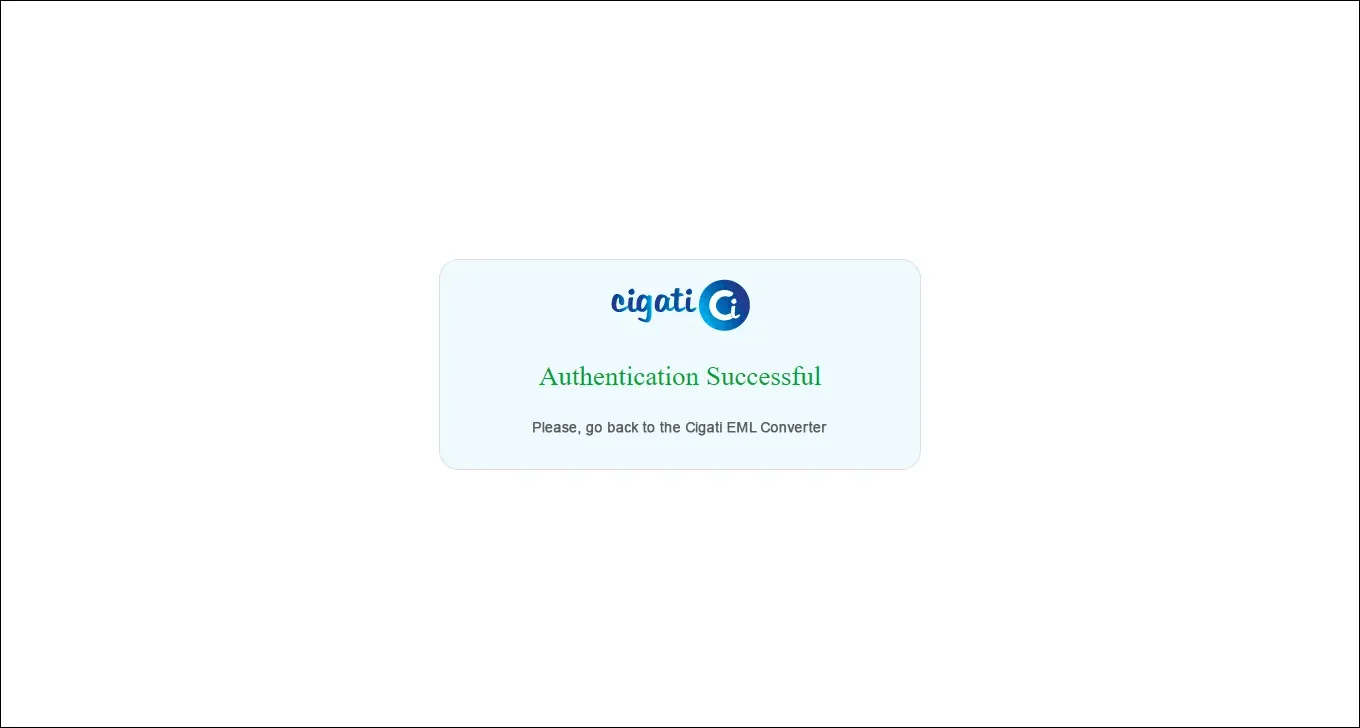
You will receive a confirmation for login authentication.
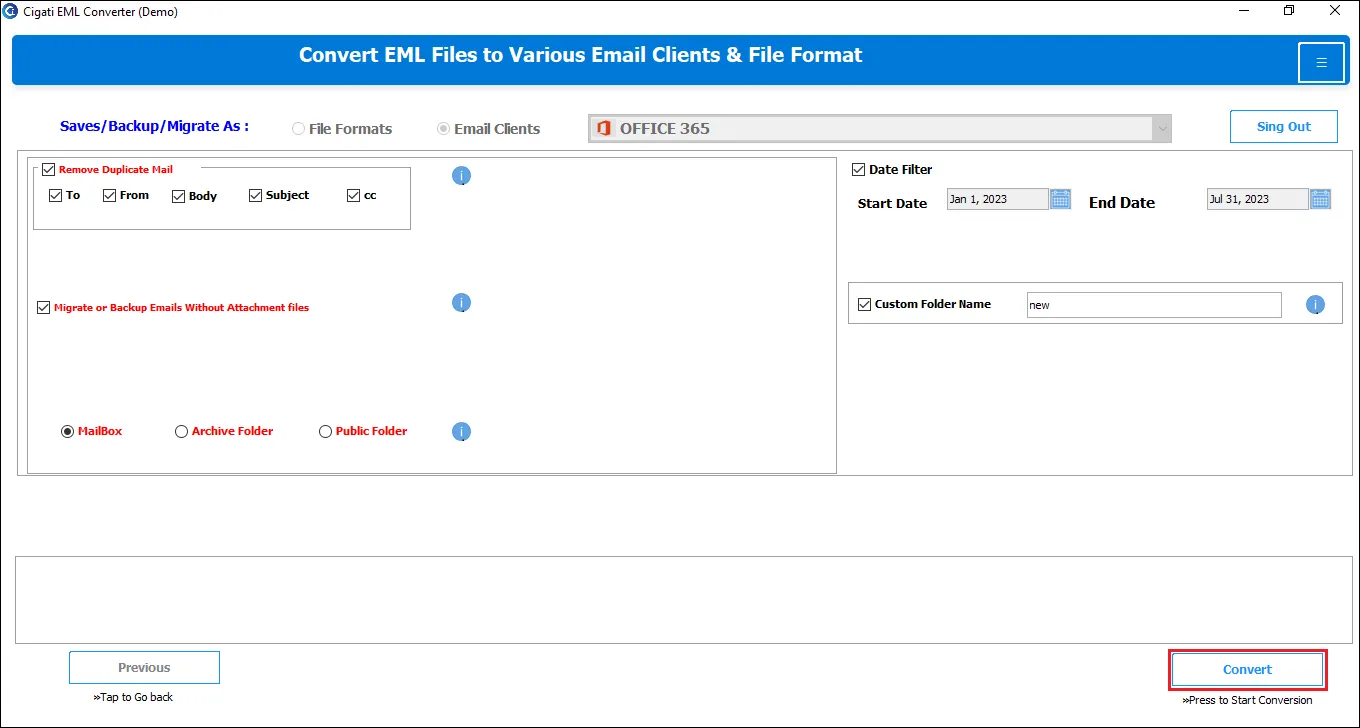
Use the Remove Duplicate Mail option to remove duplicate emails based on To,From, Subject, and Body.
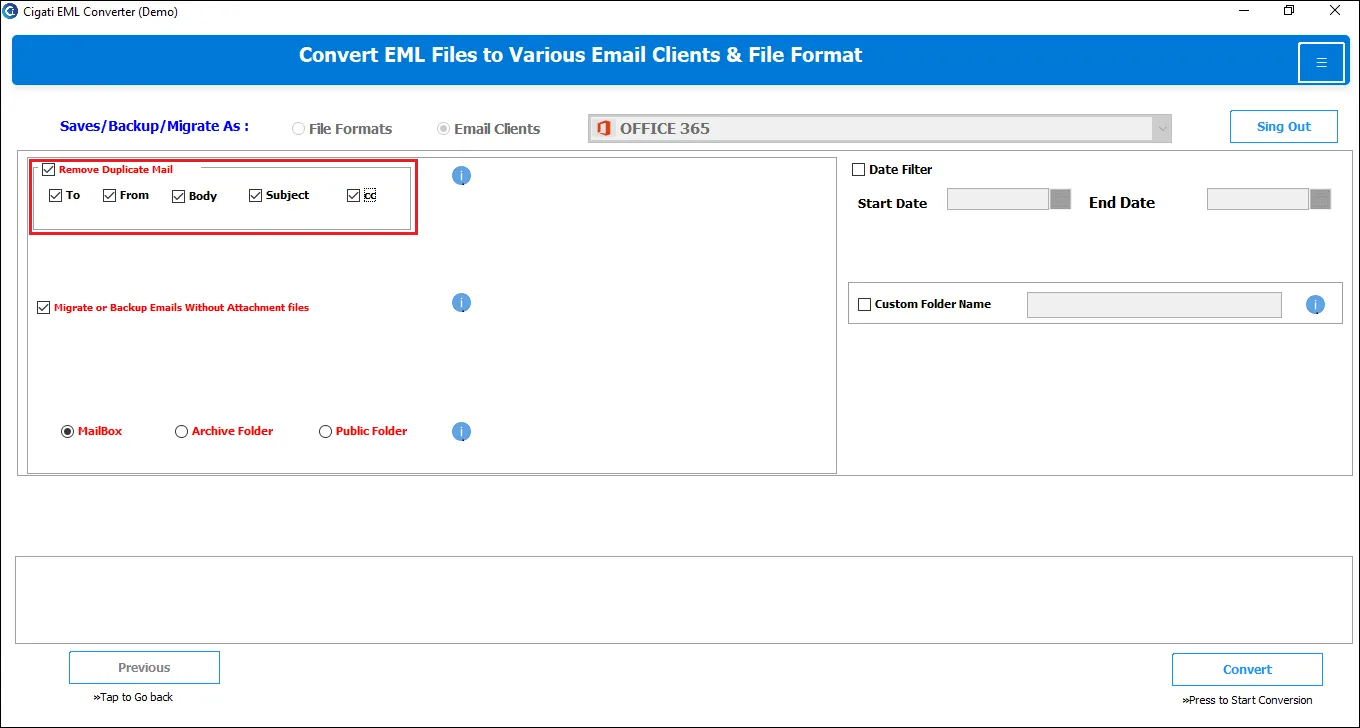
This option also allows you to back up and migrate emails without attachments from Office 365 email messages.

Select the appropriate folders: Mailbox, Public Folder, and Archive Online.
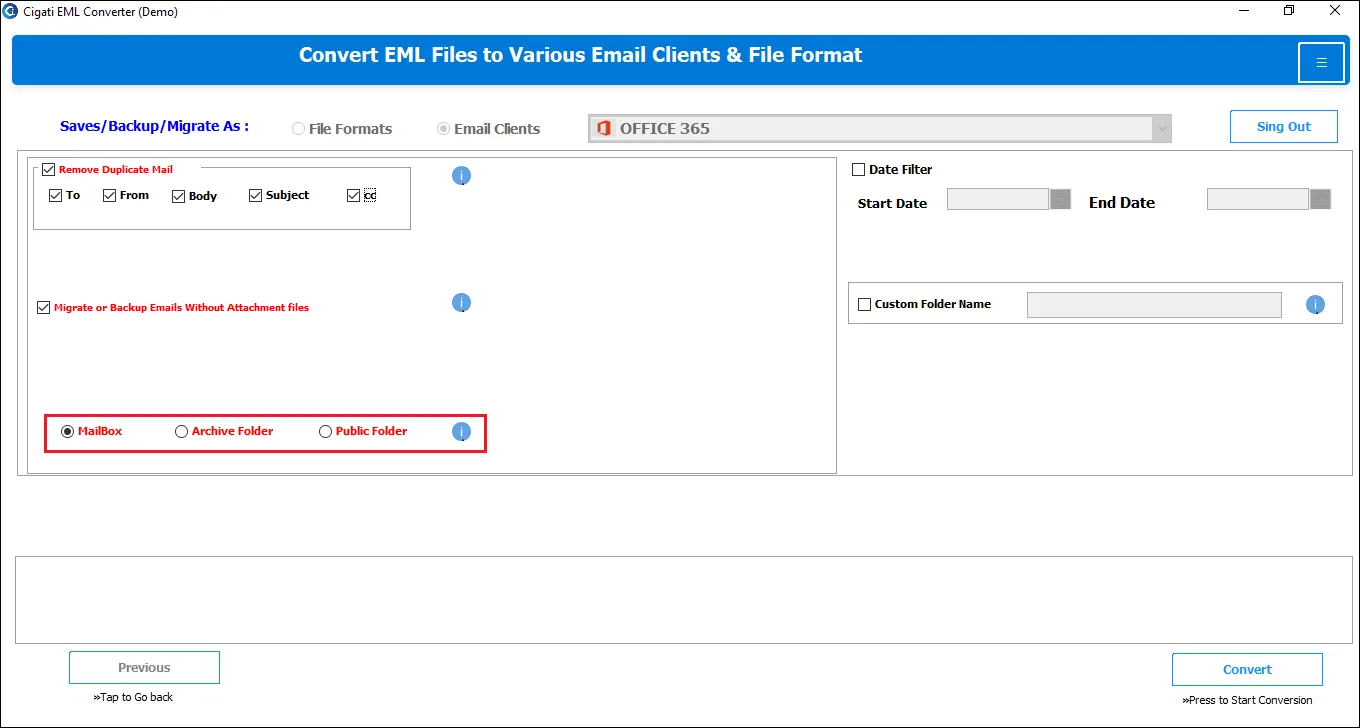
Select the Date Filter option and define the date range using the Start Date and End Date.
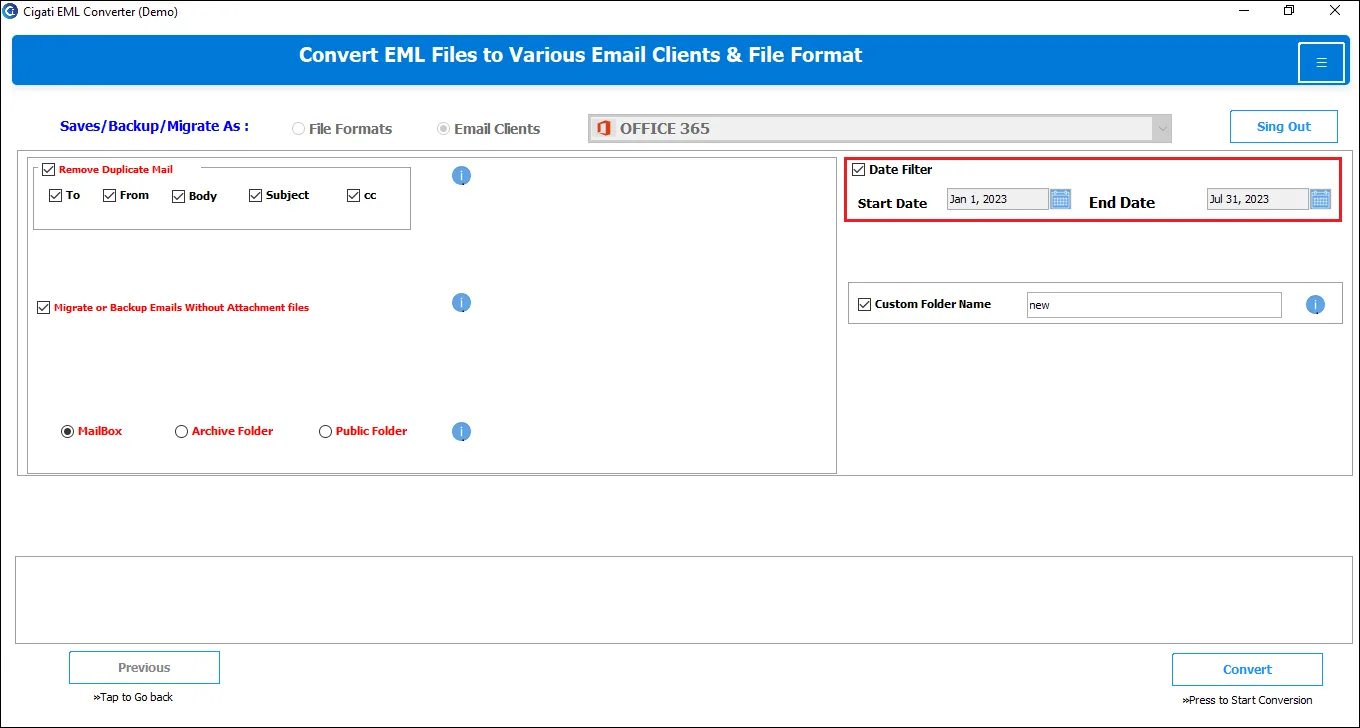
To name the output folder, check the Custom Folder Name option and enter the desired name in the provided field.
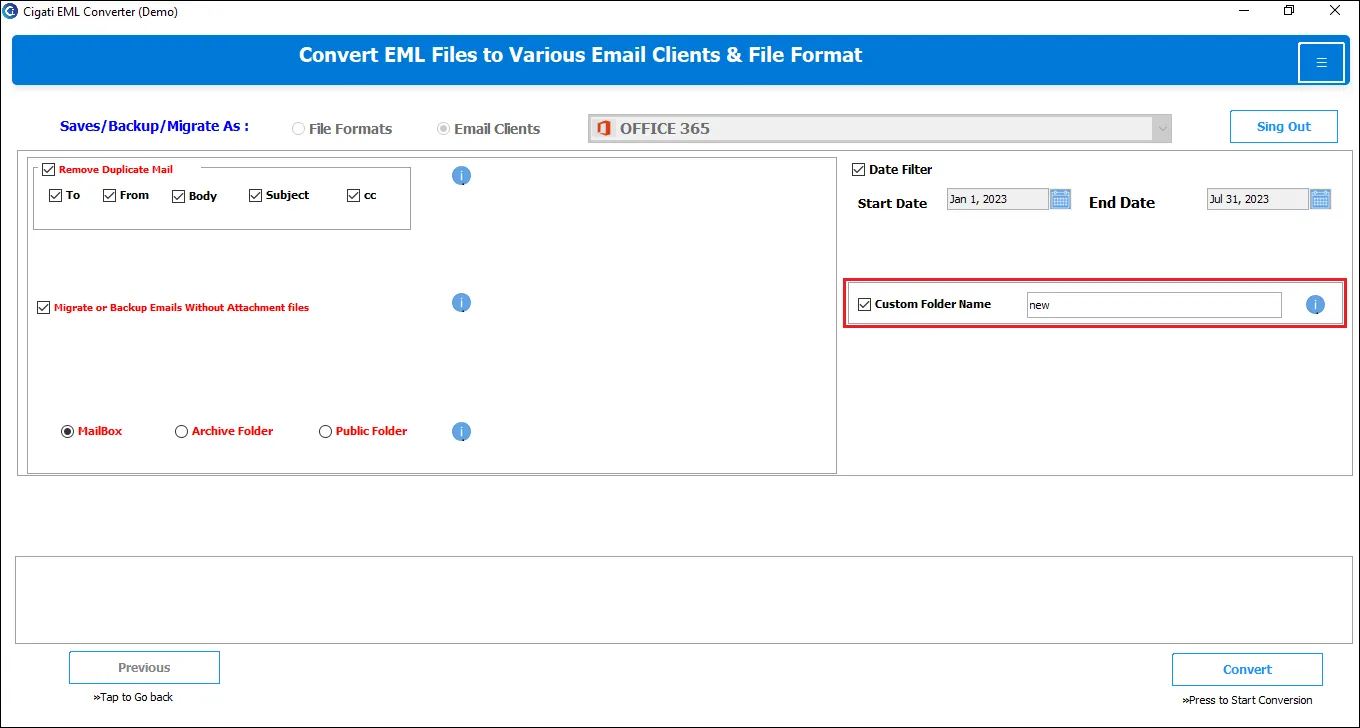
Finally, click the Convert button to begin the import process.