EML File Viewer
4.8
A user-friendly application with an intuitive design for beginners to navigate effortlessly.
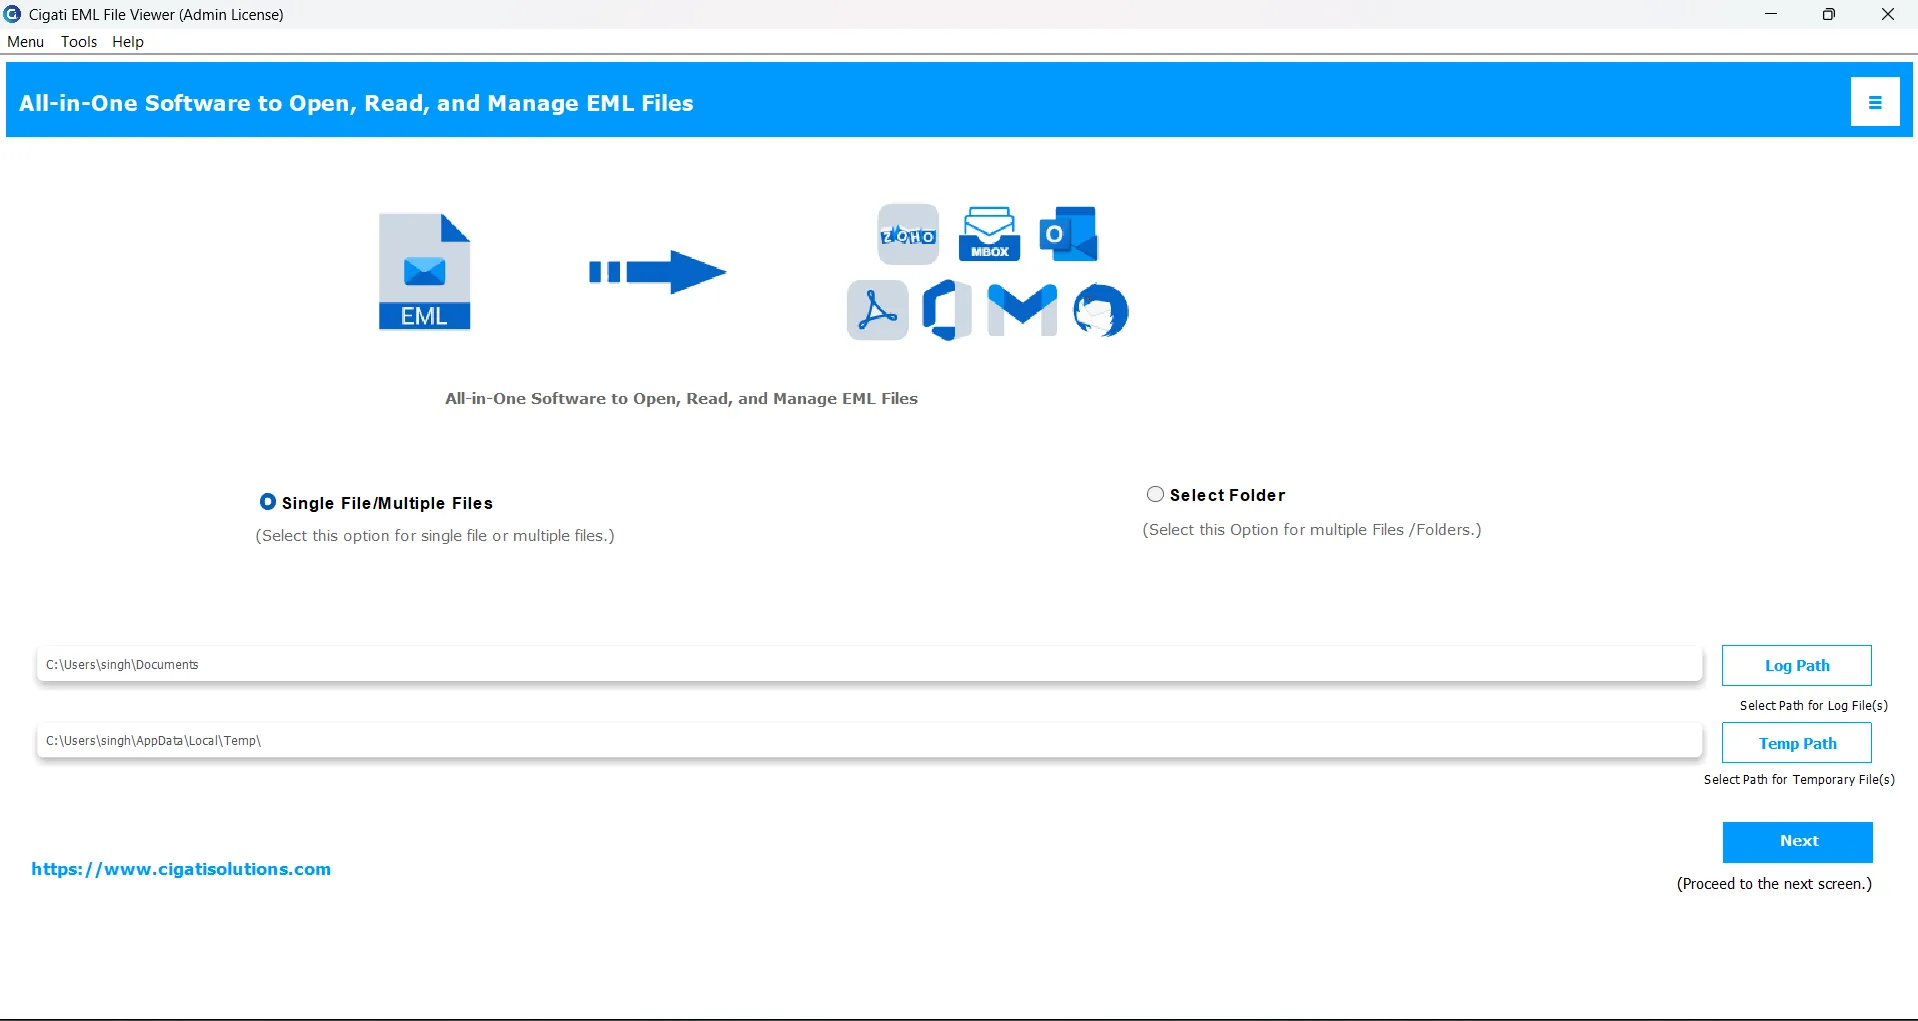
Download and install the Cigati EML File Viewer on your system. Once installed, launch the software.
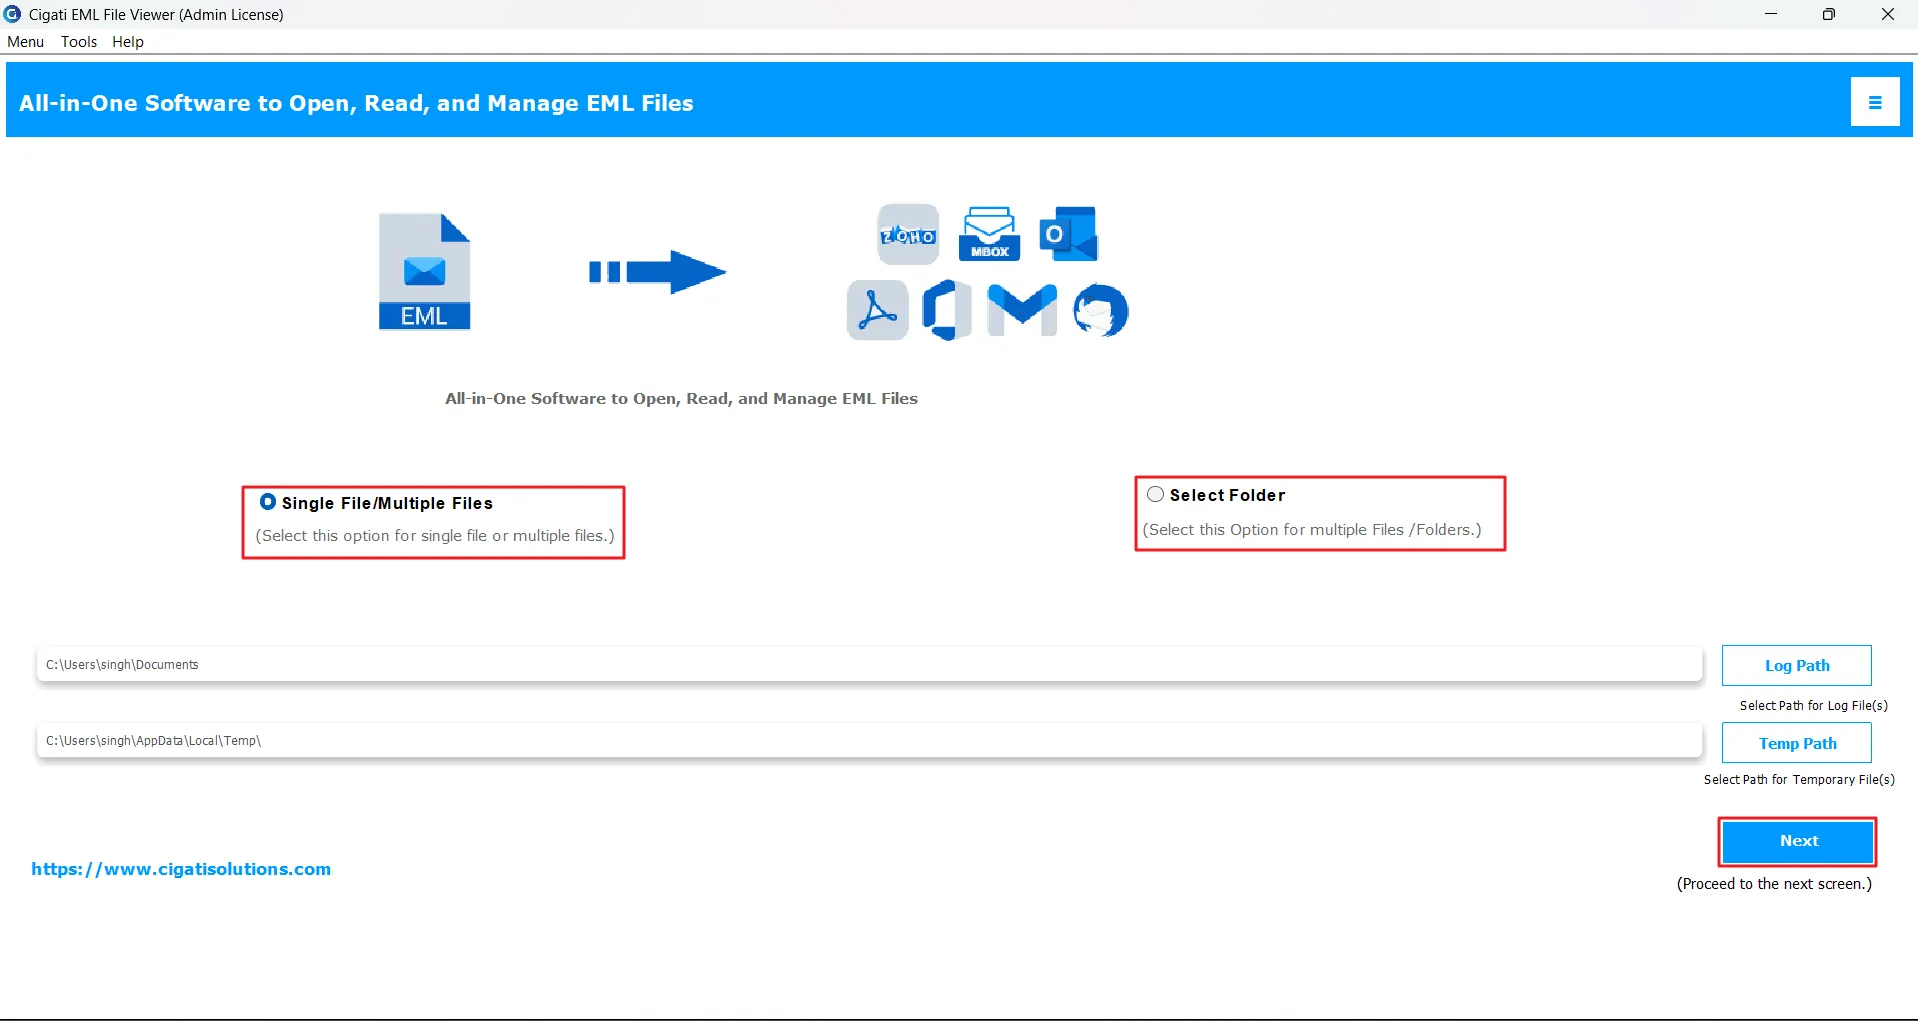
On the home screen, choose how you want to add your data:
Click Next to continue.
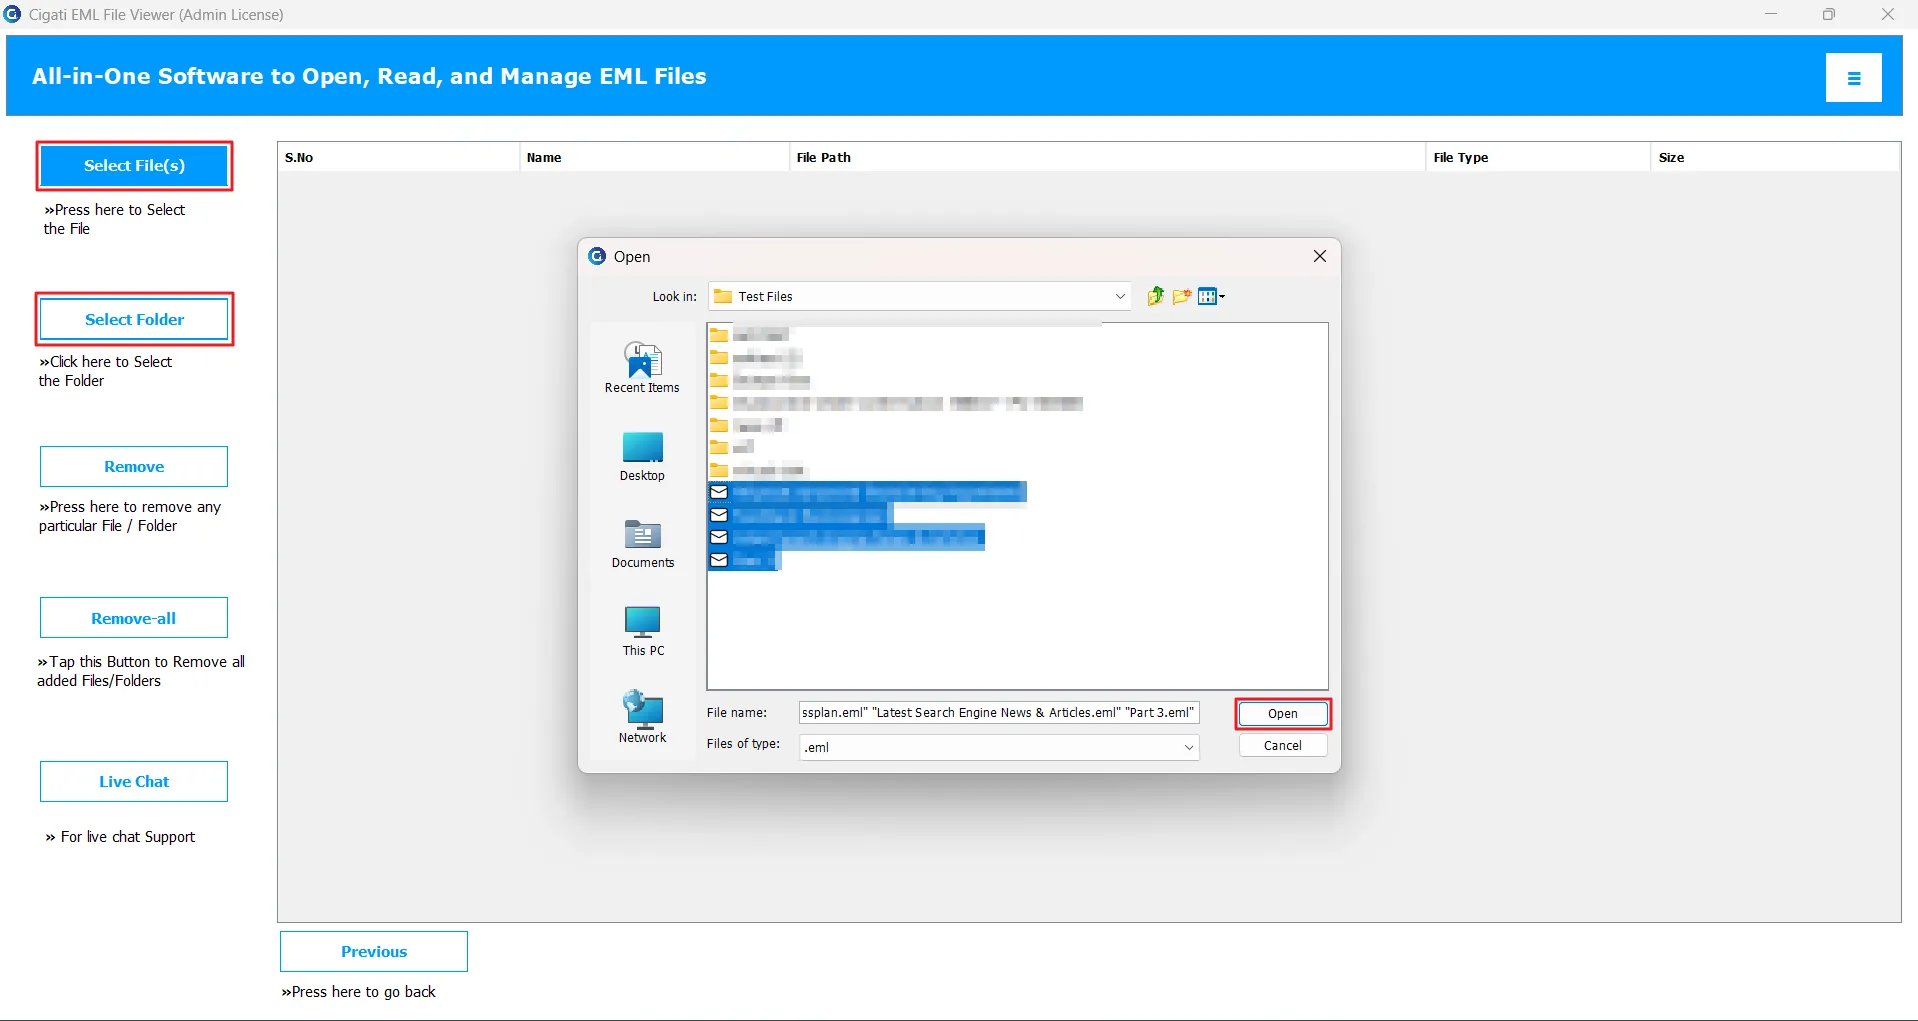
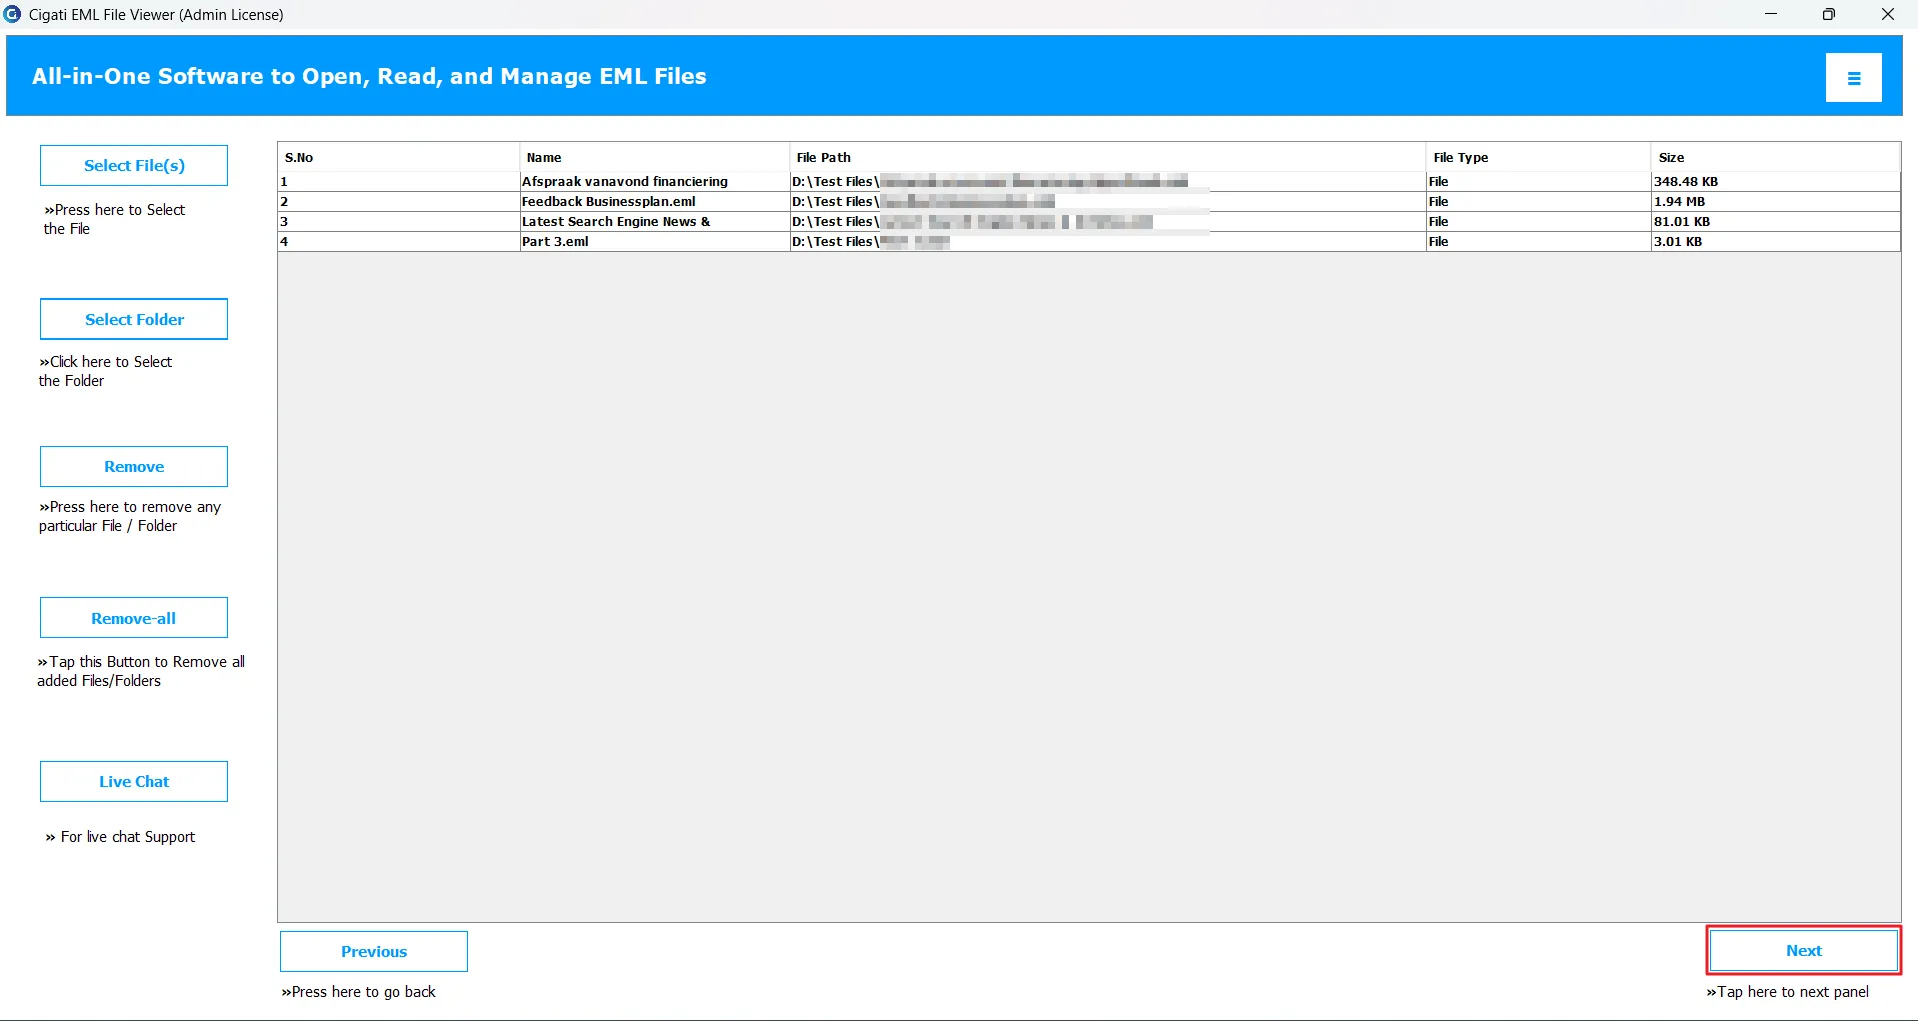
Browse and select your EML file(s) using the Select Files or Select Folder option. Click Open to load them into the application.
The selected EML file(s) will be displayed on the screen. Verify the list and click Next.
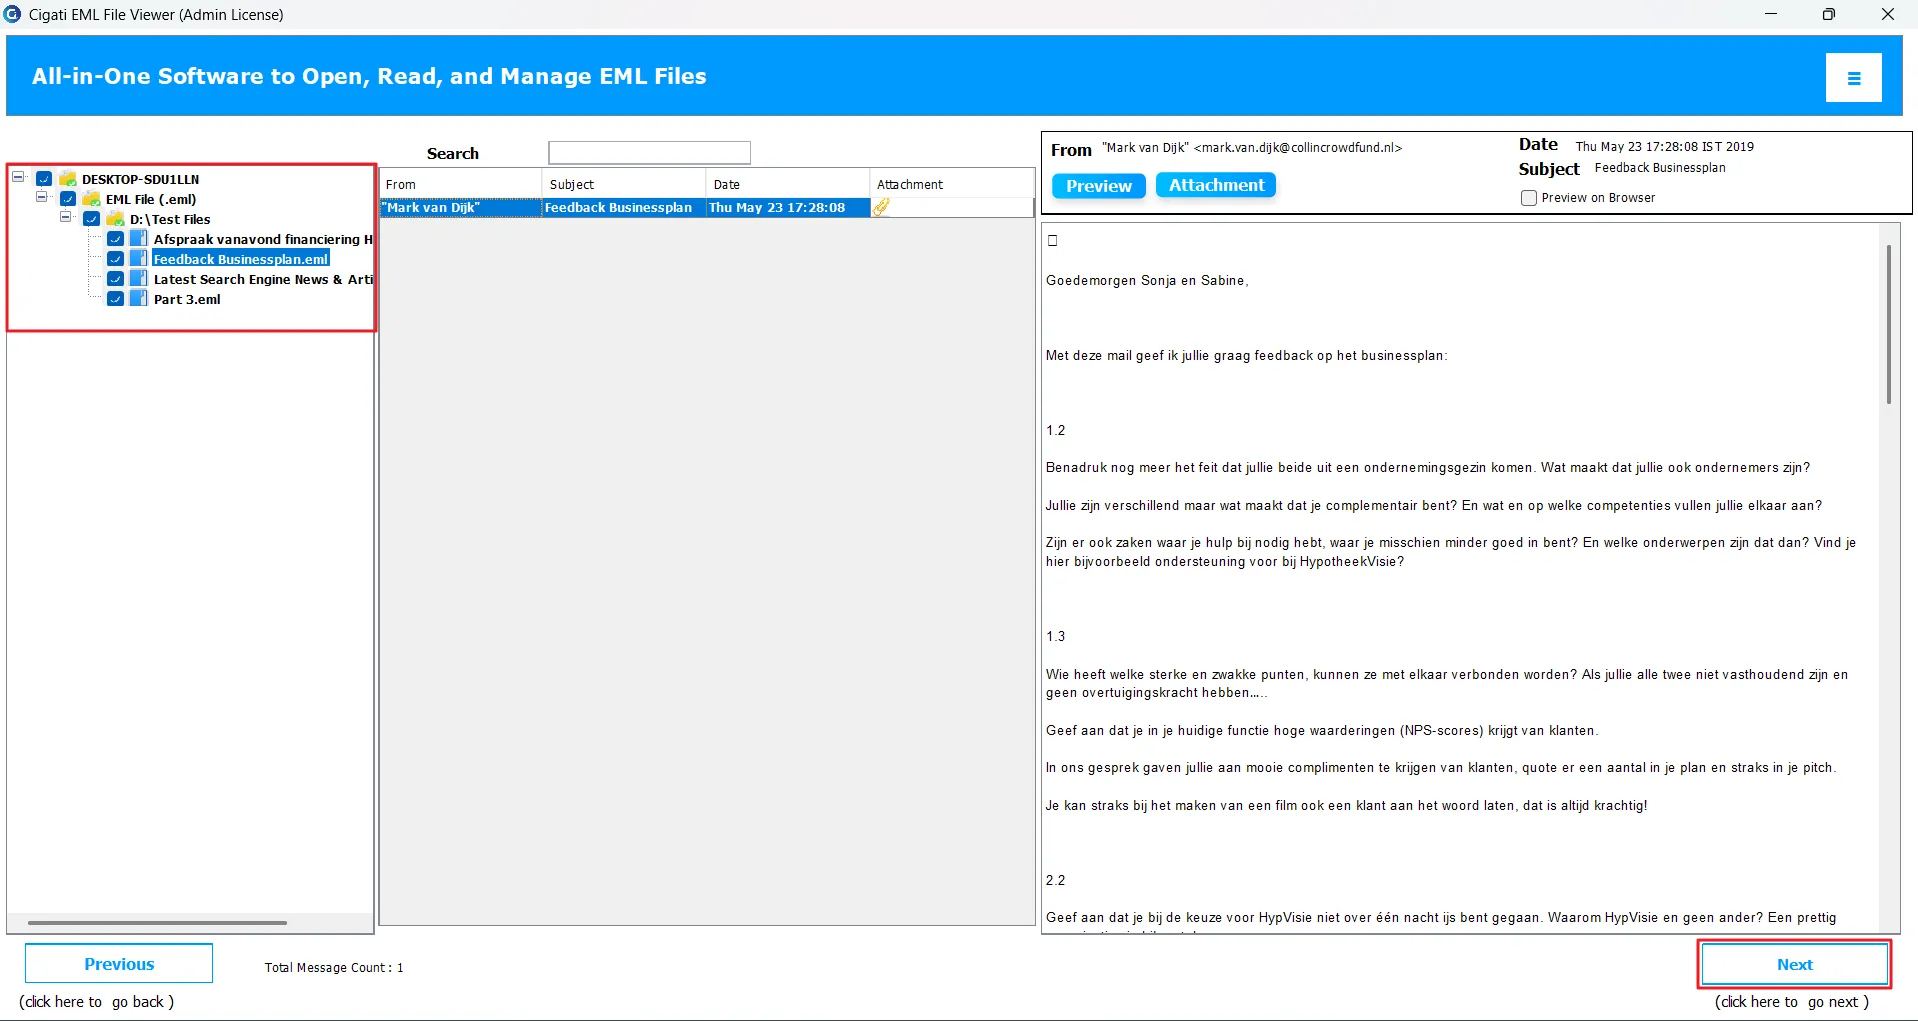
The software will show a complete preview of your mailbox data. Review the emails and select the folders you want to include in the process. Click Next.
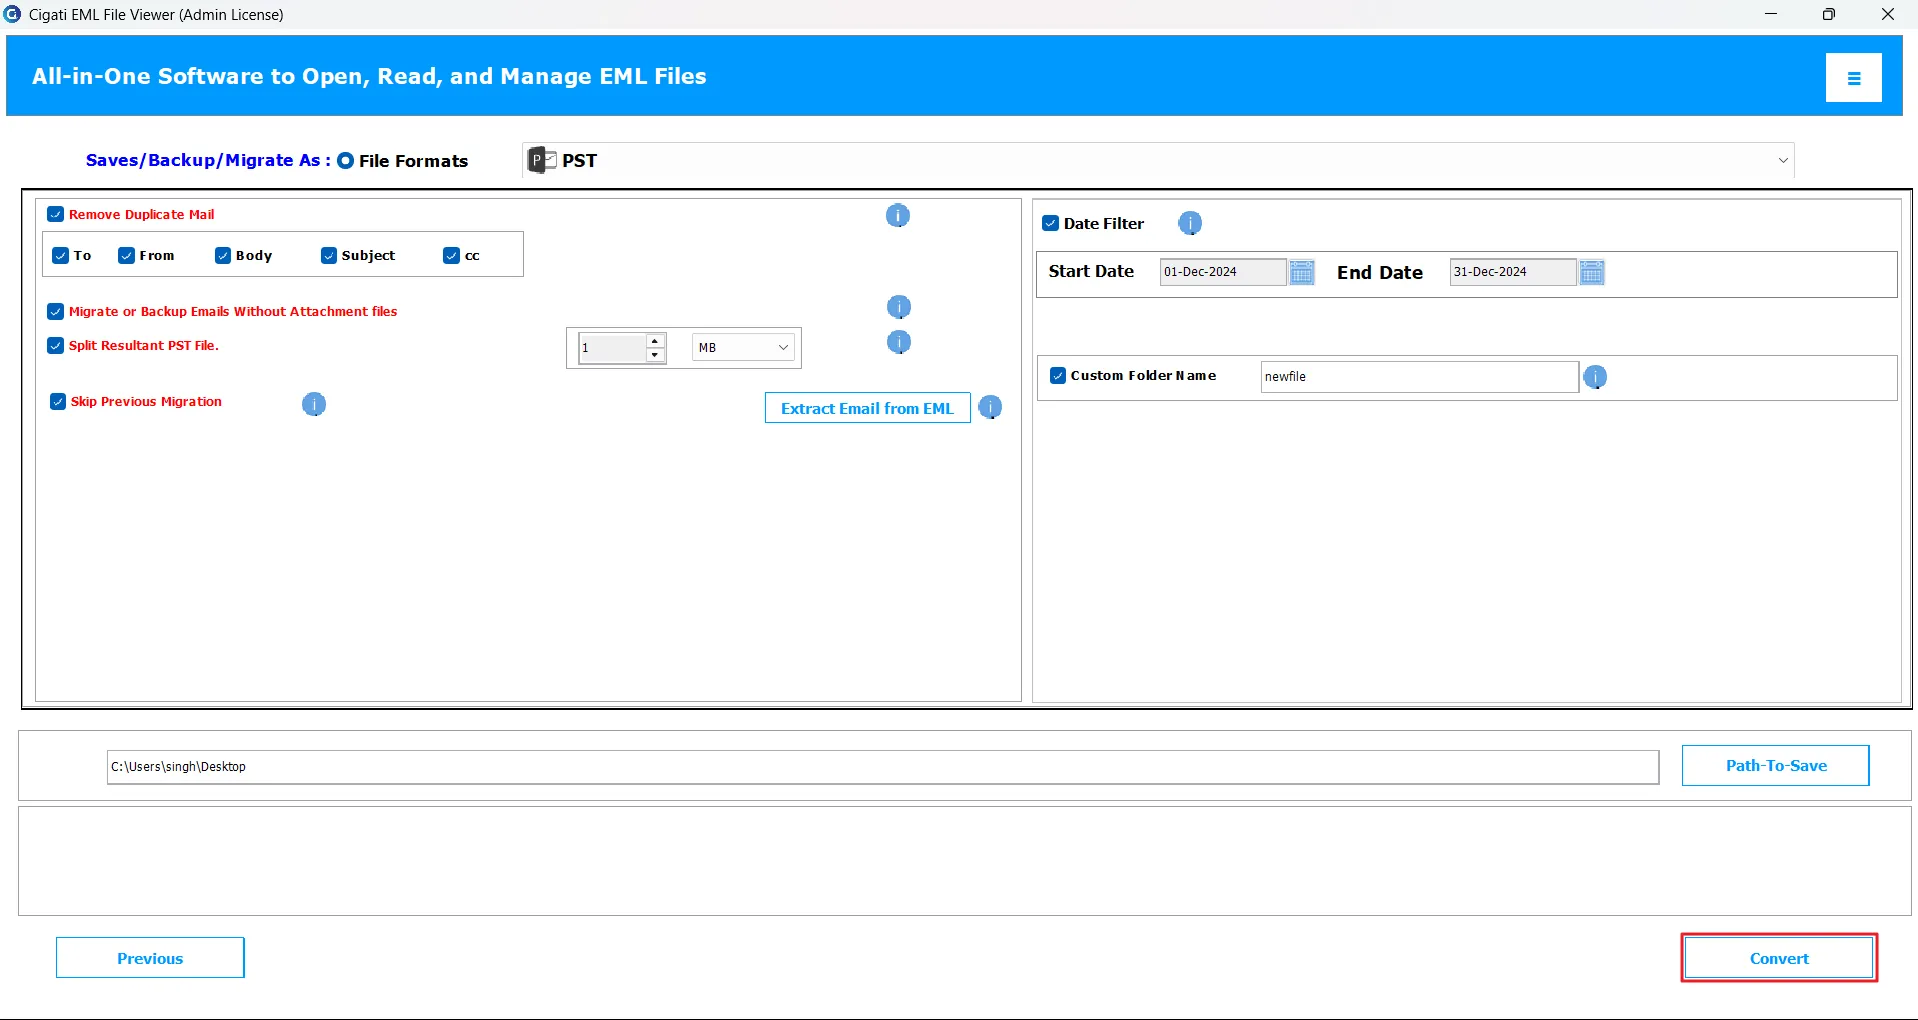
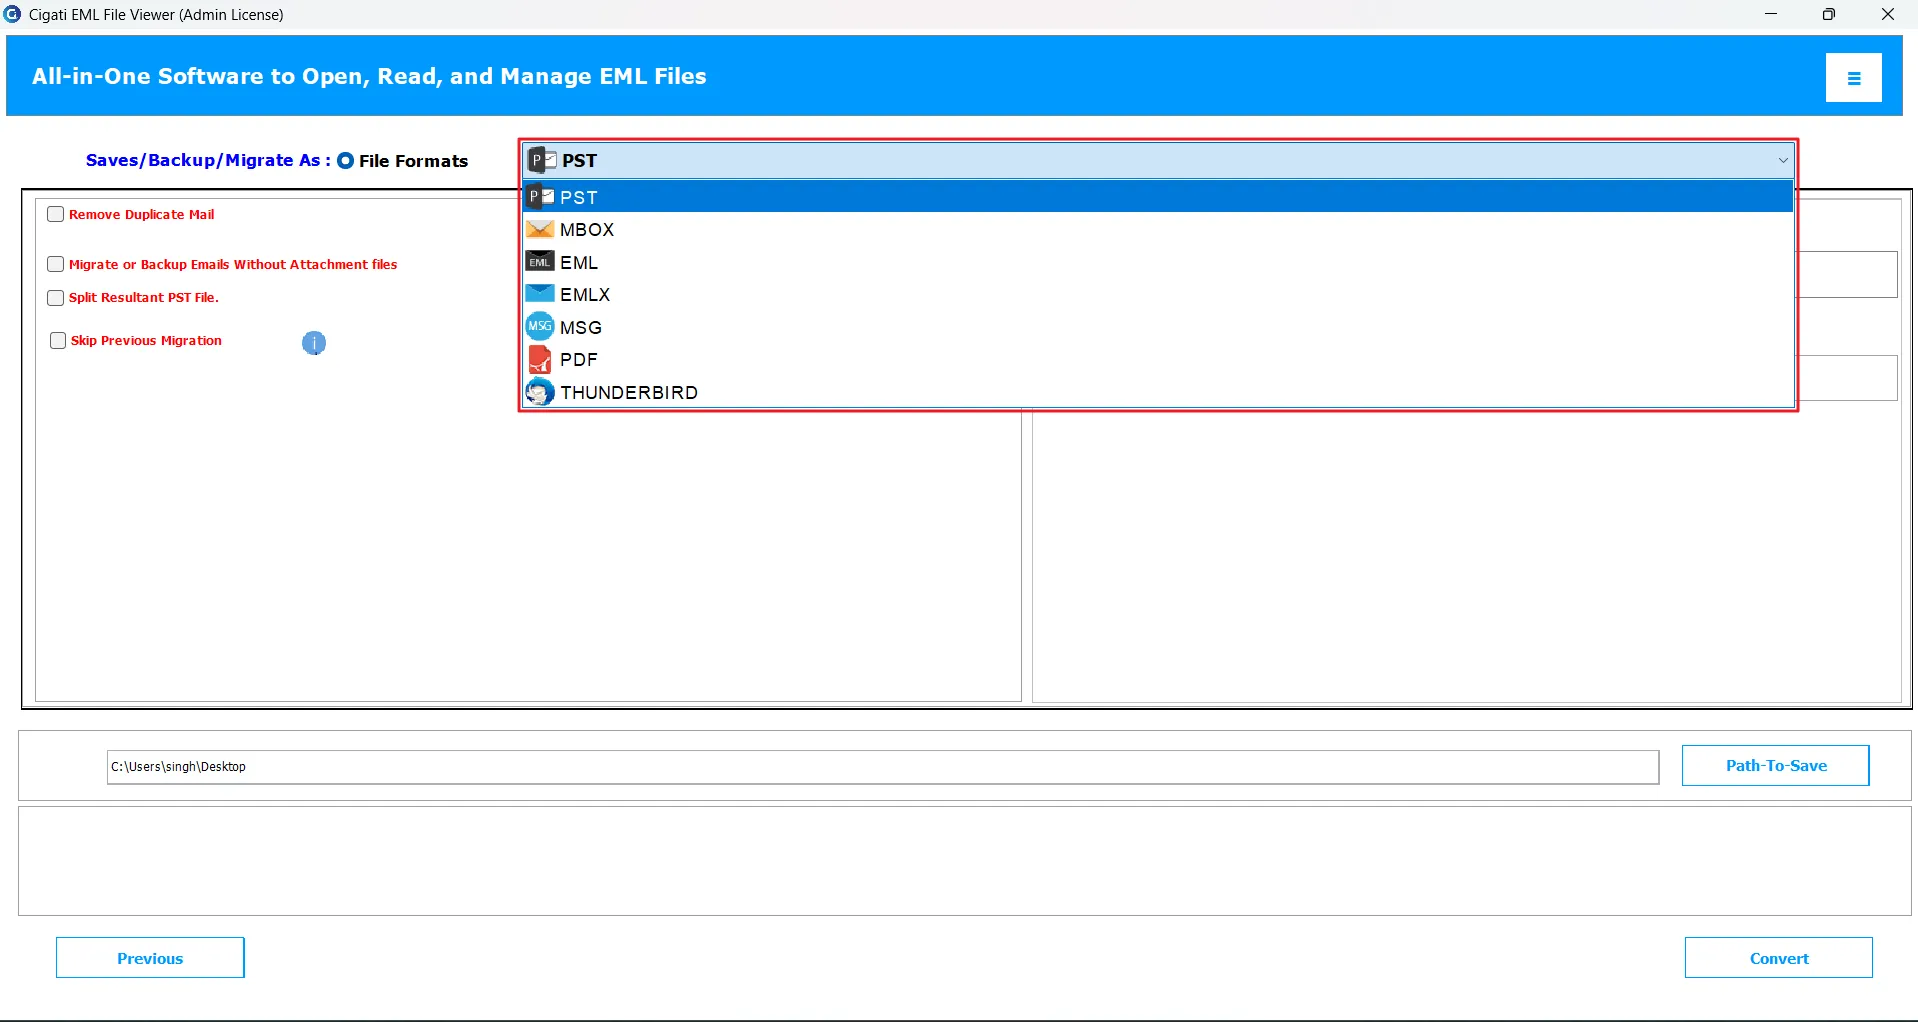
Choose PST as the output file format.
Enable the Remove Duplicate Emails option to automatically eliminate duplicate emails based on common attributes such as To, From, Body, Subject, and CC.
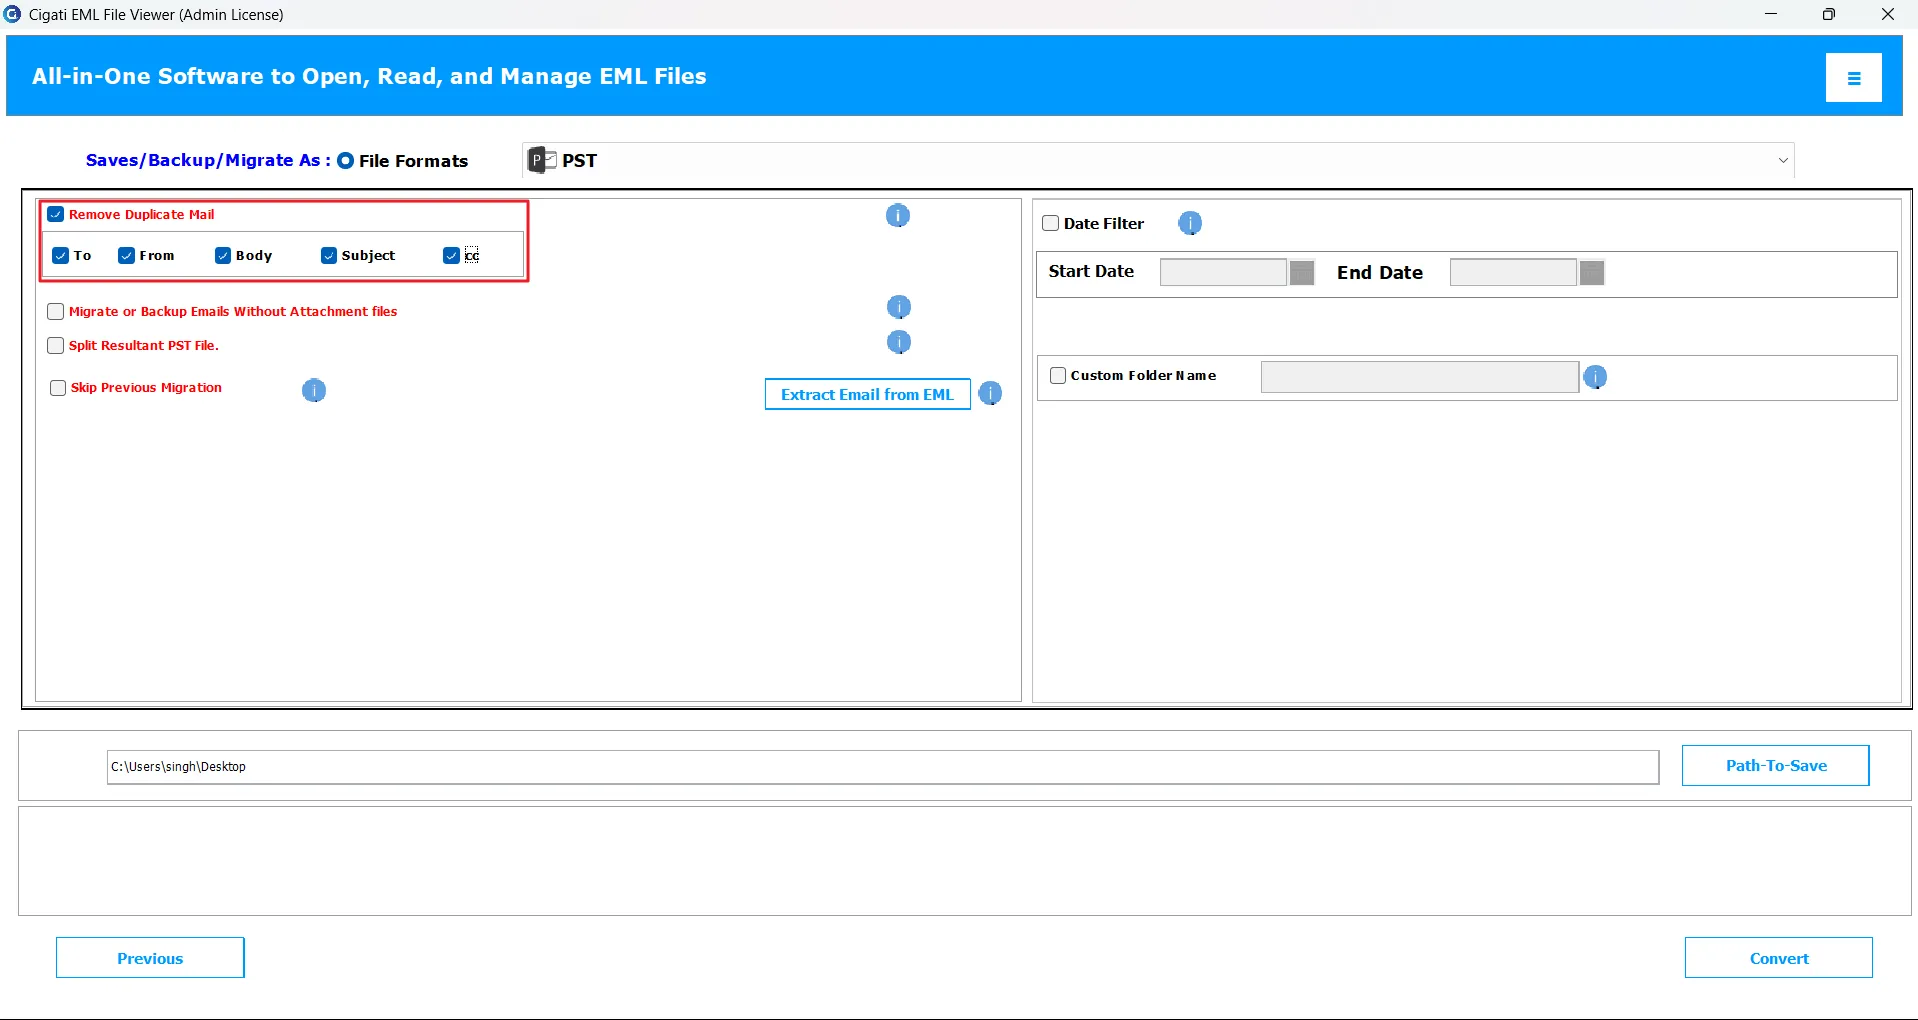
Check the Migrate or Backup Emails without Attachment Files option if you want to exclude attachments from the final PST file.
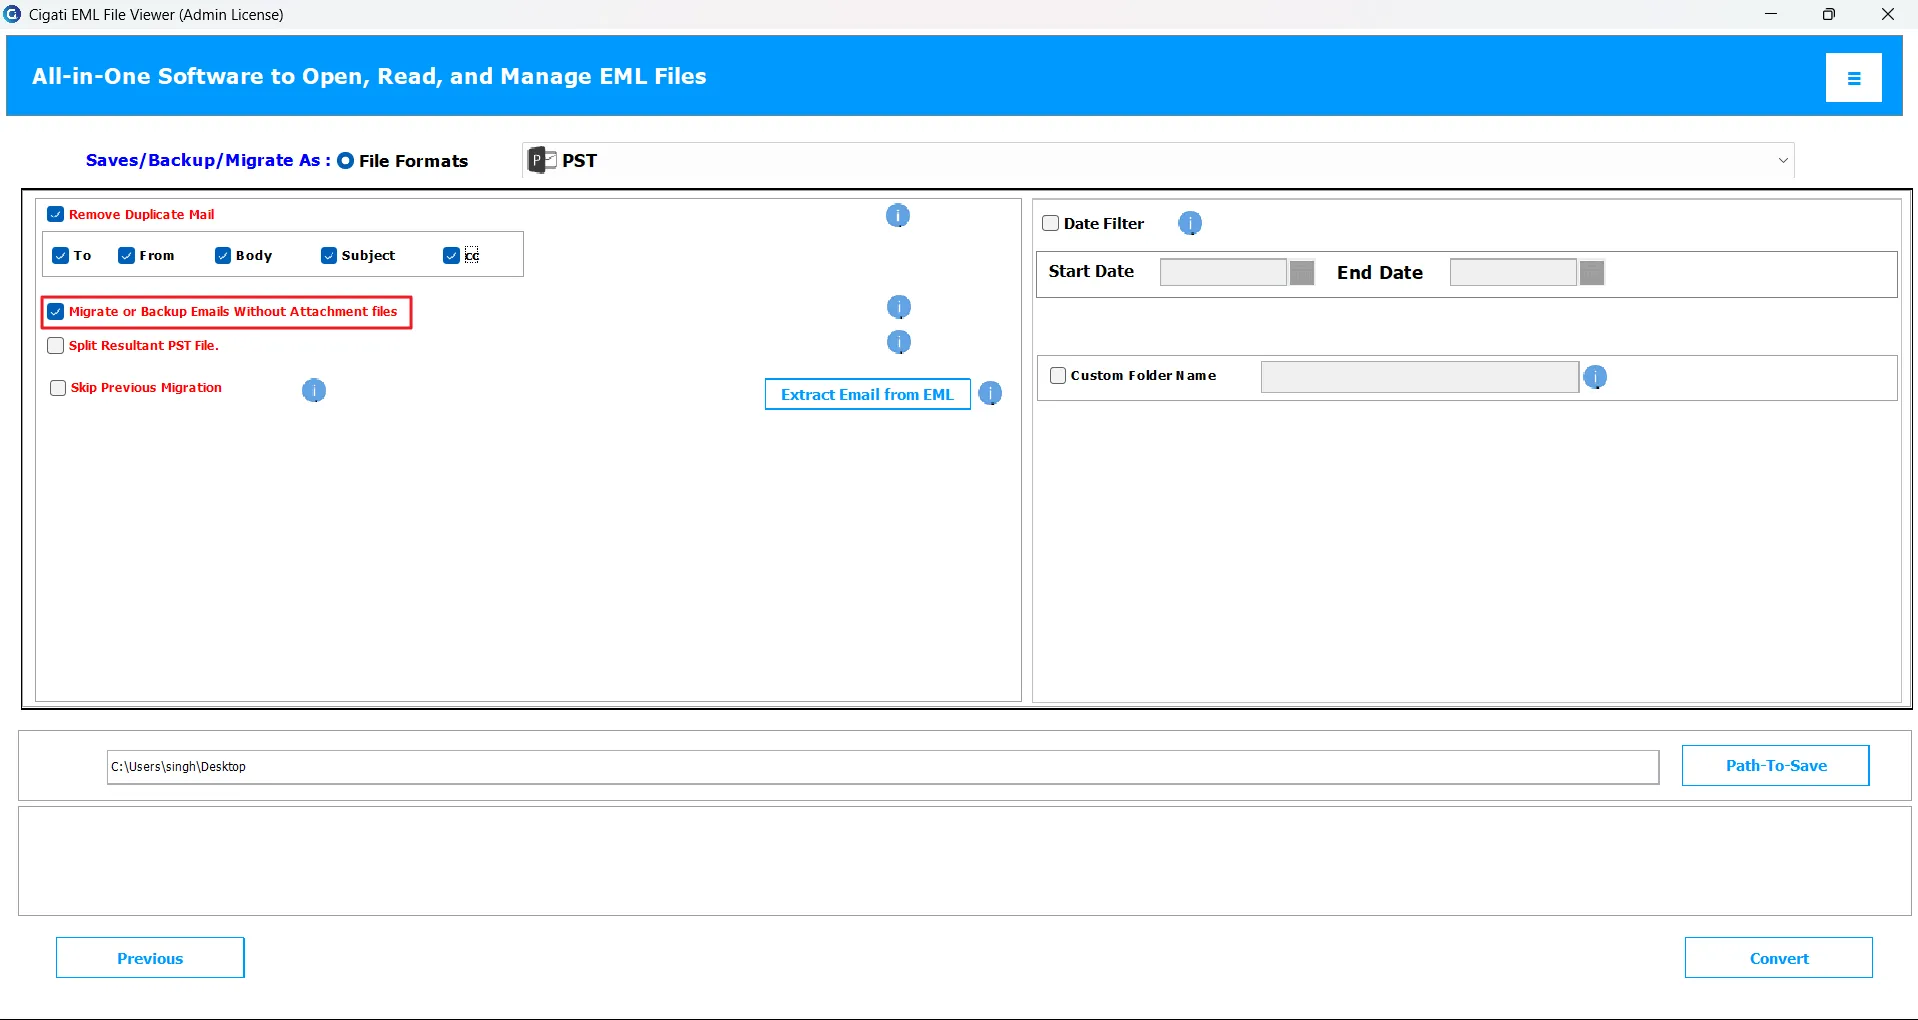
Enable the Split Resultant PST feature if you want to divide the output PST into smaller, more manageable files.
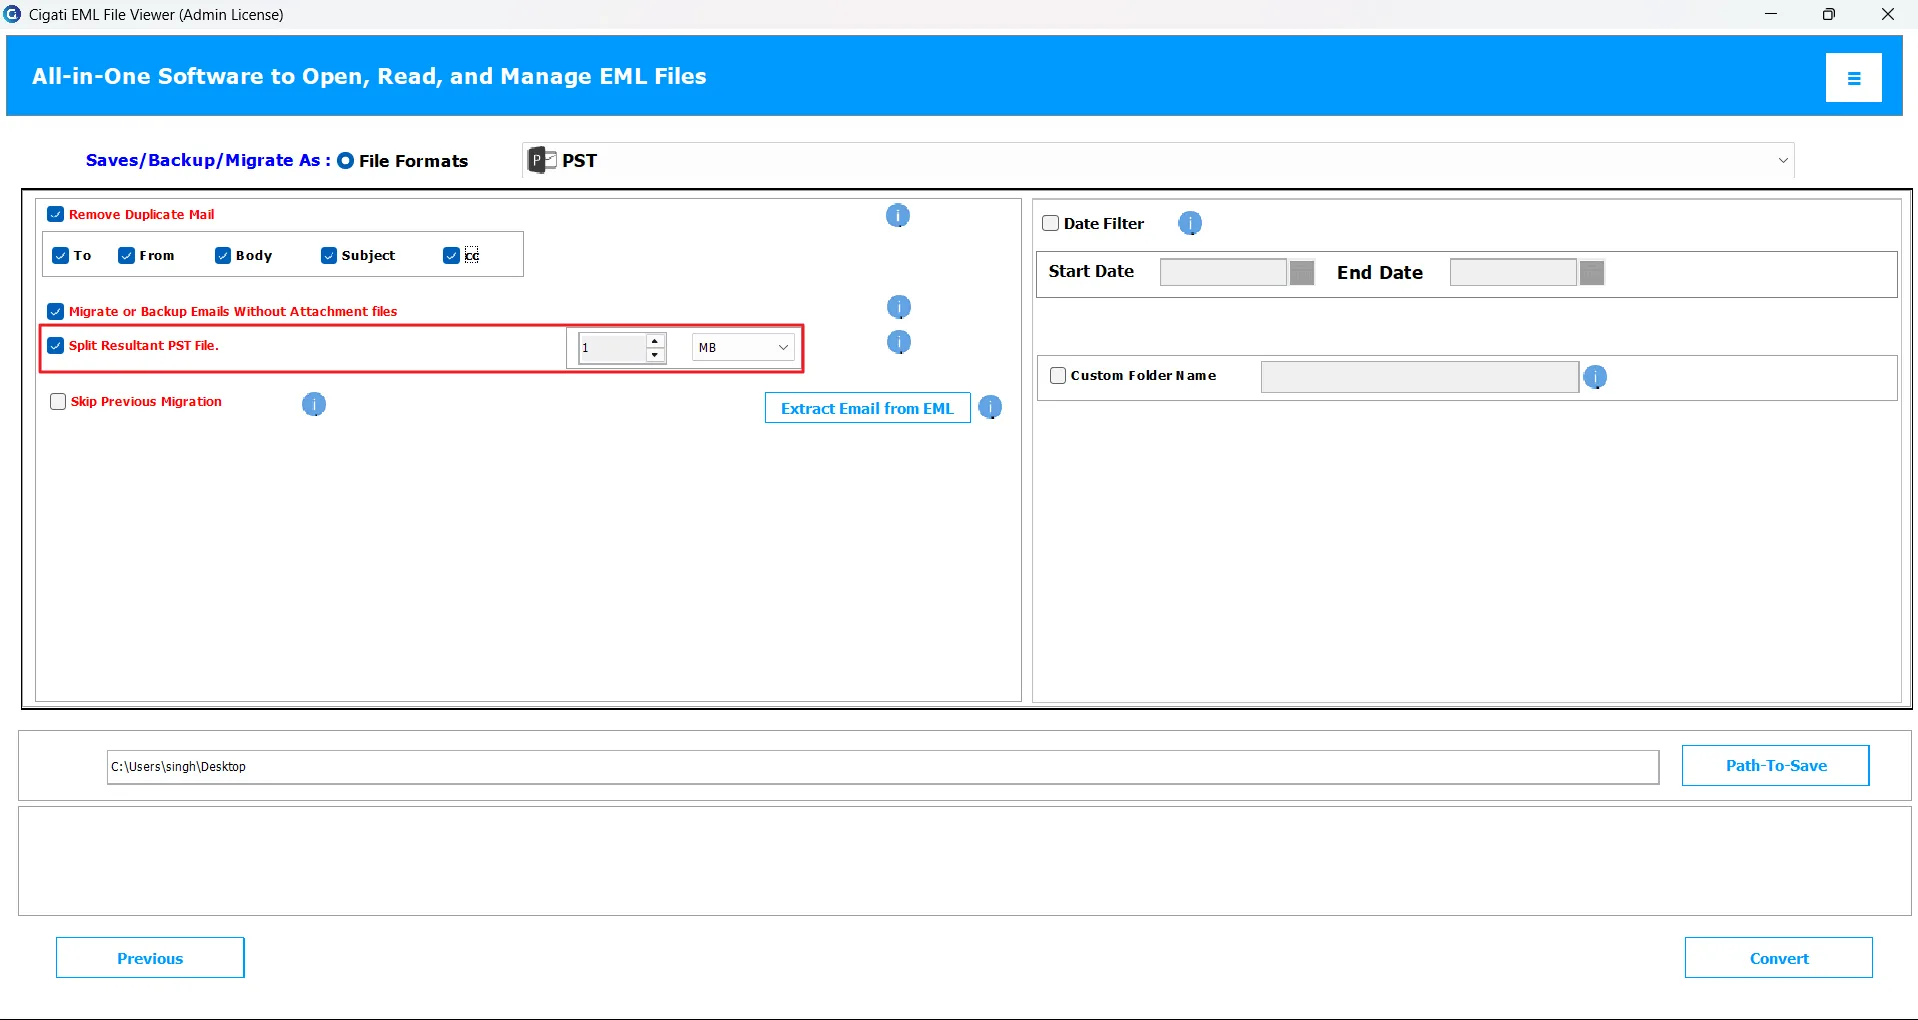
Turn on the Skip Previous Migration option to avoid reprocessing emails that were already migrated in an earlier session.
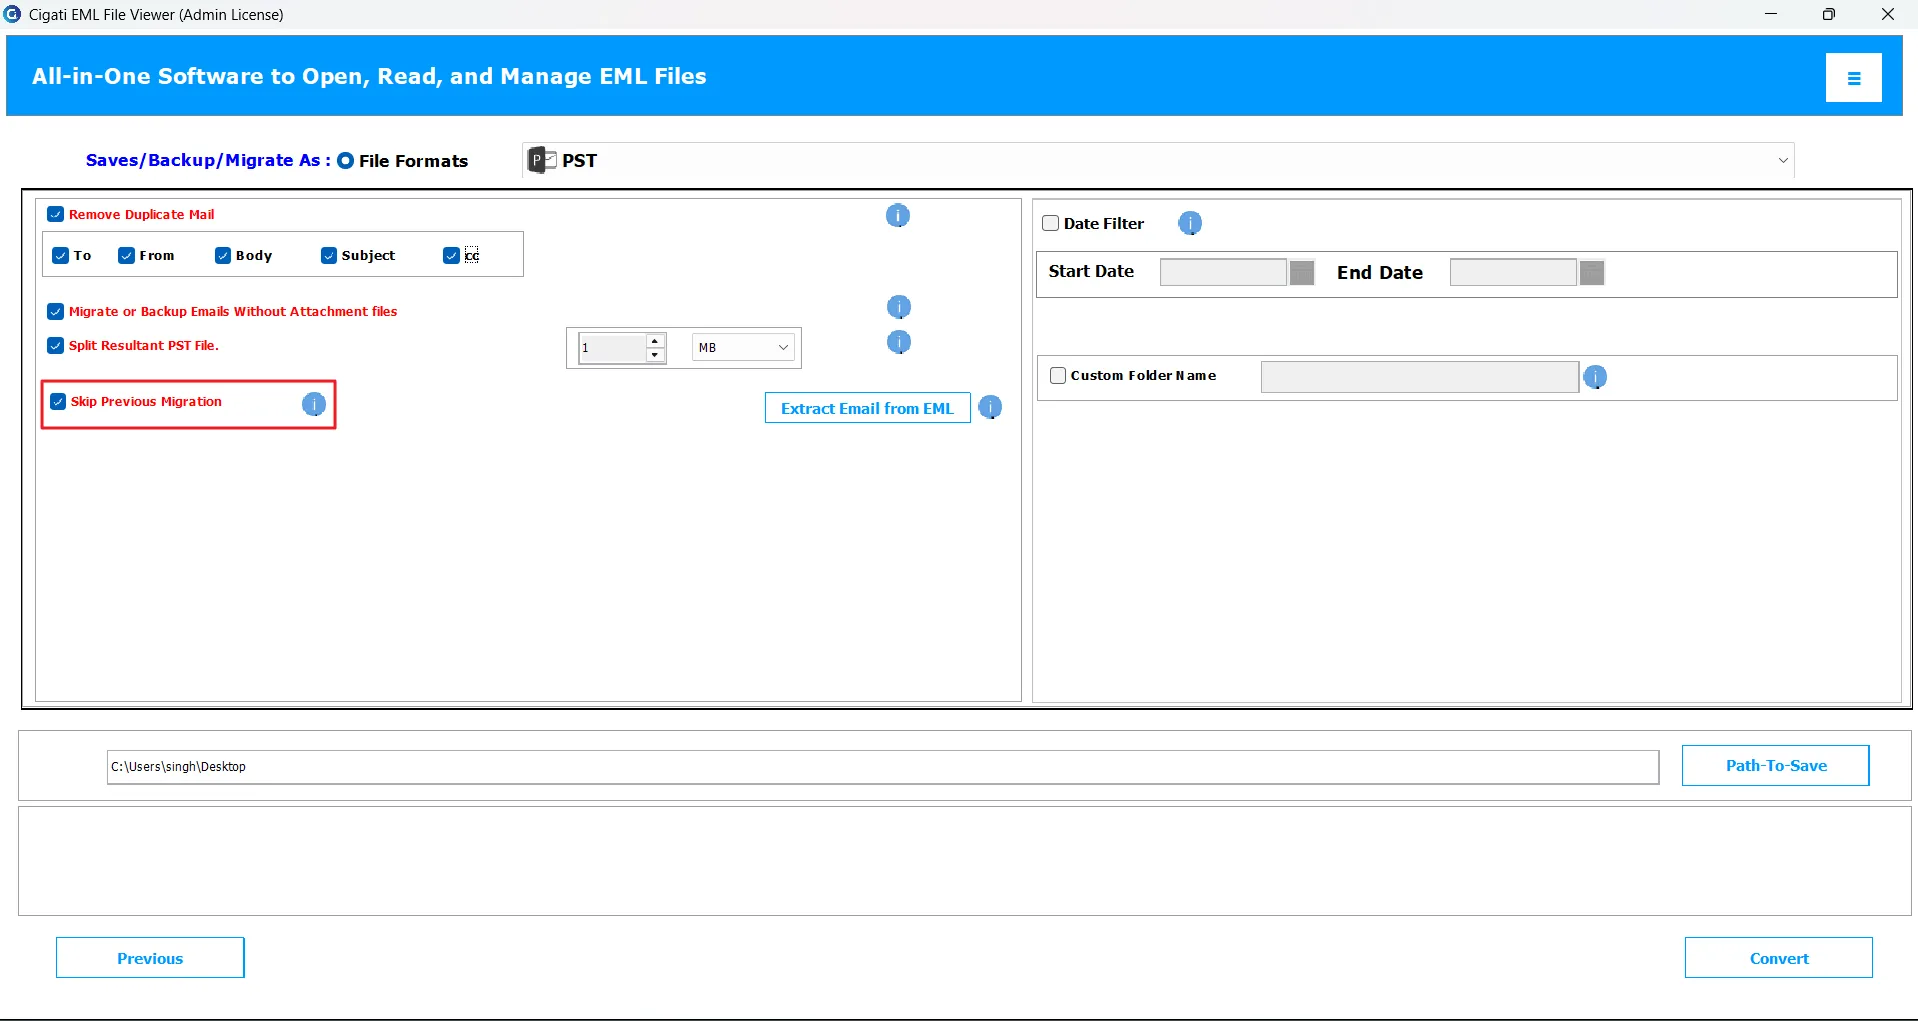
Use the Extract Emails from EML File option to extract email metadata and save it separately in CSV or XLSX format.
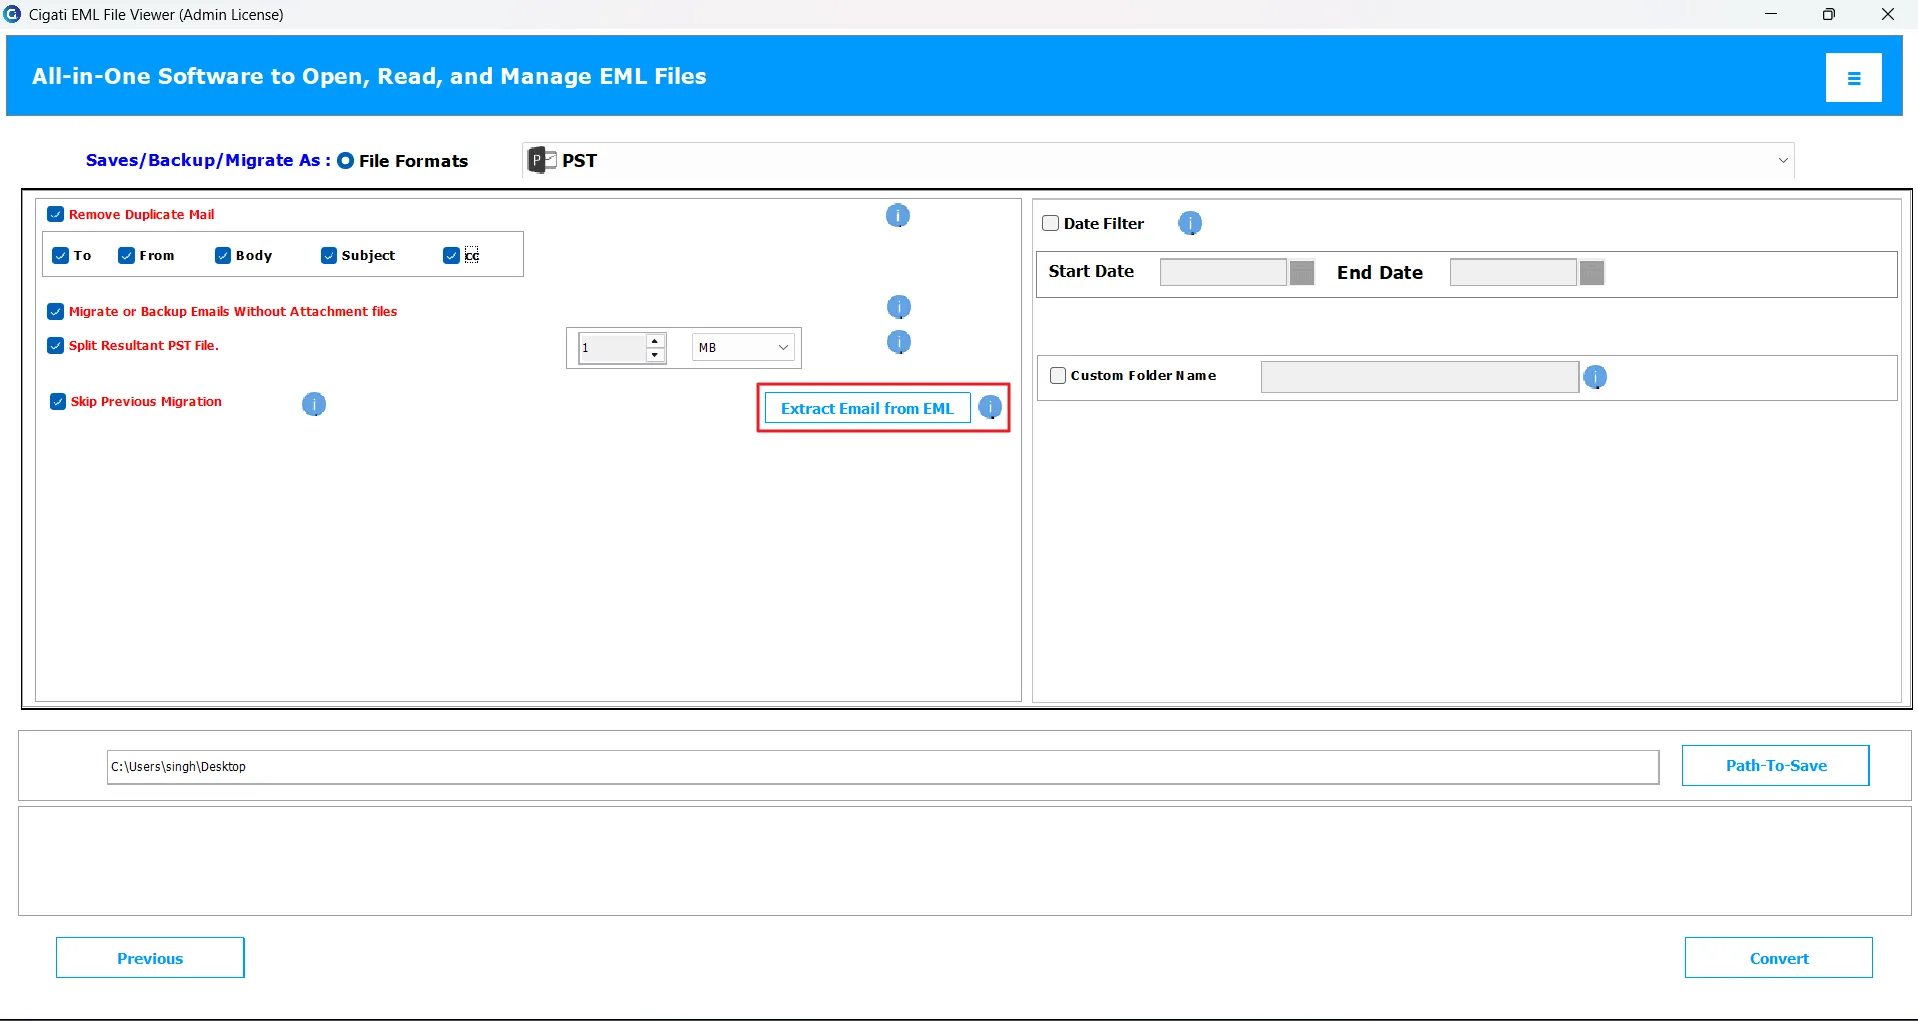
Apply the Date Filter to include emails from a specific date range only.
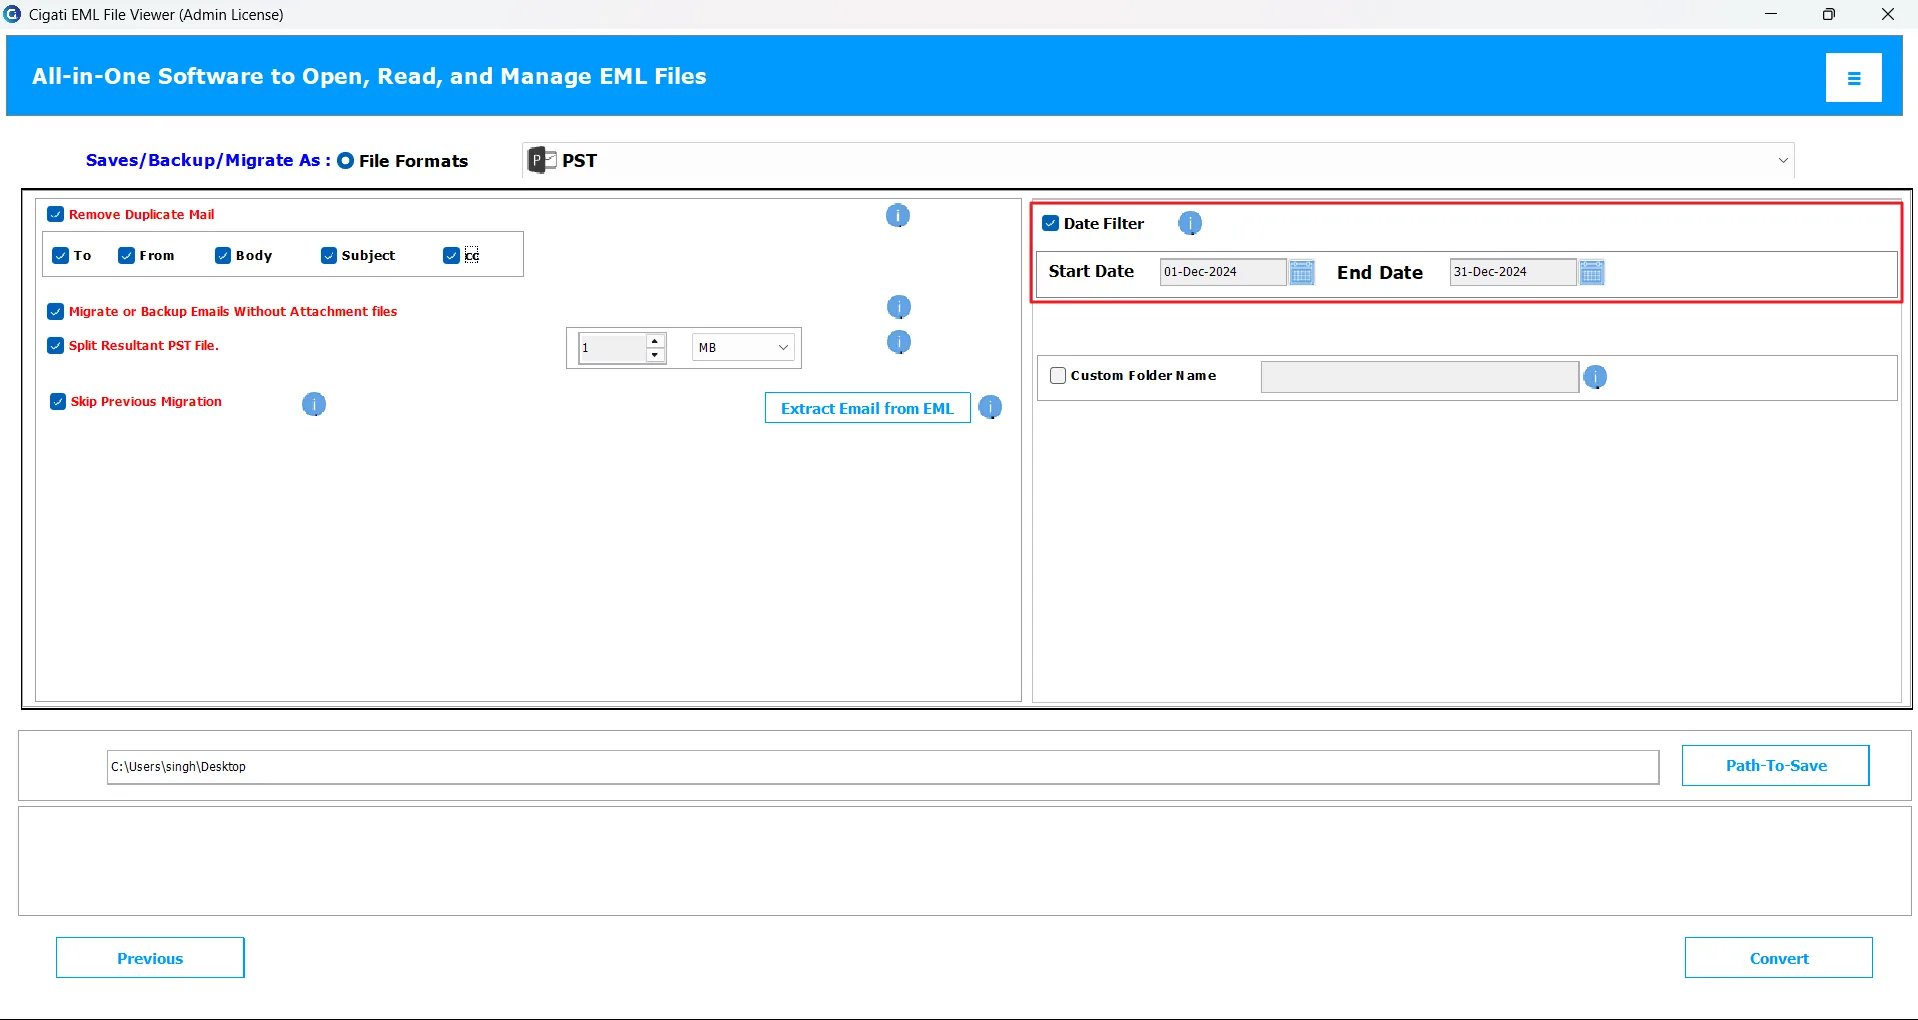
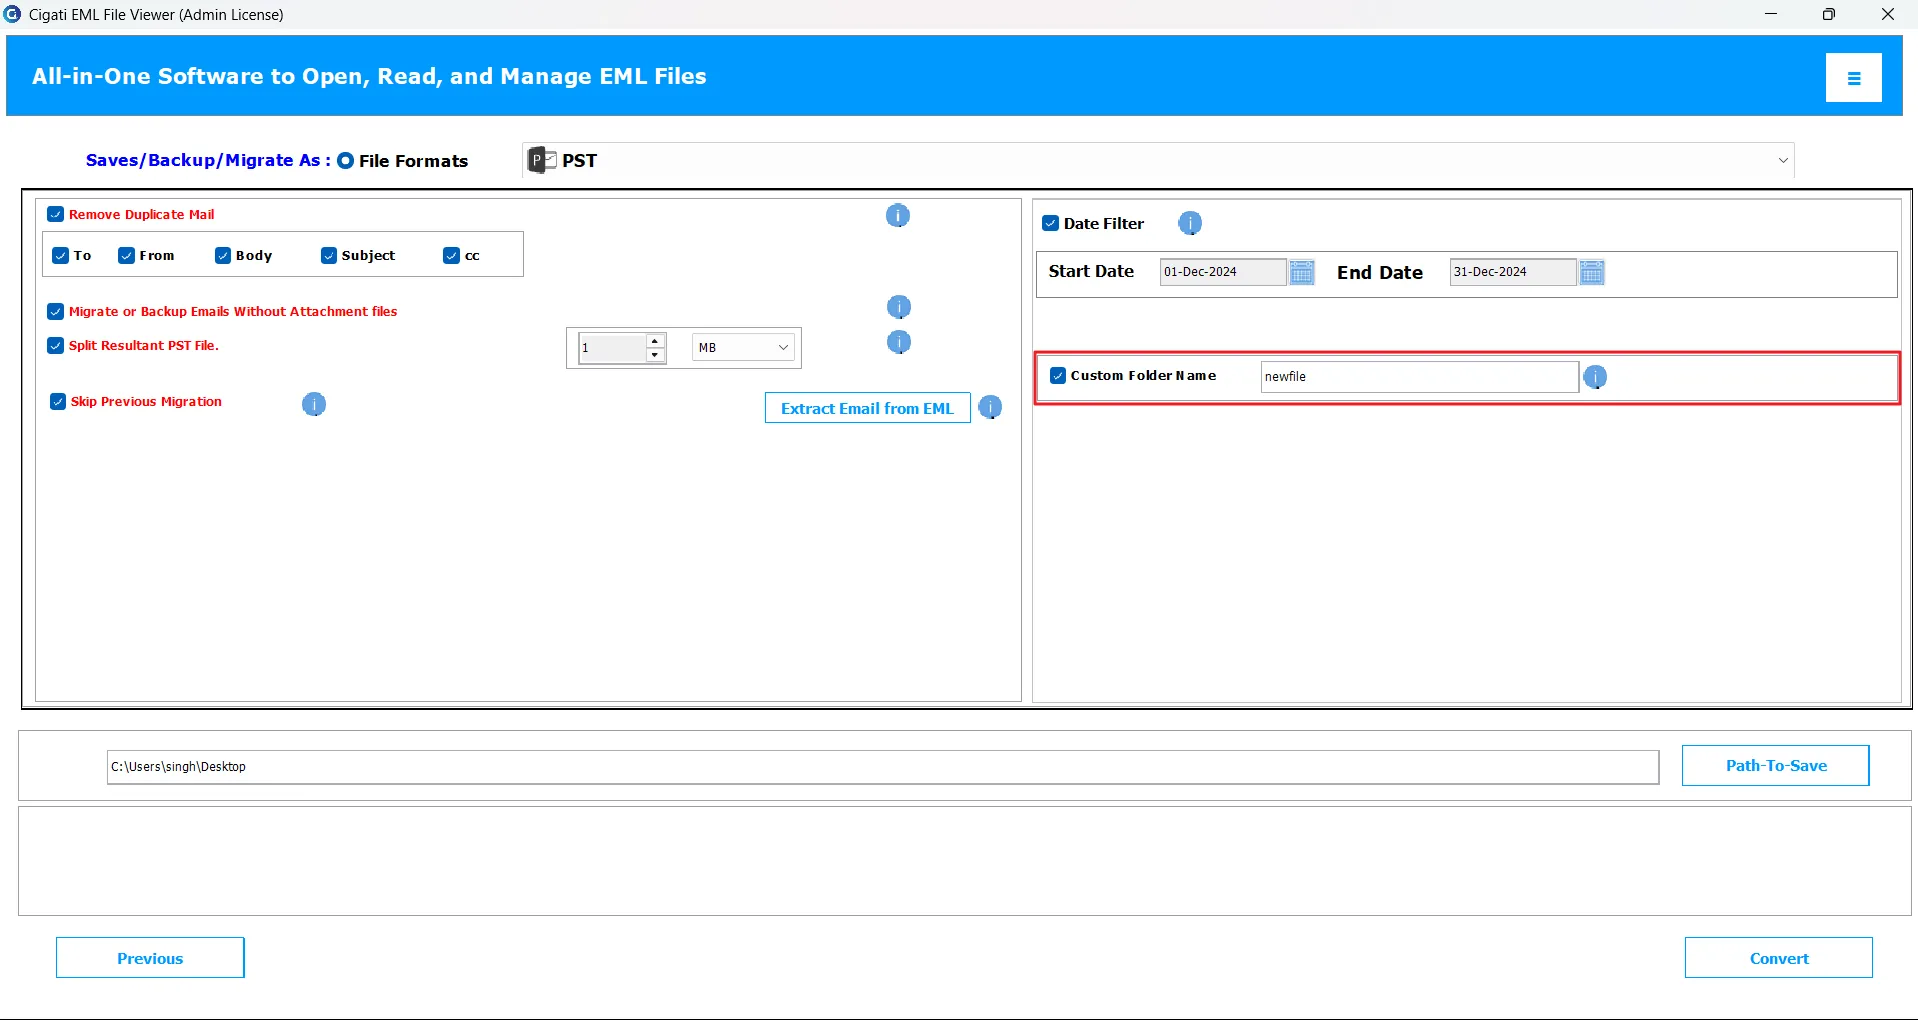
Use the Custom Folder Name option to assign a personalized name to the output folder.
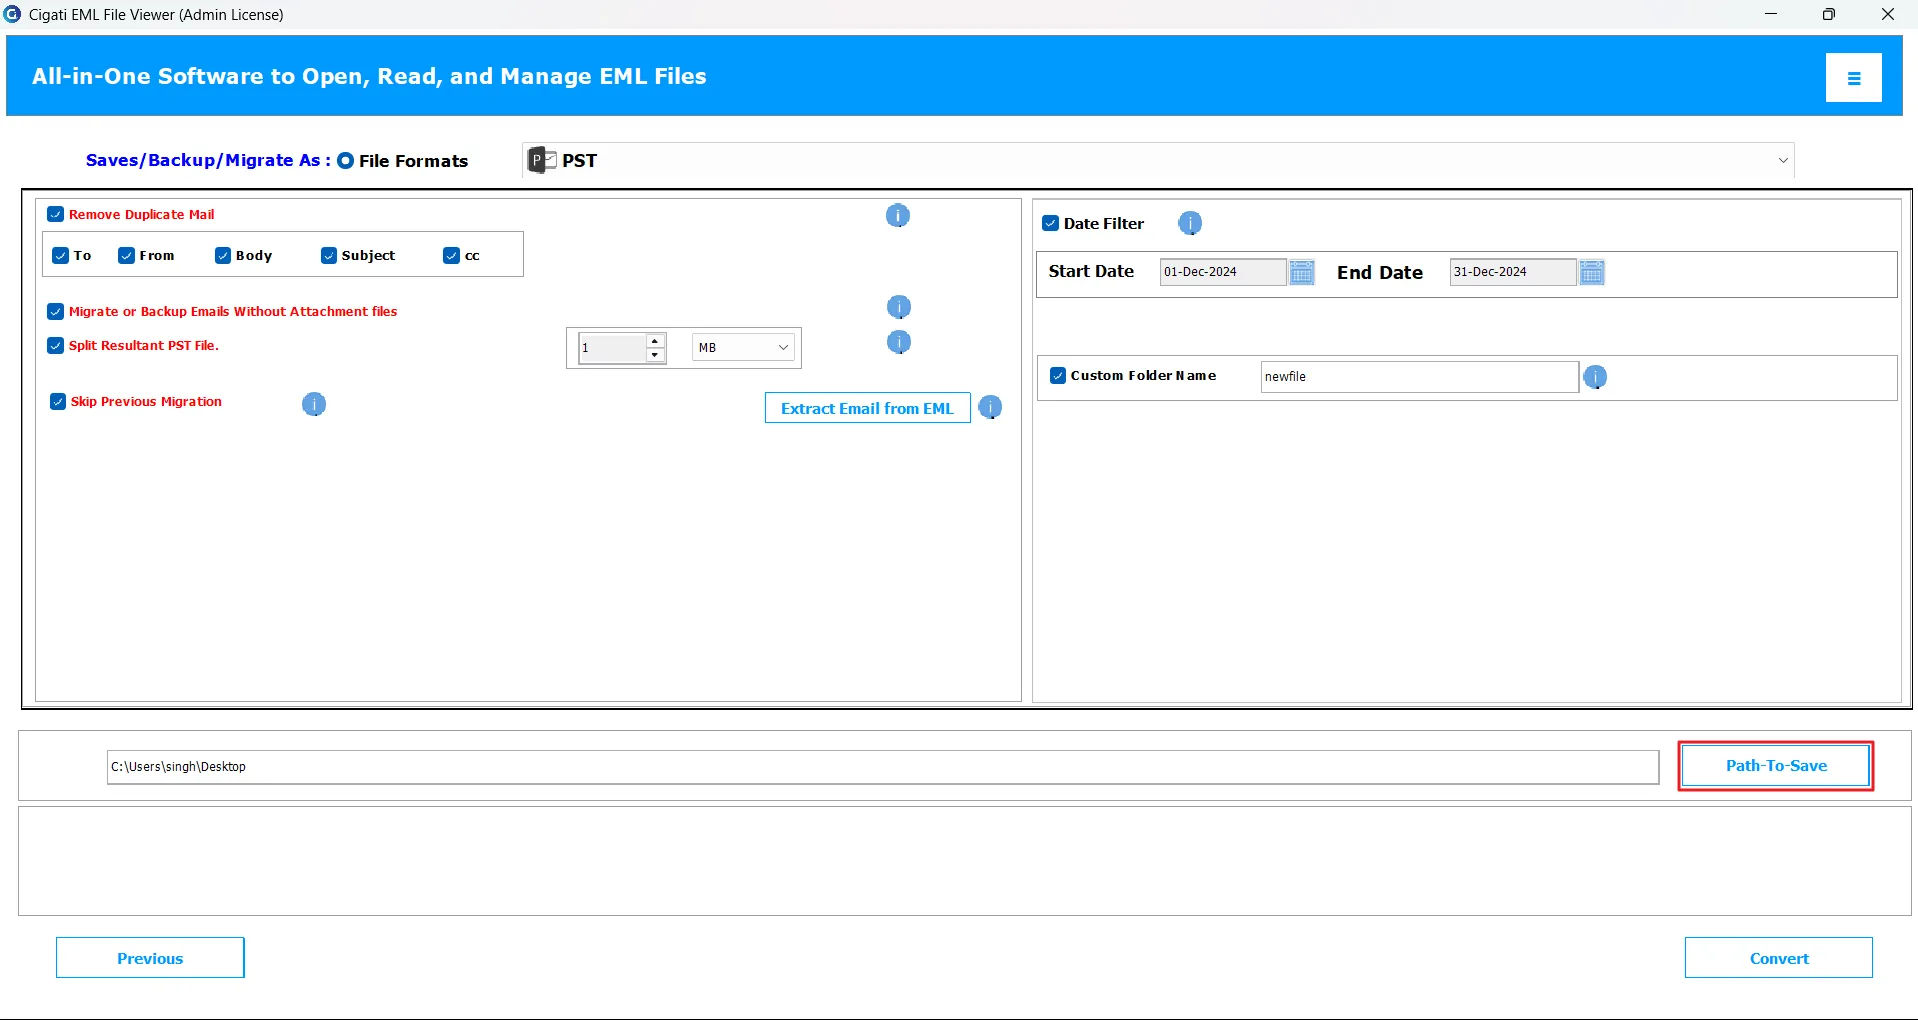
Click Path to Save to choose the destination where the converted file will be stored.
Finally, click the Convert button to start the EML conversion process.