Gmail Backup Tool
4.7
Here is the Guide to Save Emails from Gmail Account by using Cigati Gmail Backup Tool
A user-friendly application with an intuitive design for beginners to navigate effortlessly.
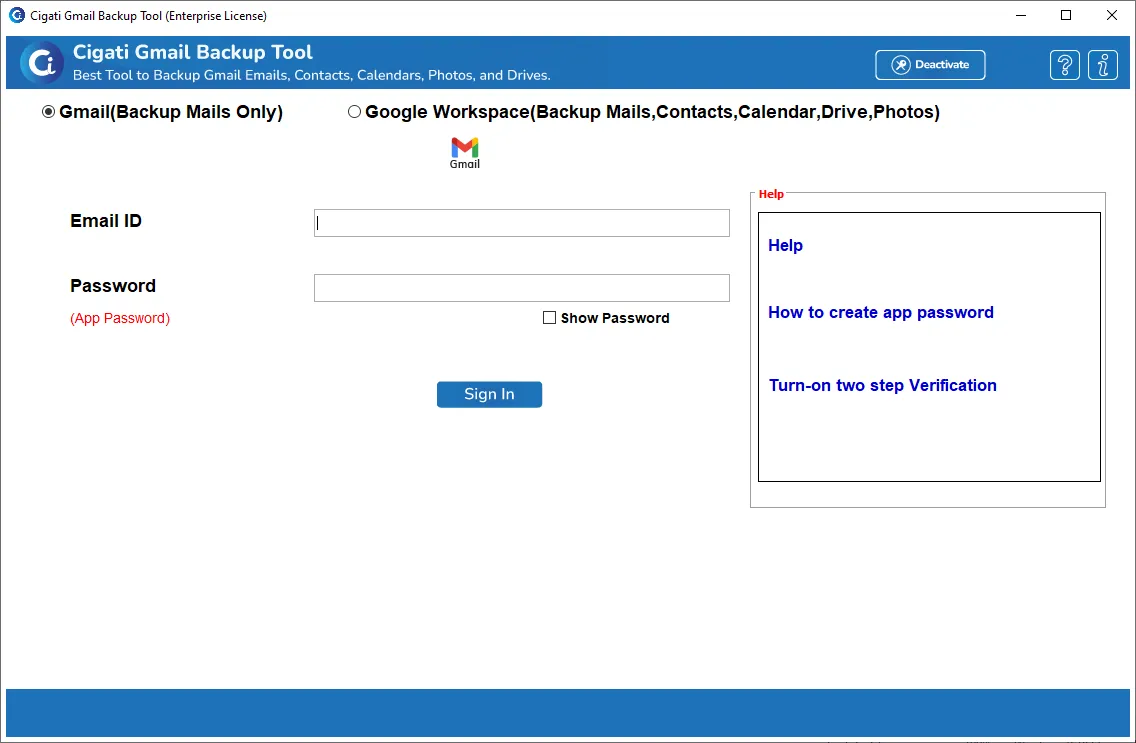
Download and launch the Cigati Gmail Backup Tool on your local system.
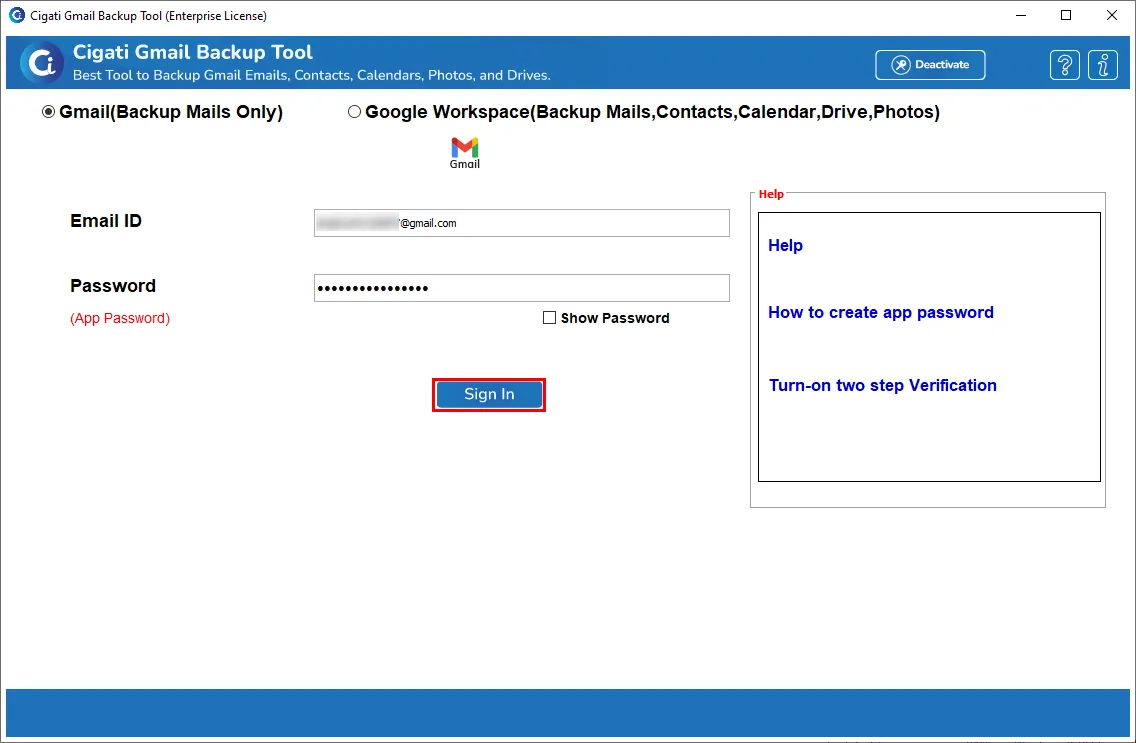
Enter your Gmail Email ID and the third-party app password, then click Sign In to proceed.
How to Generate a Third-Party App Password for Gmail
Note: Always use the third-party app password for authentication. Your regular Gmail password will not work.
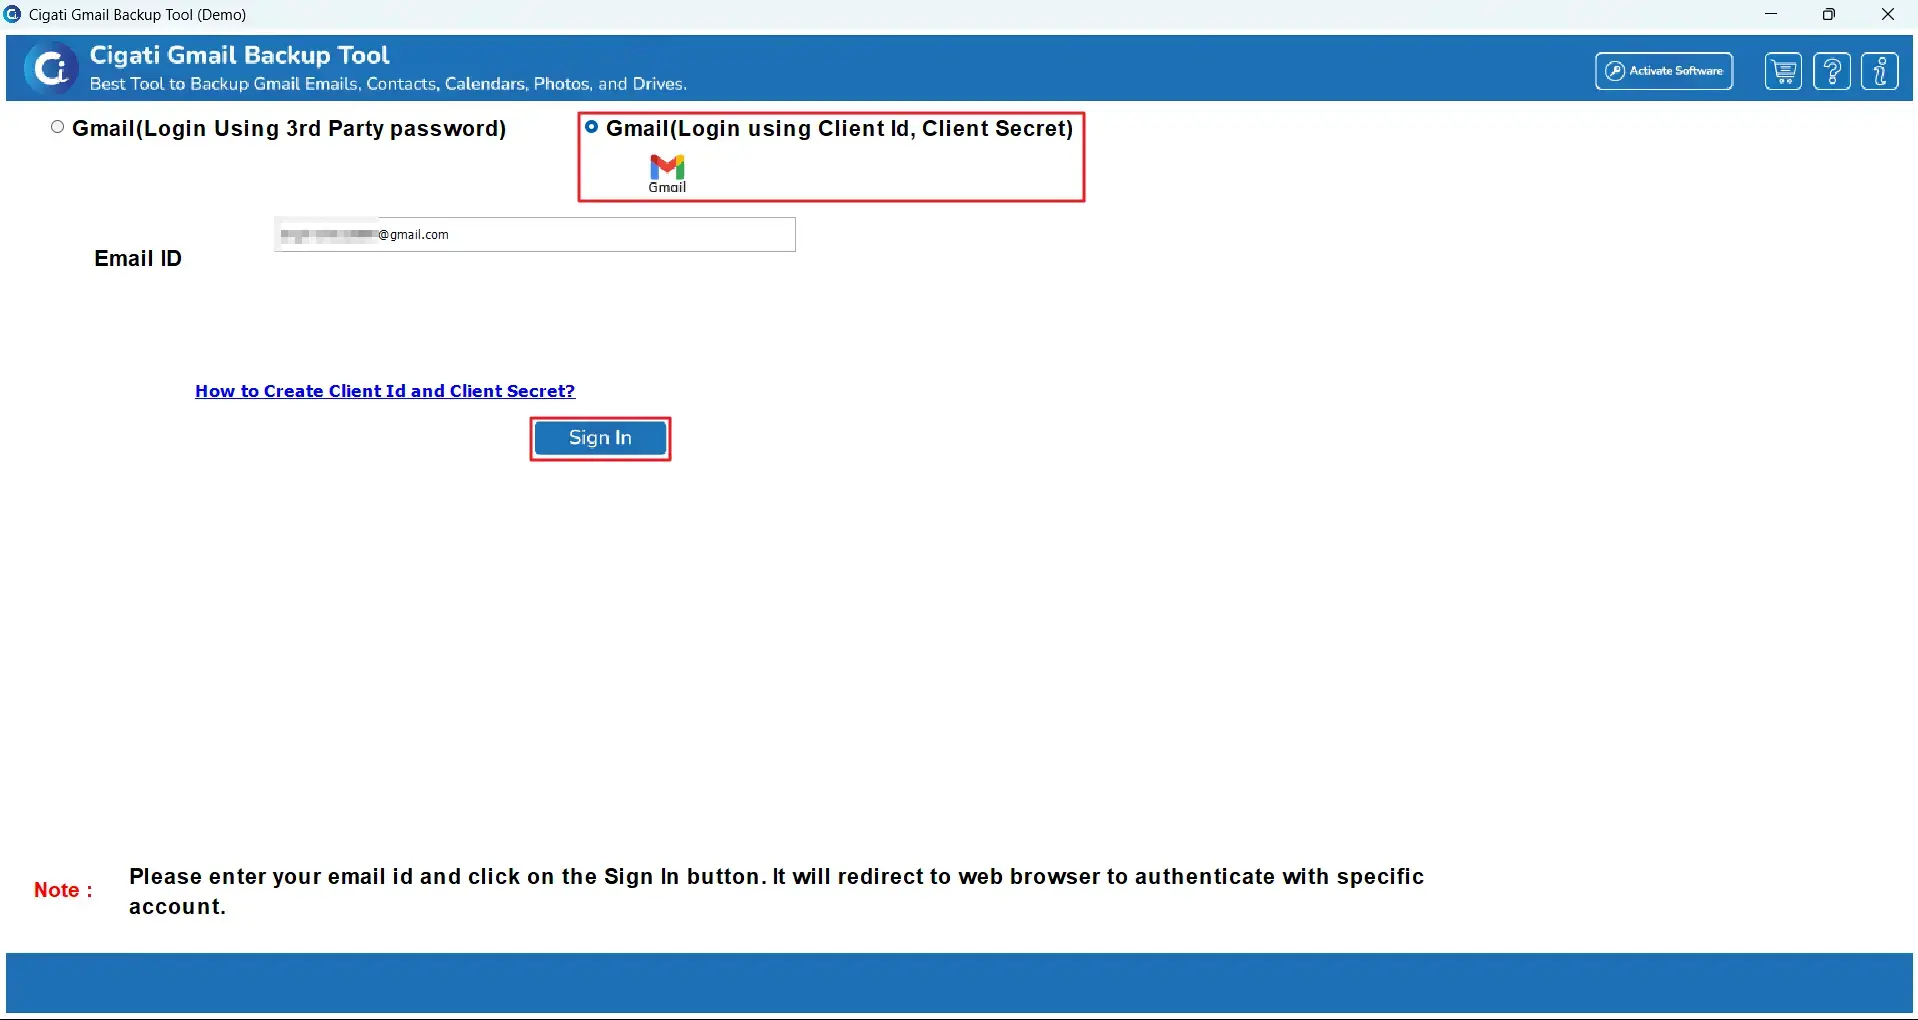
If you choose Gmail (Login Using Client ID & Client Secret), enter your Gmail ID and click the Sign In button. This option allows you to back up your Gmail Emails, Contacts, Calendar, Drive, and Photos.
Note: You will be redirected to your browser, where your Gmail account is already logged in. This method uses modern authentication and is the most secure way to sign in to your Gmail account. When prompted with the Permissions screen, allow all options to enable full backup and migration.
Here, you can preview the desired files in a preview panel and mark the folders you want to convert.
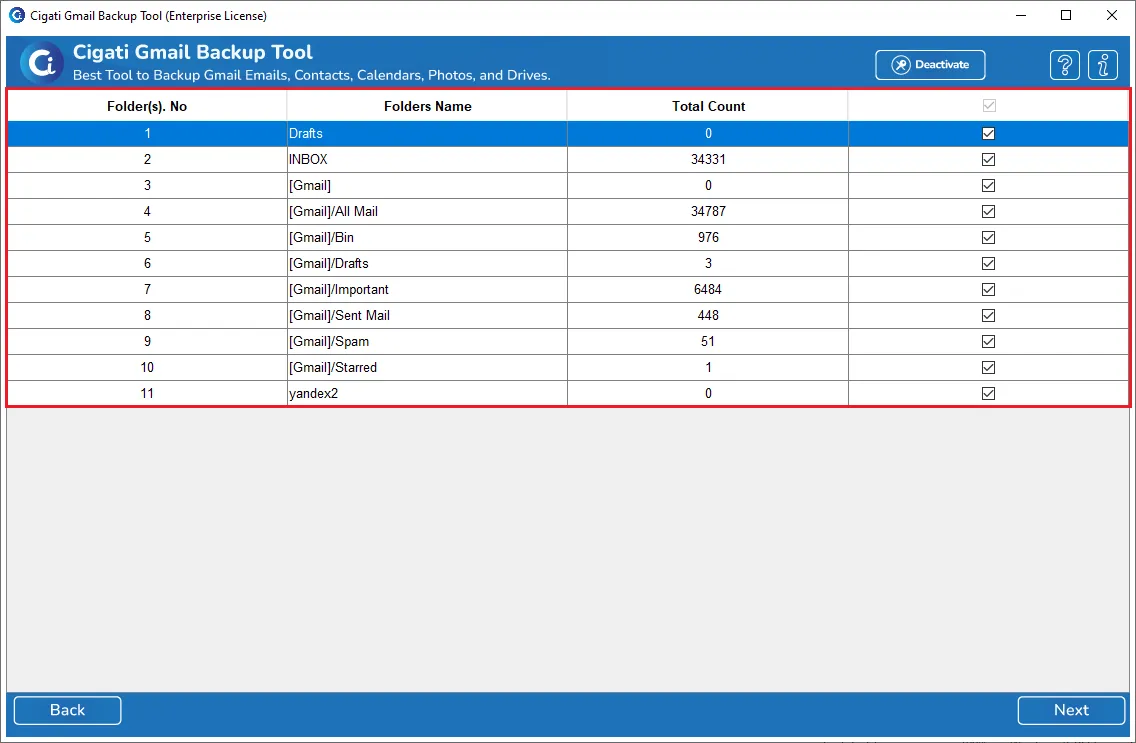
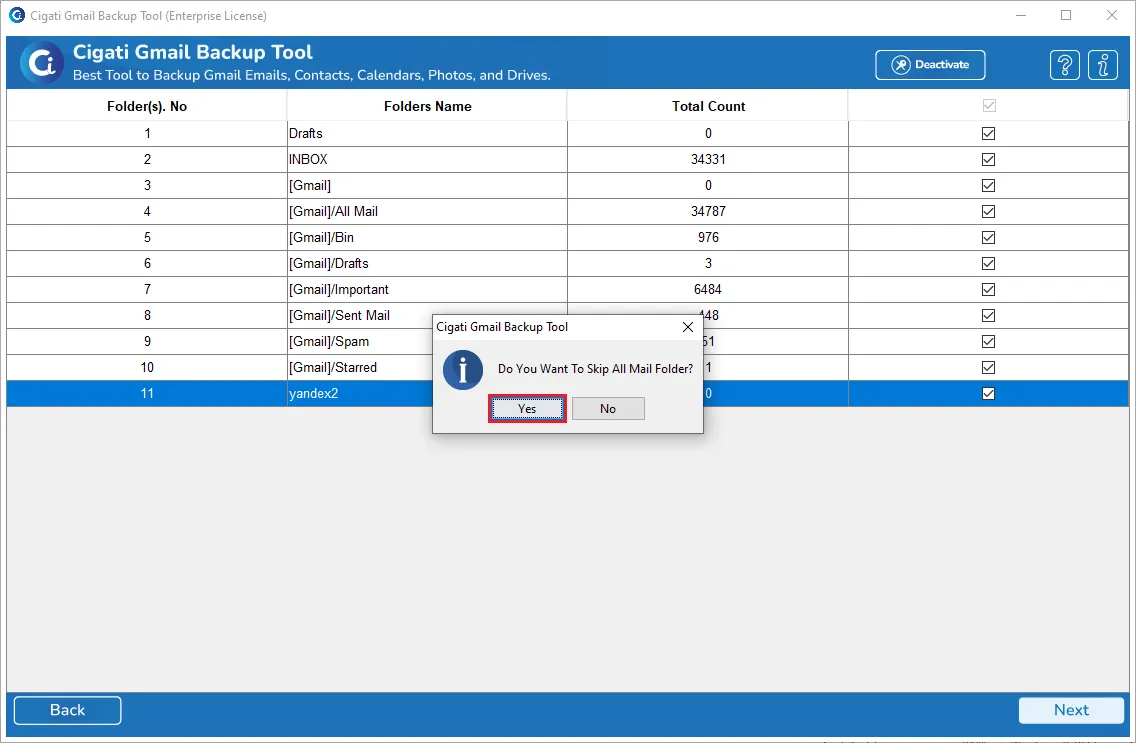
Click the Next button and make sure to press the Yes button to skip all the mail folders.
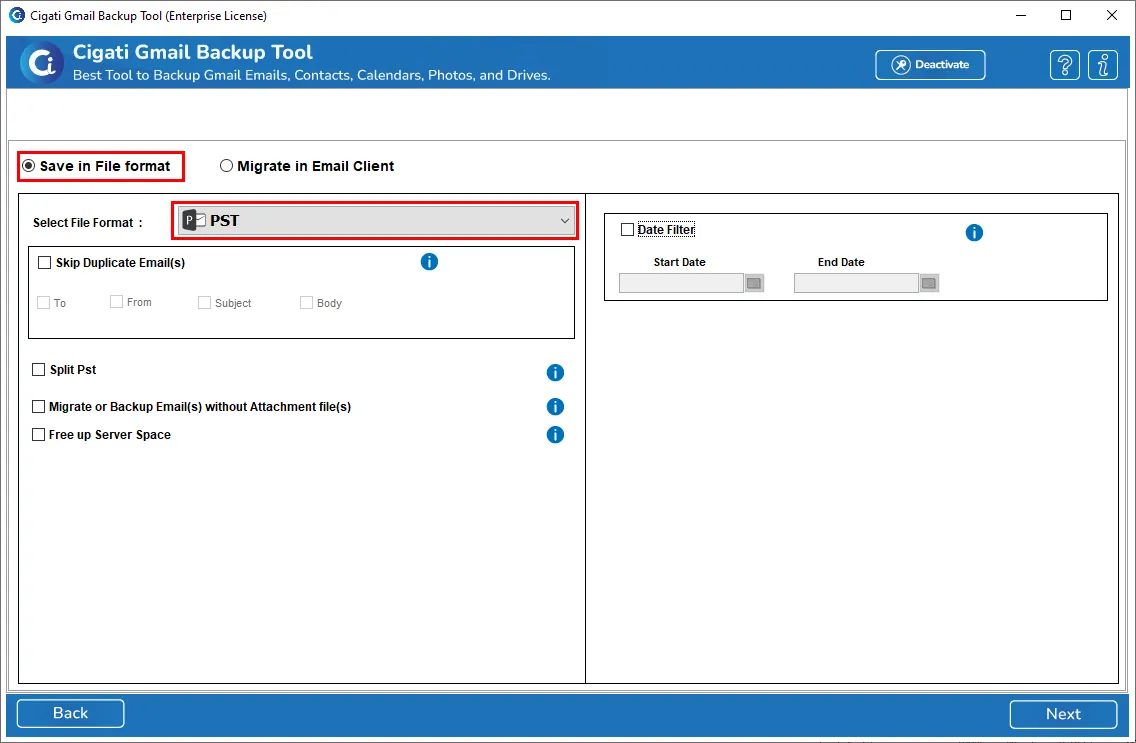
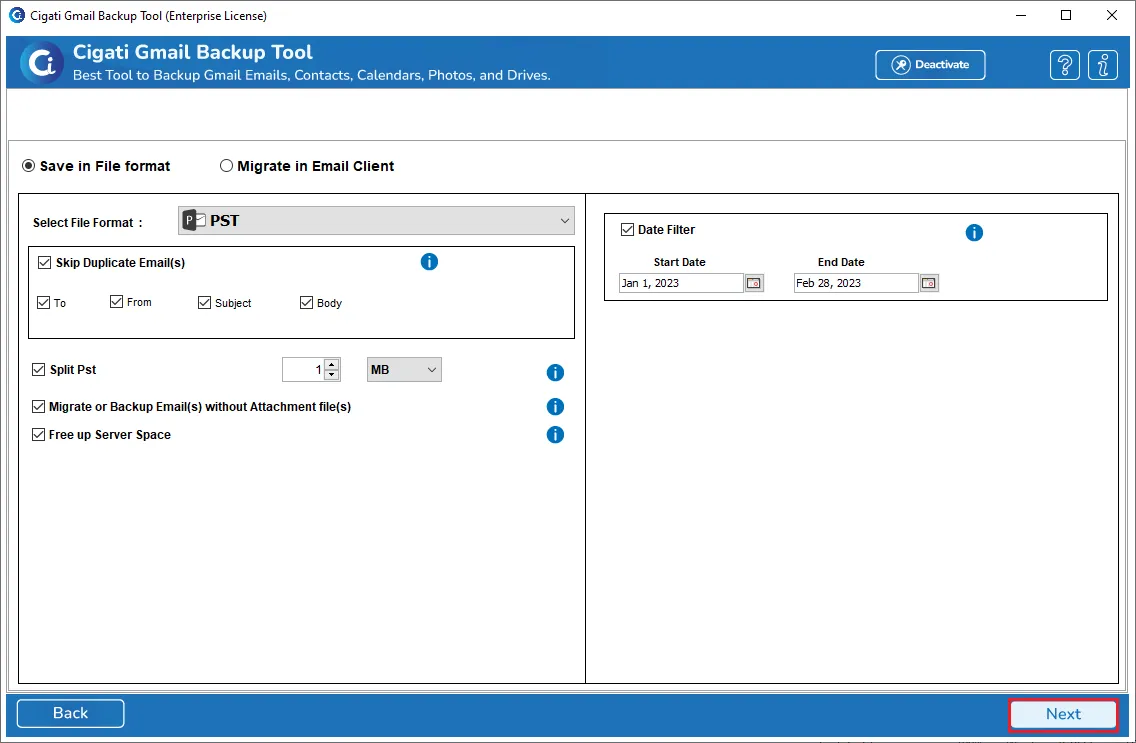
Now, select the PST format as the saving file format.
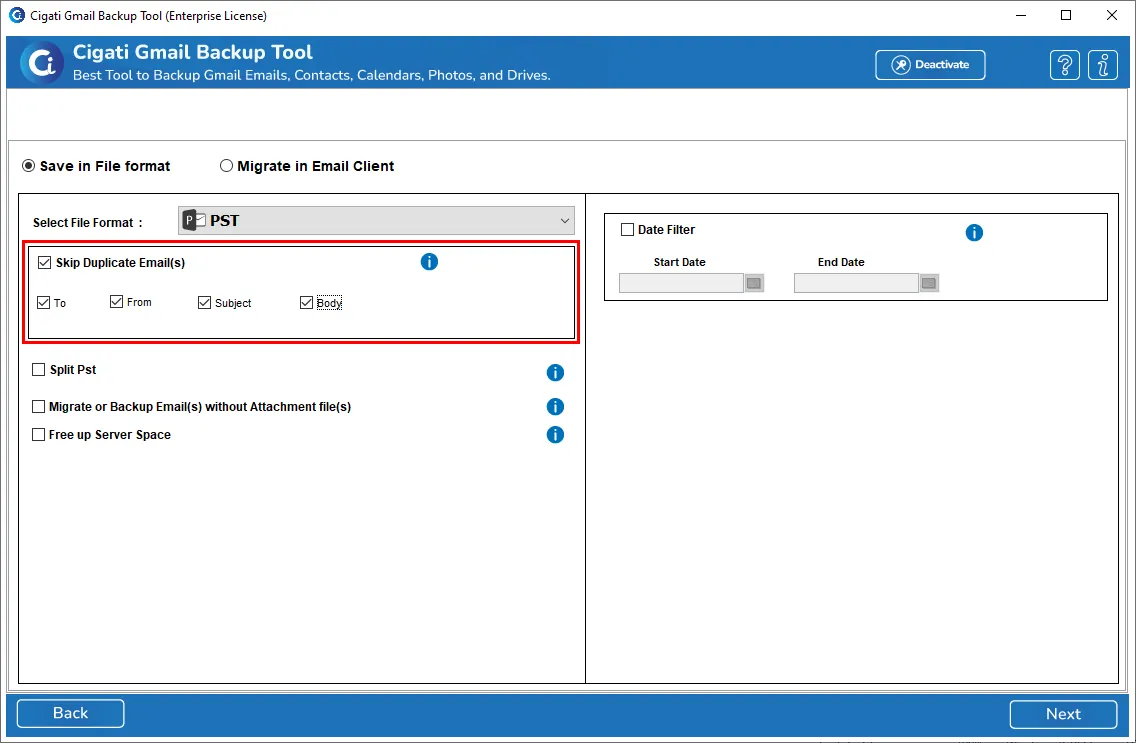
You can use the option to Skip Duplicate Emails based on To, From, Subject, and Body.
The Split PST File option allows you to break the newly created PST file based on size (MB or GB).
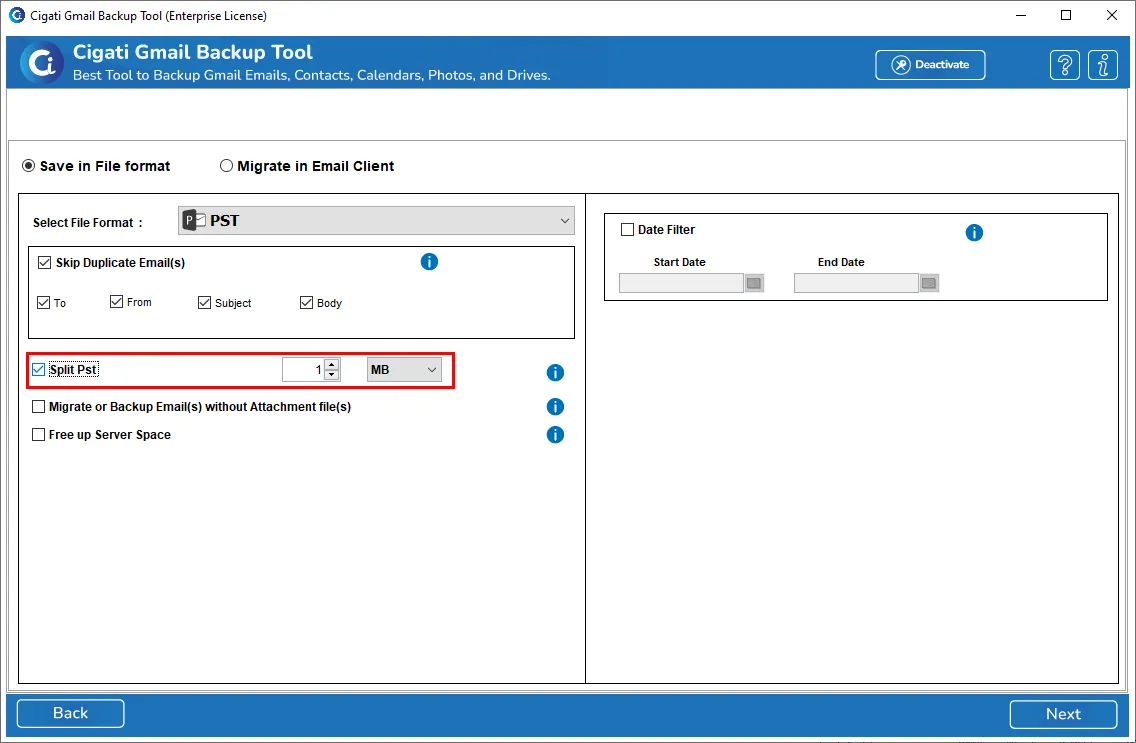
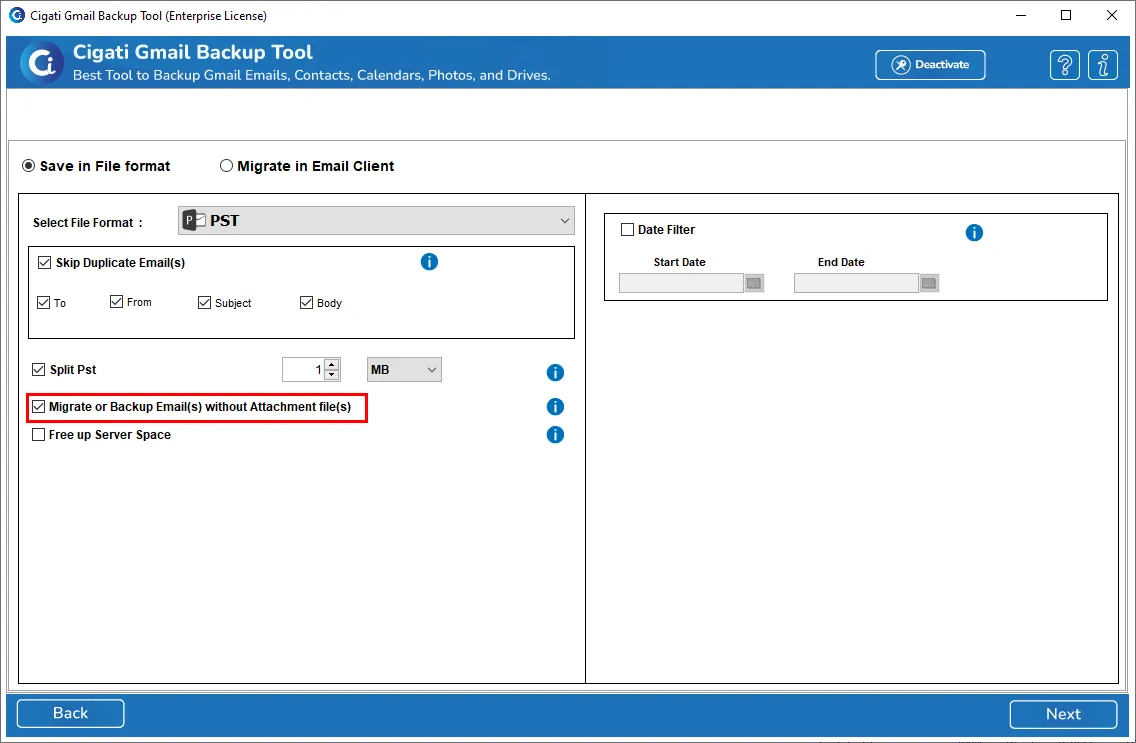
You can also migrate with or without attachments to perform the easy conversion.
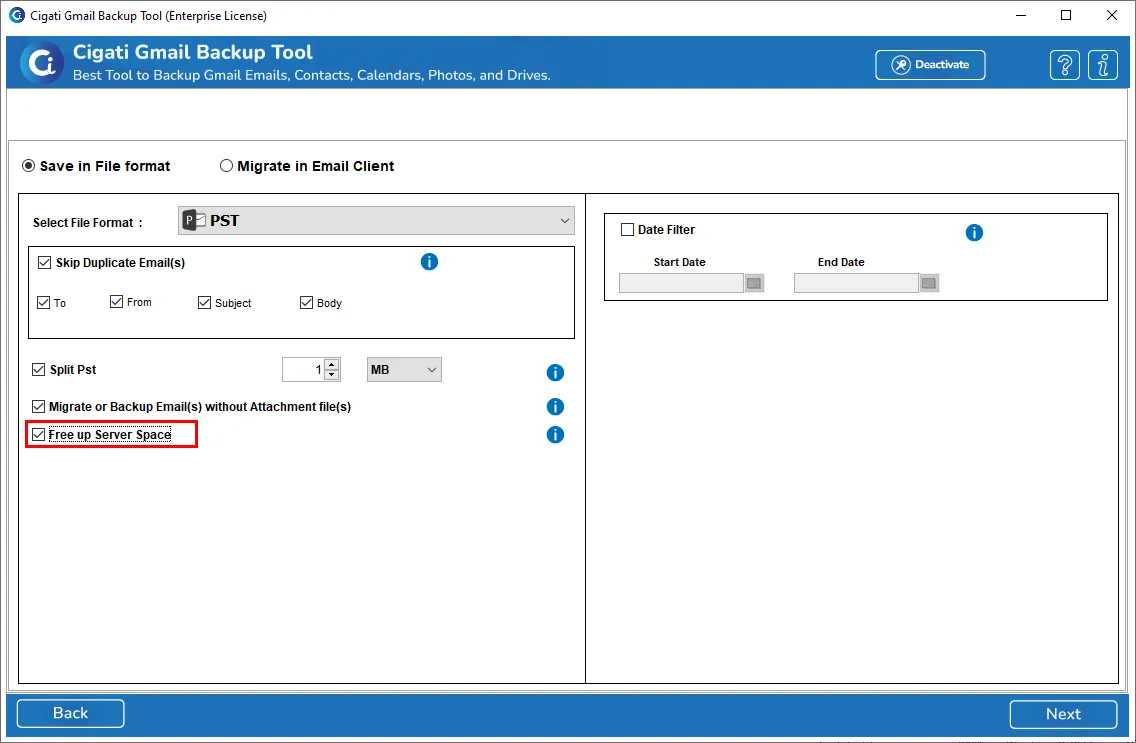
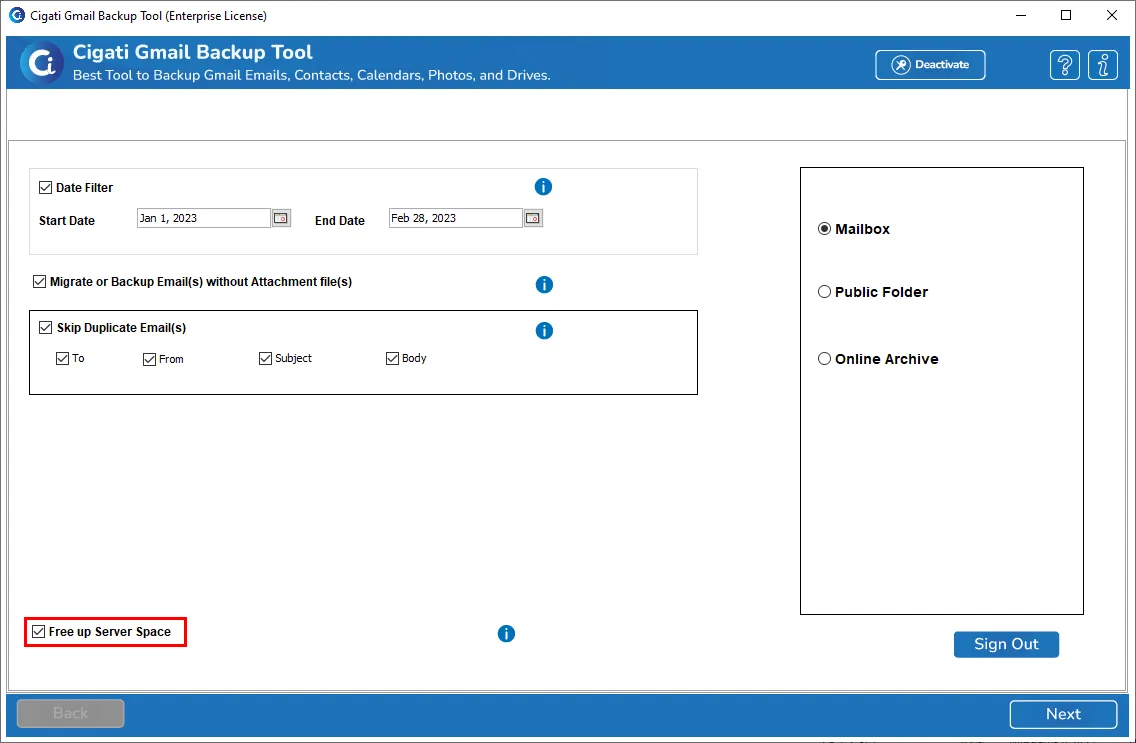
This wizard allows users to free up space from the desired server.
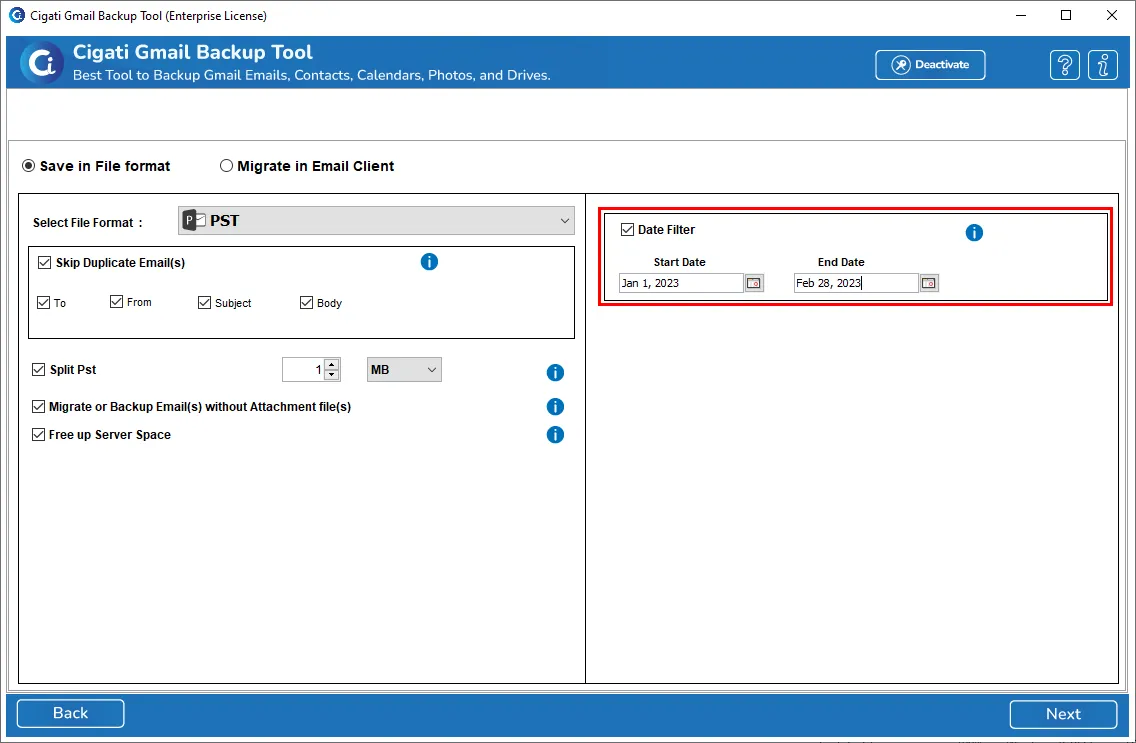
The Date Filter helps to perform the selective conversion process.
Click the Next button.
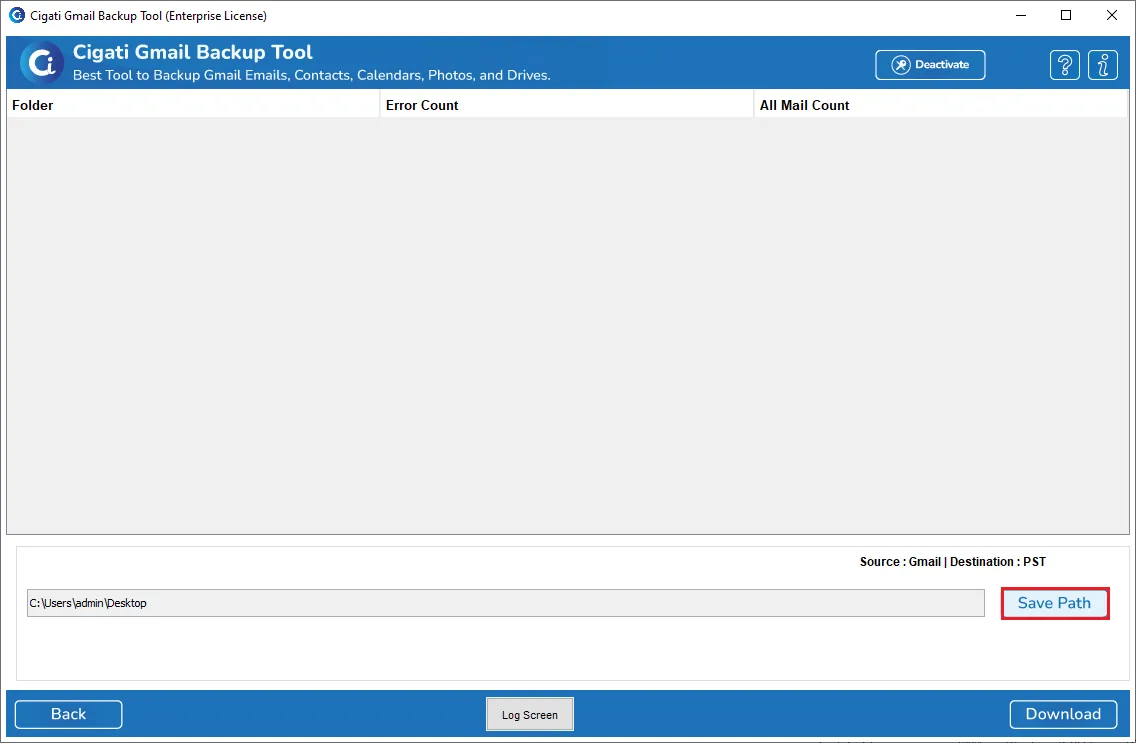
You can set the location by clicking the Save to Path button to download the newly created file.
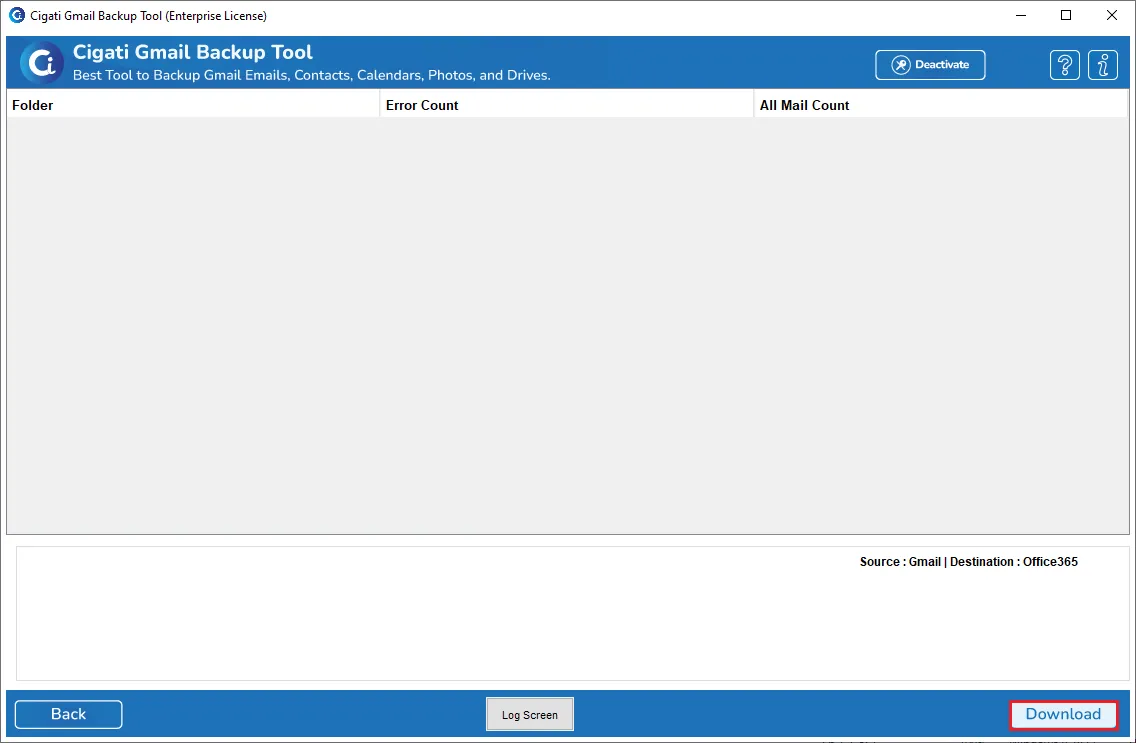
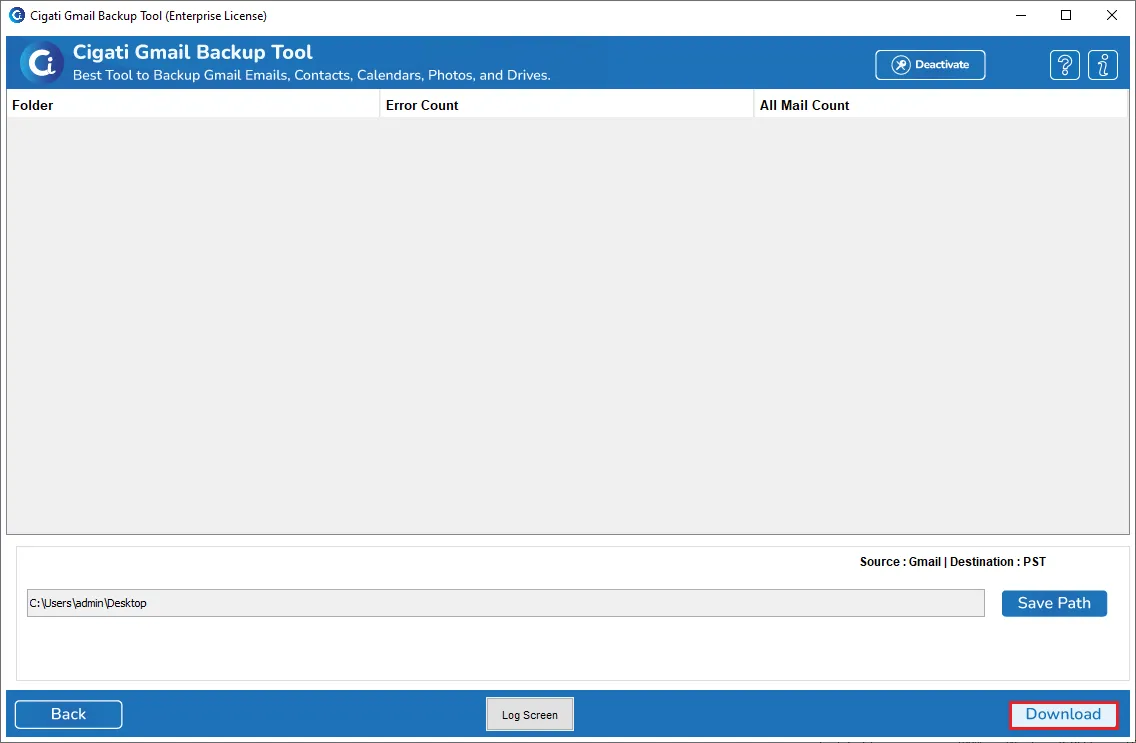
At last, click the Download button to begin the conversion process.
Download and launch the Cigati Gmail Backup Tool on your local system.
Enter your Gmail Email ID and the third-party app password, then click Sign In to proceed.
How to Generate a Third-Party App Password for Gmail
Note: Always use the third-party app password for authentication. Your regular Gmail password will not work.
If you choose Gmail (Login Using Client ID & Client Secret), enter your Gmail ID and click the Sign In button. This option allows you to back up your Gmail Emails, Contacts, Calendar, Drive, and Photos.
Note: You will be redirected to your browser, where your Gmail account is already logged in. This method uses modern authentication and is the most secure way to sign in to your Gmail account. When prompted with the Permissions screen, allow all options to enable full backup and migration.
Here, you can preview the desired files in a preview panel and mark the folders you want to convert.
Click the Next button and make sure to press the Yes button to skip all the mail folders.
Pick the Office 365 email application from the drop-down list.
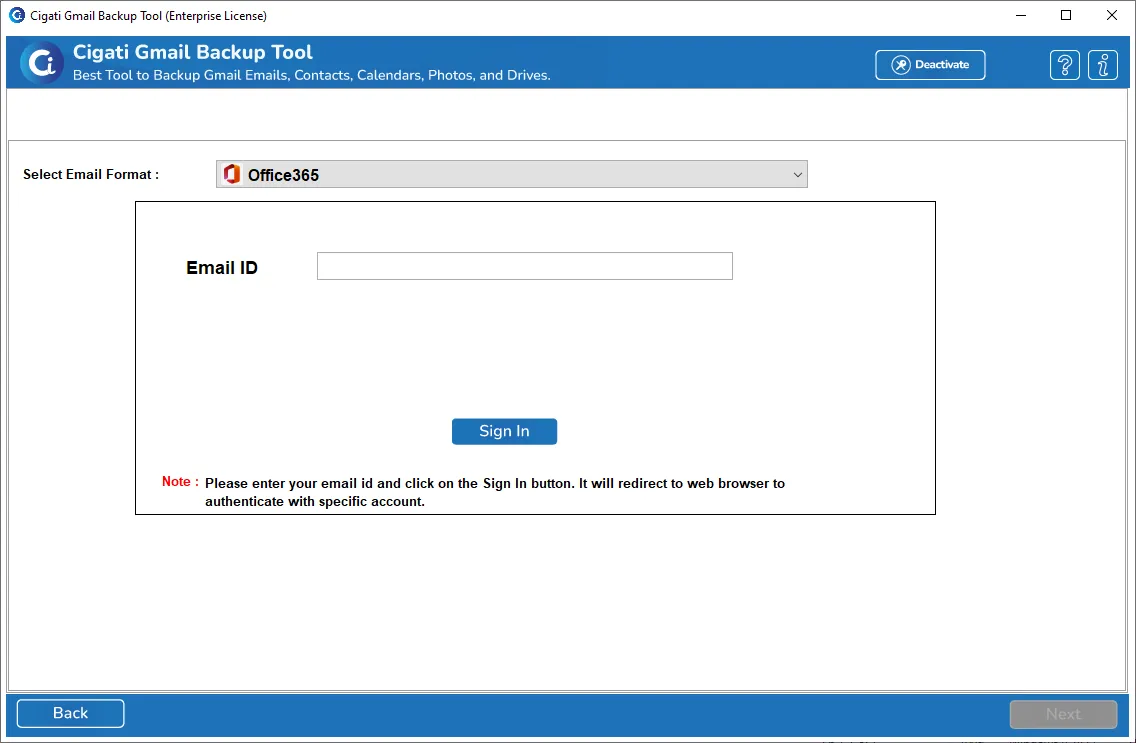
Then, enter the Email ID of your O365 and click the Sign in button.
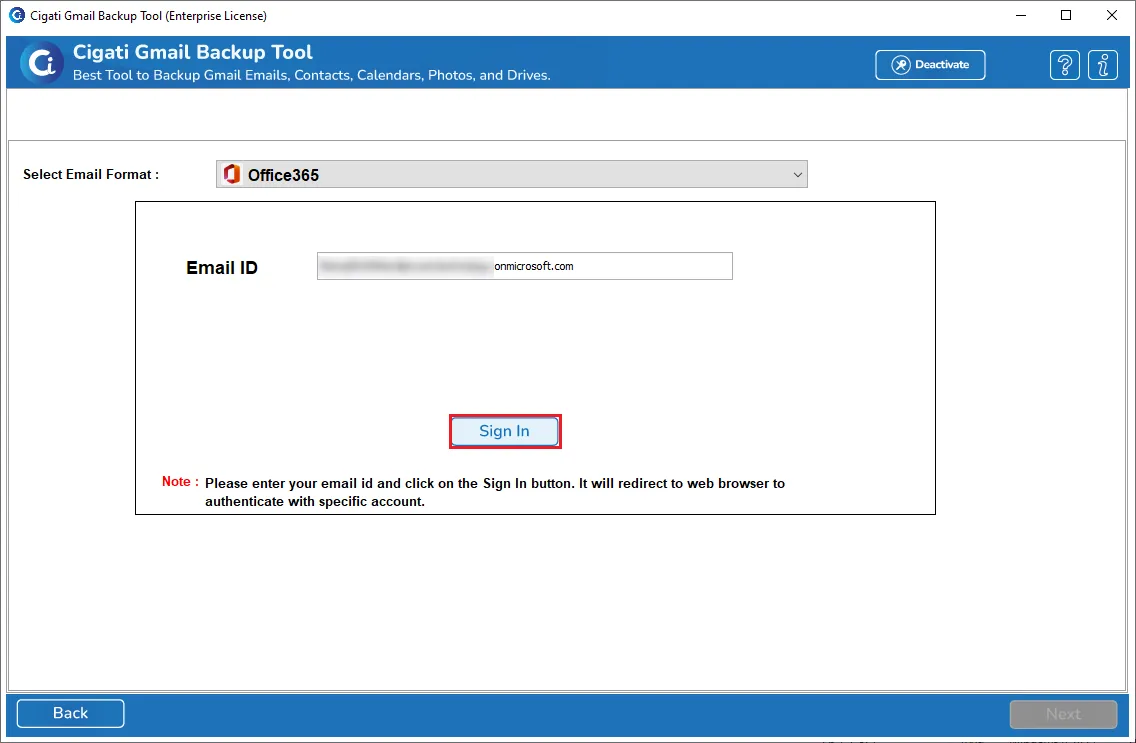
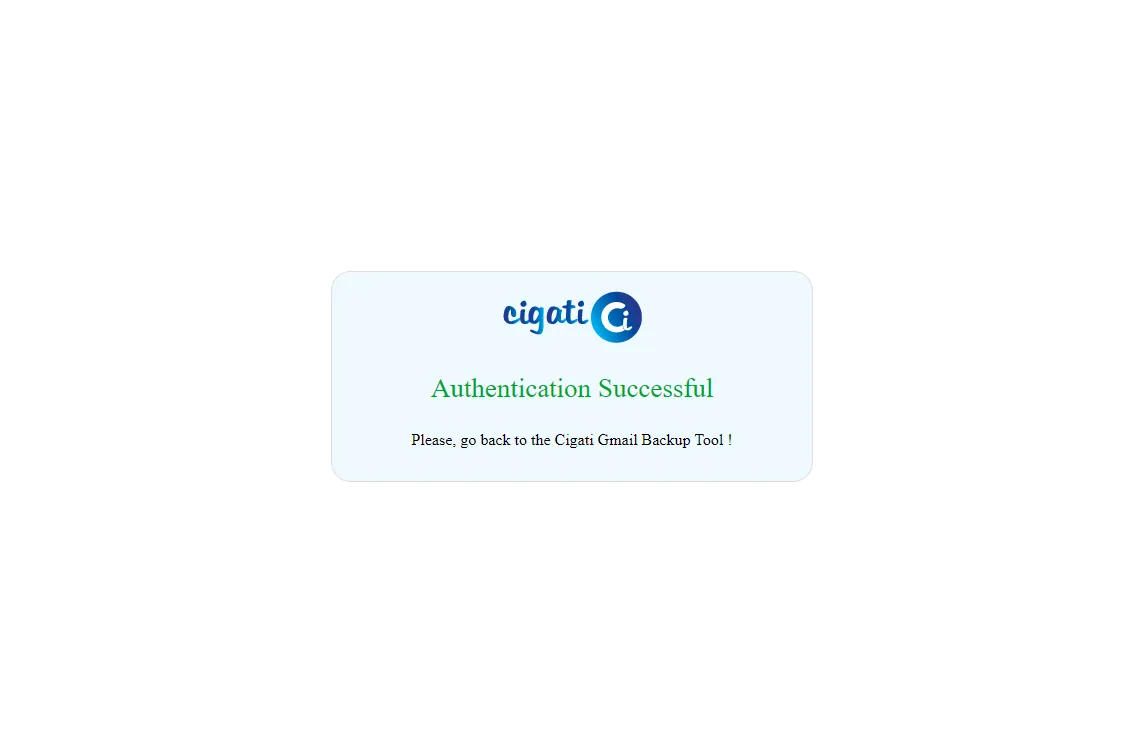
Make sure that your Office ID must be in your default browser.
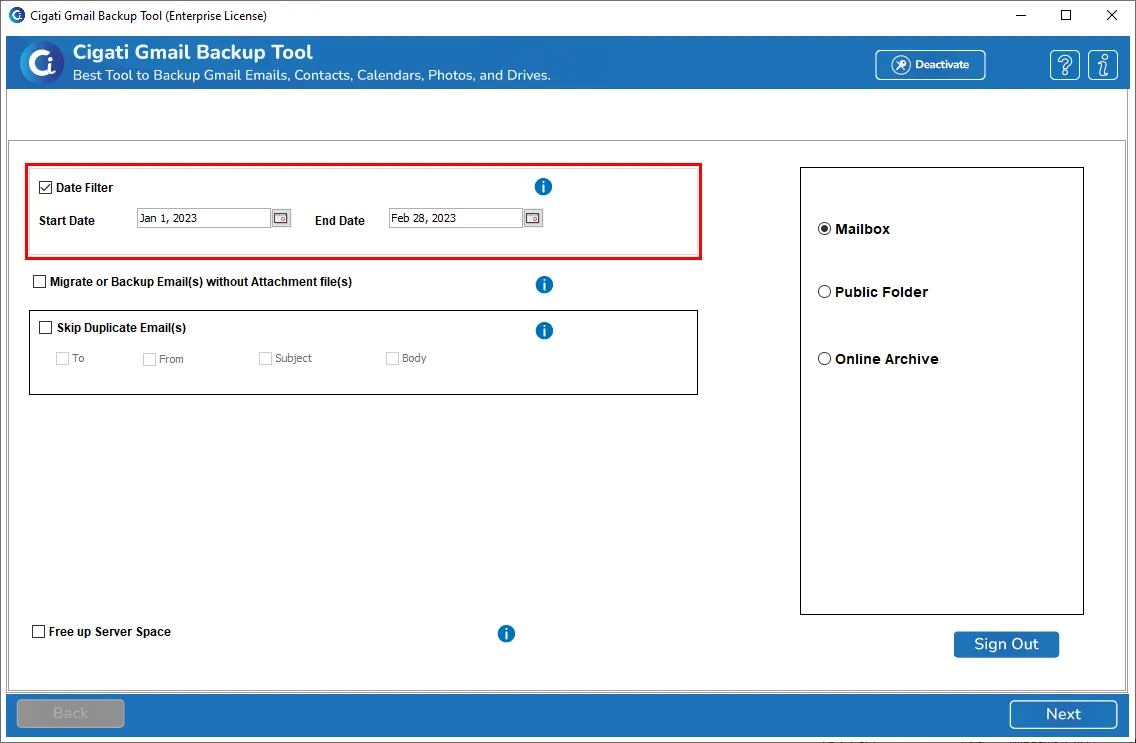
Date Filter feature for accomplishing the selective data migration from Gmail mailboxes to Office 365.
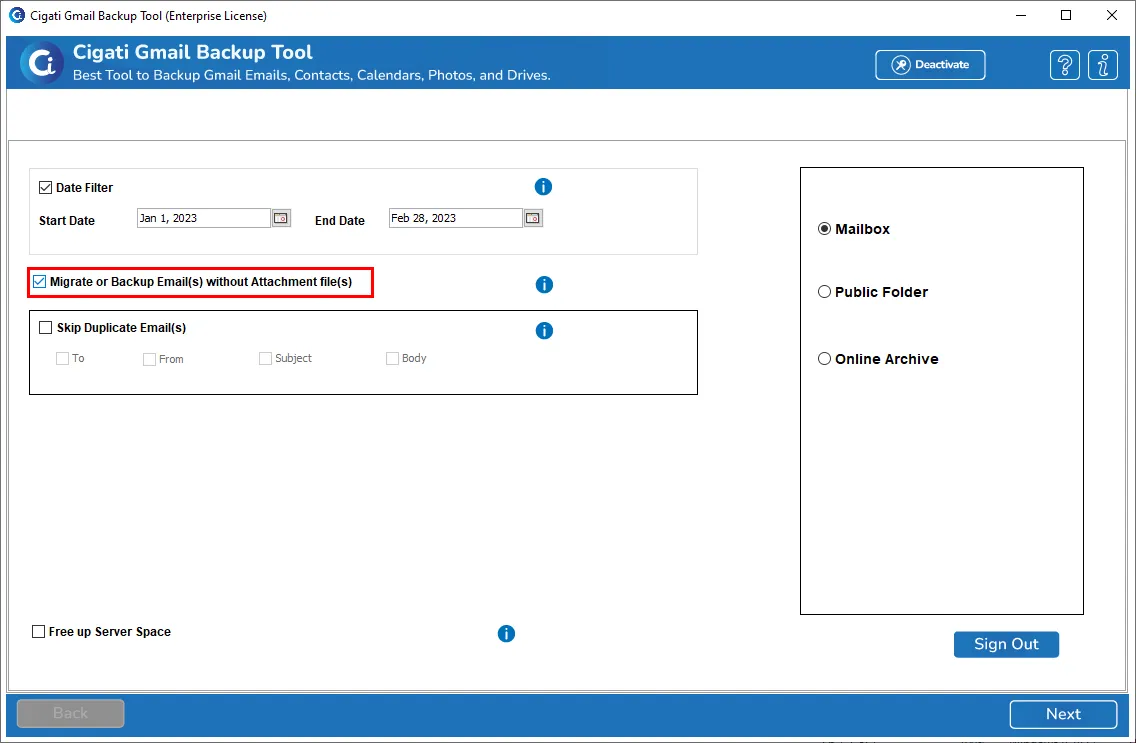
It also allows you to backup & migrate emails without attachments files from the Office 365 email messages.
You can also skip the duplicate messages for the ease of migration.

By clicking the Free Up Server Space option, users can delete the mailbox after taking a backup.
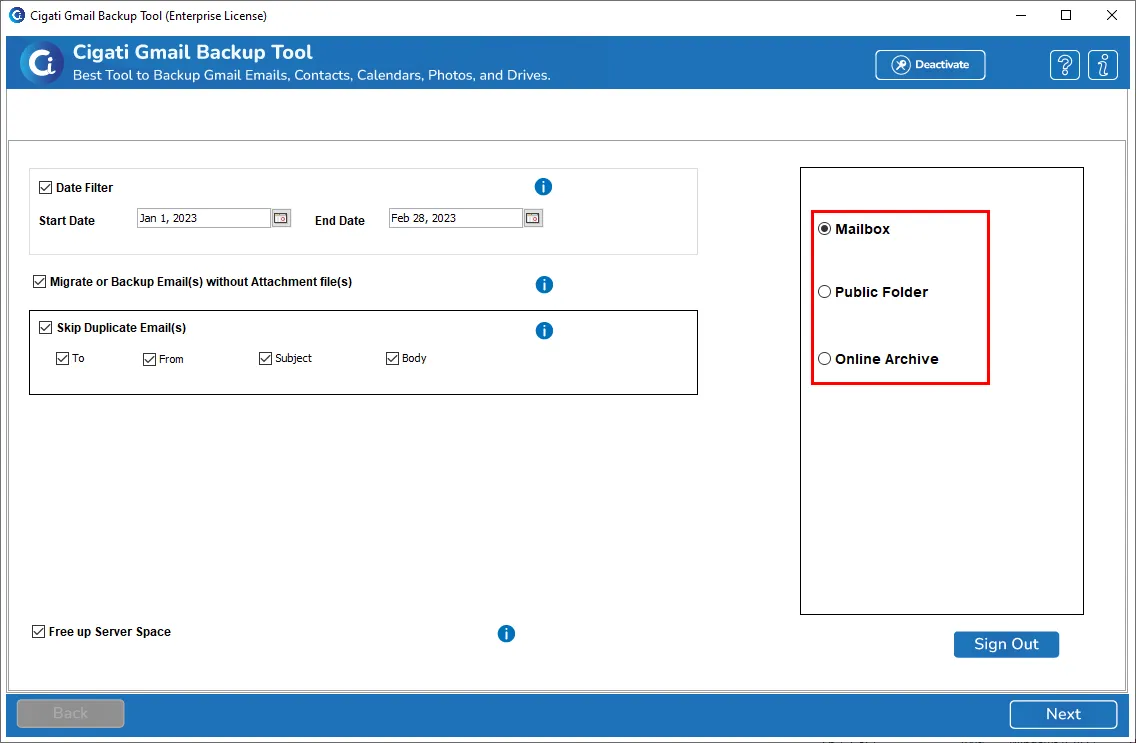
Select Mailbox, Public Folder, and Archive Online folder accordingly.
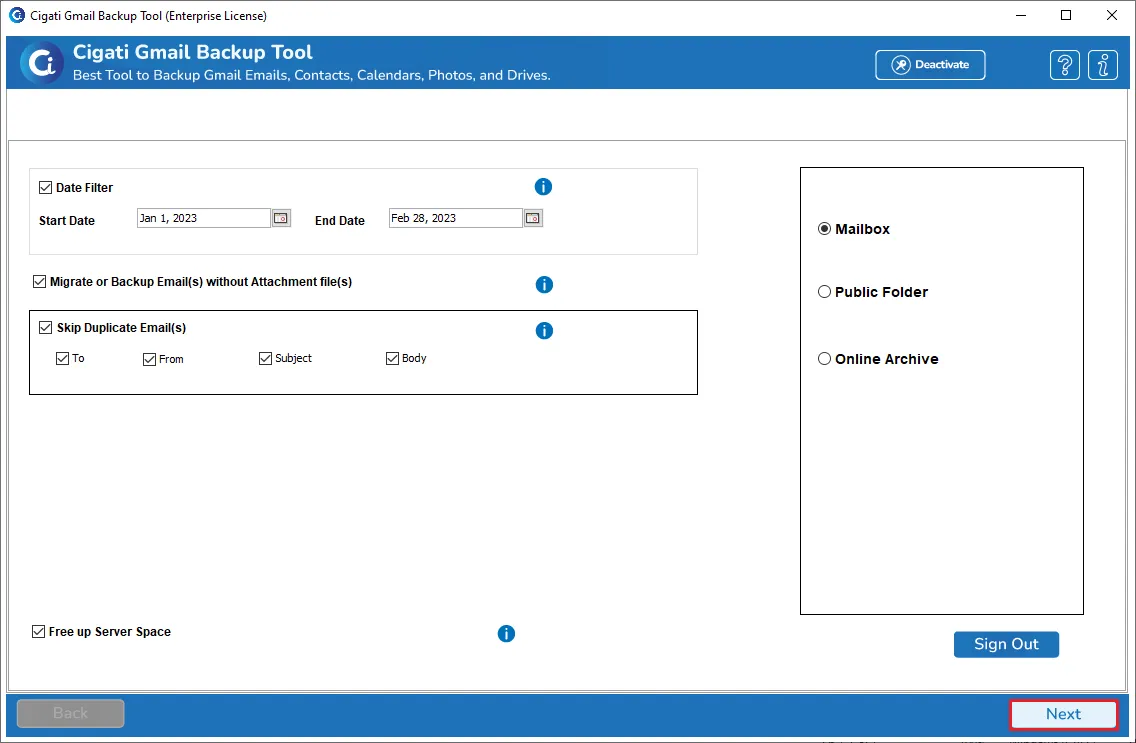
Click the Next button.
At last, click the Download button to begin the migration process.