Google Drive Duplicate Finder and Remover
4.7
A user-friendly application with an intuitive design for beginners to navigate effortlessly.
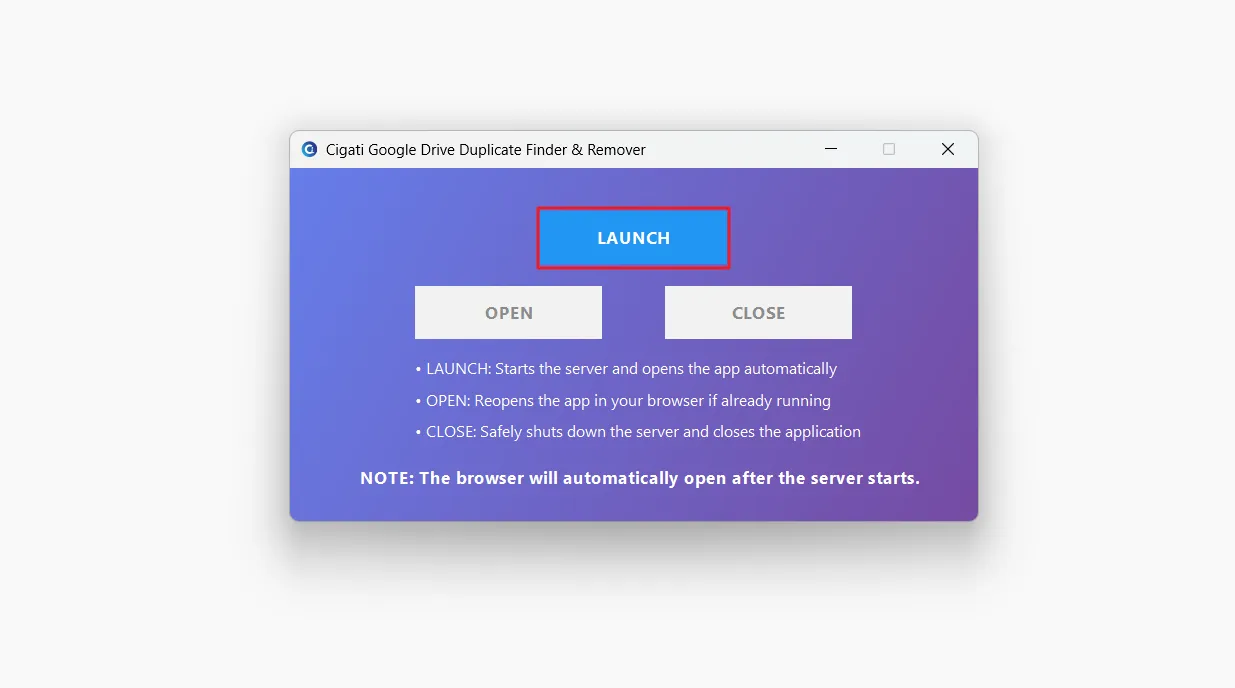
Install and launch the Cigati Google Drive Duplicate Finder and Remover. Click Launch to begin the process.
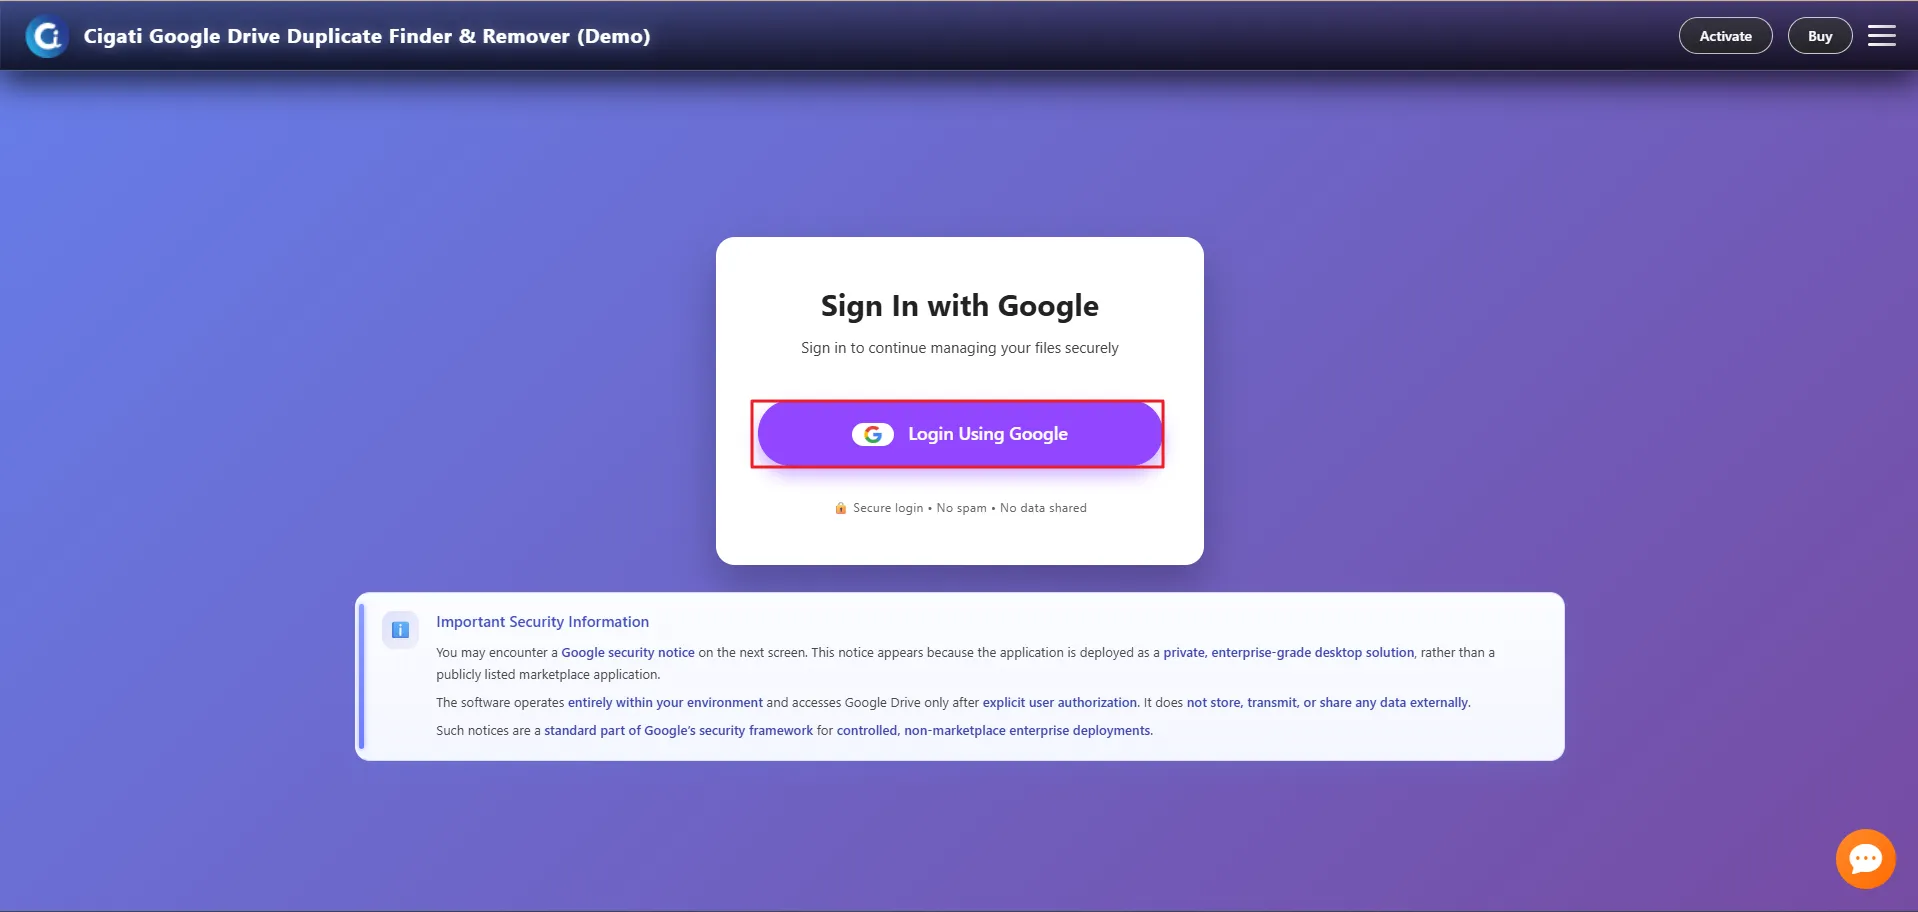
You will be redirected to your web browser for sign-in. Click Login using Google to connect to your Google Drive account.
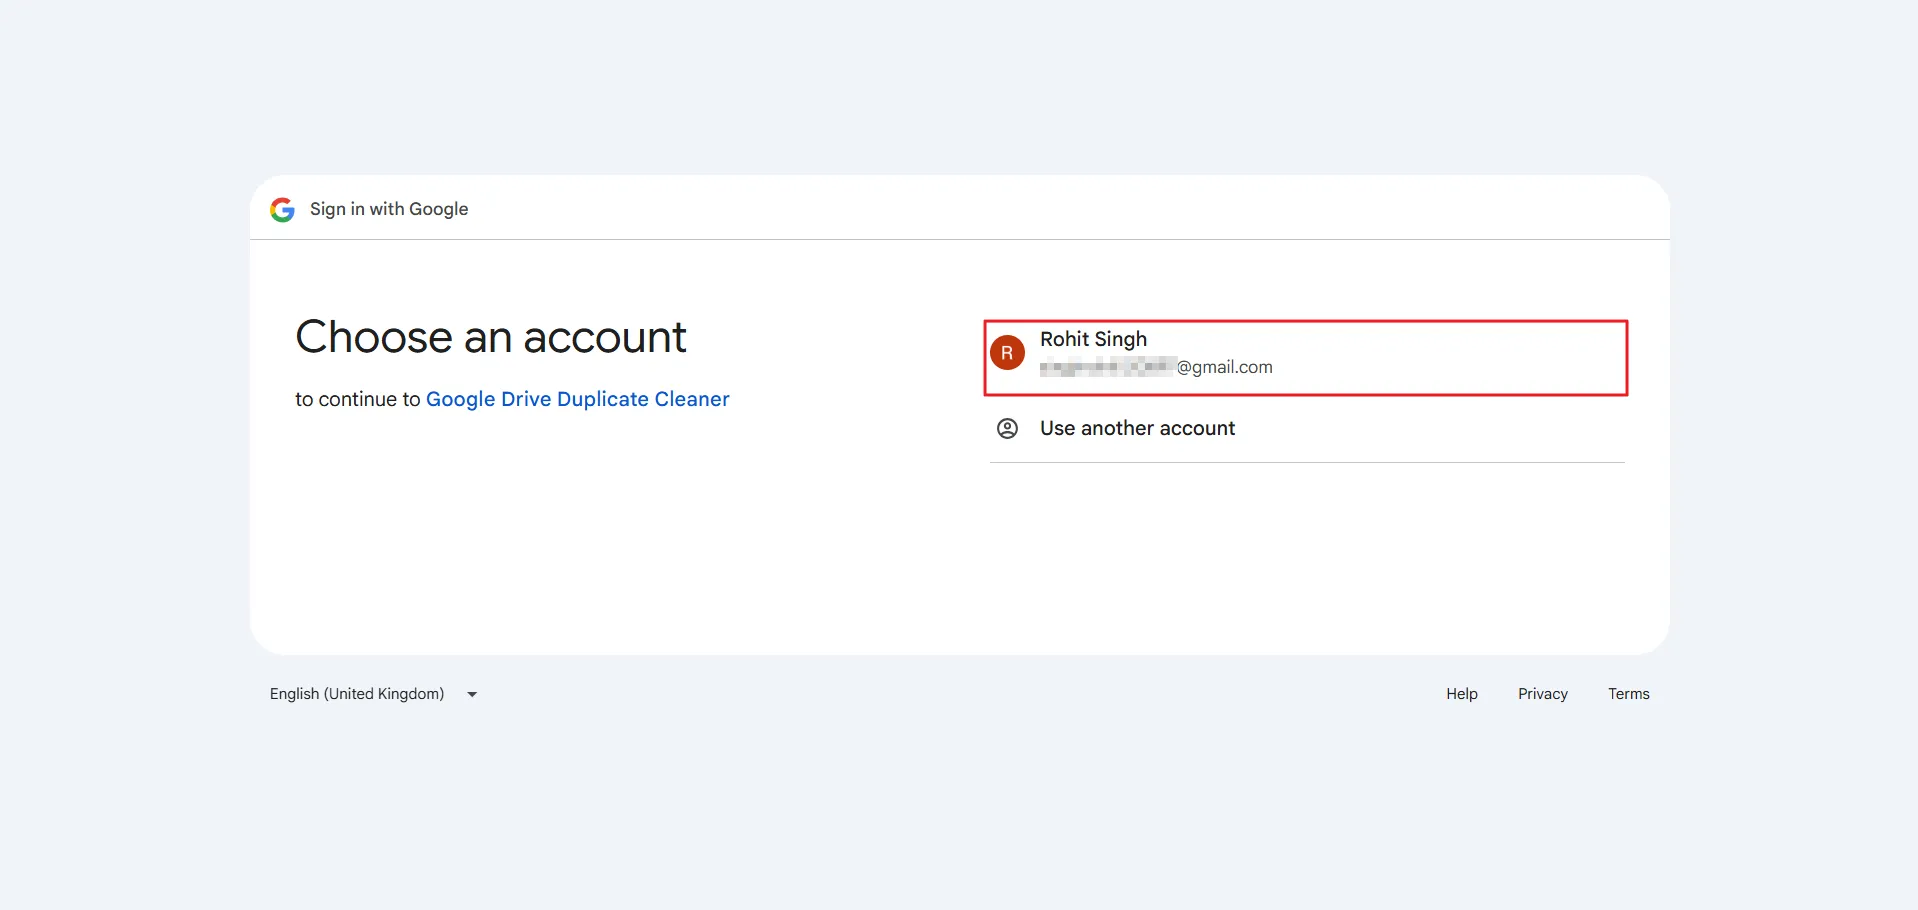
Ensure that your Google account is already signed in to your web browser for seamless authentication. Select the Google Account linked to your Google Drive to proceed with the login process.
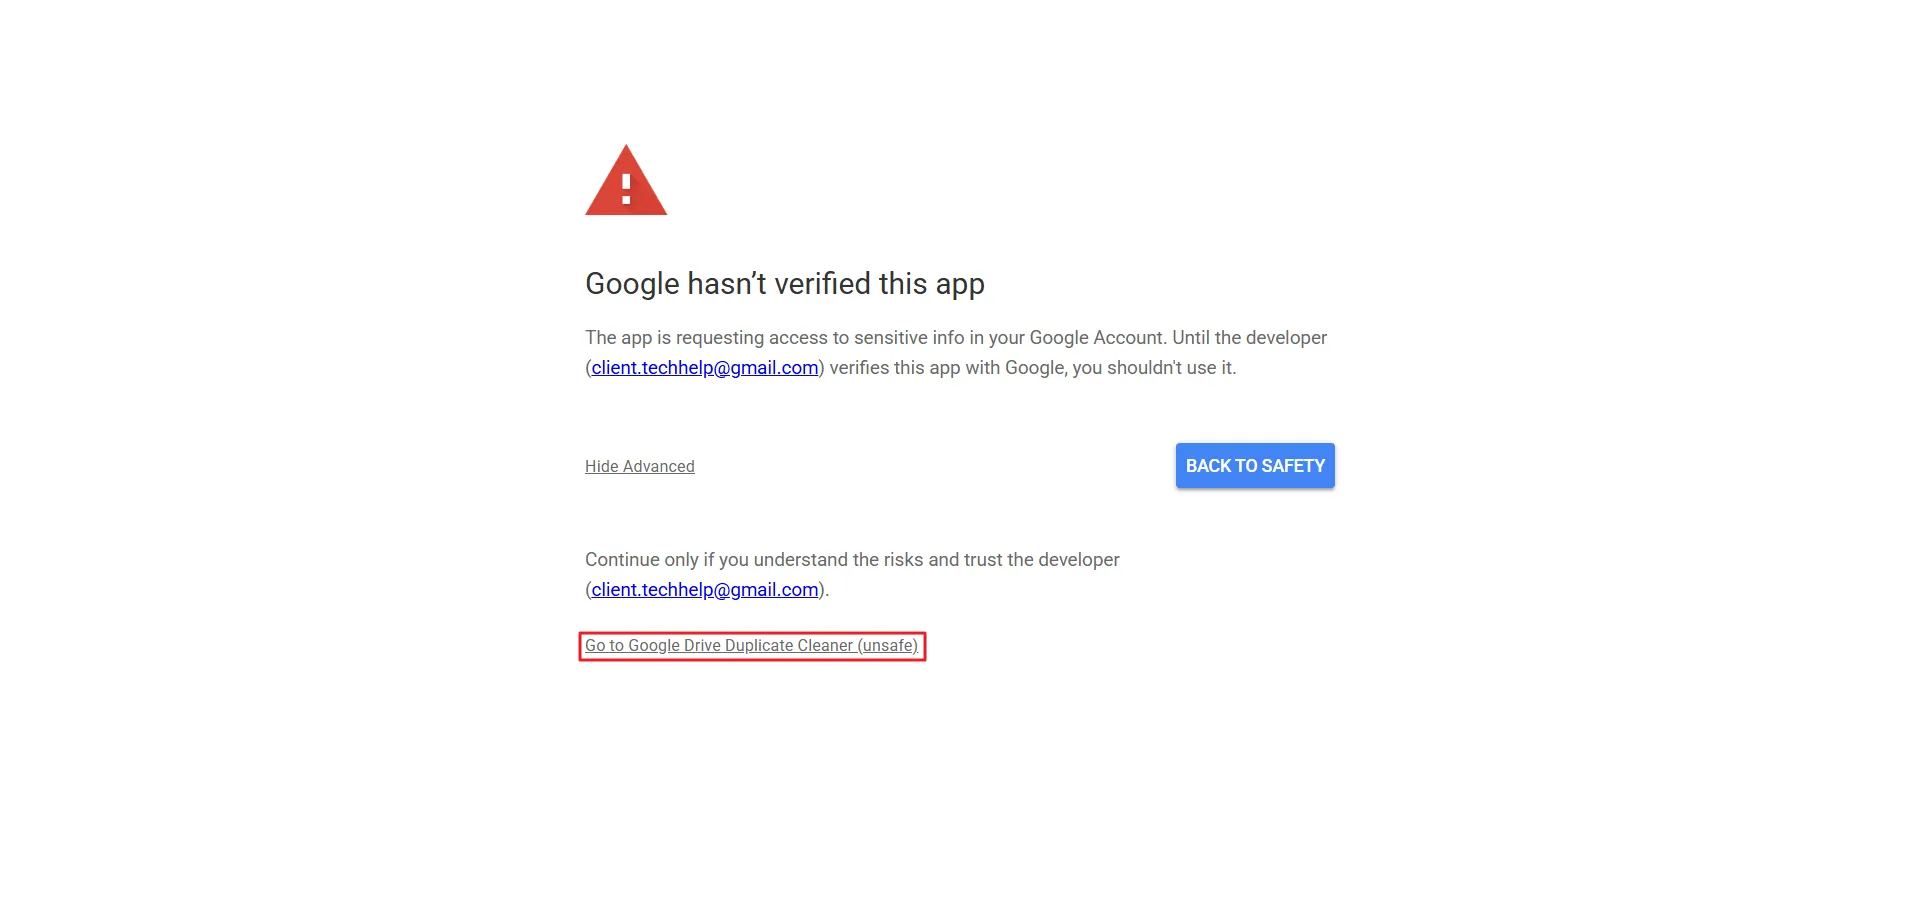
Once you select the account, a standard Google security warning for non-Marketplace apps appears. As the tool works locally and doesn’t store any data, it is only for permission to access your Google Drive files for duplicate detection.
Click Advanced, then select “Go to Google Drive Duplicate Cleaner (unsafe)” to proceed with authentication.
Note: The application accesses only the necessary Google Drive file metadata and does not read, modify, or store emails, contacts, or personal account data. Authentication permissions can be revoked at any time from the Google Account → Security → Third-party access settings.
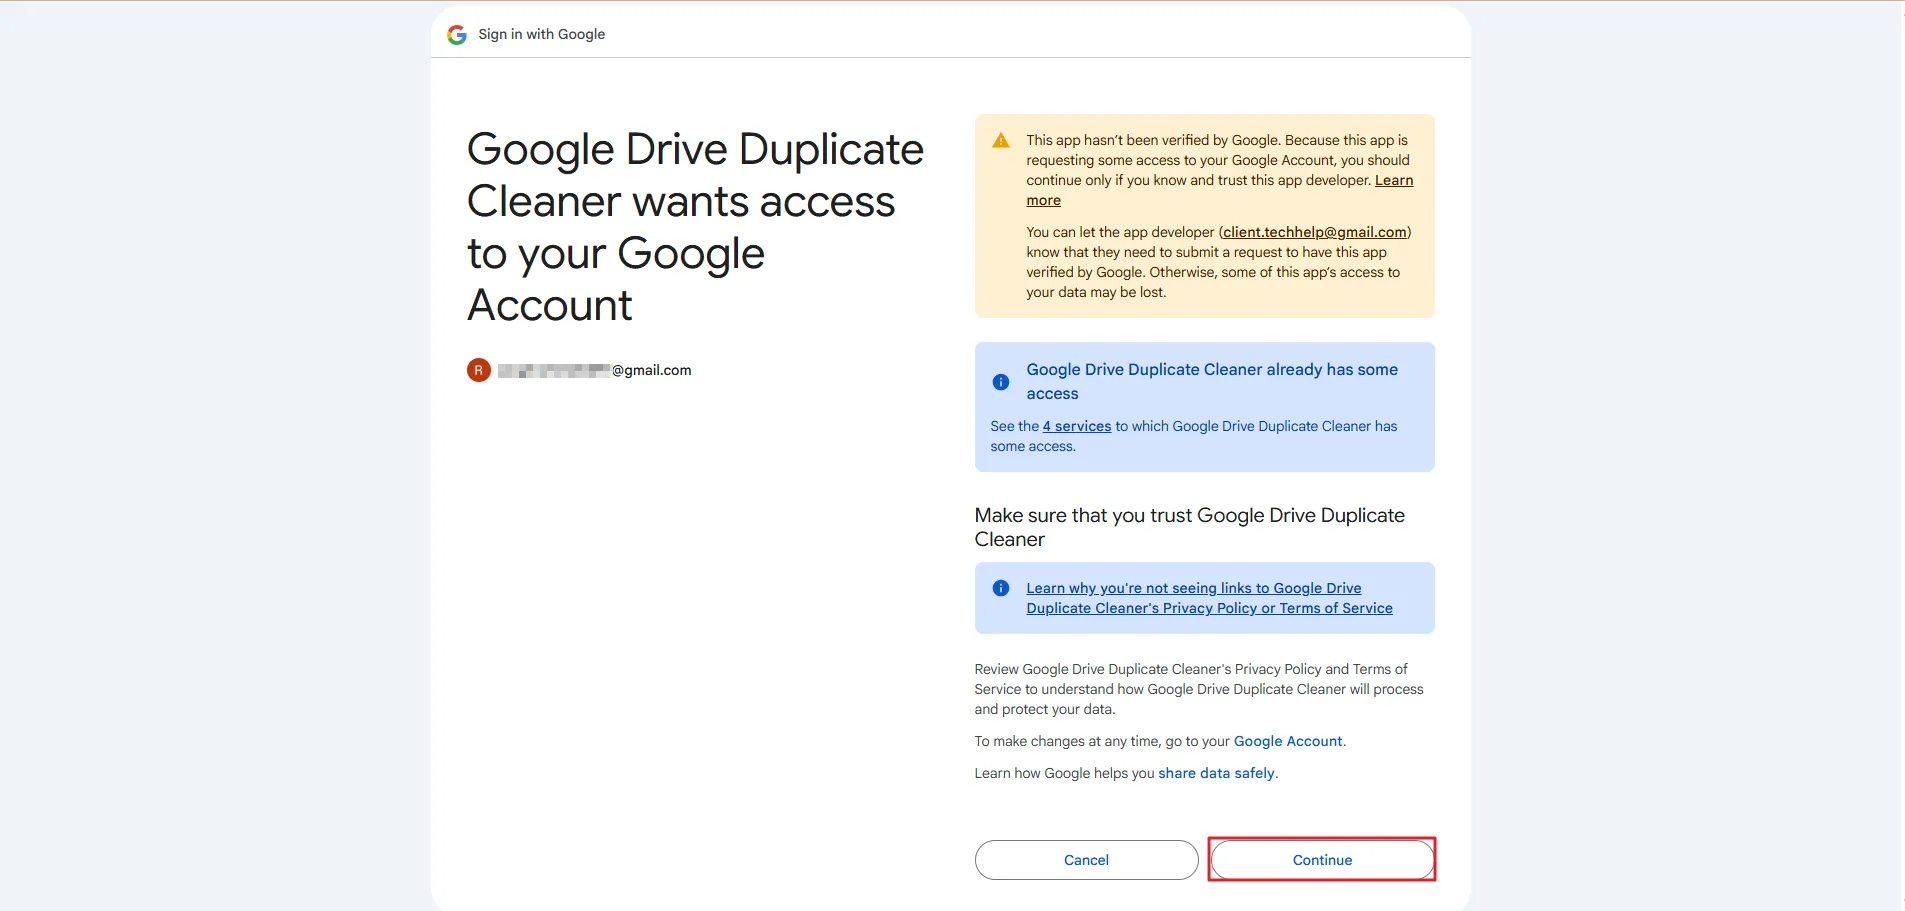
Select the checkbox to grant the required permissions, including access to your Gmail and Google Drive data. Then, click the Continue button to proceed.
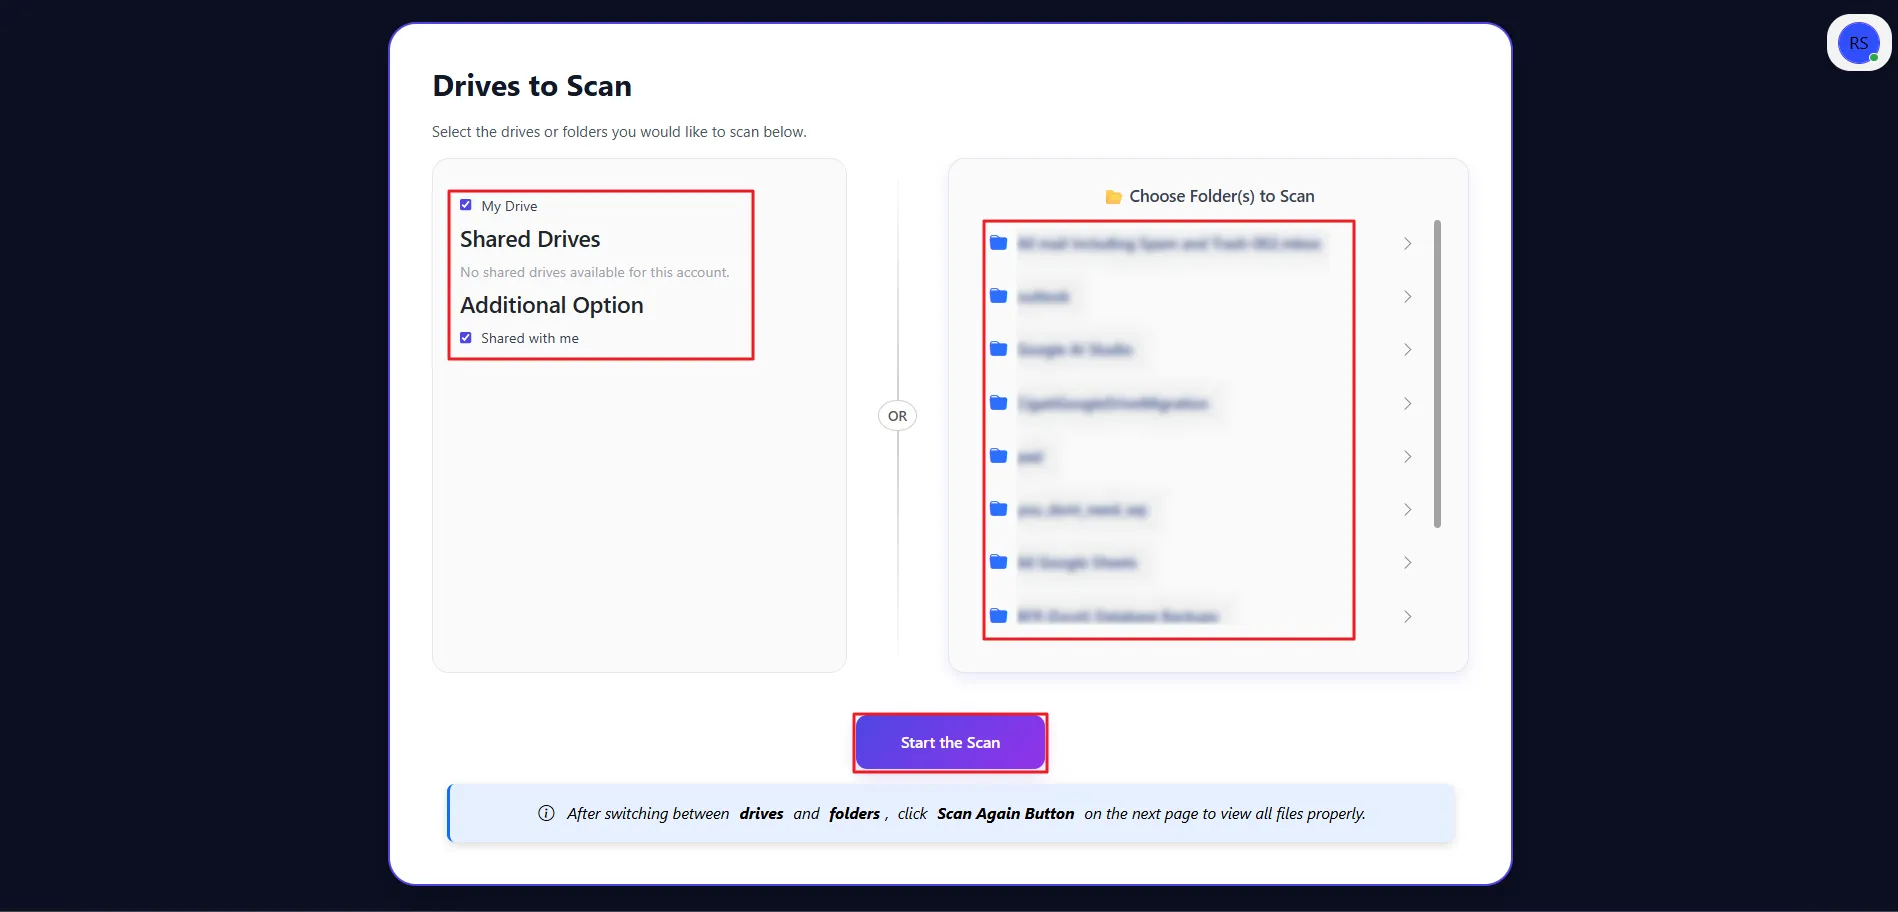
Select 'My Drive' or 'Shared with Me', or choose specific folders from your Google Drive for scanning. After making your selection, click the Start the Scan button to initiate the process.
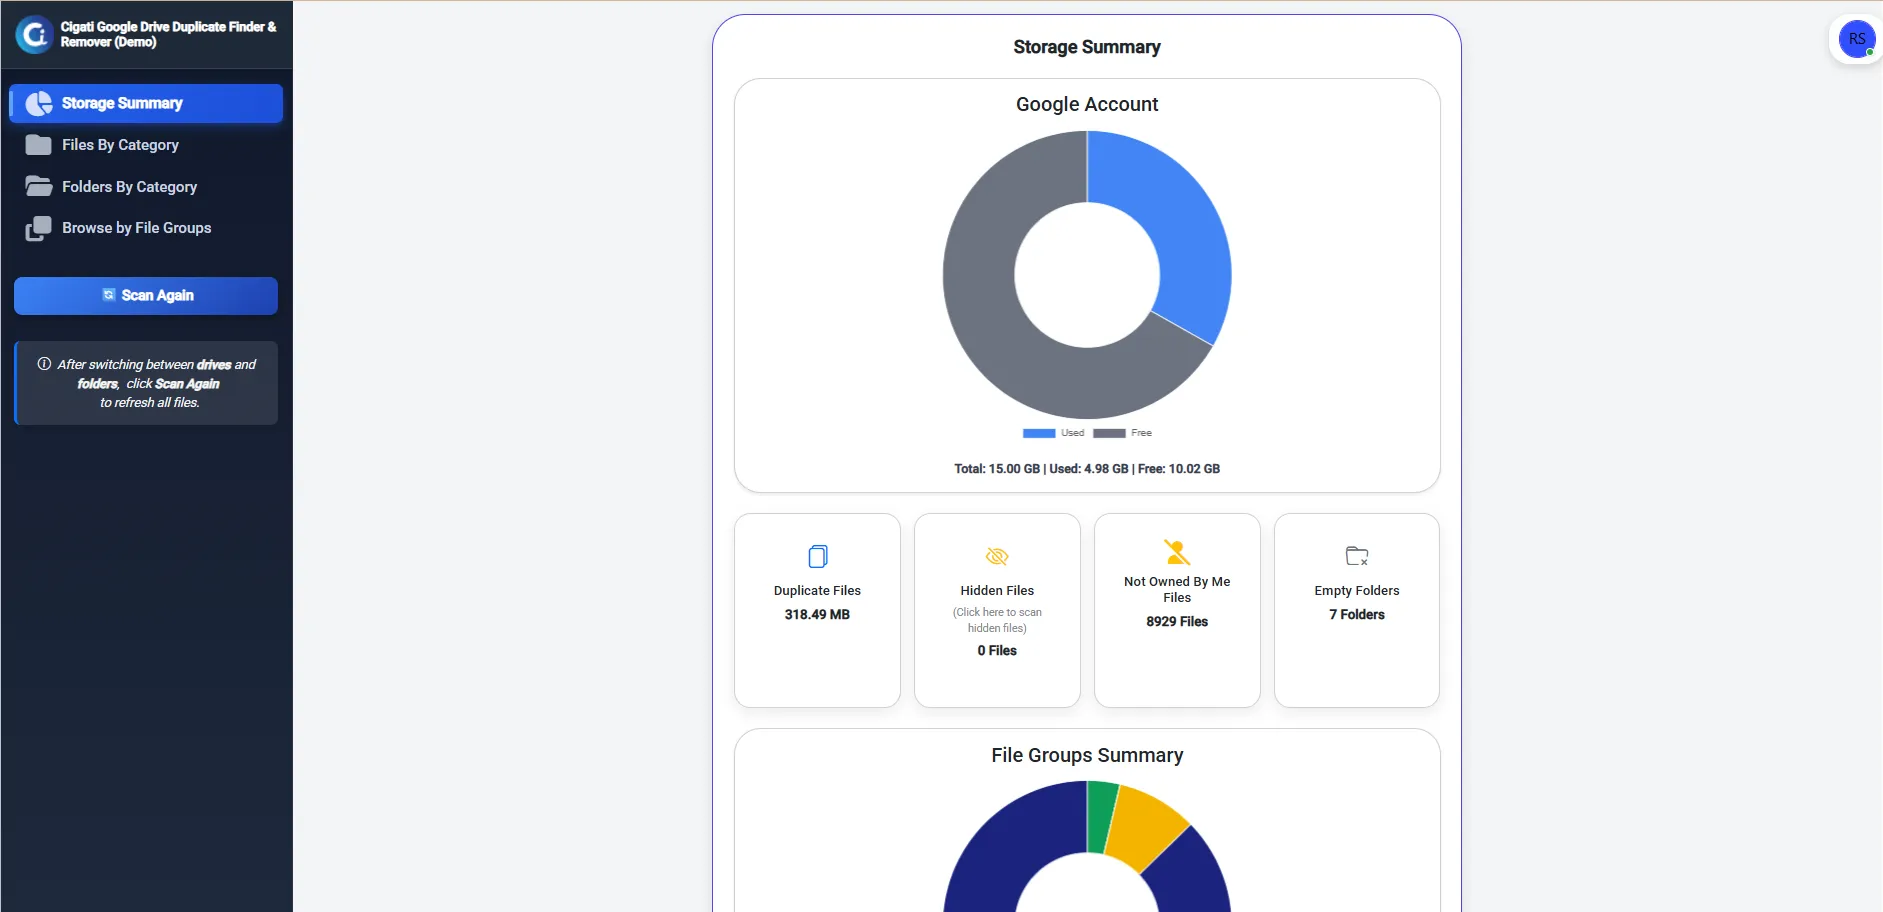
Once the scan is complete, a Storage Summary is displayed, providing insights into Total Drive Space, Used Space, and Free Space. You can also view detailed information such as duplicate files, hidden files, files not owned by you, and empty folders.
The right-side panel provides quick access to account details, activation options, key actions, and support, allowing you to manage everything without interrupting your workflow.
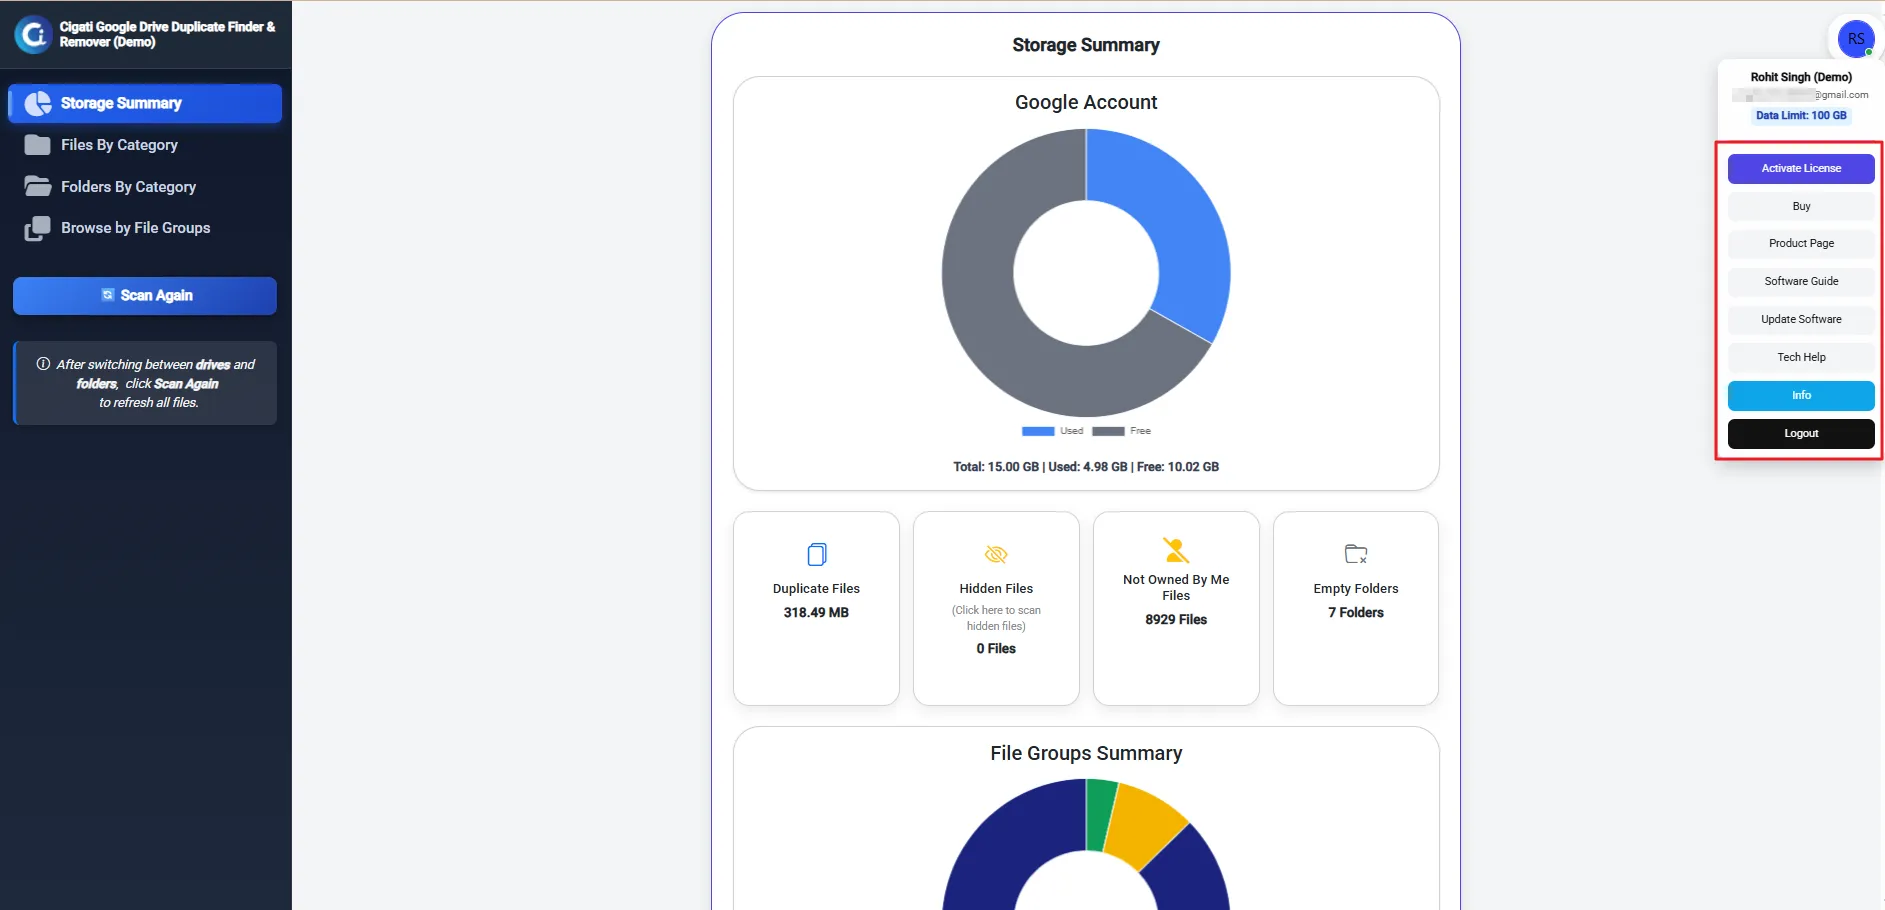
Select the Files by Category option from the left panel to view files grouped by different criteria. Files are categorized as duplicates (same folder), hidden, empty, large, old, not owned by me, temporary, by type, custom view, and trash, ensuring easy and simplified file management.
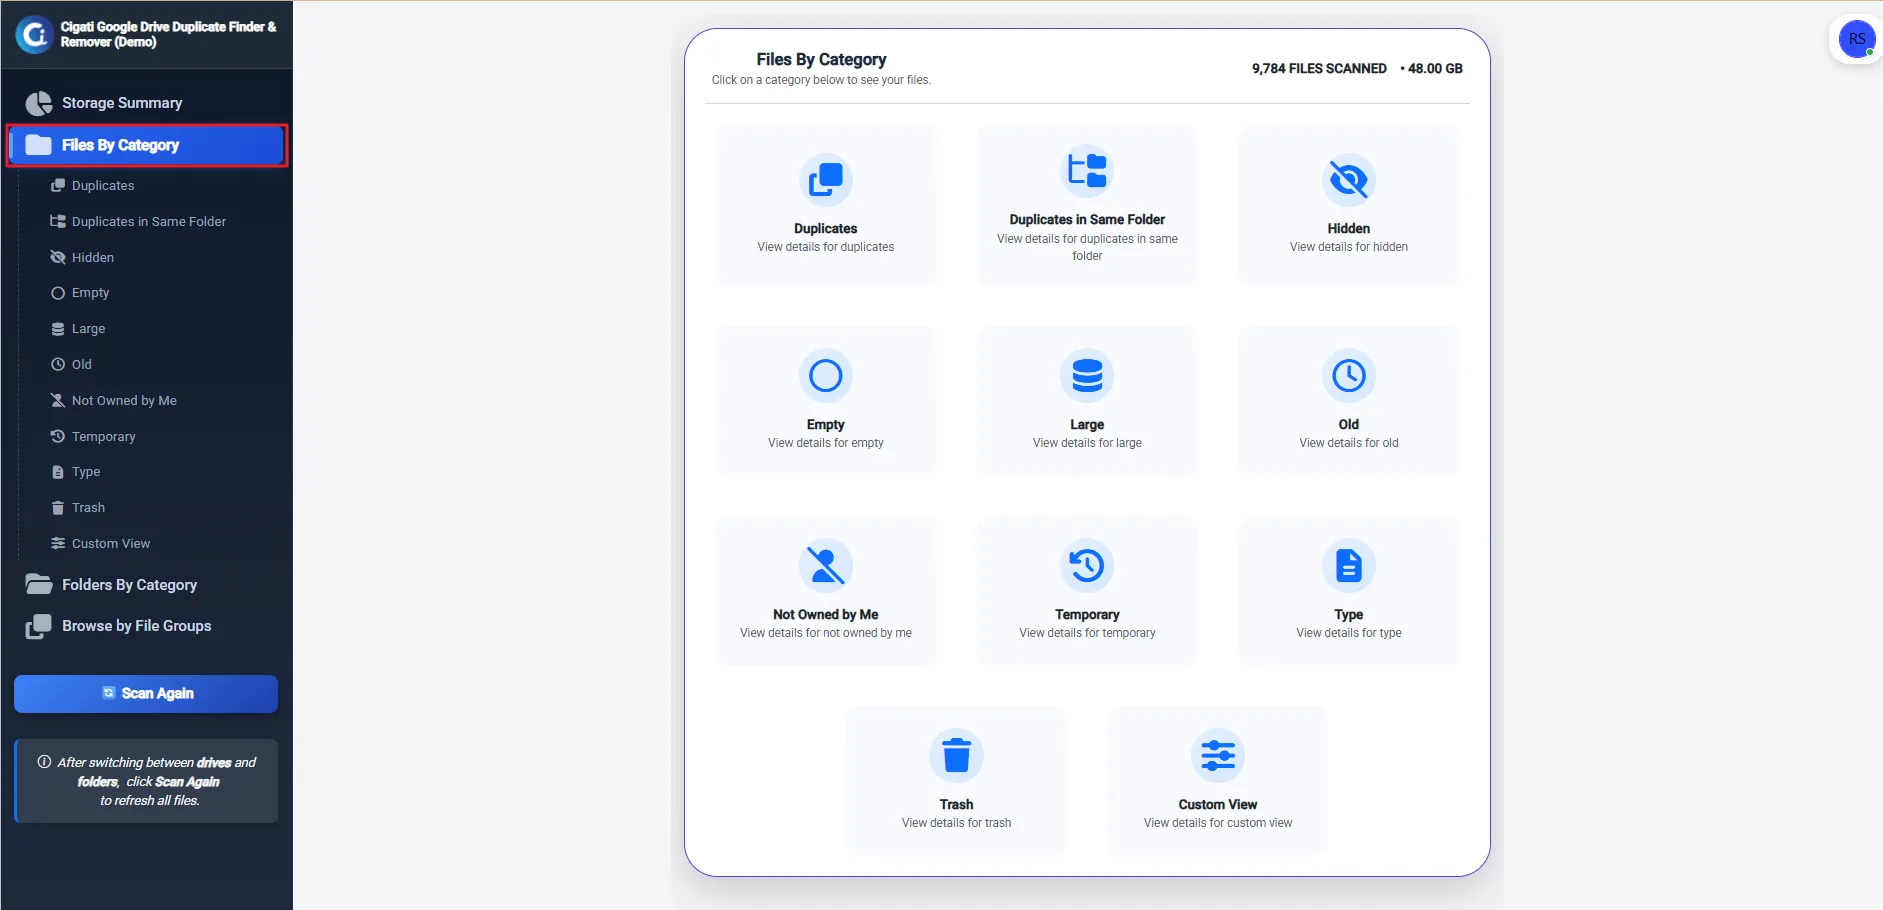
Select the Folders by Category option to help identify empty or unused folders to reduce drive clutter, free up storage space, and keep your Google Drive organized. It enables quick folder review and cleanup, improving overall drive management and productivity.
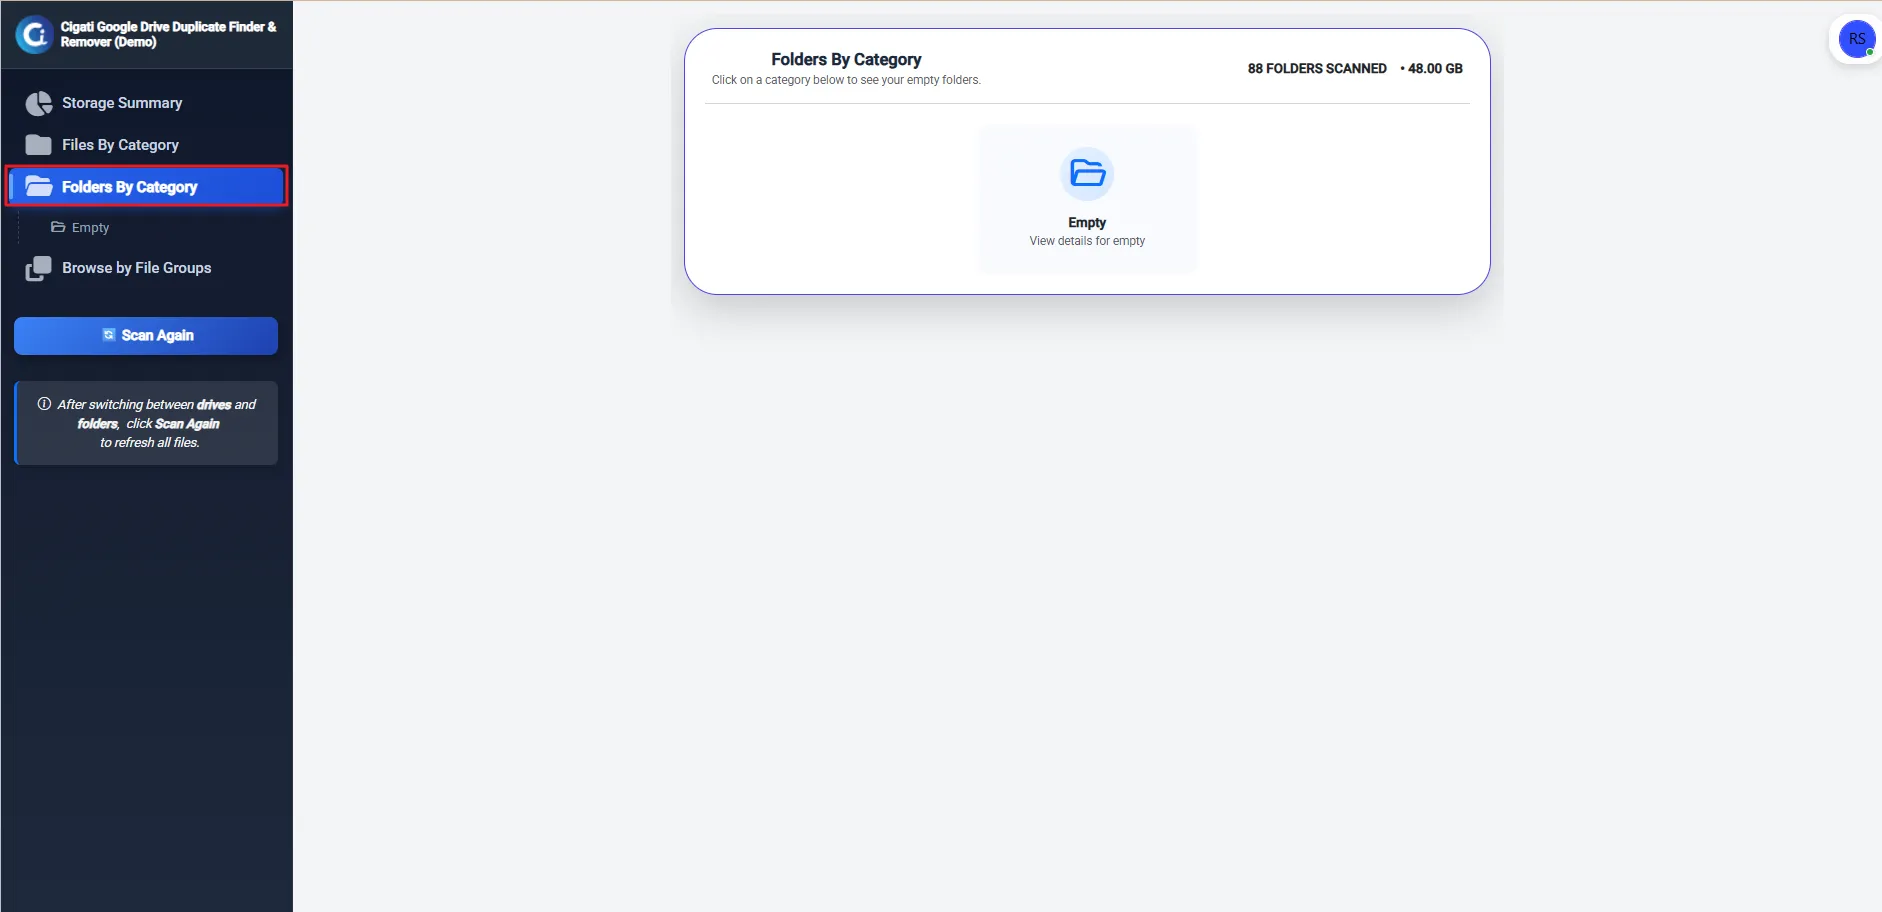
Select the Browse File by Groups feature, which automatically organizes Google Drive files into categories such as Documents, Photos, Audio, Video, ZIP, and Others, making file review and management quick and effortless.
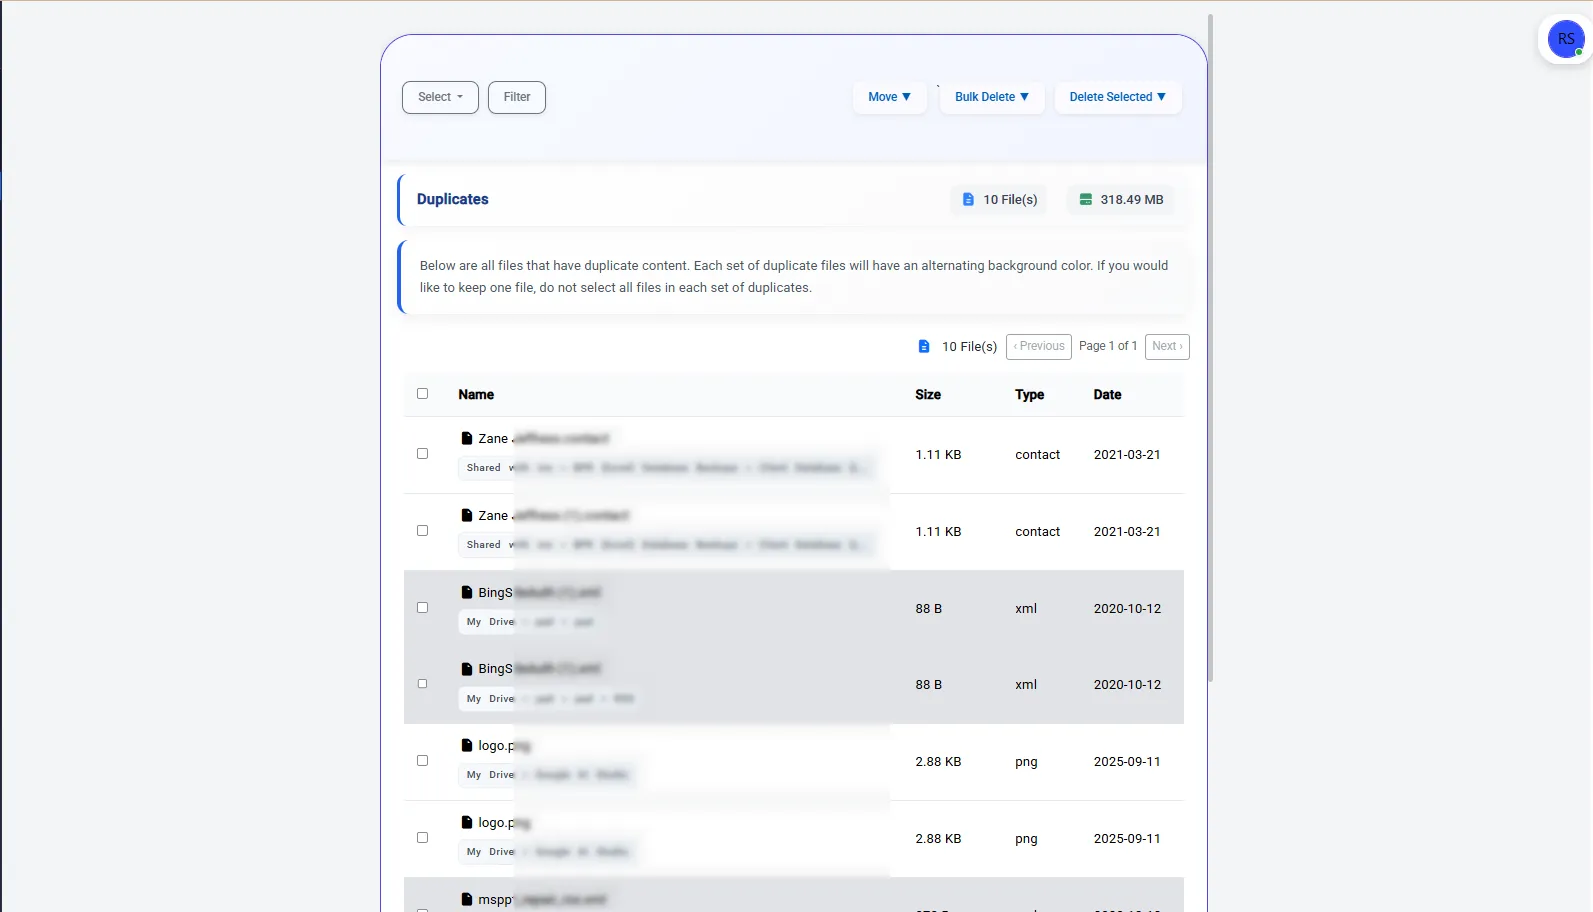
All duplicate files will be displayed here, allowing you to review and manage them efficiently.
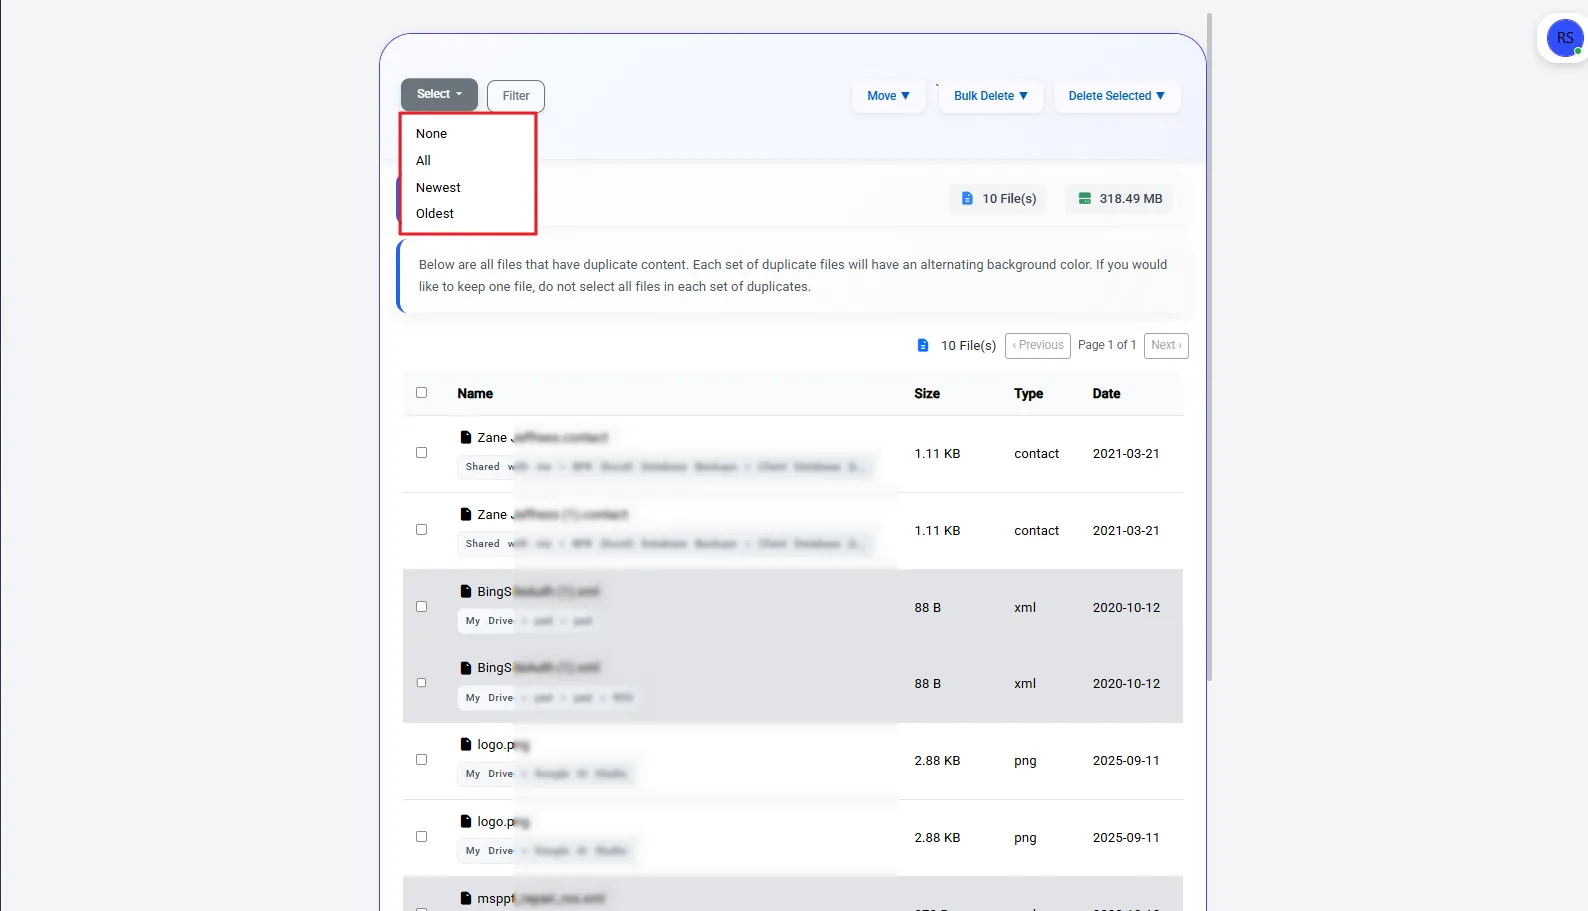
Use the Select option to quickly filter files on the current page (up to 500) based on None, All, Newest, or Oldest.
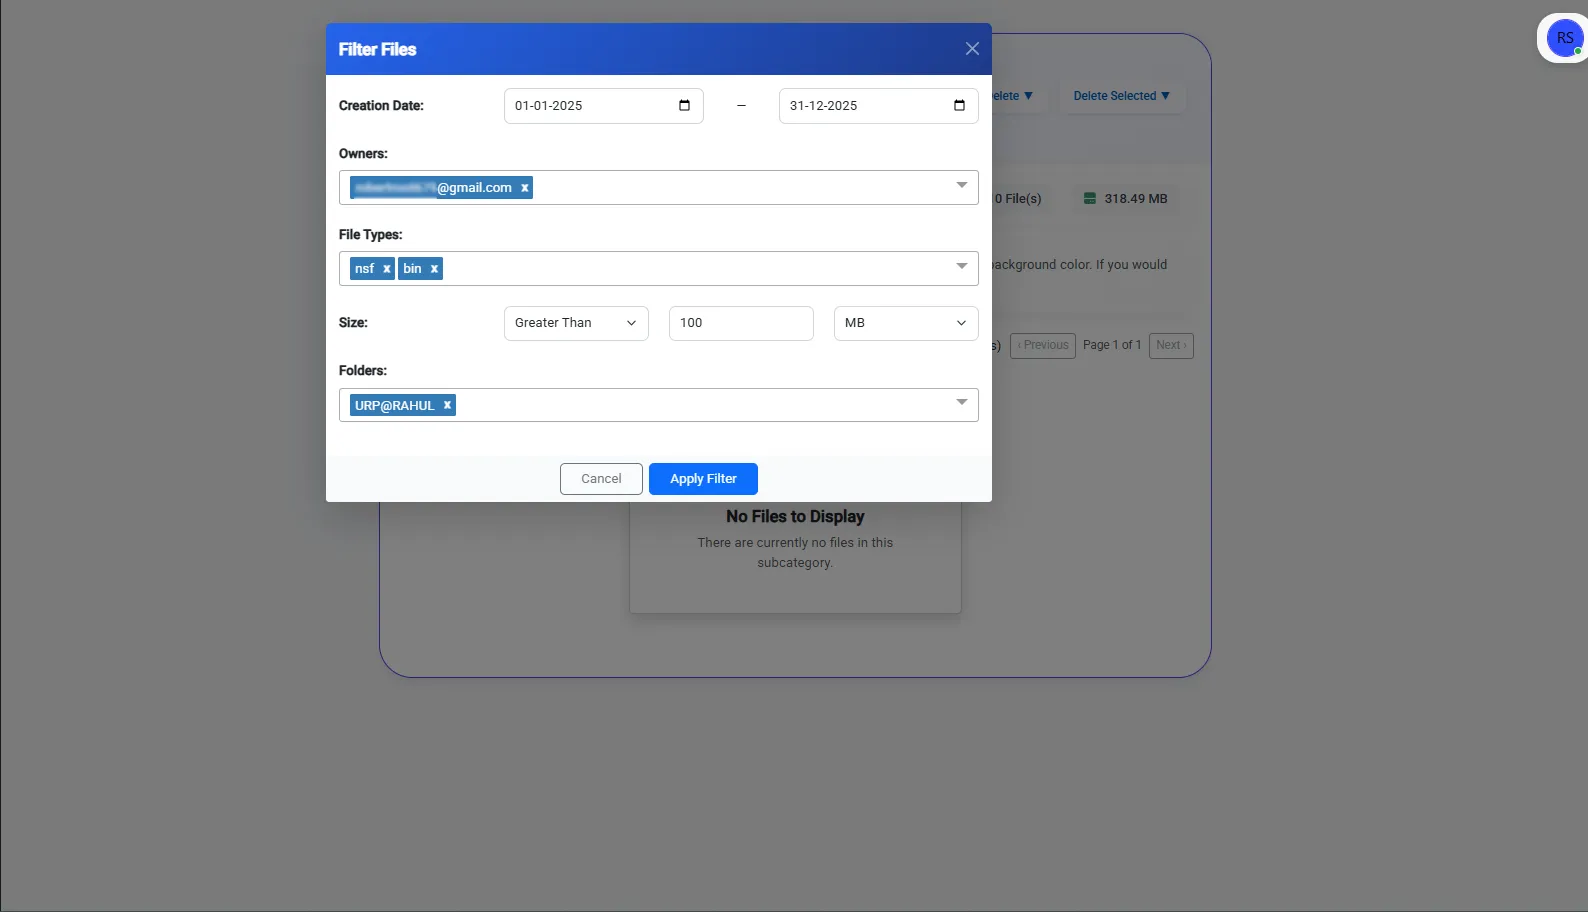
Use the Filter Option allow you to quickly locate and remove unwanted files or folders by narrowing results based on date, owner, type, size, or folder. Simply apply a filter to clean your Drive efficiently.
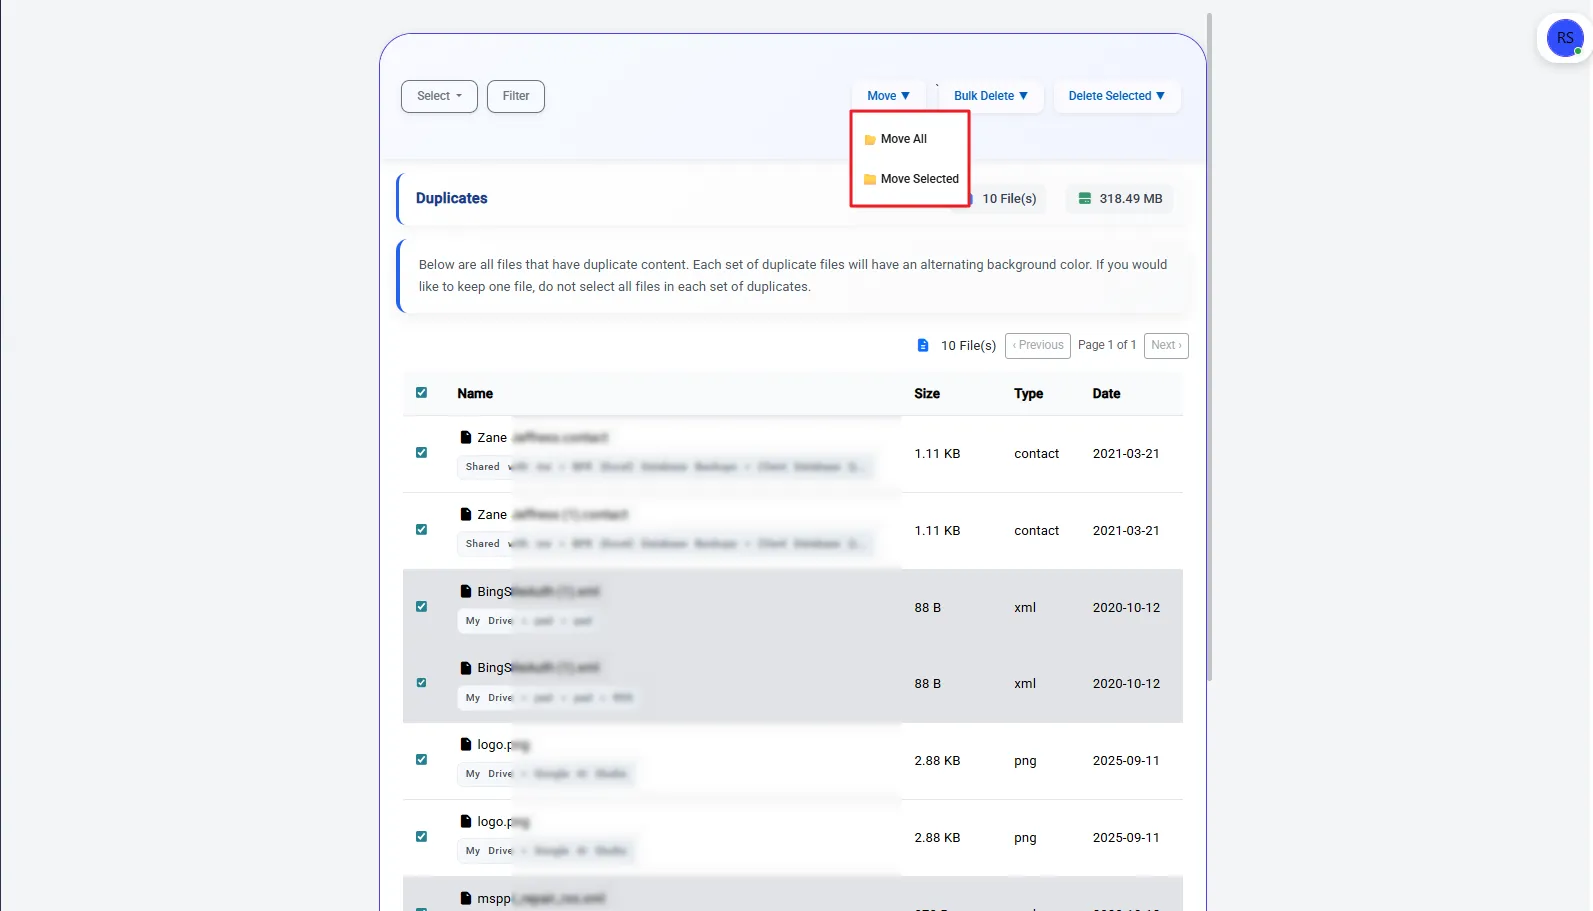
After applying filters and locating duplicates, you can select files manually and use the Move option. This allows you to Move All or Move Selected Google Drive files securely to another folder on your Drive with ease.
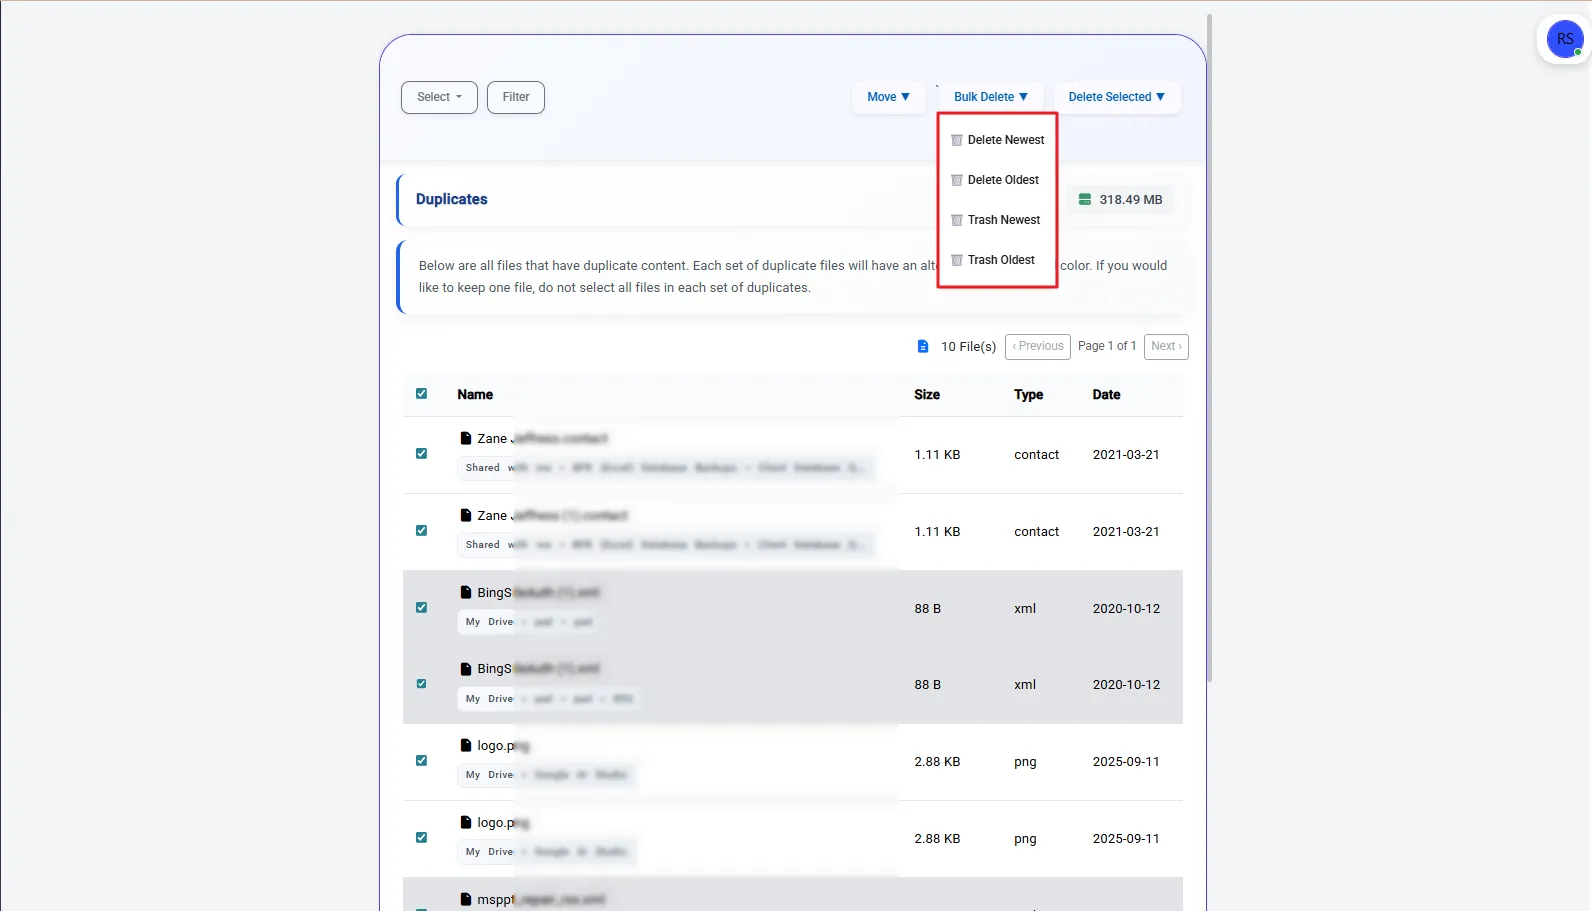
Use the Bulk Delete option to remove all files in a selected category at once, saving time. You can choose to Delete All files permanently or Move All to Trash for temporary deletion, allowing recovery later if needed.
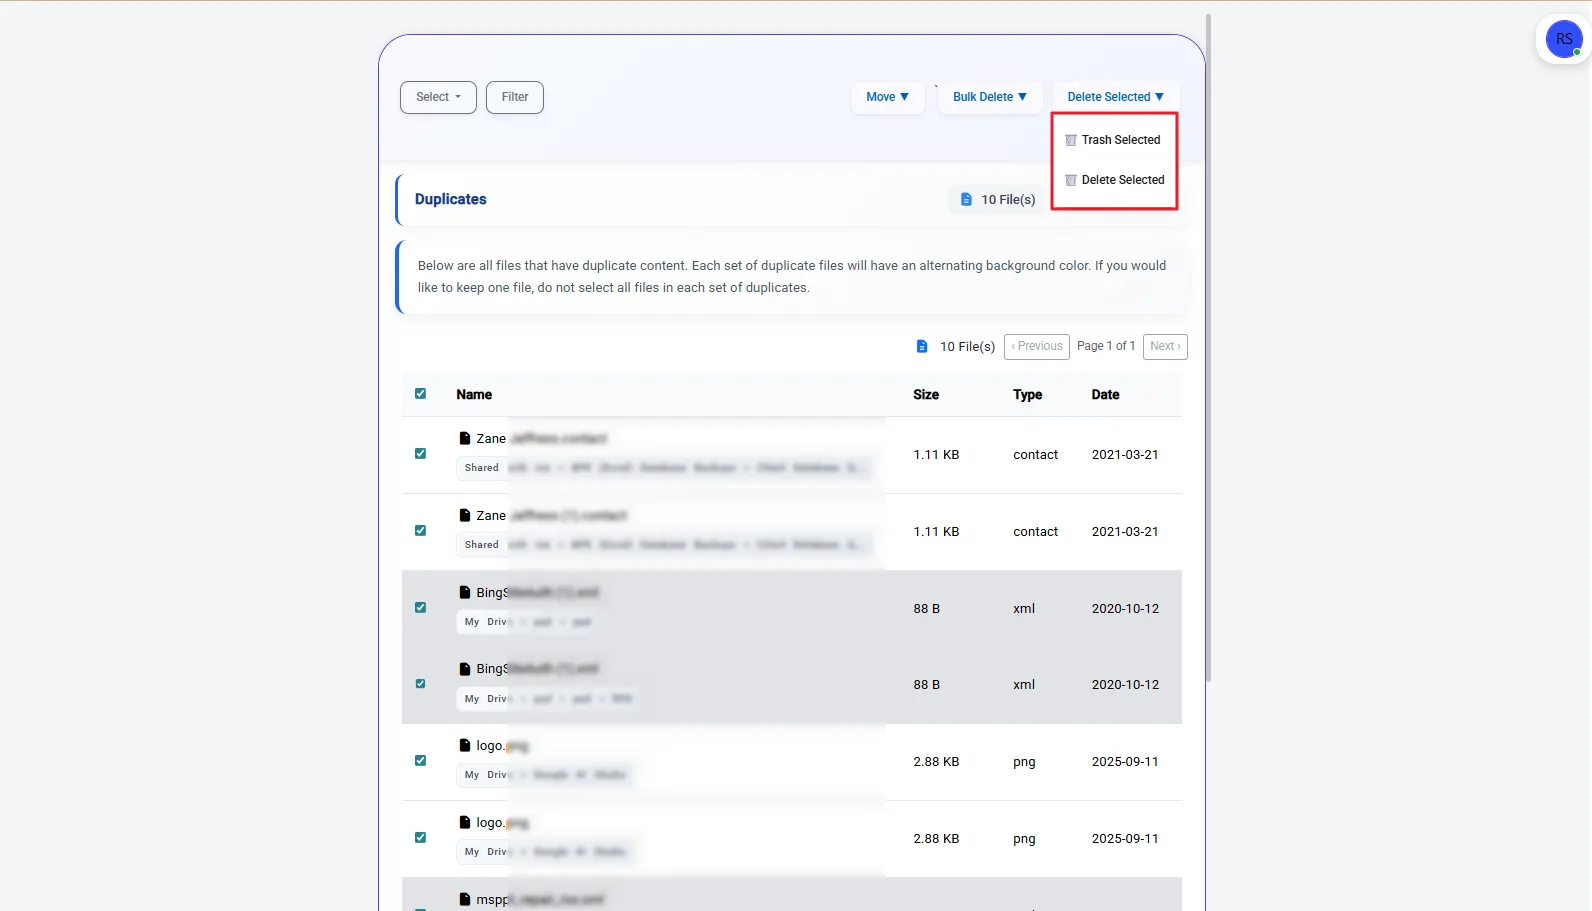
Use the Delete Selected button to remove duplicate files selectively. You can choose Delete Selected to remove files permanently or Trash Selected for temporary deletion.
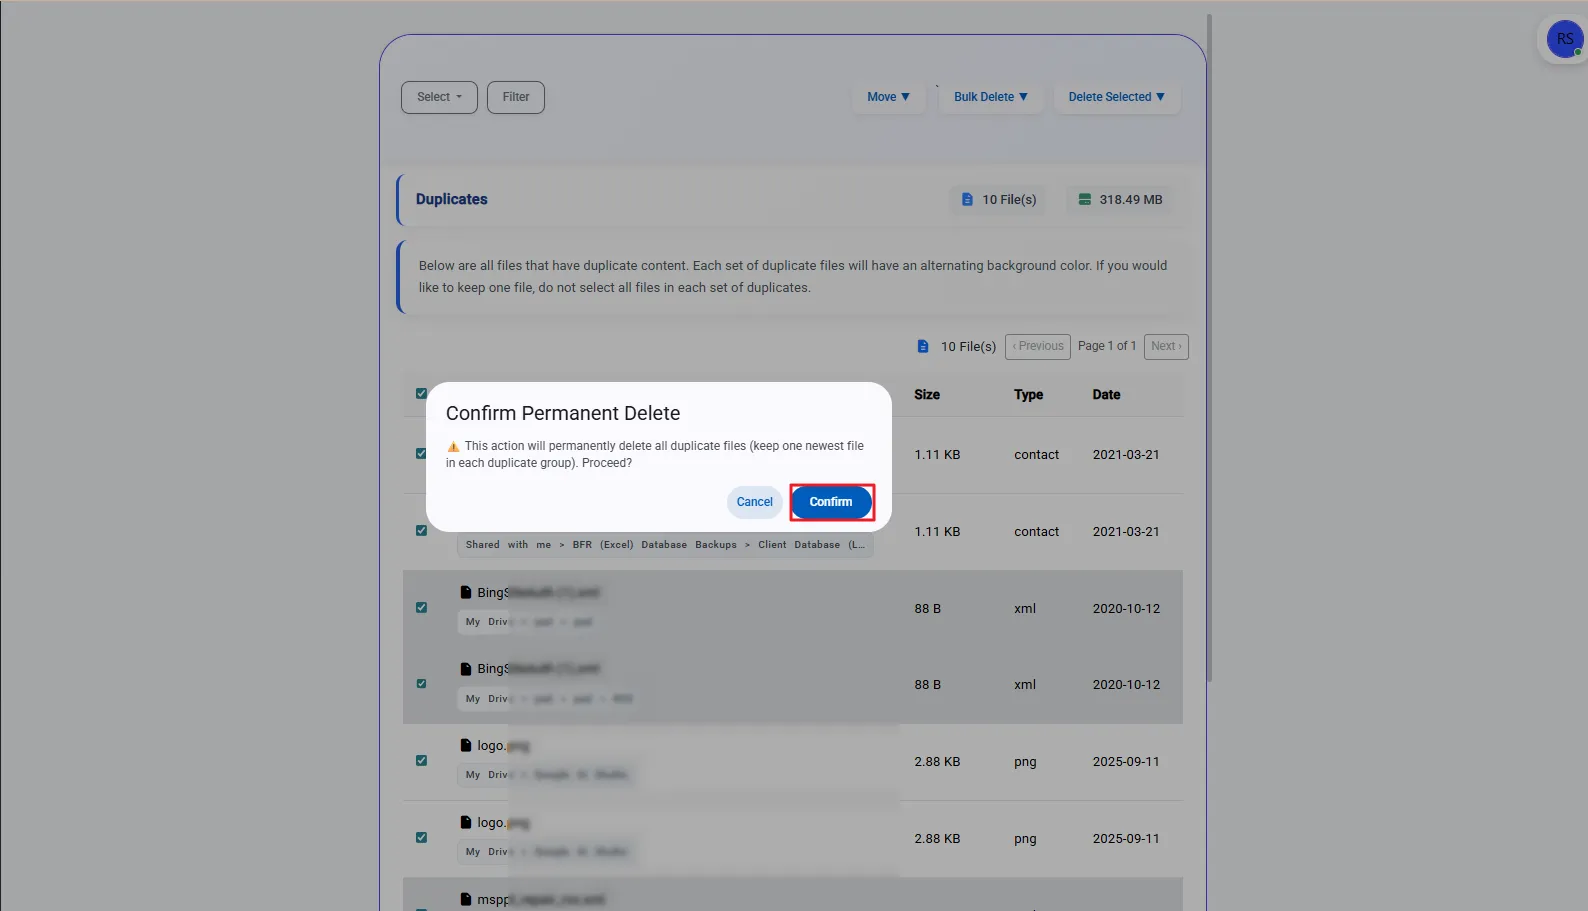
After selecting all files, applying filters, and reviewing your choices, click Delete. A confirmation dialog will appear. Tap Confirm to delete or move the files.