iCloud Mail Backup Tool
4.7
A user-friendly application with an intuitive design for beginners to navigate effortlessly.
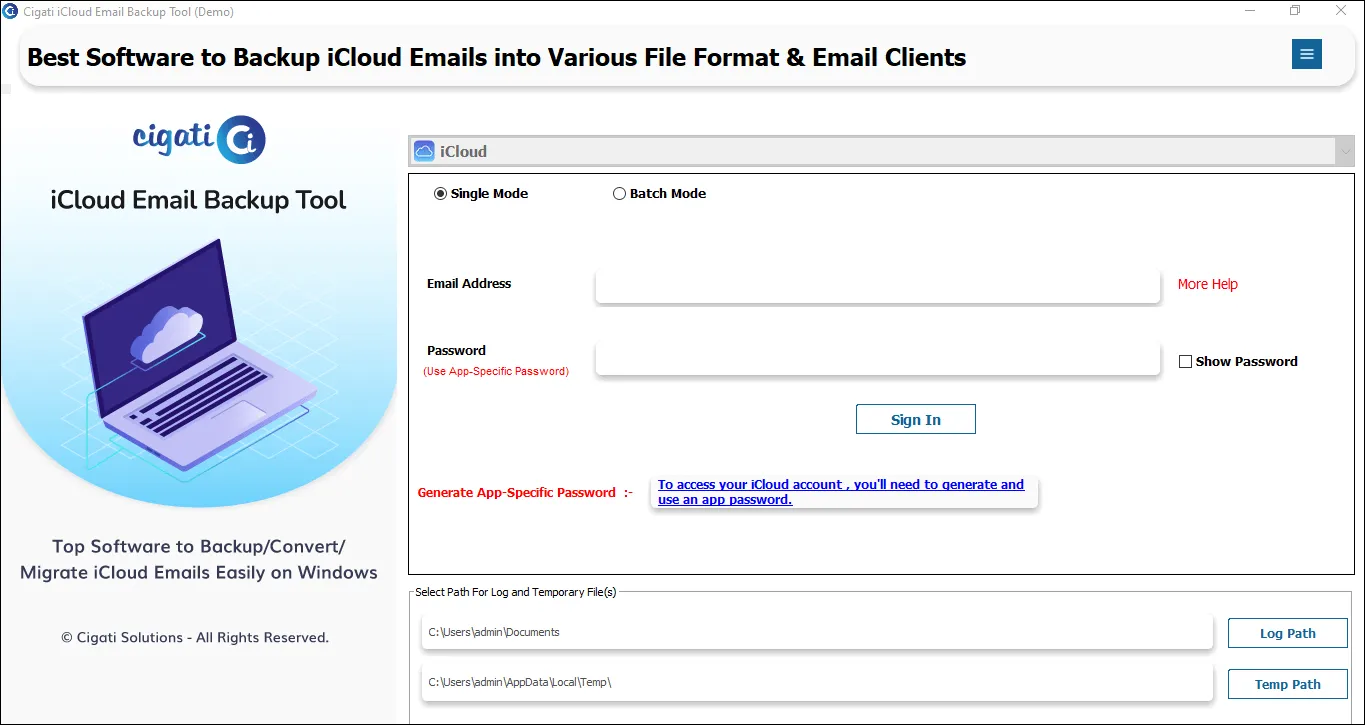
Install and Run the Cigati iCloud Mail Backup Tool.
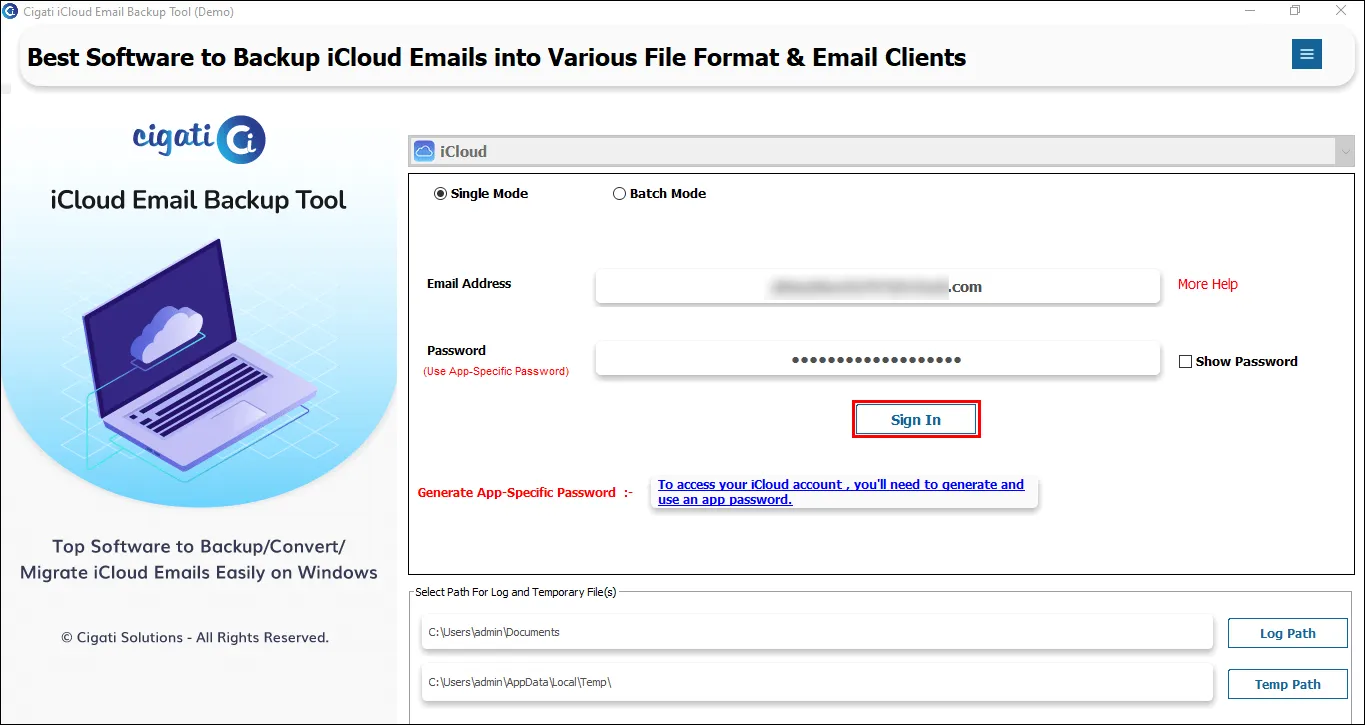
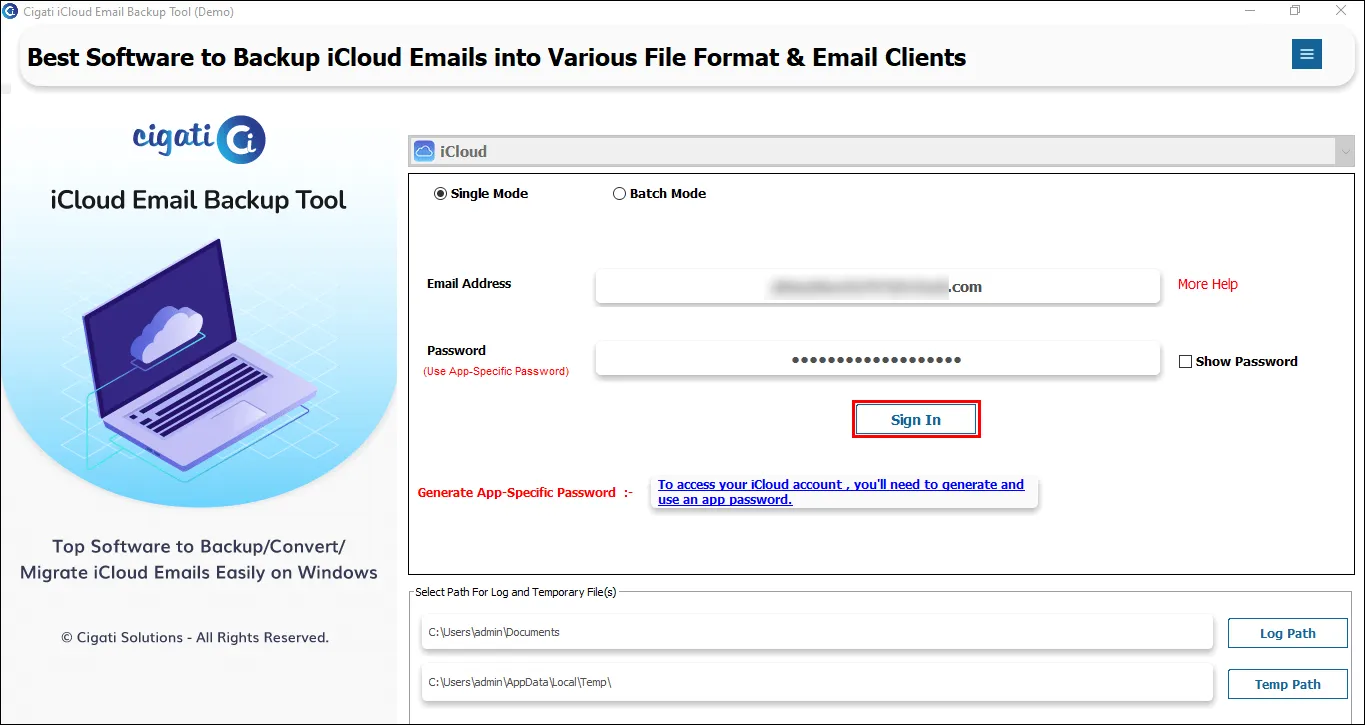
Enter the login credentials and click the Sign In button. Note: Enter the third-party app password instead of the usual password.
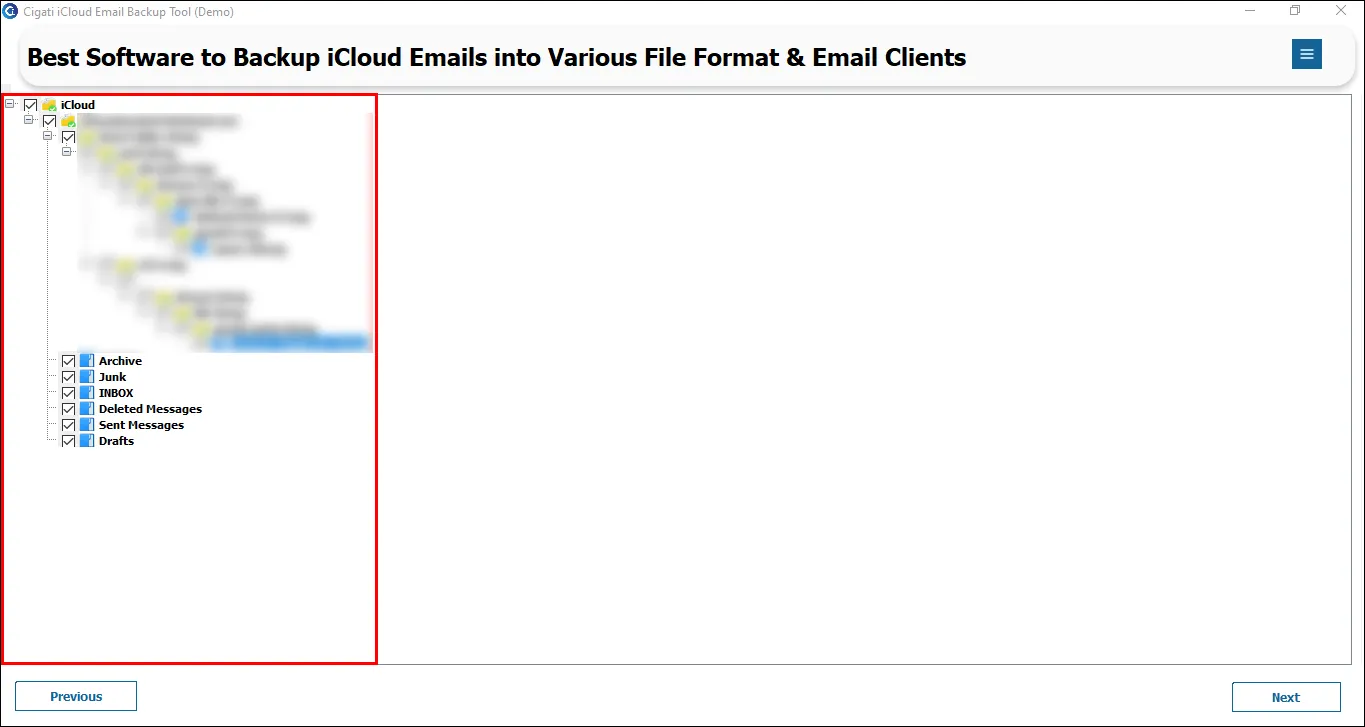
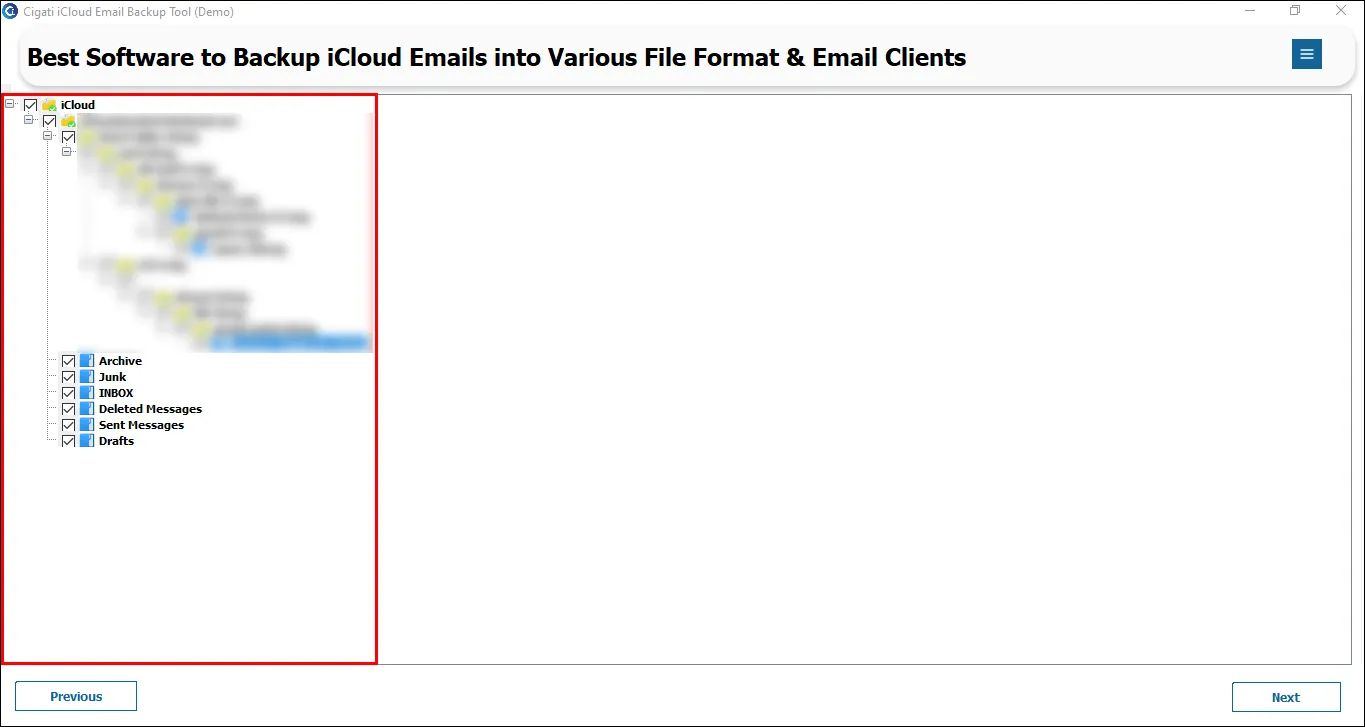
Select the desired mailbox folder(s) from the tree structure, then click Next.
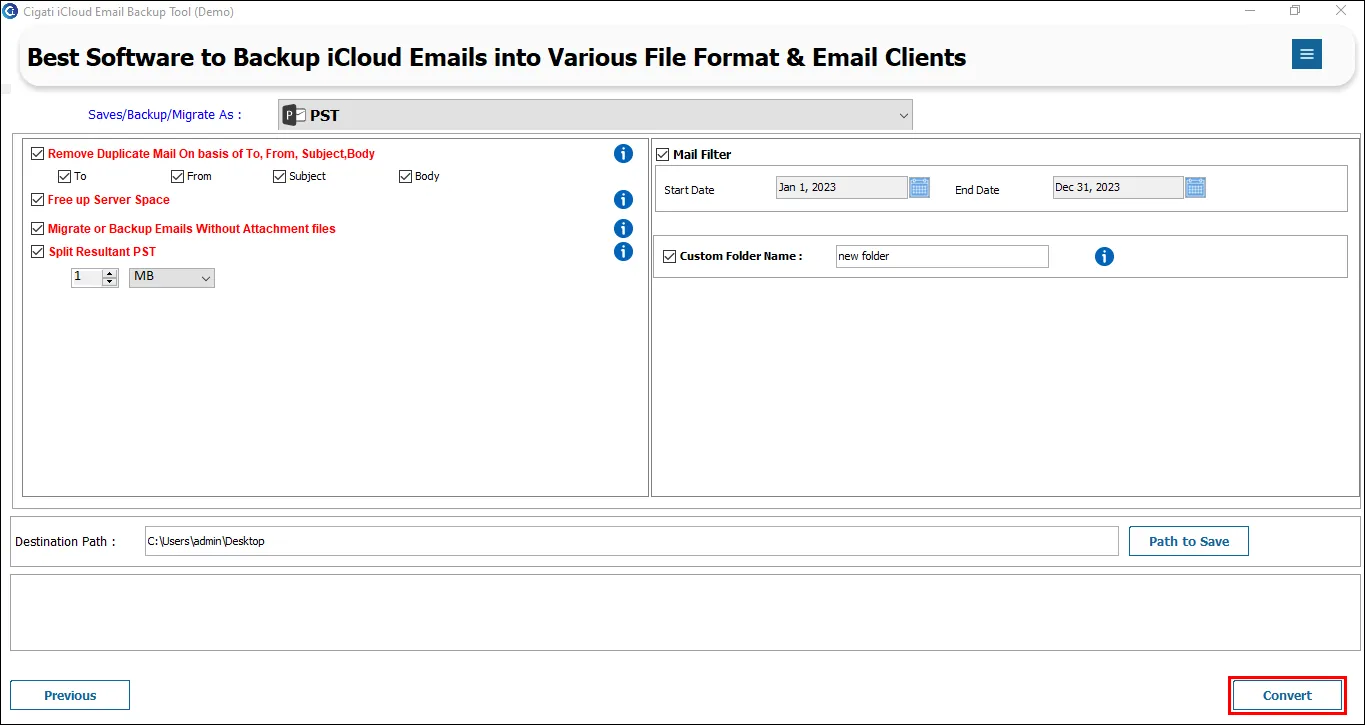
Select the PST format from the drop-down list.
Note: Choose the file format according to your needs; PST is just an example.
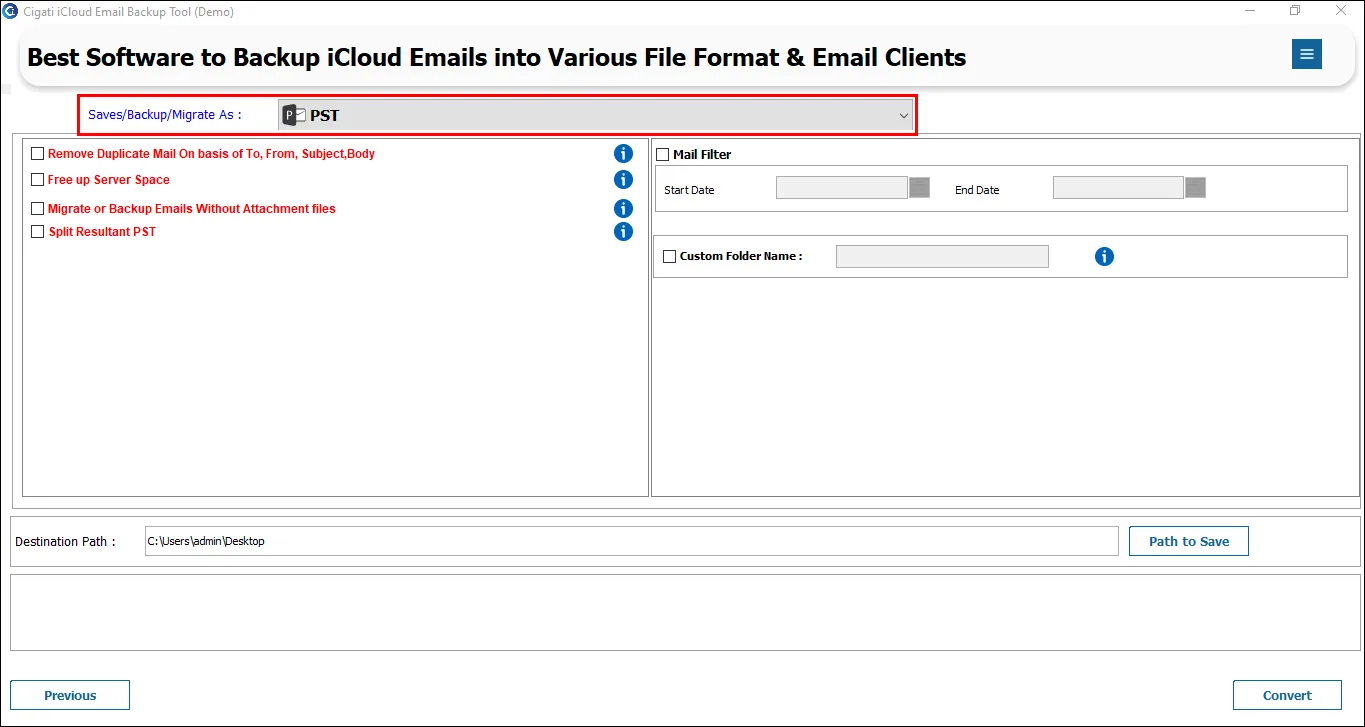
Tick the Remove Duplicate Mail option to eliminate duplicates based on To, From, Subject, and Body.
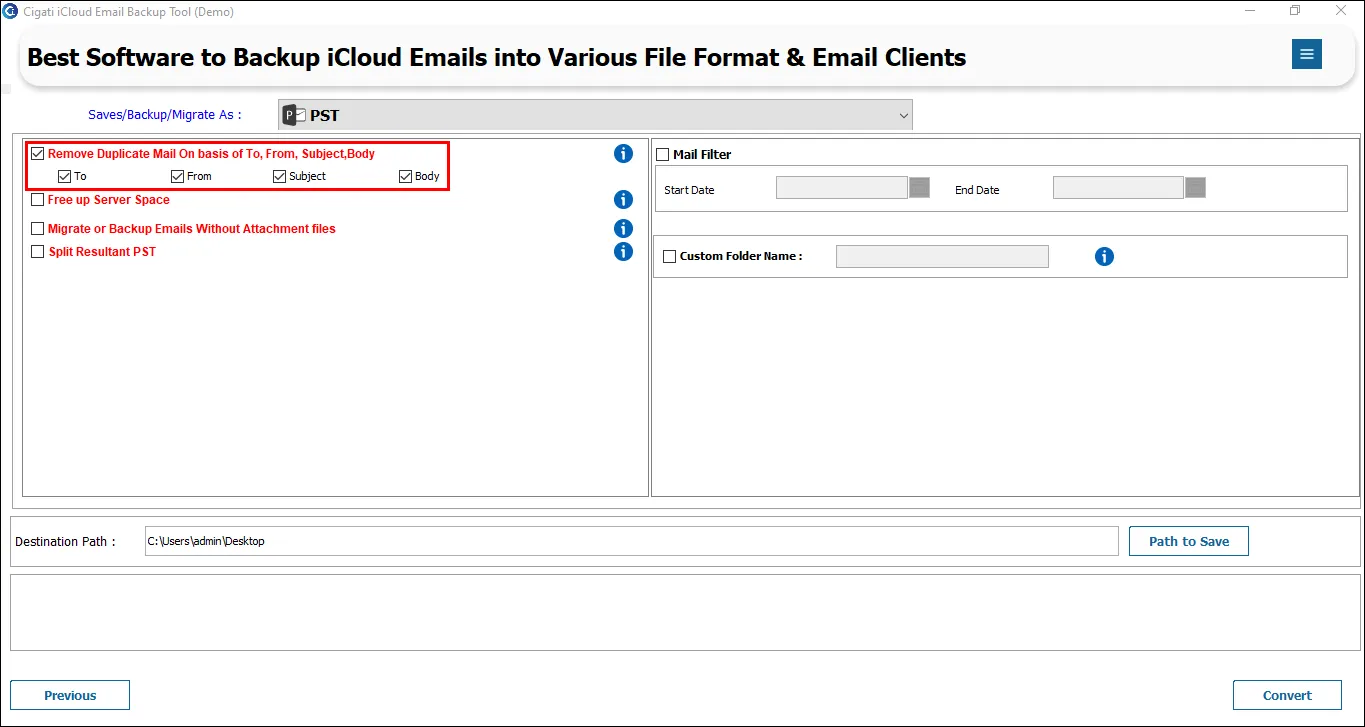
The Free Up Server Space option allows you to delete emails after backup.
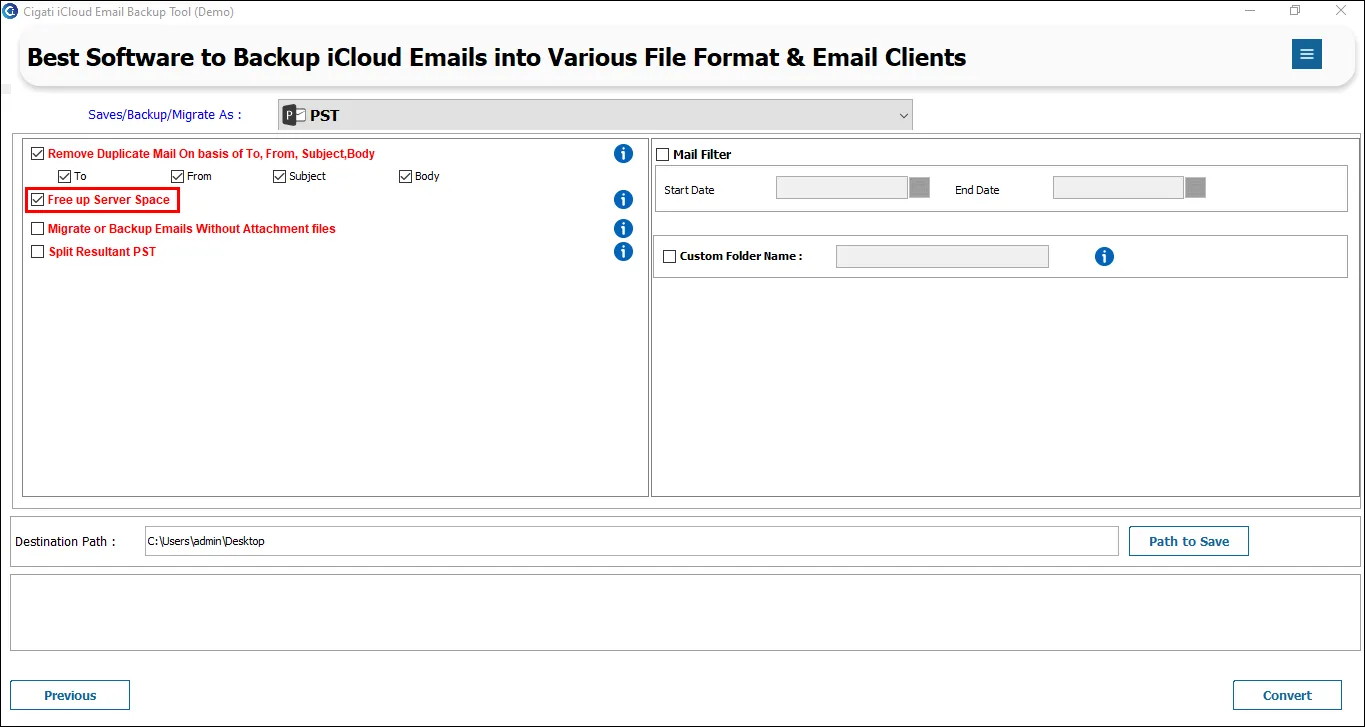
Choose the Migrate or Backup Emails without Attachment Files option to exclude email attachments.
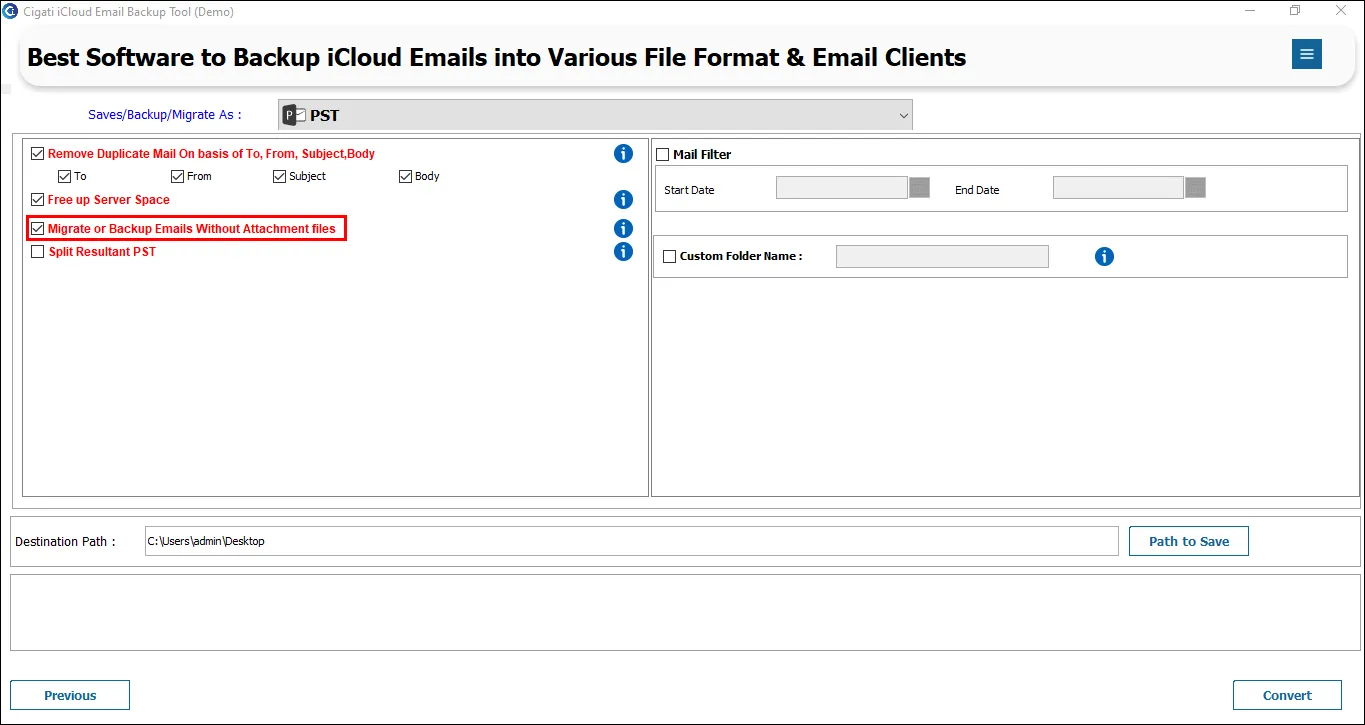
Select the Split PST option to divide the output PST into smaller files.
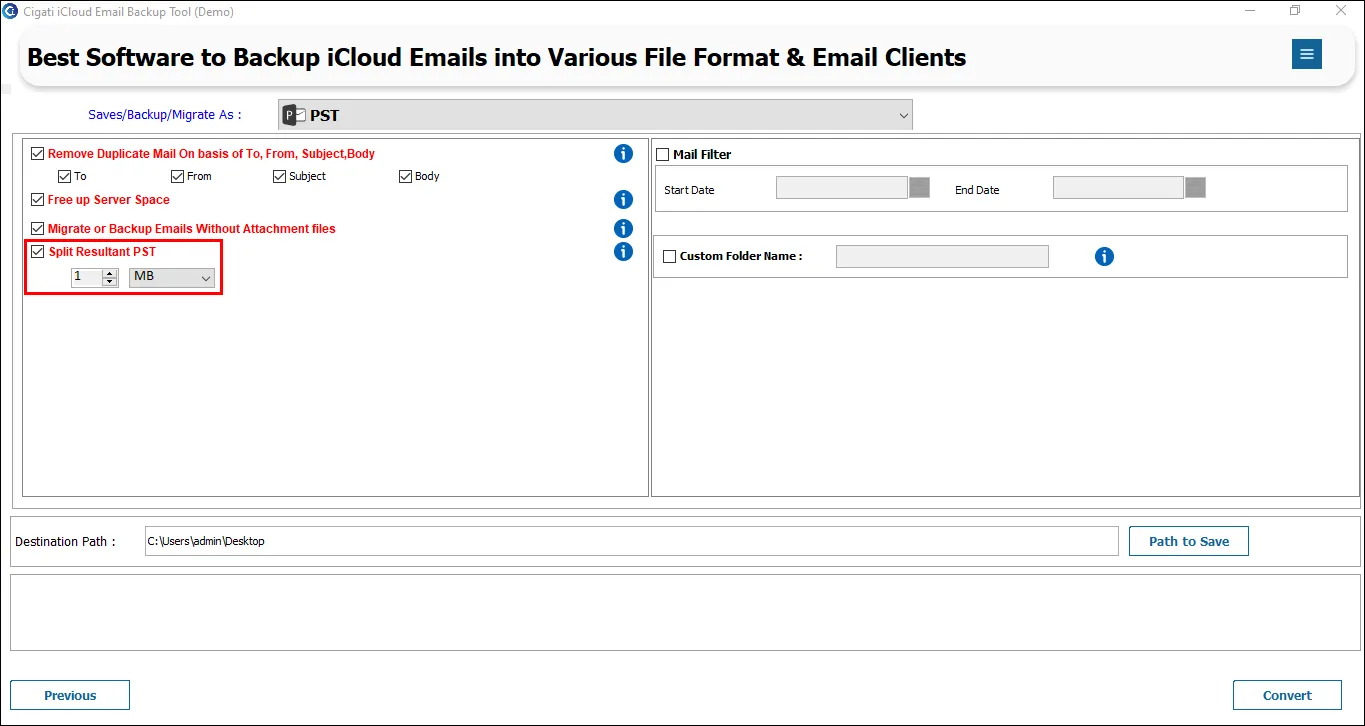
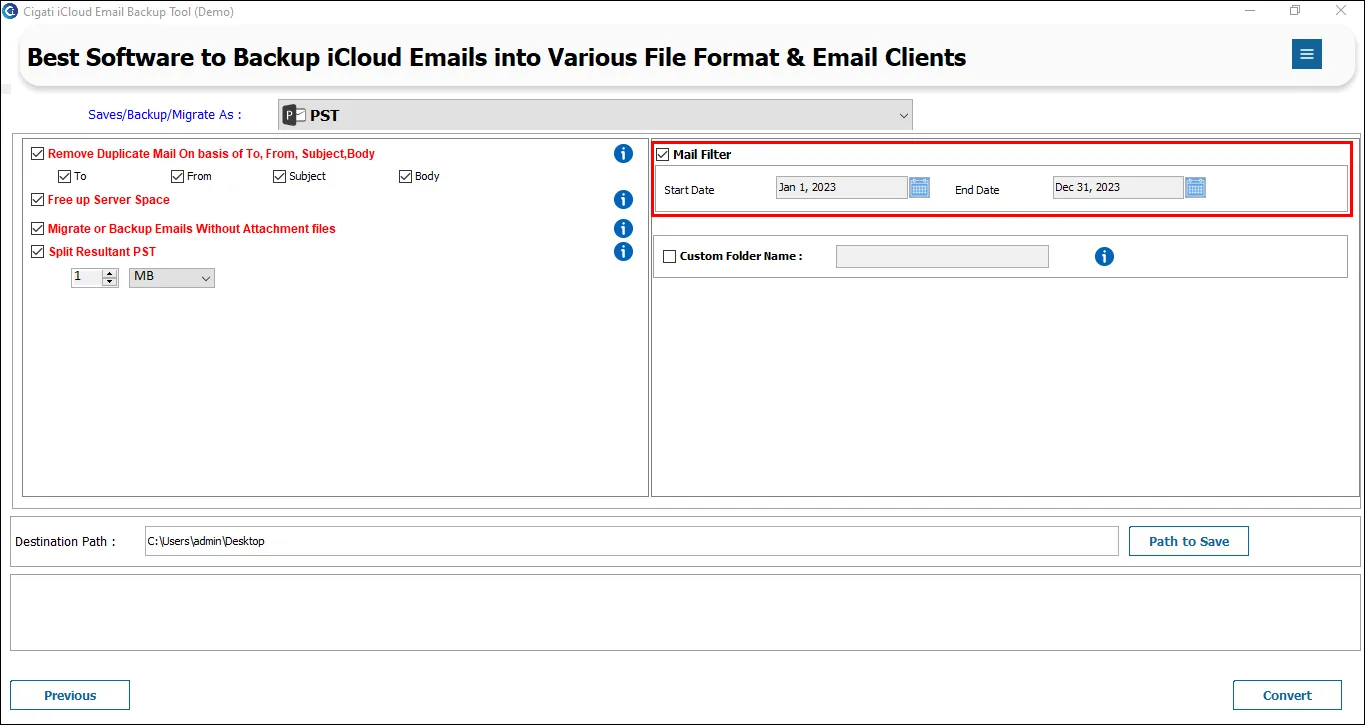
Tick the Mail Filter helps to perform the selective conversion process.
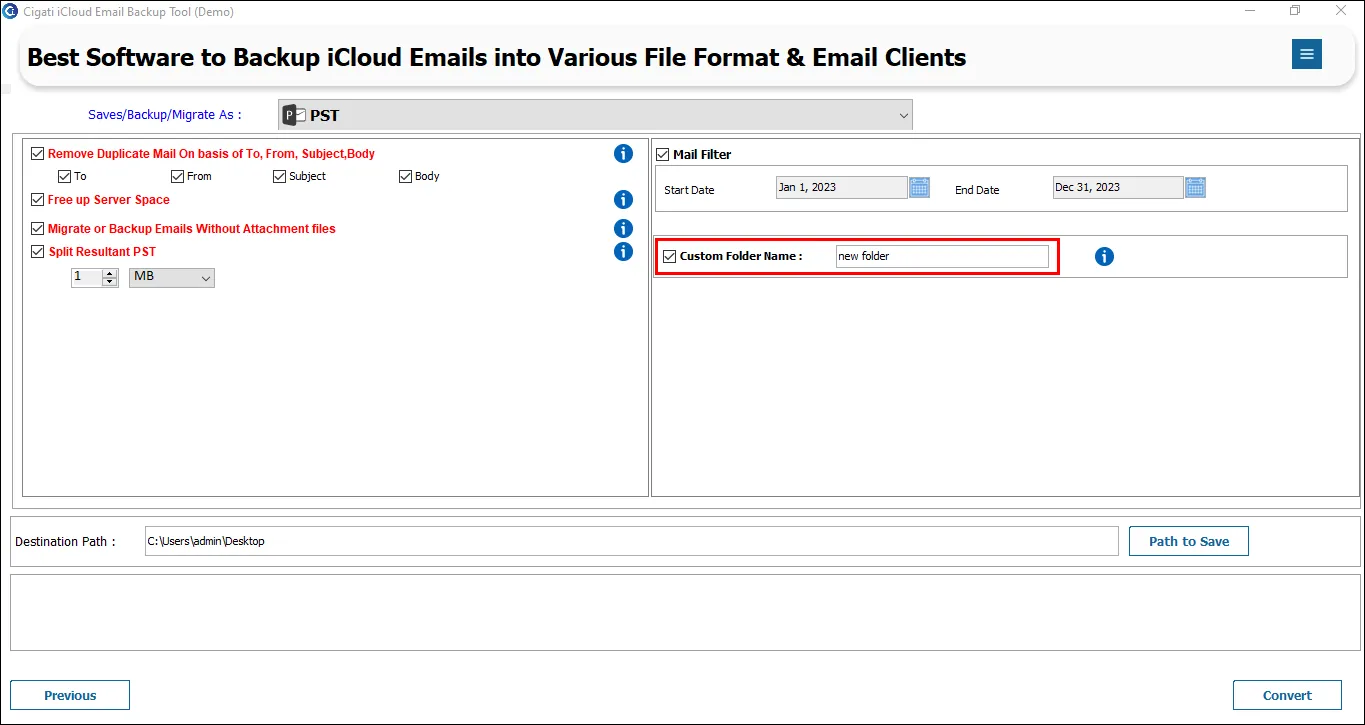
Choose the Custom Folder Name option to specify a custom folder name for saving the output files.
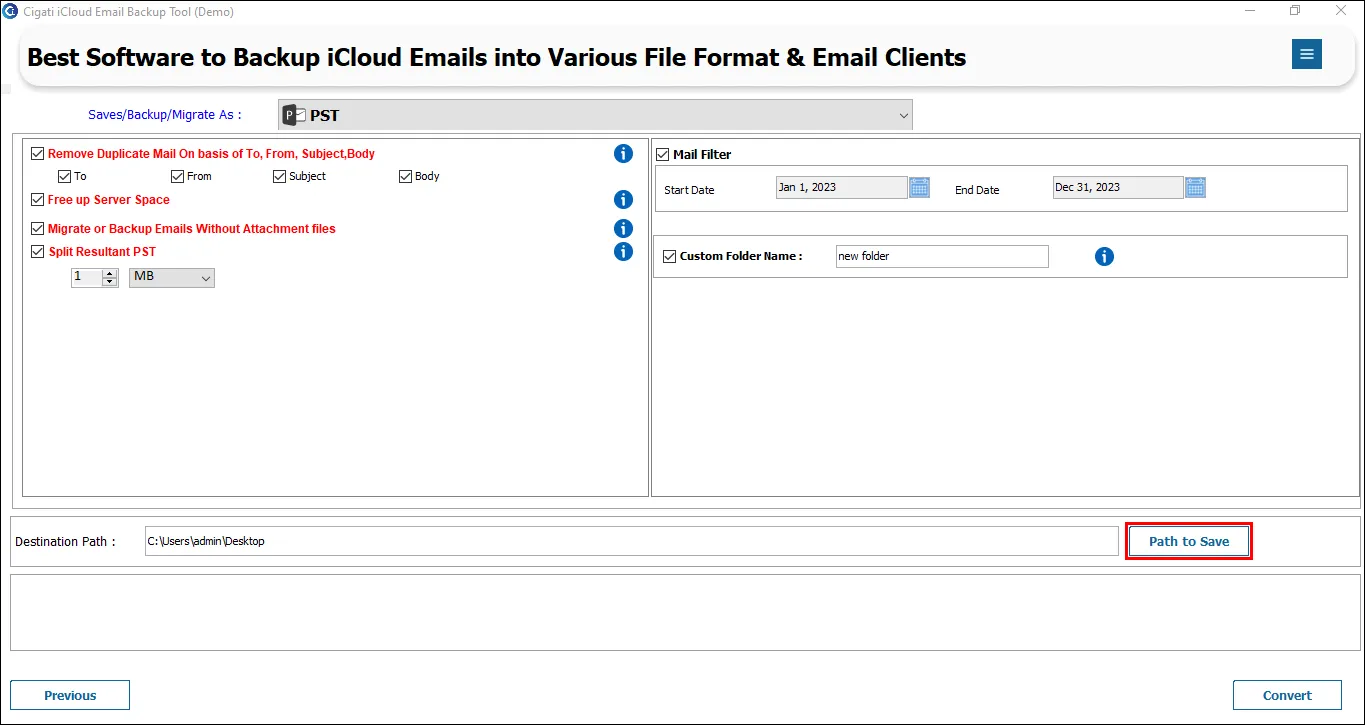
Click the Path to Save button to select the destination for the resultant file.
Lastly, click the Convert button to begin the conversion procedure.
Install and Run the Cigati iCloud Email Backup Tool.
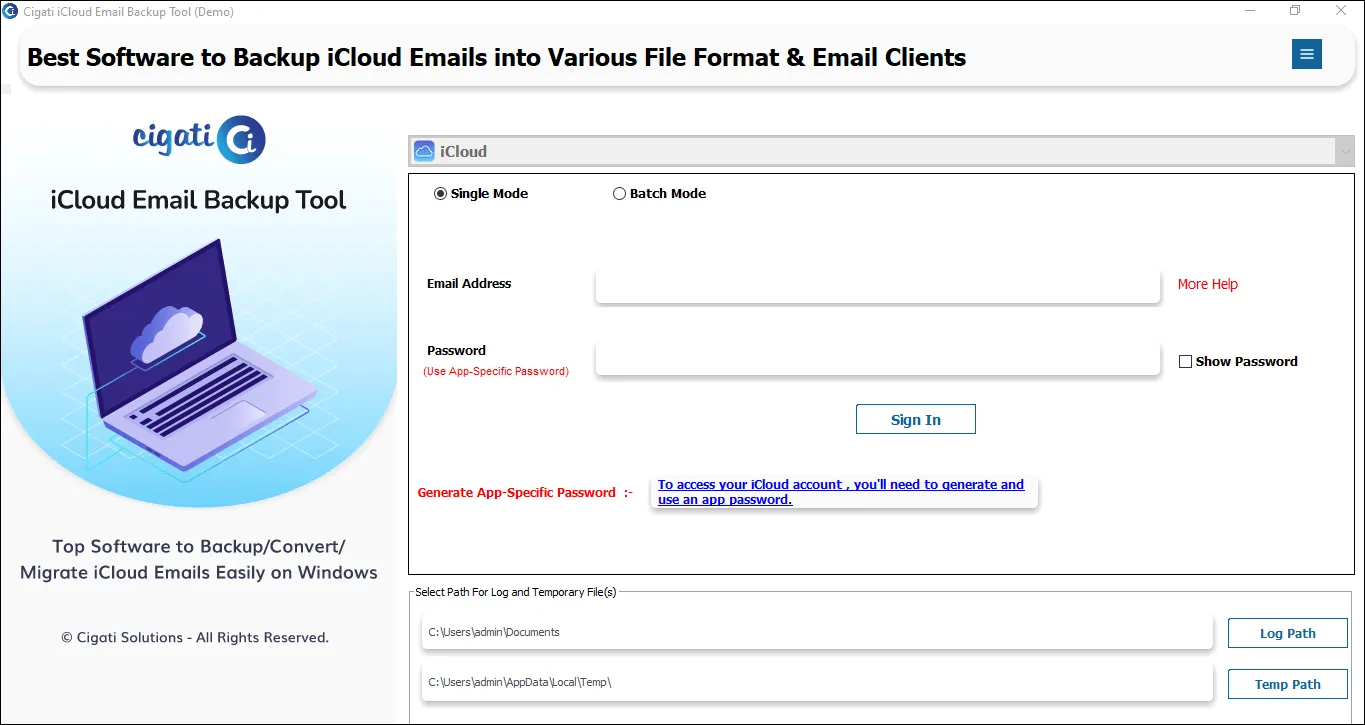
Enter the login credentials and click the Sign In button. Note: Use the third-party app password instead of the usual password.
Select the desired mailbox folder(s) from the tree structure, then click Next.
Choose Office 365 from the drop-down list.
Note: Select the email client according to your needs; Office 365 is provided here as an example.
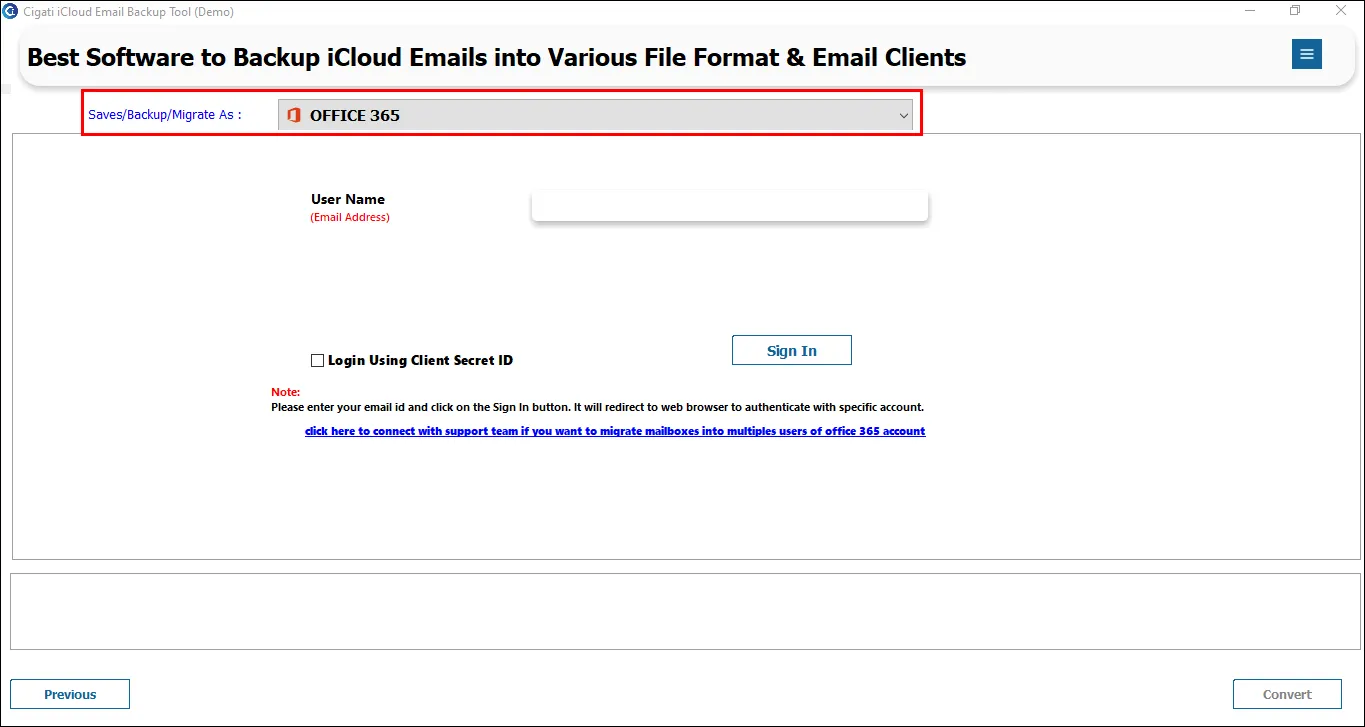
Further, enter your O365 email ID and click the Sign in button.
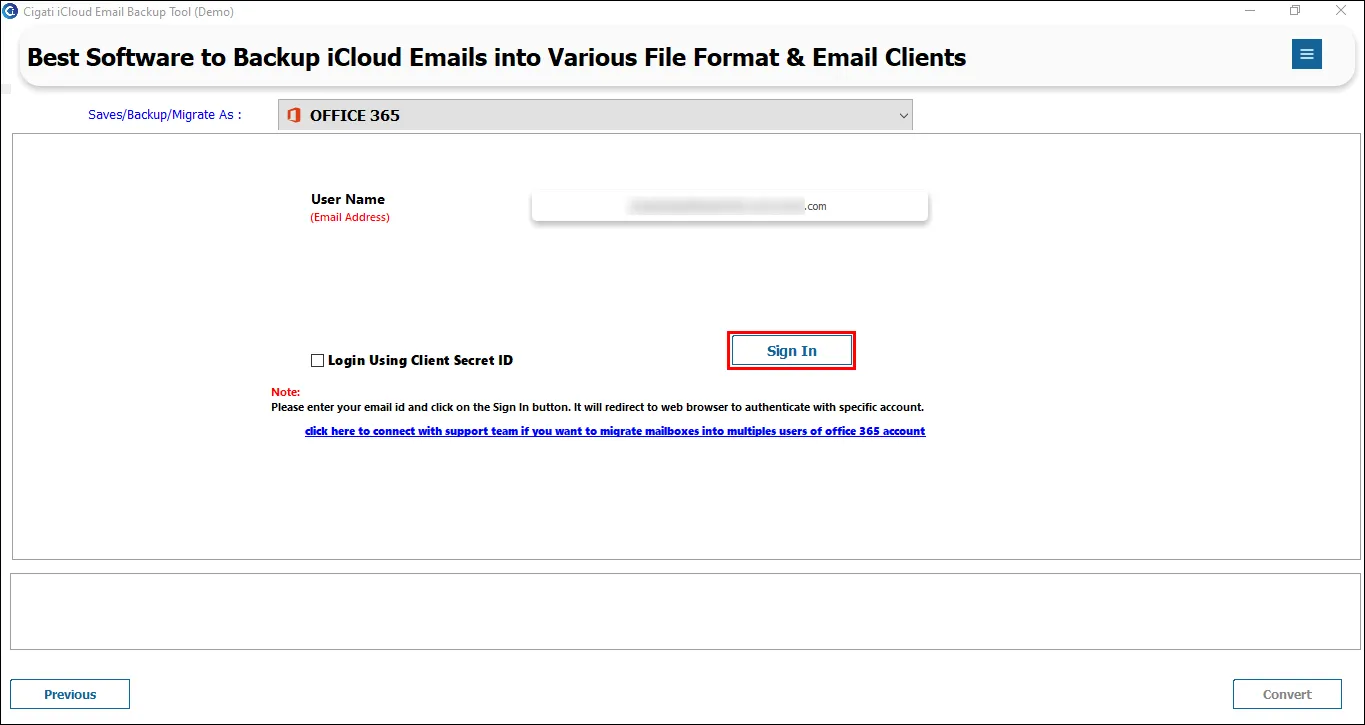
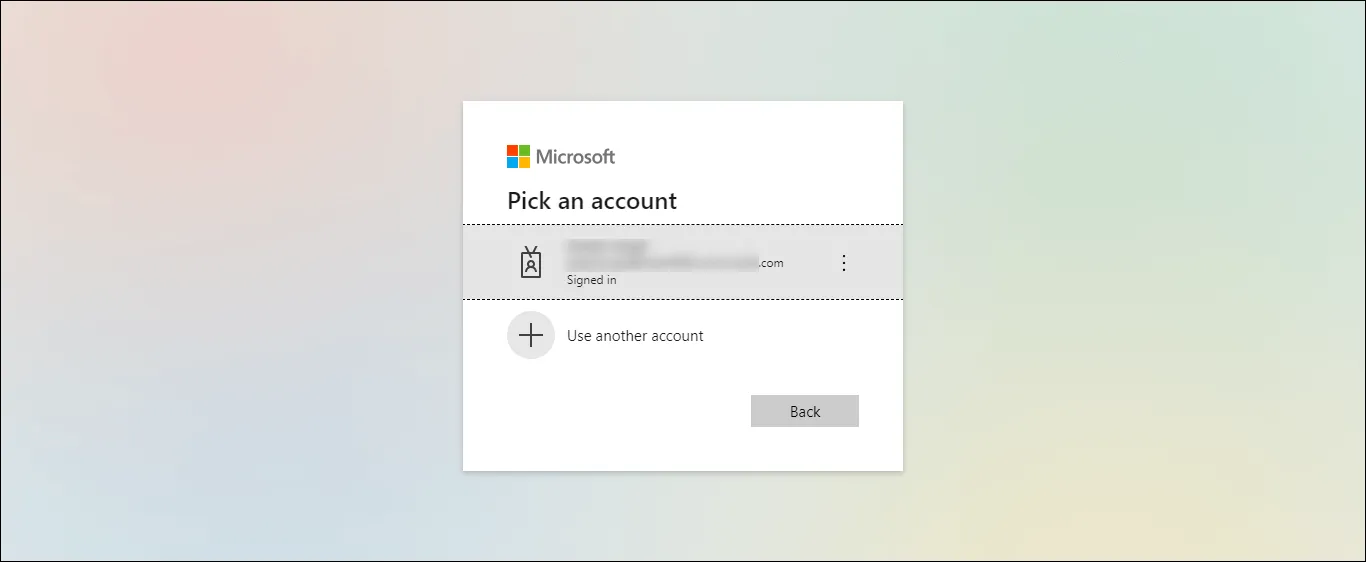
Ensure your Office ID is logged into your default browser.
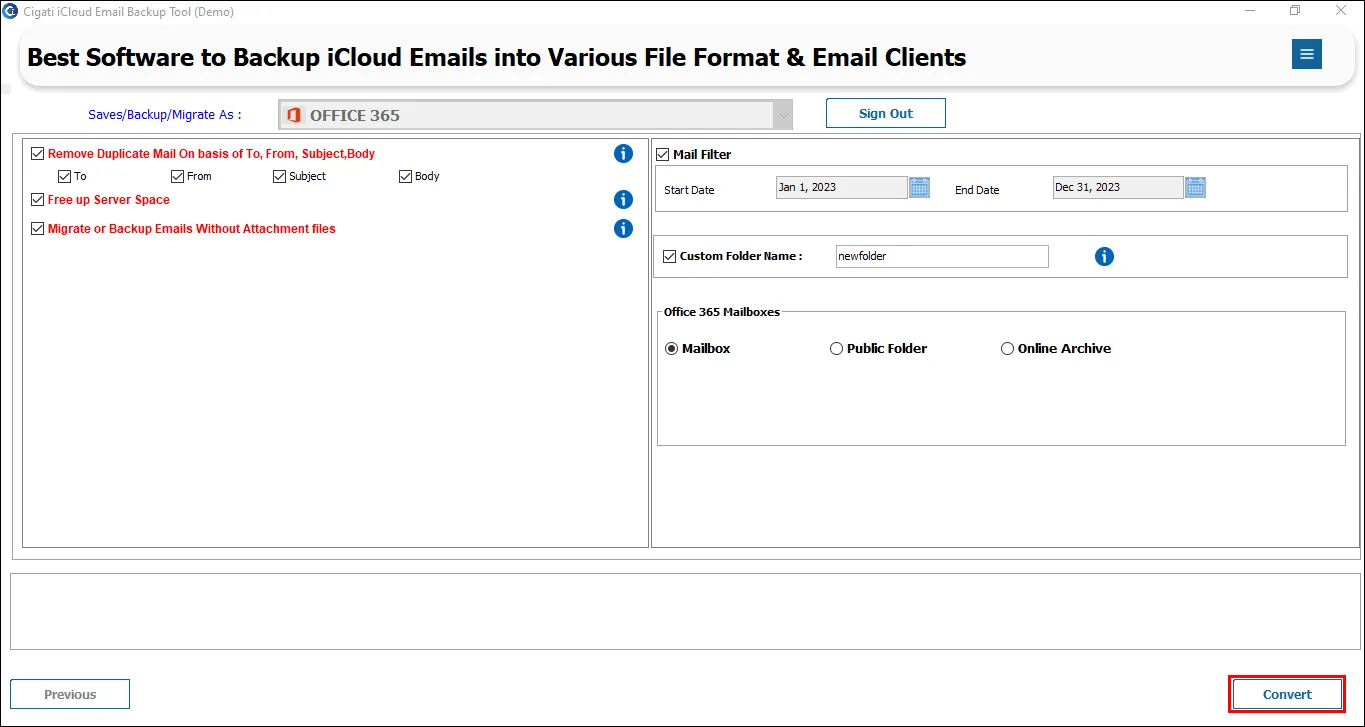
Tick the Remove Duplicate Mail option to eliminate duplicates based on To, From, Subject, and Body.
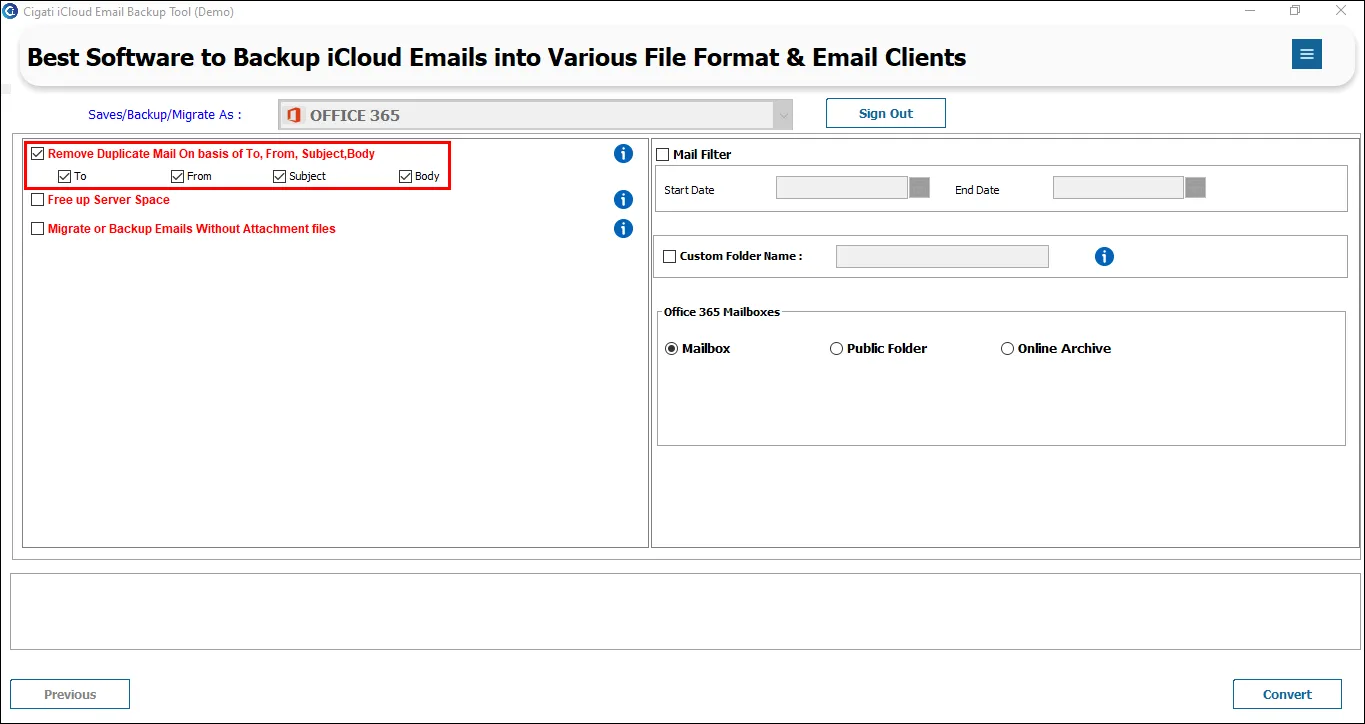
The Free Up Server Space option allows you to delete emails after backup.
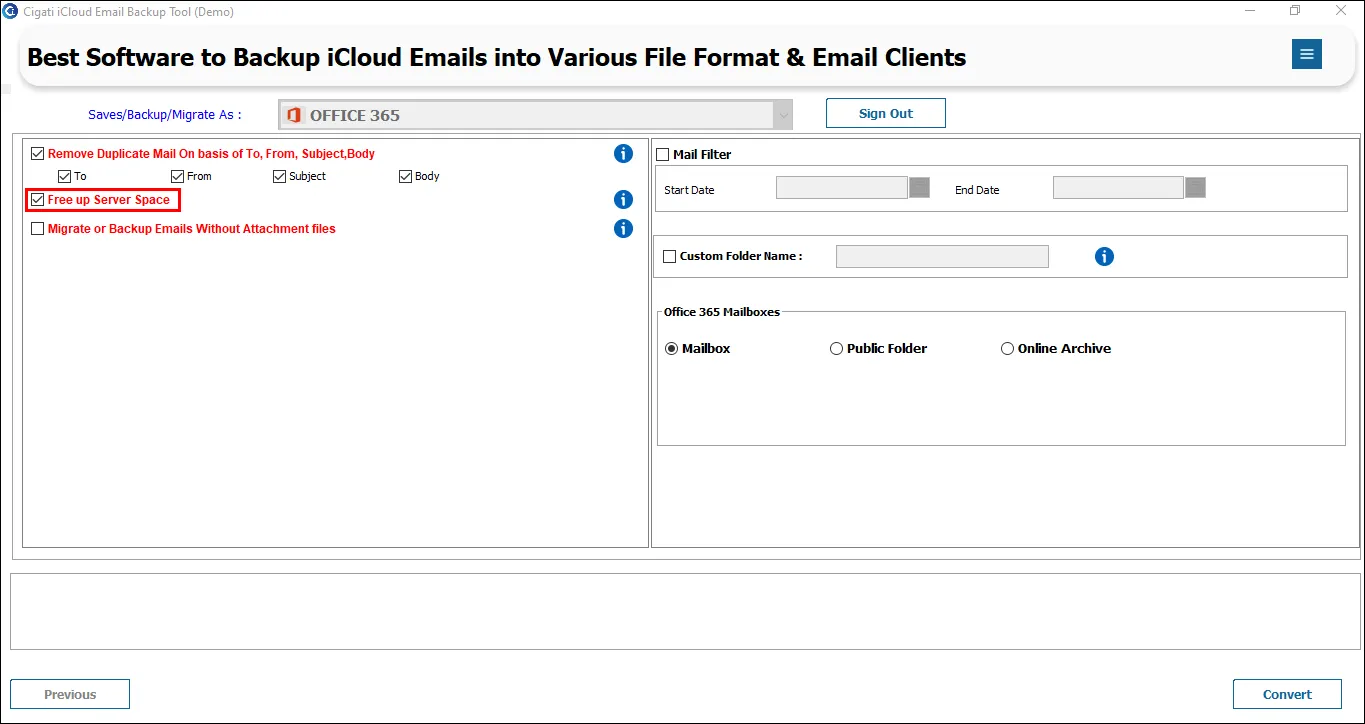
Choose the Migrate or Backup Emails without Attachment Files option to exclude email attachments.
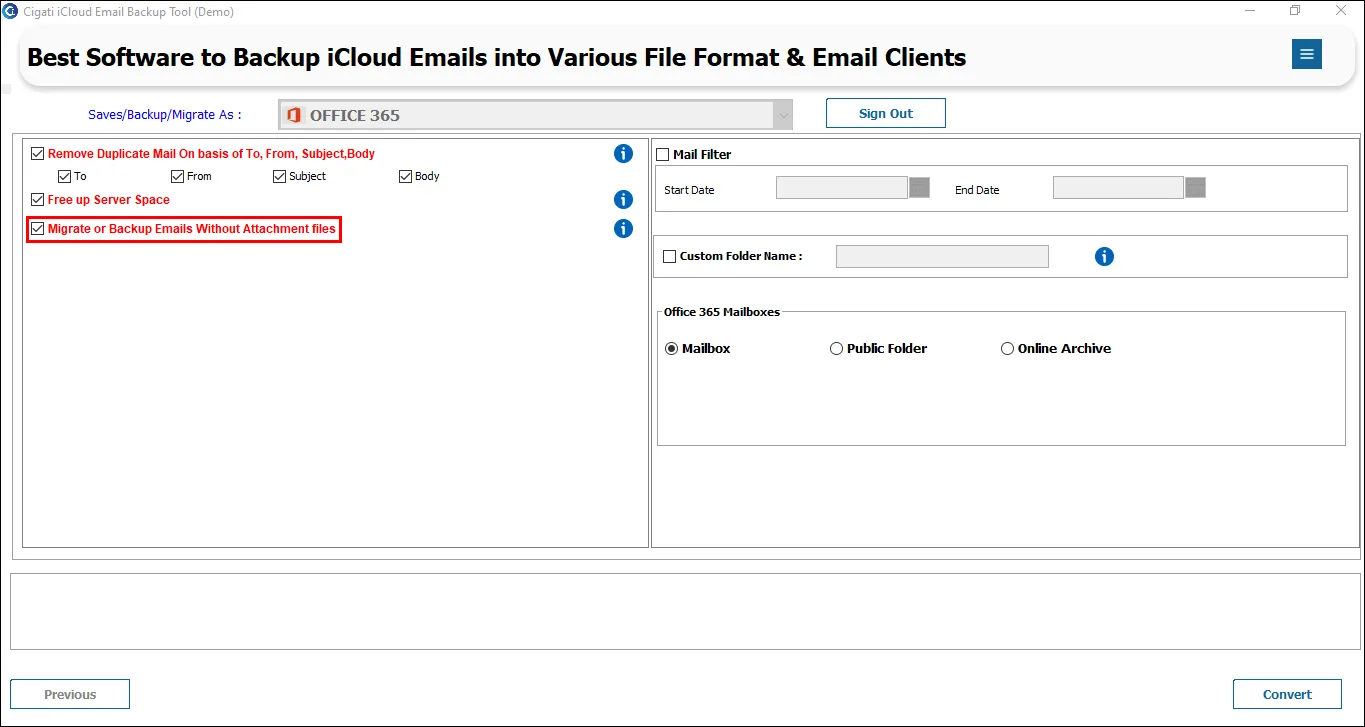
Select the Mail Filter option and define the date range using the appropriate Start and End dates.
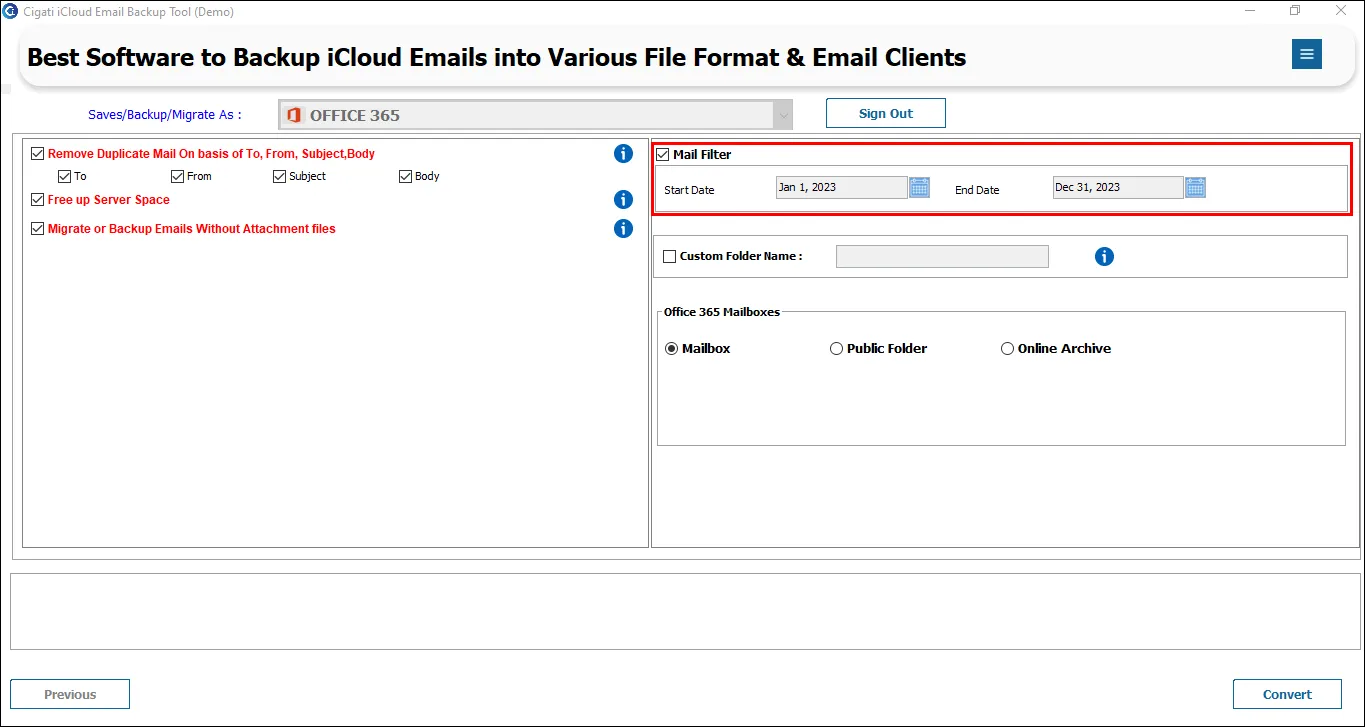
Choose the Custom Folder Name option to designate a personalized name for the folder where the output files will be saved.
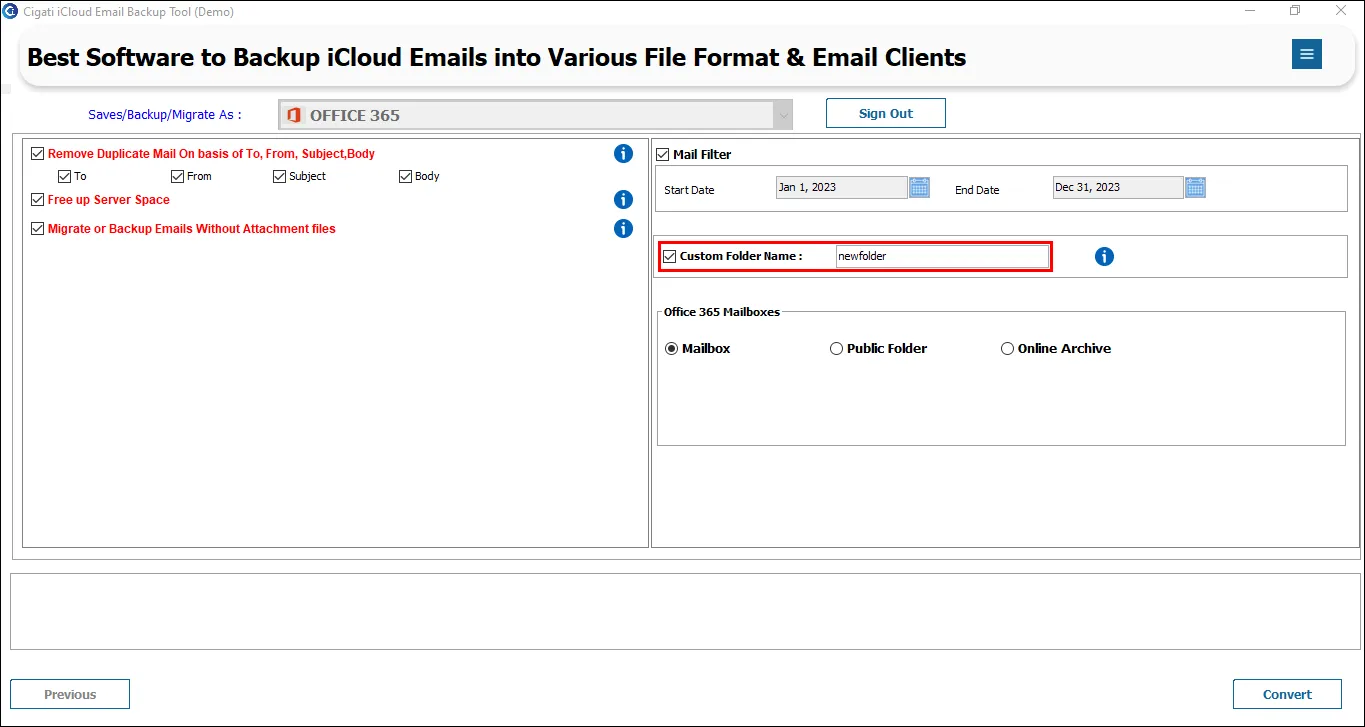
Select the Mailbox, Public Folder, and Online Archive folder accordingly.
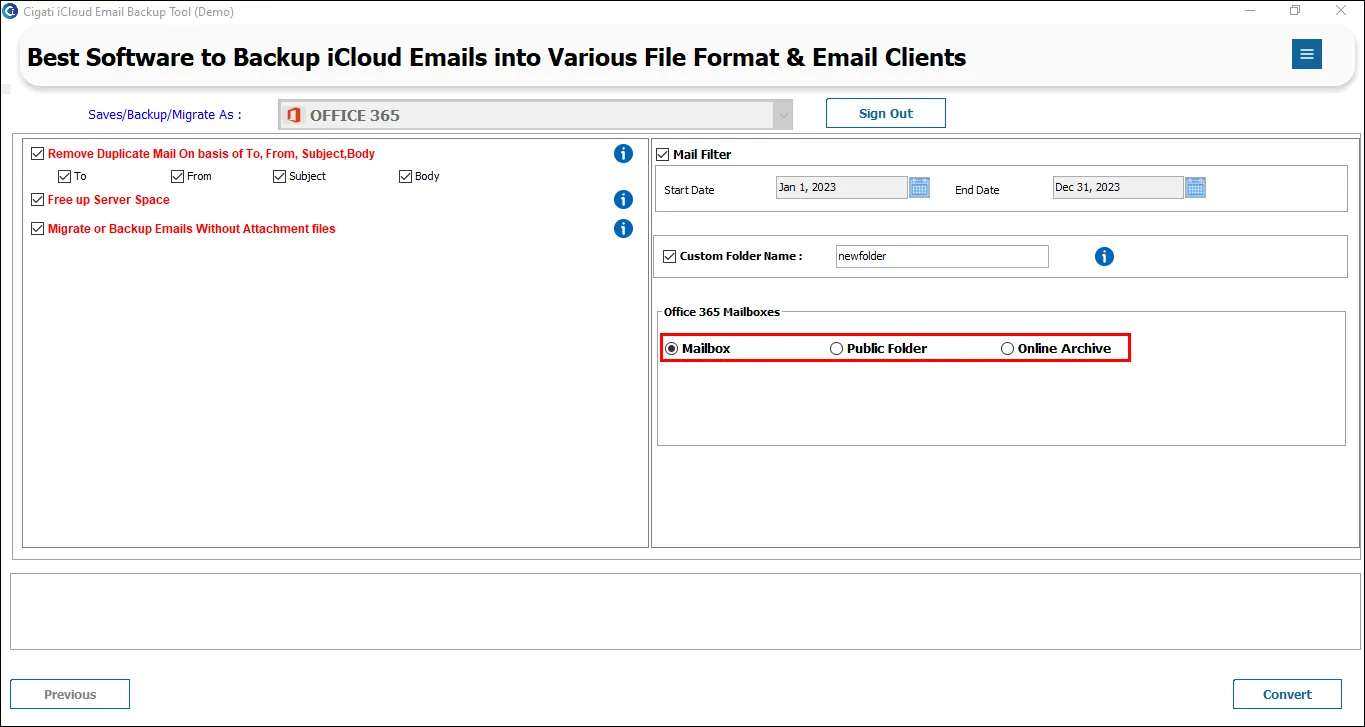
Lastly, click the Convert button to begin the migration procedure.