IMAP Backup Software
4.7
IMAP Backup Tool helps users back up emails and mailbox data from IMAP accounts to various file formats and email platforms. It supports secure mailbox backup while preserving folder structure, emails, attachments, and other important mailbox data. Refer to this Functional and Technical Documentation (FTD) for detailed instructions.
Select IMAP Migration from the source selection menu to start transferring mailbox data from an IMAP server.
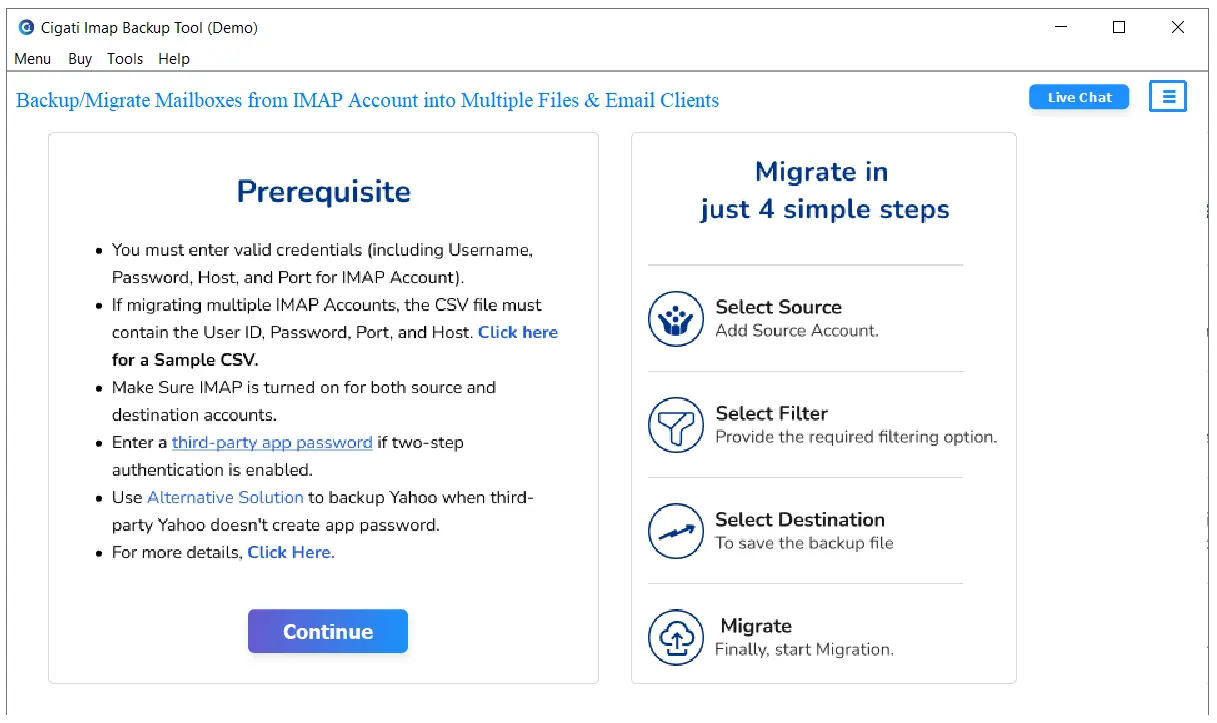
Choose the required account configuration method based on your migration requirement:
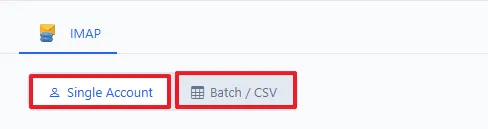
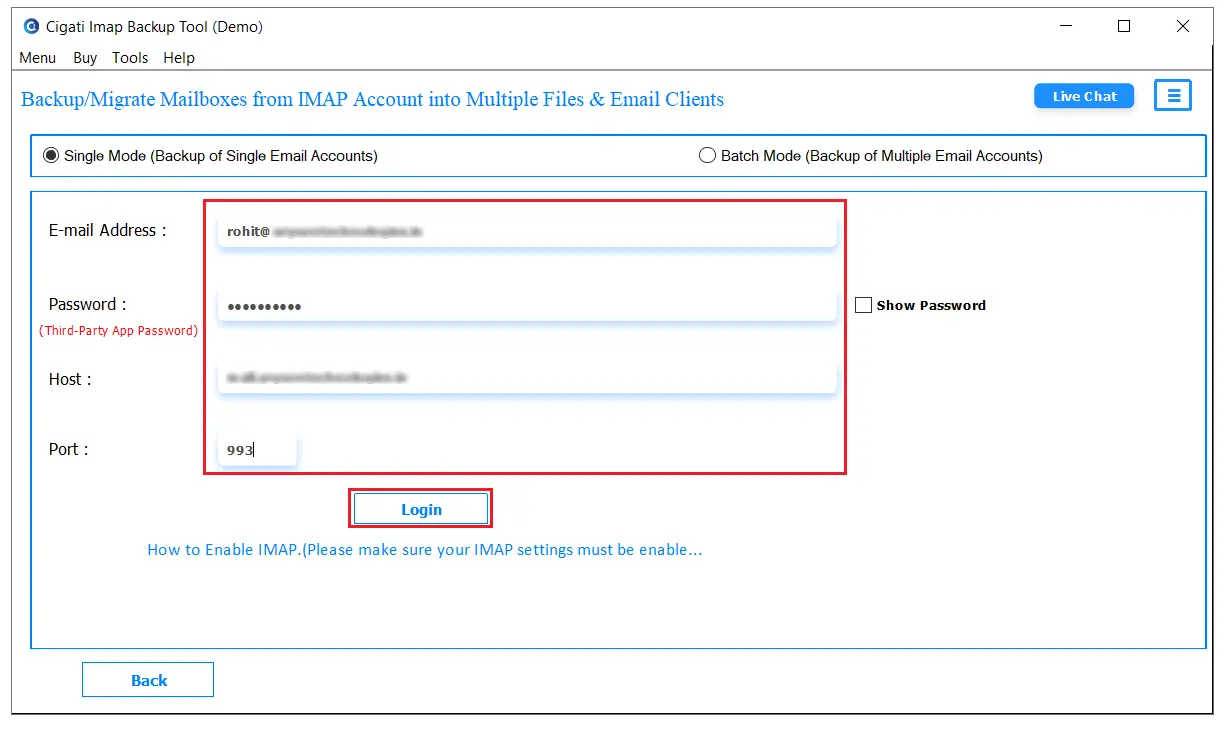
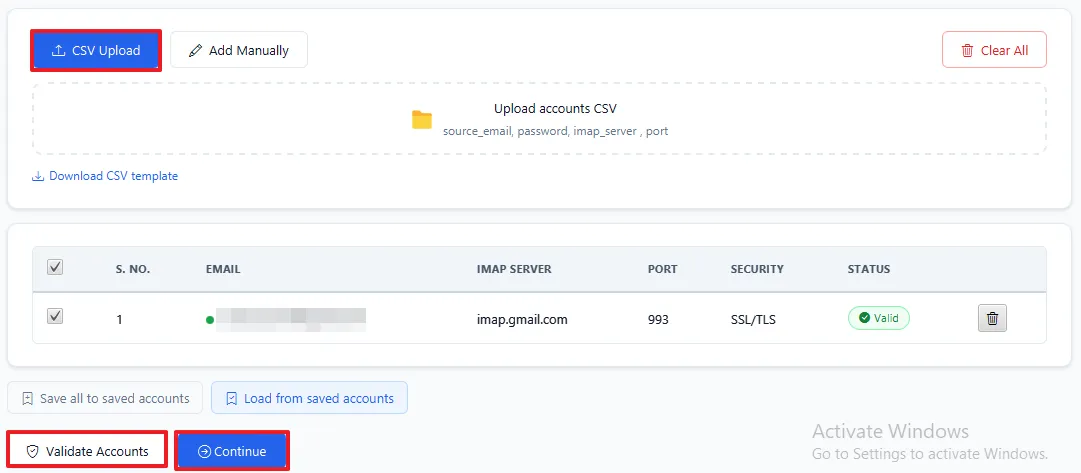
For Single Account Migration, enter the required IMAP account credentials, verify the server connection, and click Continue after successful validation.
For Batch CSV Migration, upload a CSV file containing multiple IMAP account details or add accounts manually. Validate the account information before starting the migration process.
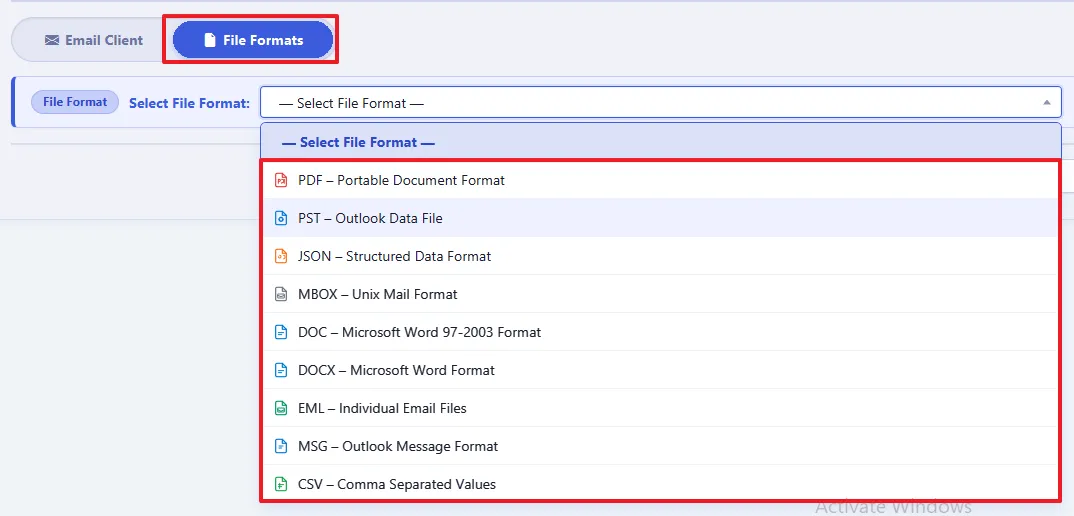
From the available export formats, select PST as the destination file format for saving IMAP mailbox data. The software also supports other formats, including PDF, JSON, MBOX, DOC, DOCX, EML, MSG, and CSV.
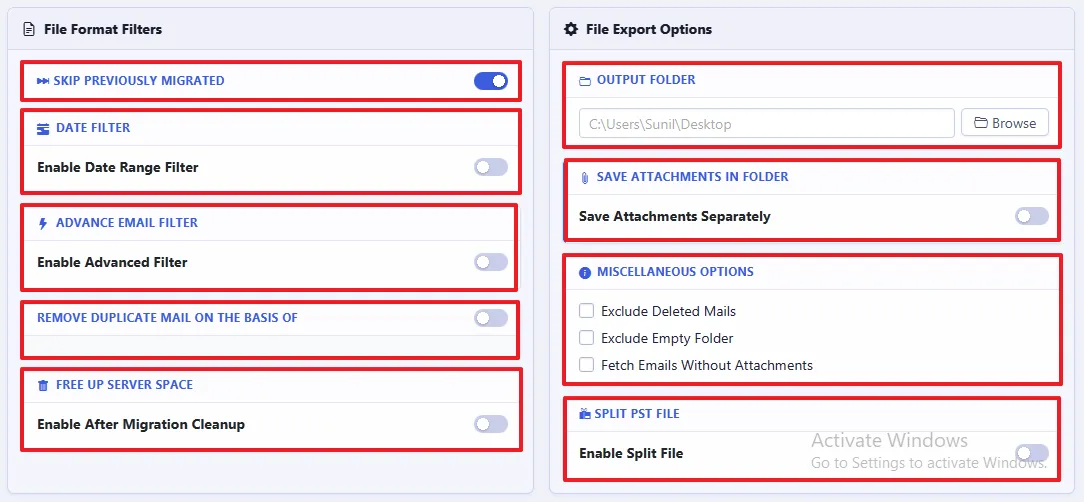
Apply the filters
Click Next to begin exporting IMAP mailbox data into PST format.

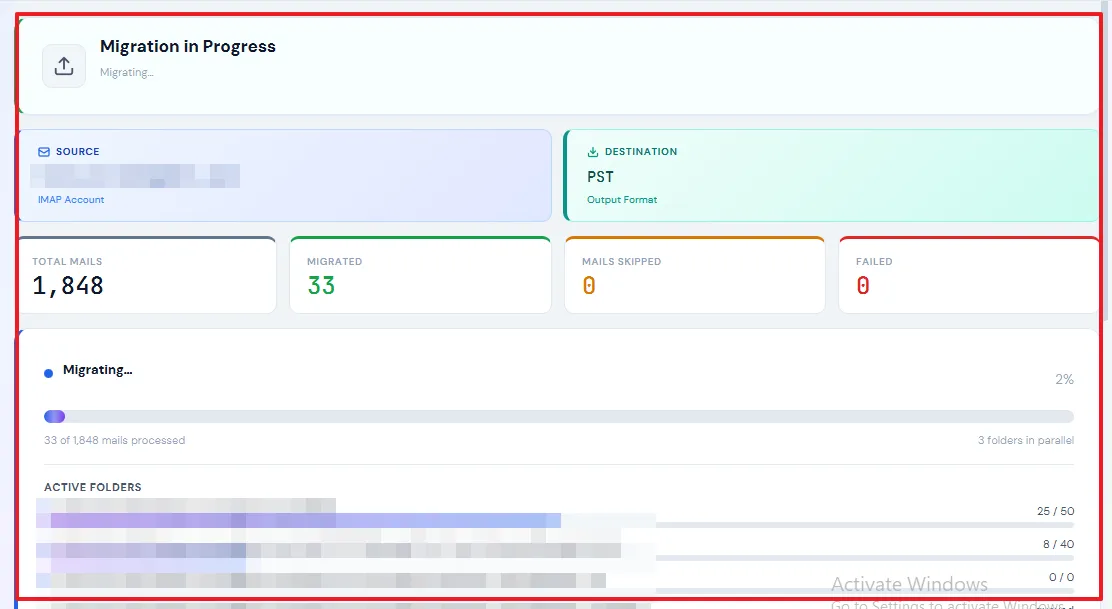
Monitor the migration progress window to track the status of emails and mailbox folders being transferred.
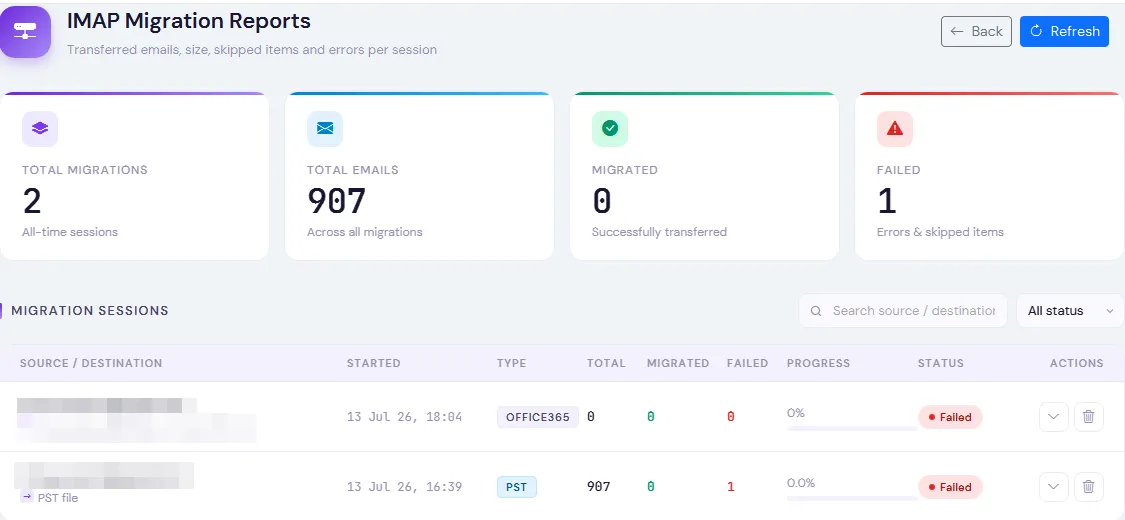
Review the generated report containing migration status, processed items, skipped emails, errors, and other relevant migration details.
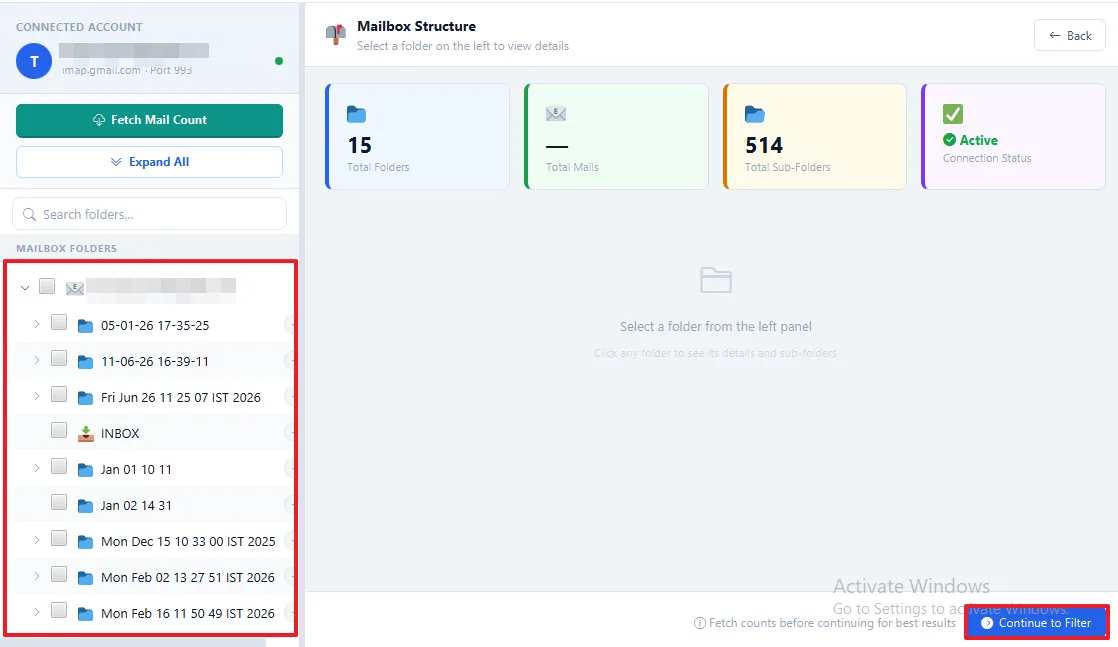
Browse the complete mailbox tree, select the required folders, and view mailbox statistics before starting the migration. Use the search and expand options to quickly locate folders and include only the data you want to migrate.
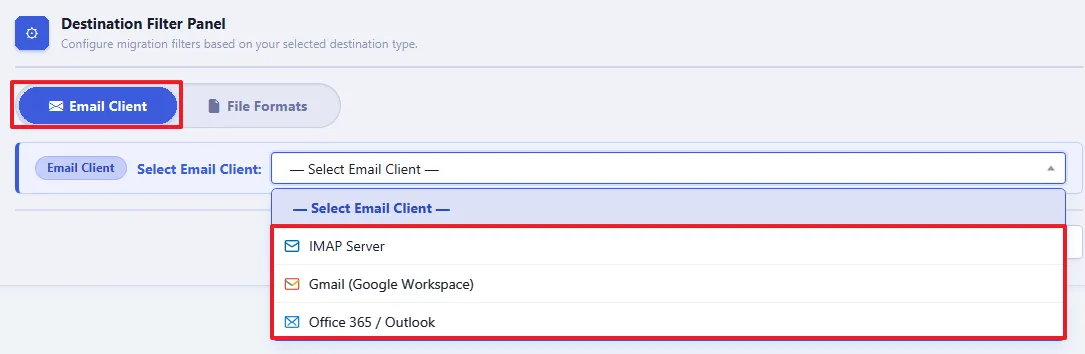
Select the destination email client where you want to migrate IMAP mailbox data. The tool supports: IMAP, Gmail / Google Workspace, and Office 365 / Outlook.
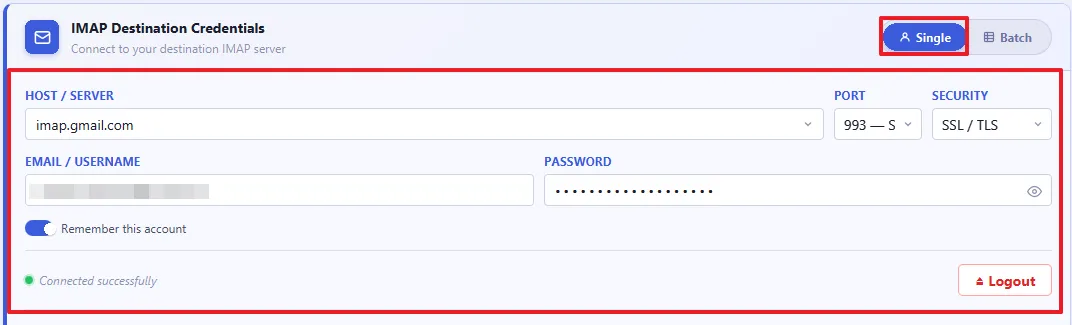
For migrating to another IMAP account using Single Login, enter the destination IMAP credentials, test the connection, and continue after successful verification.
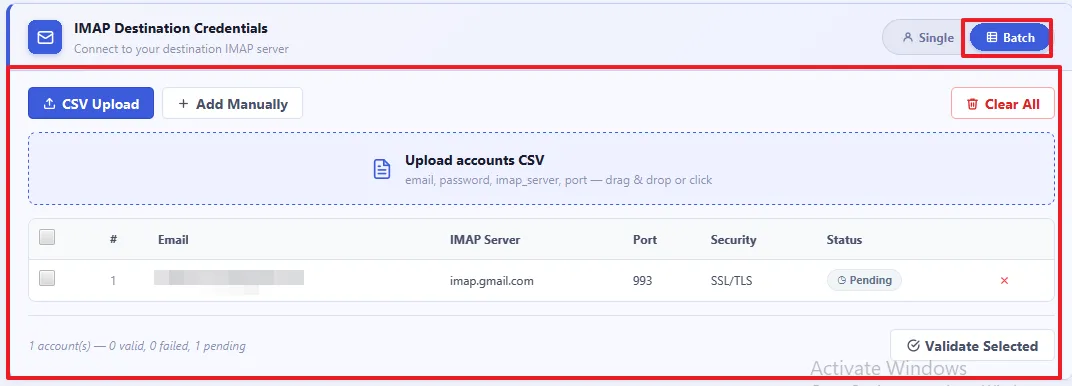
For IMAP migration using Batch CSV, upload multiple destination account details through CSV or enter them manually. Validate the accounts and proceed to apply migration settings.
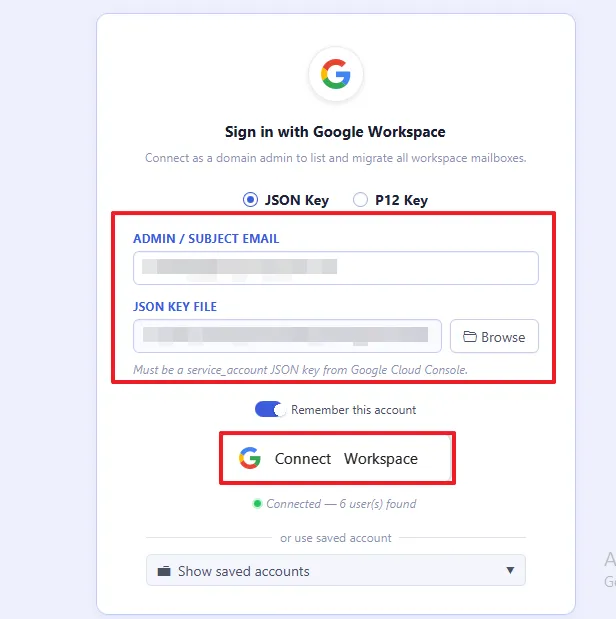
Authenticate Google Workspace using a JSON Service Account Key. Upload the JSON file and connect the domain administrator account securely for mailbox access.
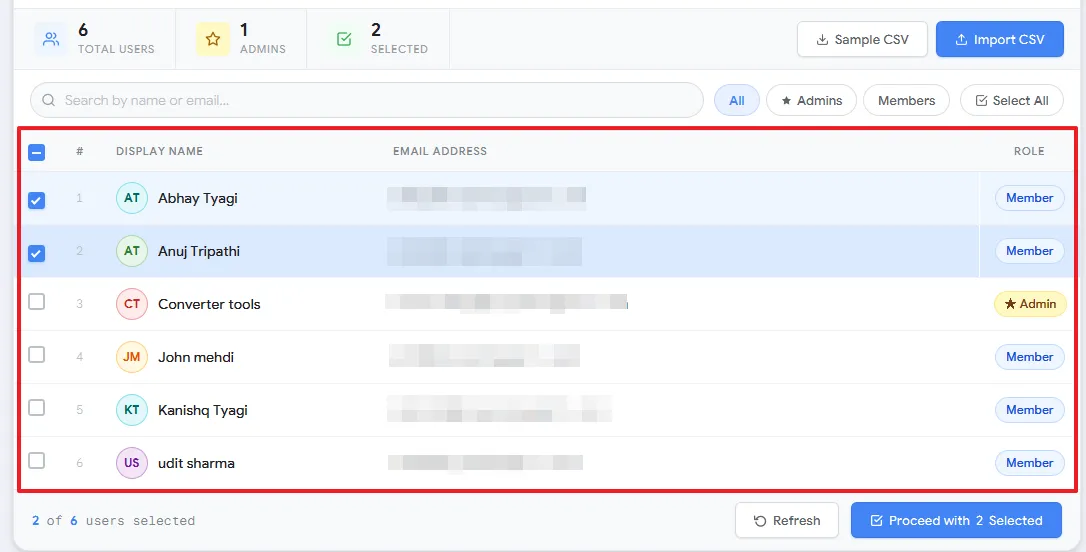
After successful Google Workspace authentication, view the available mailboxes within the tenant.
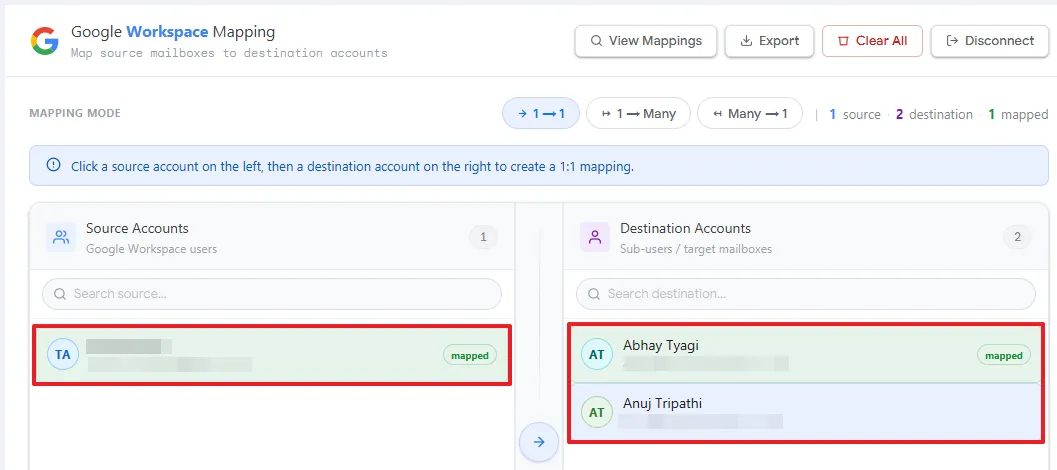
You have to connect the source to the destination account. Click on Proceed with Mapping.
For Microsoft 365 Single Login, connect an individual mailbox using secure OAuth 2.0 authentication. Click Add Connection and authorize the account without sharing or storing passwords.
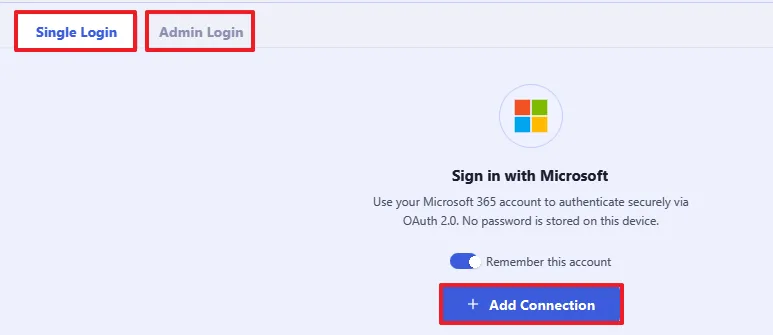
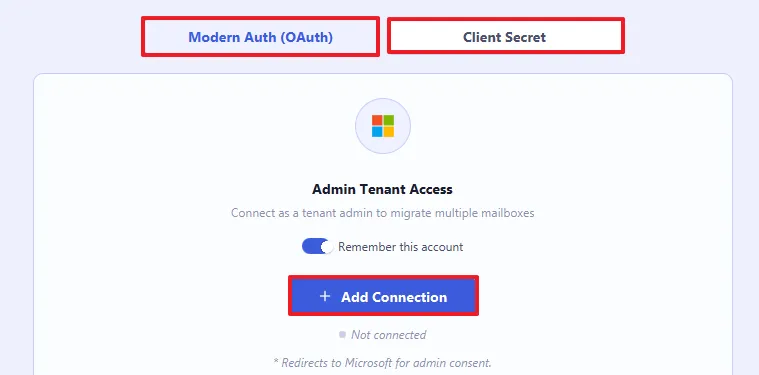
For Microsoft 365 Admin Login, click Add Connection and sign in using tenant administrator credentials with Modern OAuth authentication.
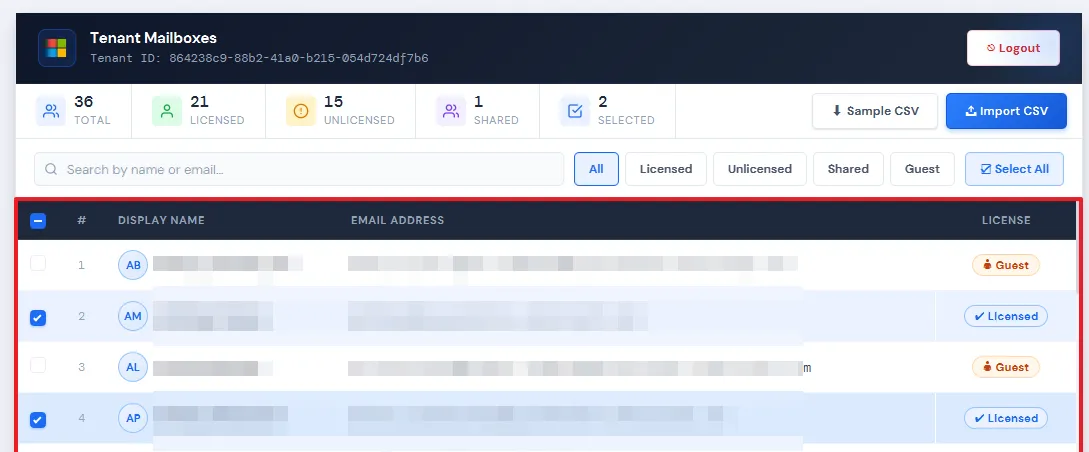
Select one or multiple mailboxes for migration. You can also import mailbox details through CSV files for bulk account selection. Review the selected Microsoft 365 accounts and click Proceed with Selected to continue.
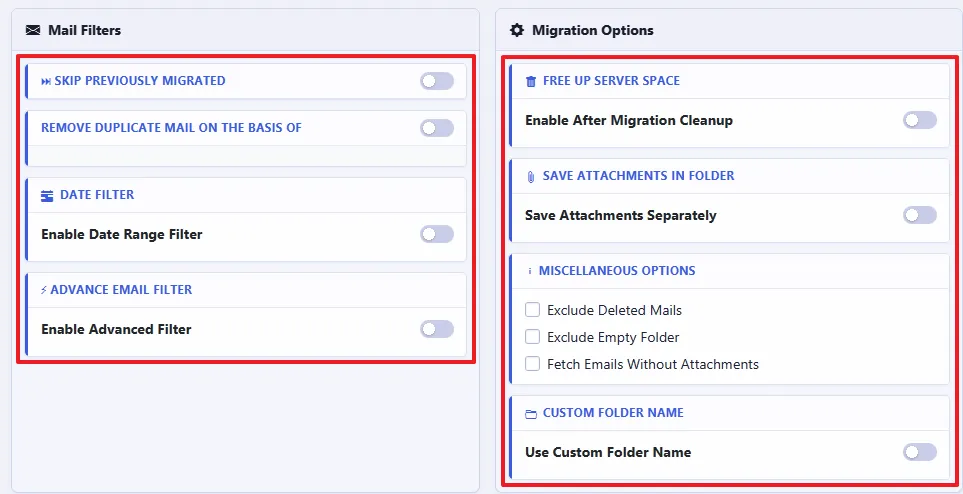
Configure the filters
Click Next to begin migrating IMAP mailbox data to the selected email client.

Monitor the migration progress window to track transferred emails, folders, and mailbox items.
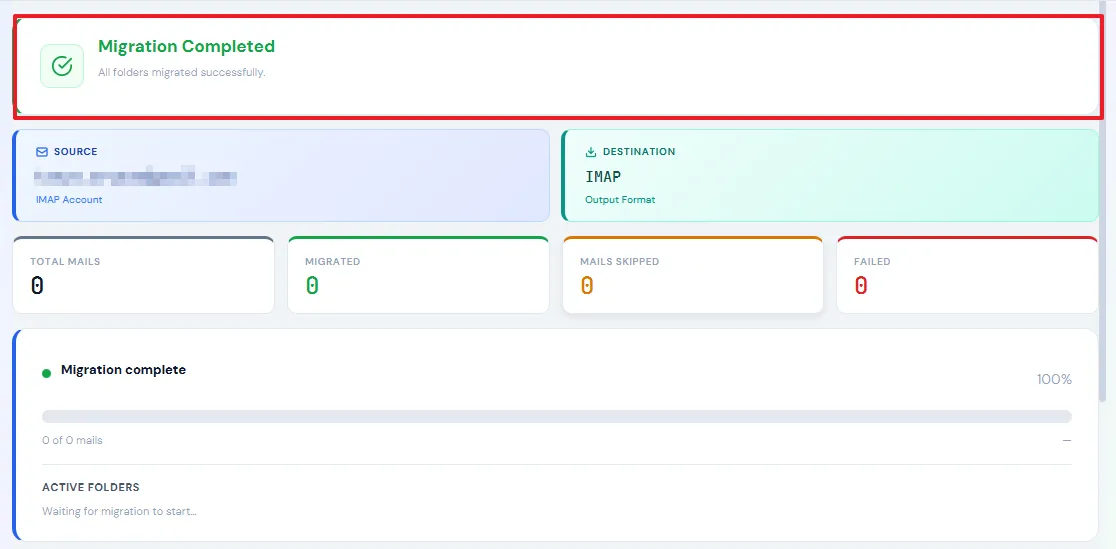
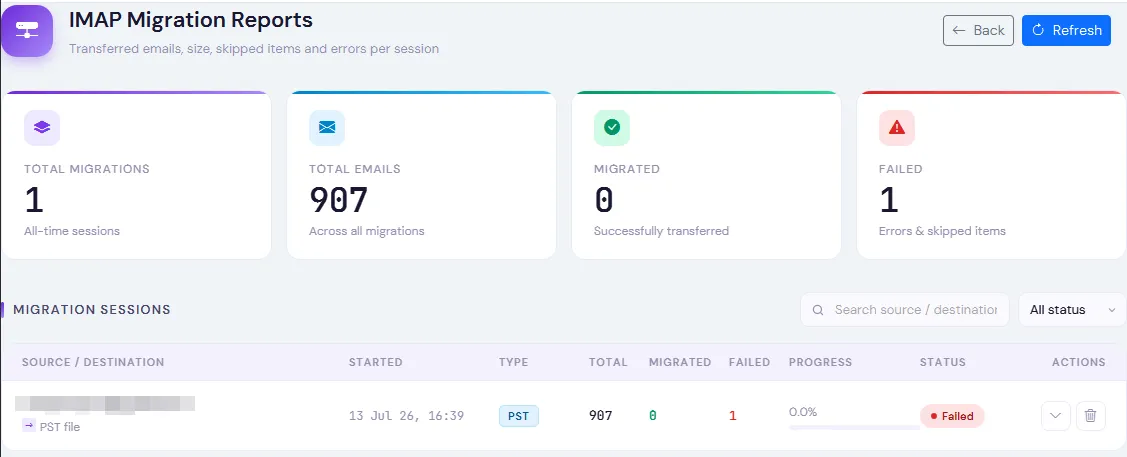
After completing the migration, open the All Reports section from the left-side panel. Select IMAP Migration Report to access the complete migration summary.

Review the generated report containing migration status, processed items, skipped data, errors, and other migration details.