
MBOX Converter Tool
4.9
The Cigati MBOX Converter helps you convert MBOX files into multiple file formats and migrate them to various email clients. Follow the step-by-step instructions to add MBOX files, preview mailbox data, select the desired output option, apply conversion filters if needed, and complete the process while maintaining email properties, attachments, and folder hierarchy.
Launch the Software and Select the MBOX Source
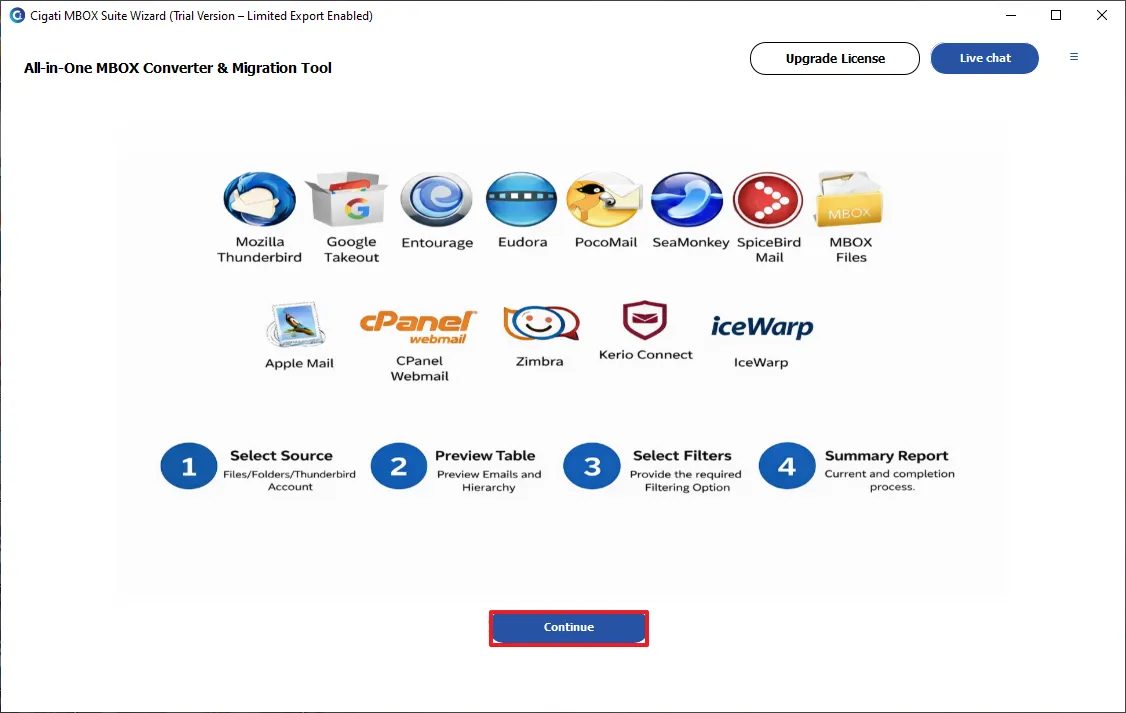
Open the Cigati MBOX Suite Wizard . It shows the source of your MBOX data by selecting the appropriate email client or MBOX source, such as Mozilla Thunderbird, Google Takeout, Apple Mail, SeaMonkey, MBOX Files, or another supported application. After selecting the source, click Continue to proceed to the next step.
Add MBOX Files or Folder
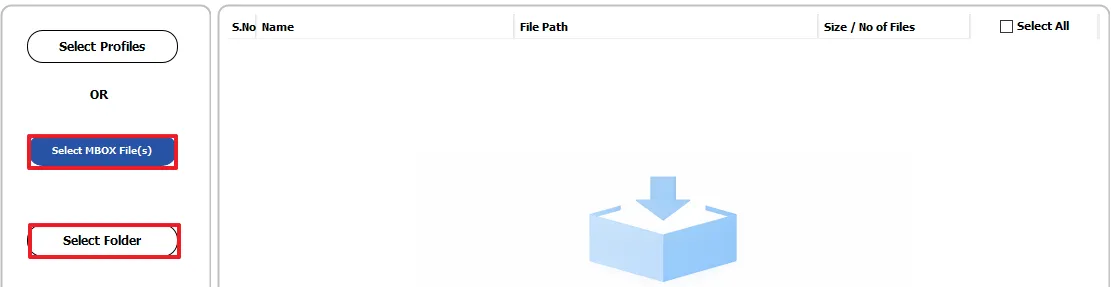
On the Select Source screen, import your MBOX data using one of the available options:
You can also drag and drop MBOX files directly into the workspace. Once the files are added, they will appear in the list for processing.
Browse and Select MBOX Files
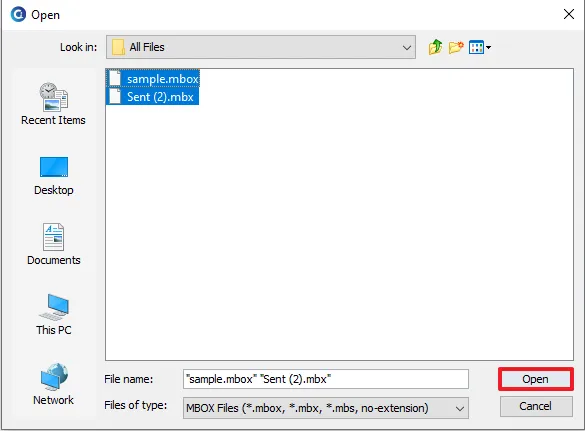
Click Select MBOX File(s) to open the file browser. Navigate to the location where your MBOX files are stored, select one or multiple files, and click Open. The selected files will be imported into the software for further processing.
Review the Imported MBOX Files
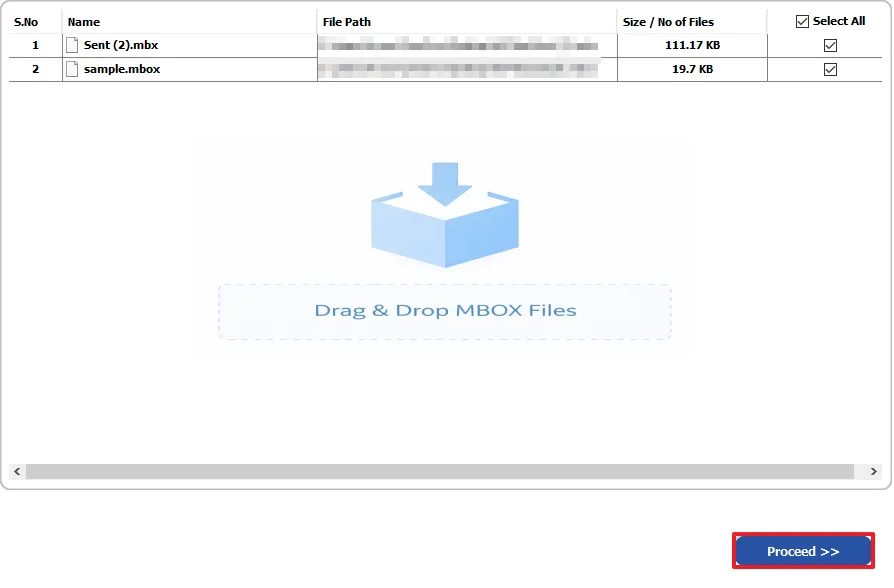
After importing, verify the list of MBOX files displayed in the table. The software shows important details such as: Name, File Path, Size/No. Of files, and Select All.
Use the checkboxes to include or exclude specific files if required. Once you have confirmed your selection, click Proceed.
Preview Mailbox Data
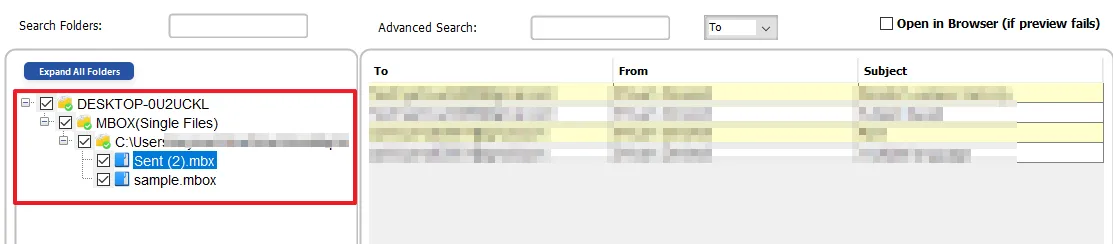
The software scans the imported MBOX files and displays the complete mailbox hierarchy. Expand the folders to preview the mailbox contents, including email subjects, sender details, and recipients. You can select specific folders or individual mailboxes for export.
Preview Individual Email Messages
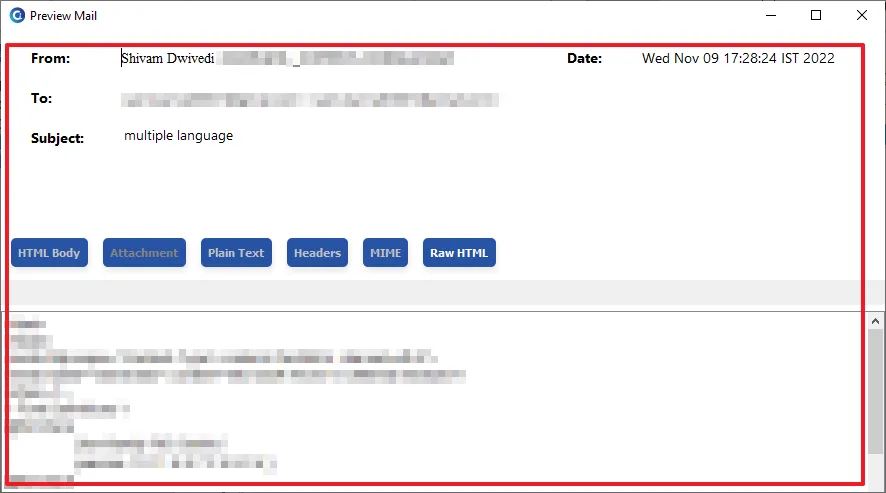
Double-click any email to open the Mail Preview window. Here, you can review the complete message before exporting. The software allows you to inspect: HTML Body, Attachments, Plain Text, Message Headers, MIME Content, and Raw HTML.
This preview helps verify mailbox data before starting the export.
Select the Export Destination
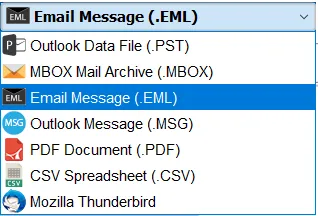
Click Export File Format to save the MBOX data into a local file format. Here, we choose EML. From the destination list, select the required output format, such as PST, MBOX, EML, MSG, PDF, CSV, or Mozilla Thunderbird.
After selecting the desired destination, continue with the export settings.
Configure General Export Settings
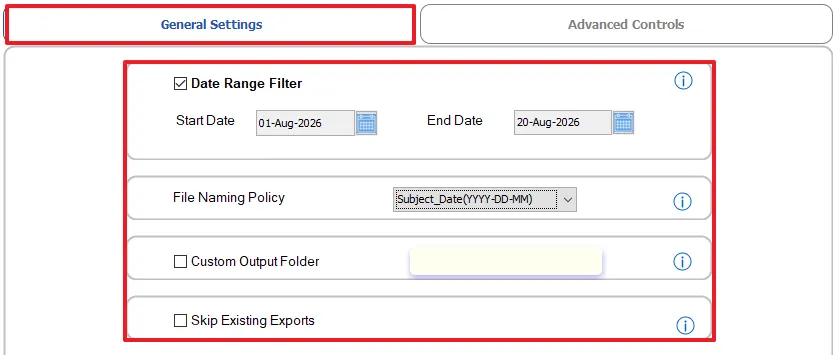
Customize the export process using the available General Settings:
These options help control how the exported mailbox data is organized.
Apply Advanced Export Options
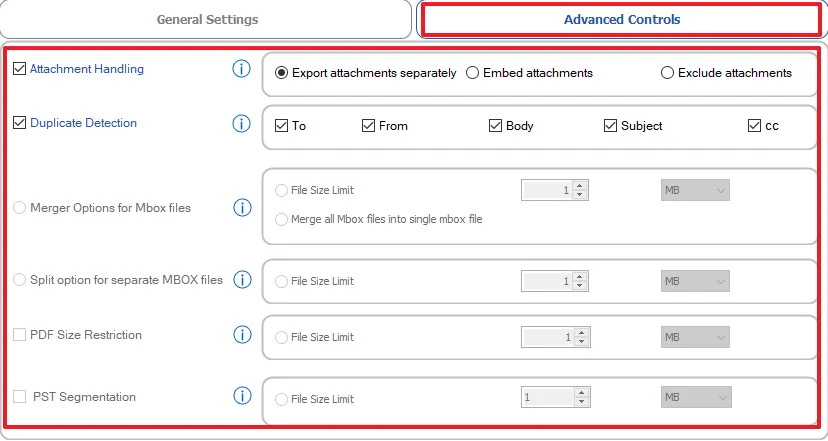
Open the Advanced Controls tab to configure additional export preferences.
Available options include:
These settings help optimize the exported data according to your requirements.
Choose the Output Location and Start the Export
Click Browse to select the destination folder where the exported files will be saved. Review all the selected options and click Start Export to begin the conversion or migration process.

Open the Export to Email Clients Option
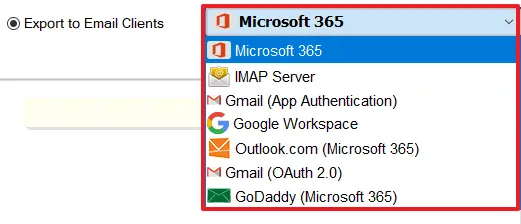
After reviewing the mailbox data, select the Export to Email Clients option available at the top of the export window. Under Export to Email Clients, select Microsoft 365 from the available destination list.
Authenticate Microsoft 365
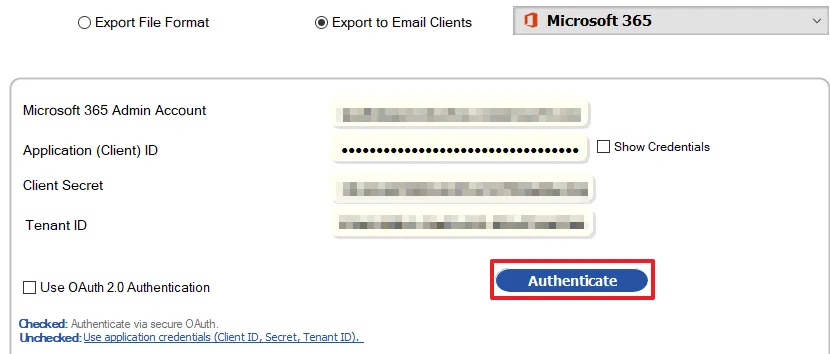
Sign In to Your Microsoft 365 Account. Connect to the destination tenant using either OAuth 2.0 authentication or manual Application Credentials - Admin Email, Client ID, Client Secret, and Tenant ID.
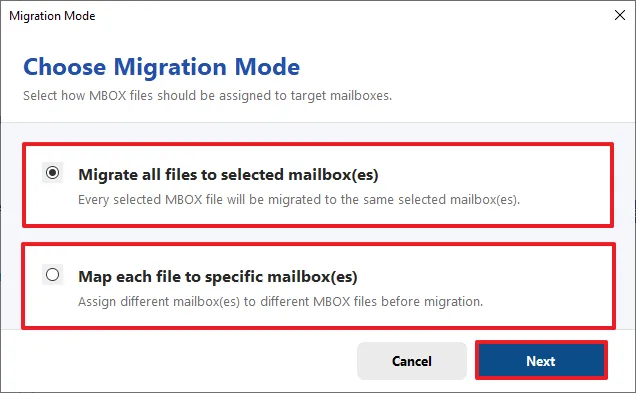
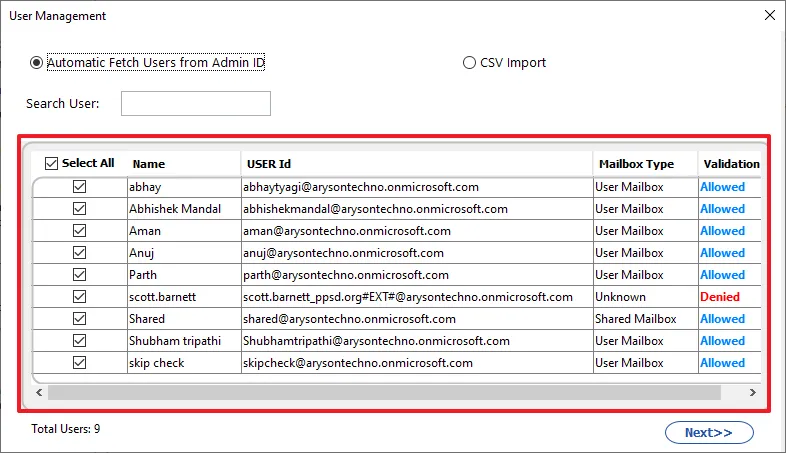
Set Up Mailbox Assignment
Pick the mapping method that fits your migration scenario:
Configure General Migration Settings
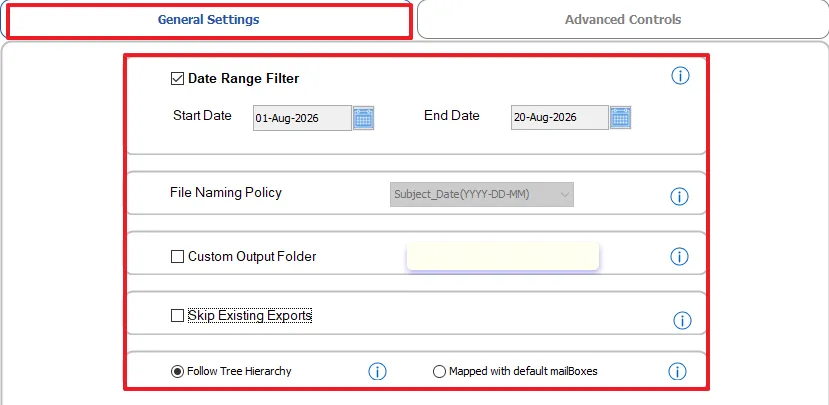
Before starting the migration, customize the available general options according to your requirements.
The software provides options such as:
These settings help perform a more organized and efficient migration.
Apply Advanced Migration Options
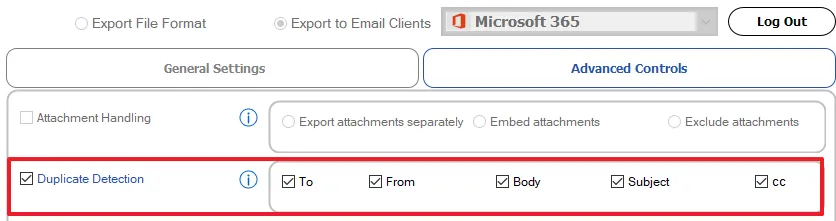
Open the Advanced Controls tab to refine the migration process. Duplicate Detection – Skip duplicate emails using selected properties such as Subject, From, To, Body, and CC.
Start the Migration Process
Click Start Migration to begin transferring the selected mailbox data to the destination email client. During the process, the software migrates the emails while preserving the original folder structure, message properties, metadata, and attachments, based on the selected configuration.
