Pegasus Mail Converter
4.7
Step-by-Step Guide to Convert Pegasus Files to Outlook PST File Format
A user-friendly application with an intuitive design for beginners to navigate effortlessly.
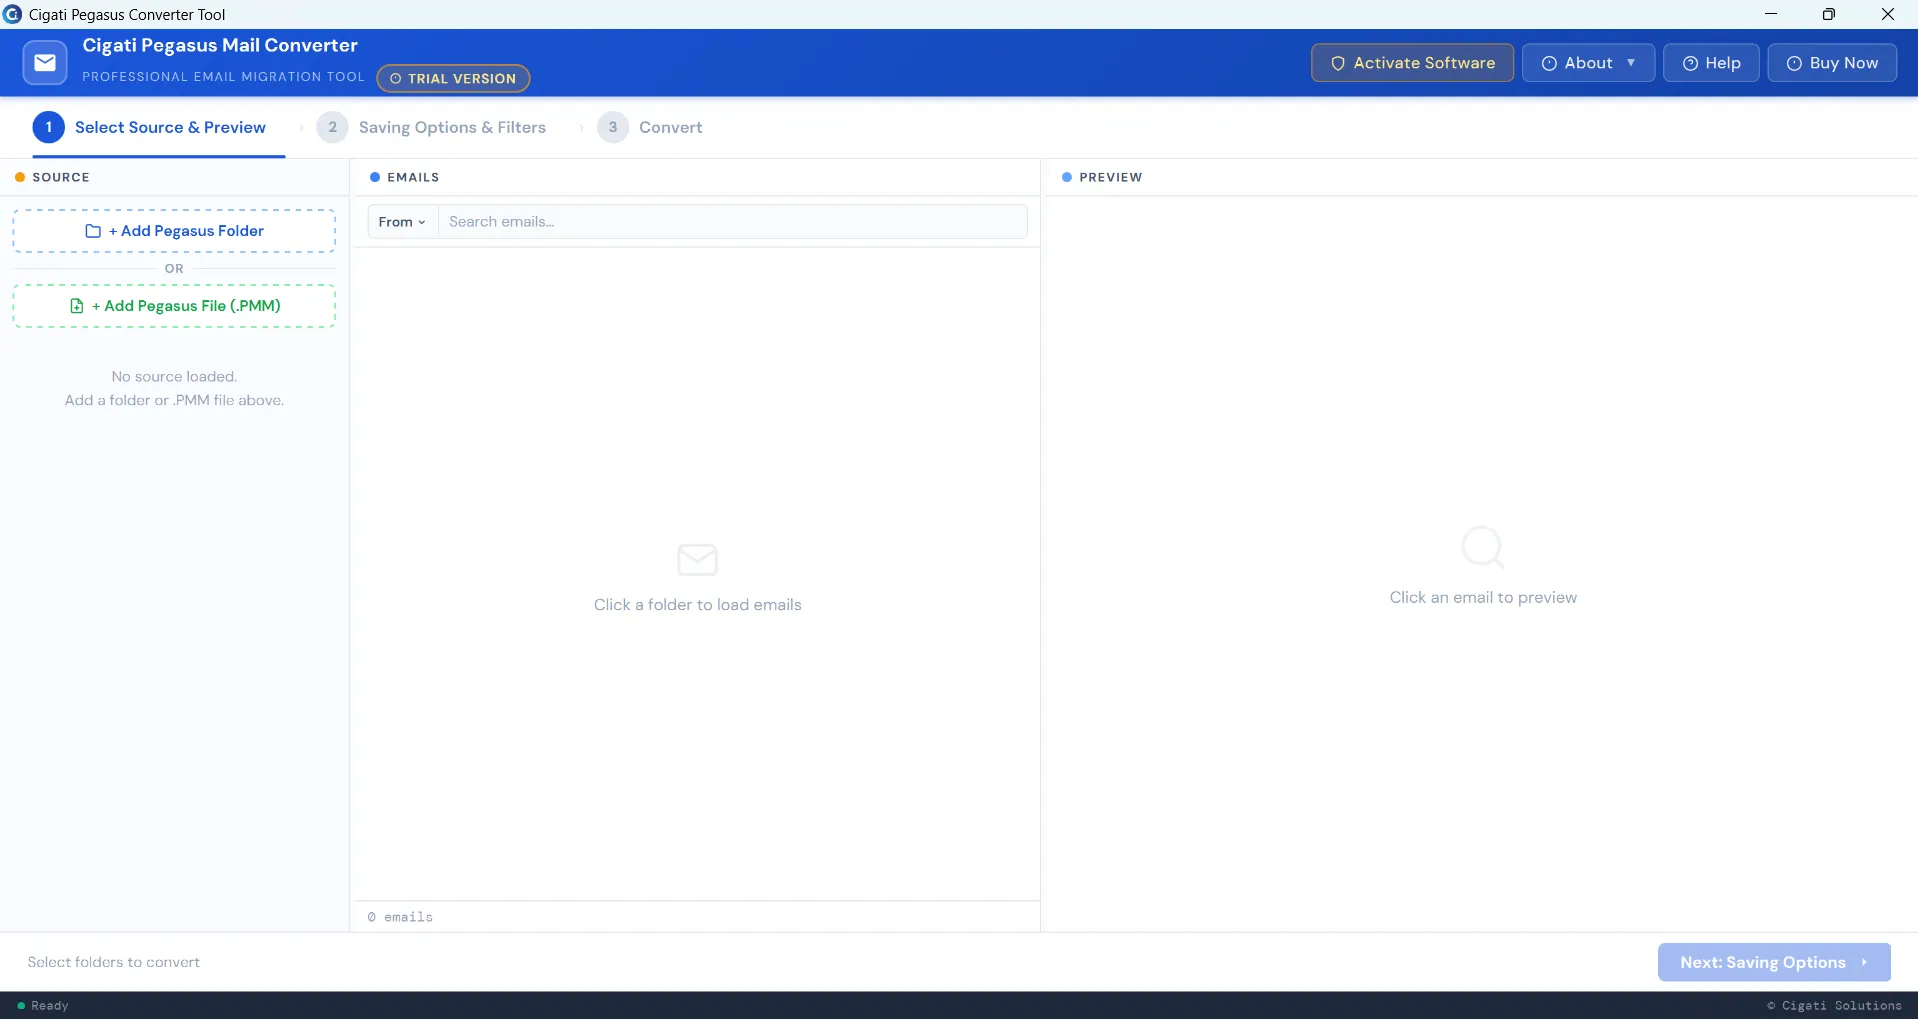
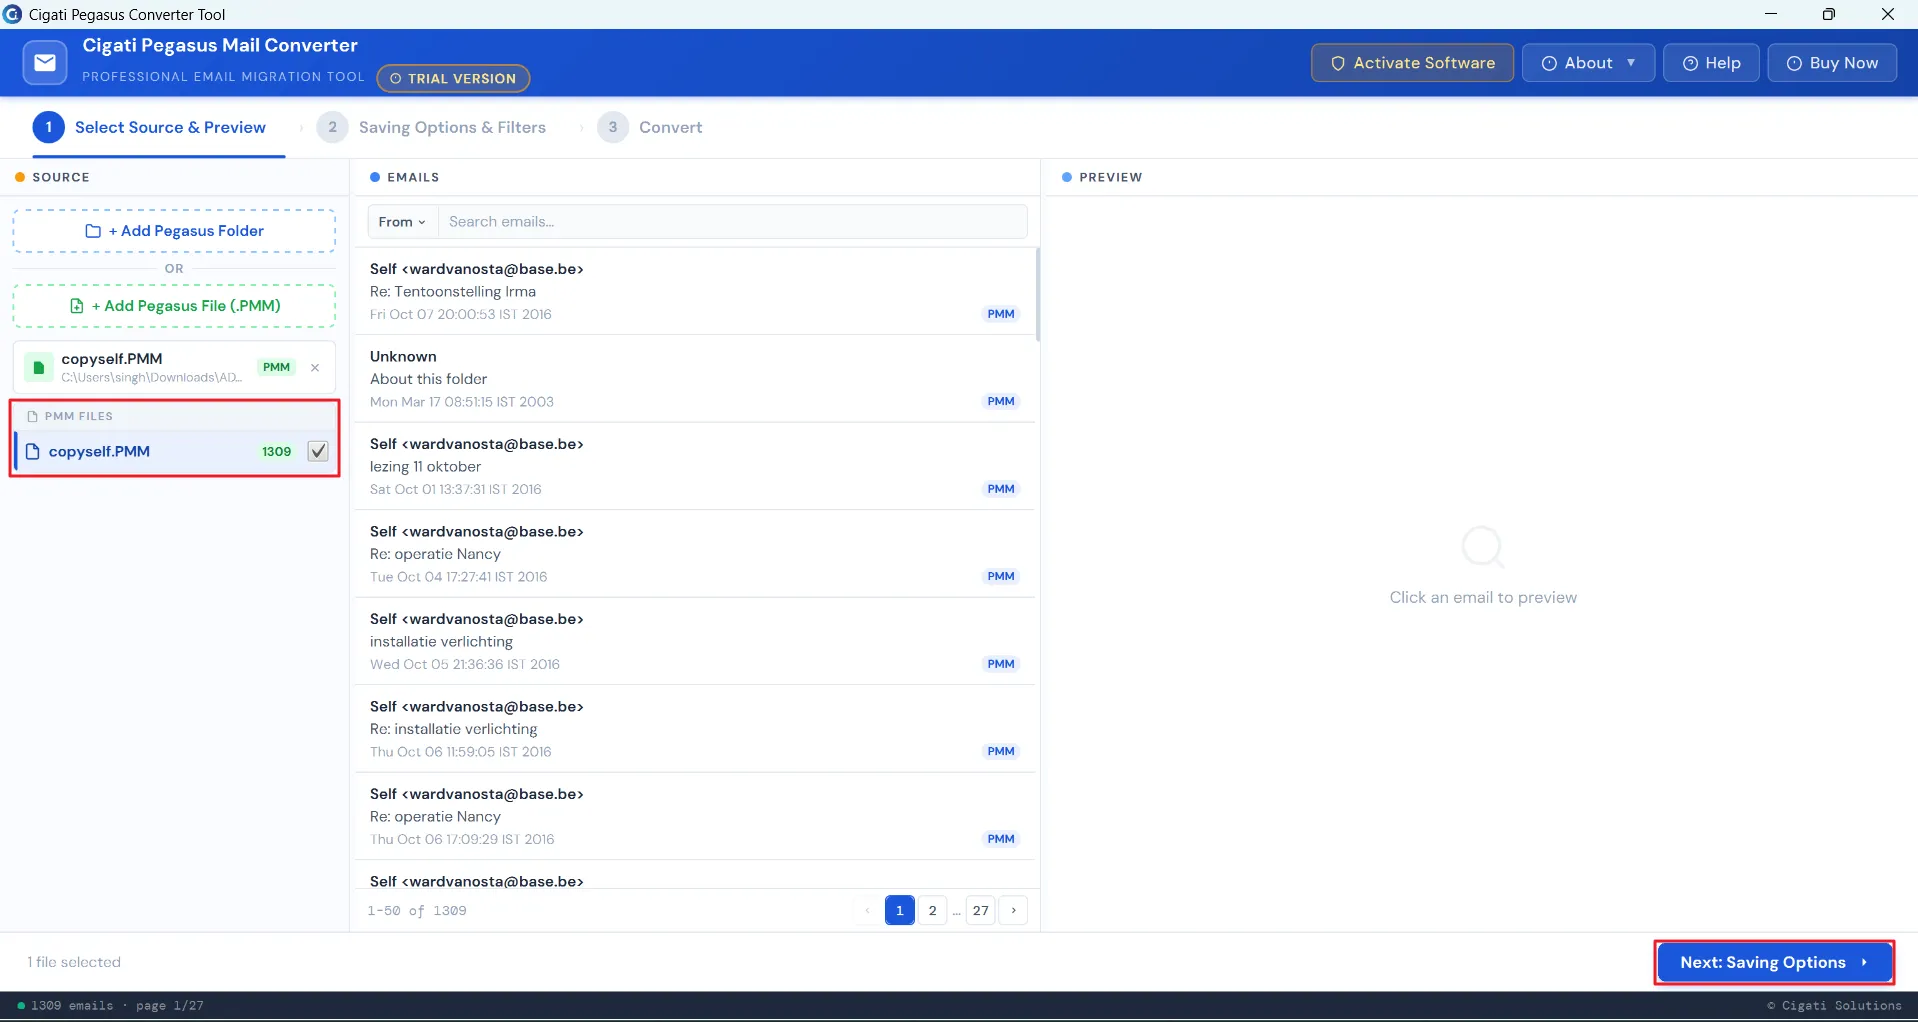
Download and install the Cigati Pegasus Mail Converter Tool.
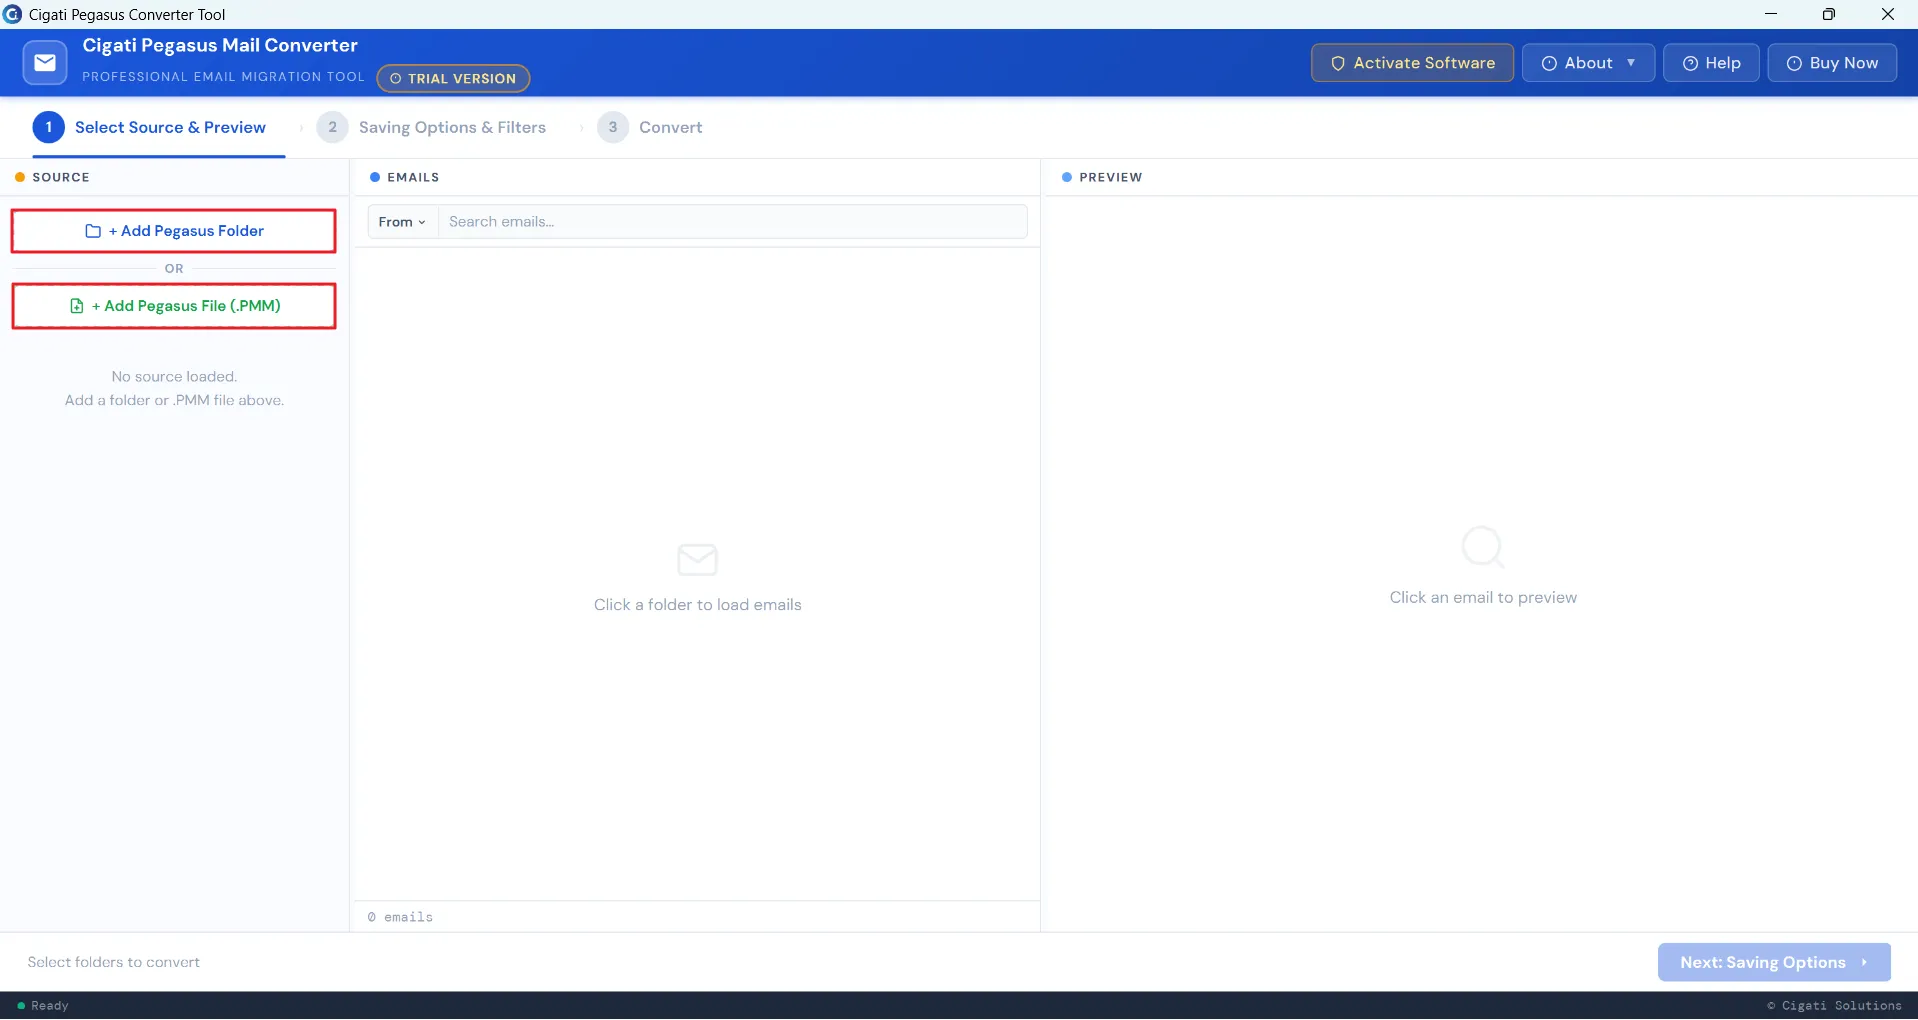
Click on either Add Pegasus Folder or Add Pegasus File (.PMM), as required.
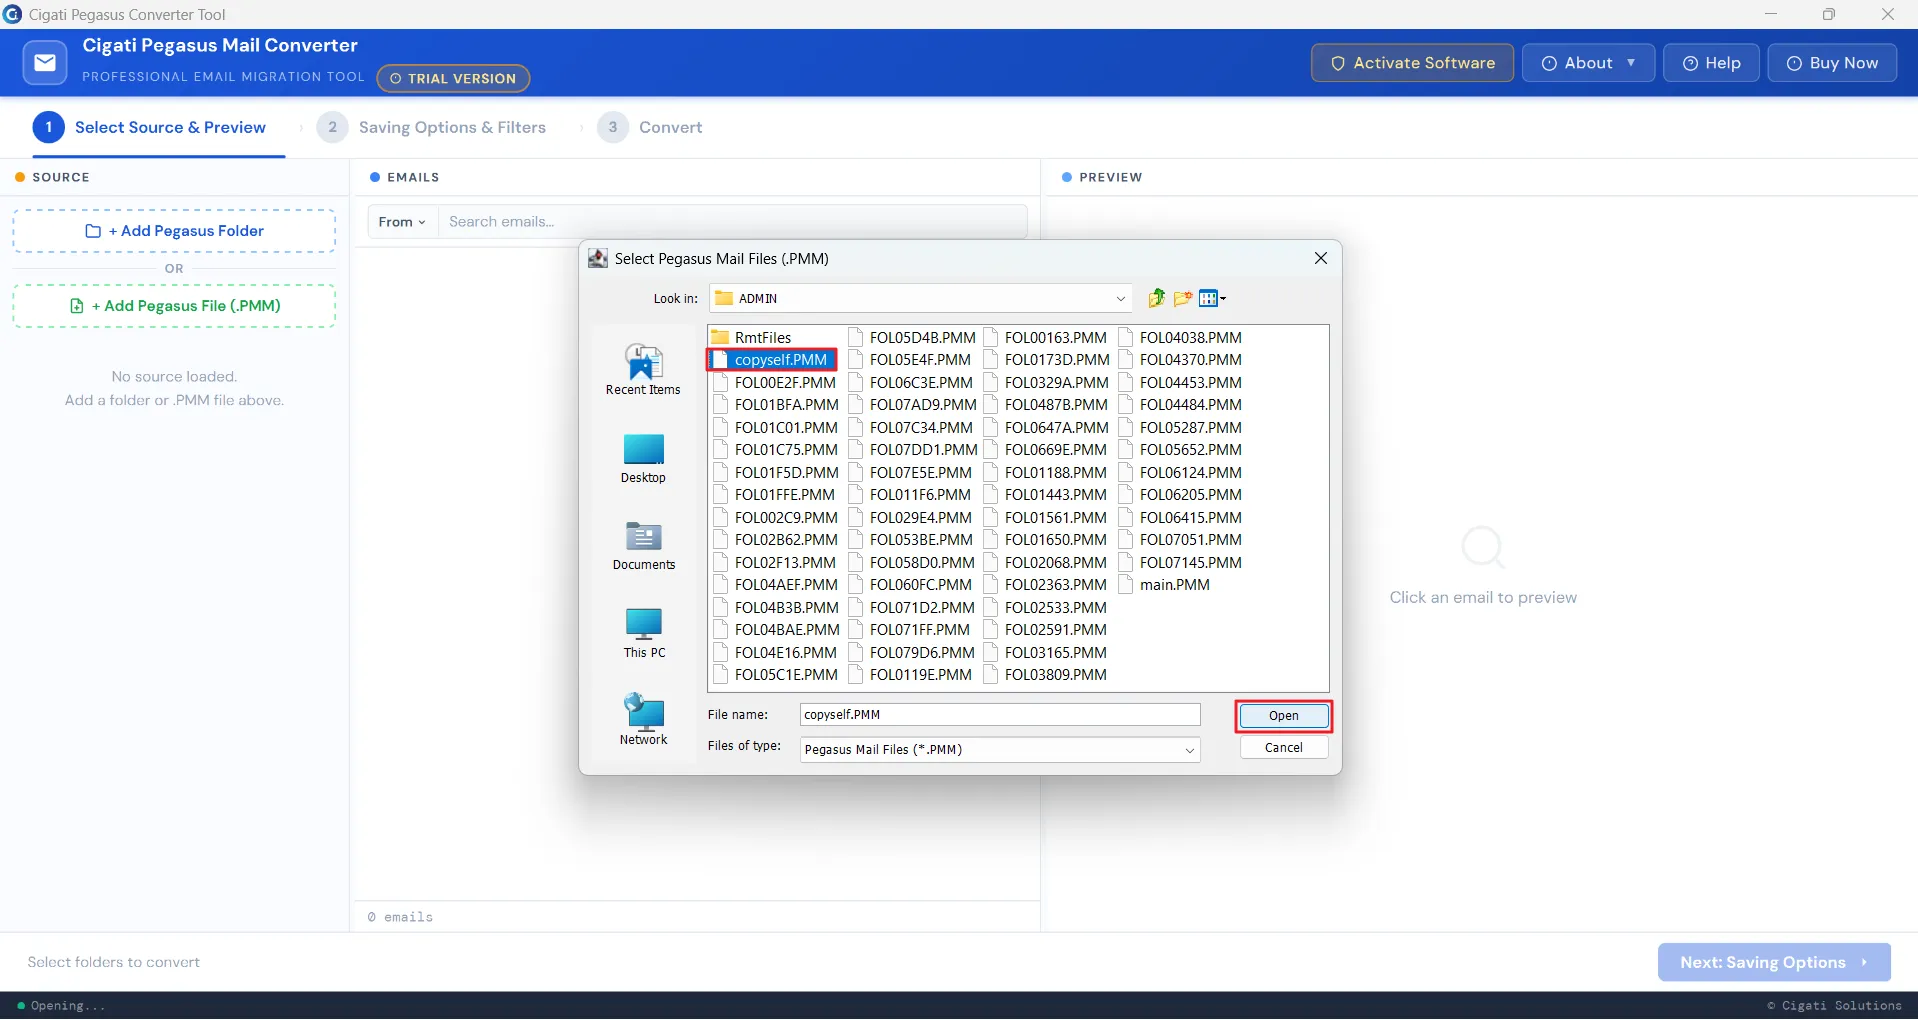
Select the Pegasus file or folder from your system and click Open to add it.
Preview the emails, select the desired files from the left panel, and click Next: Saving Options.
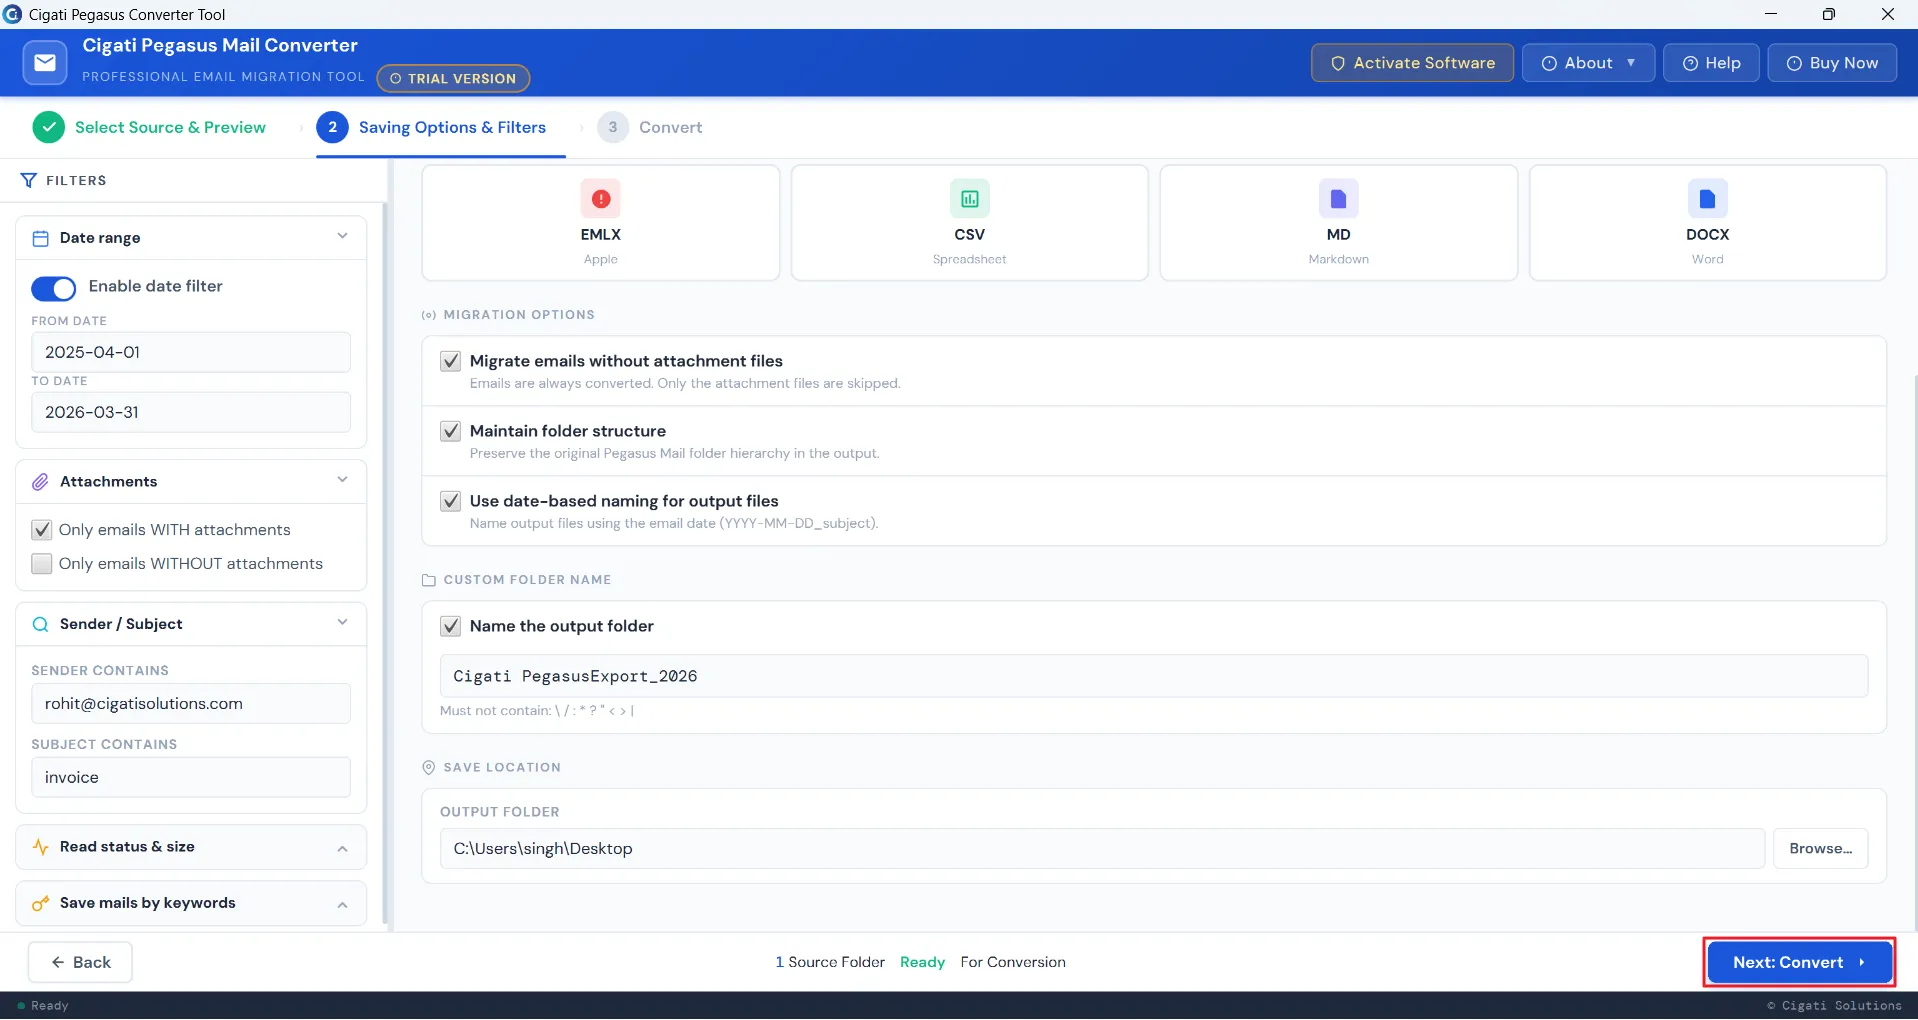
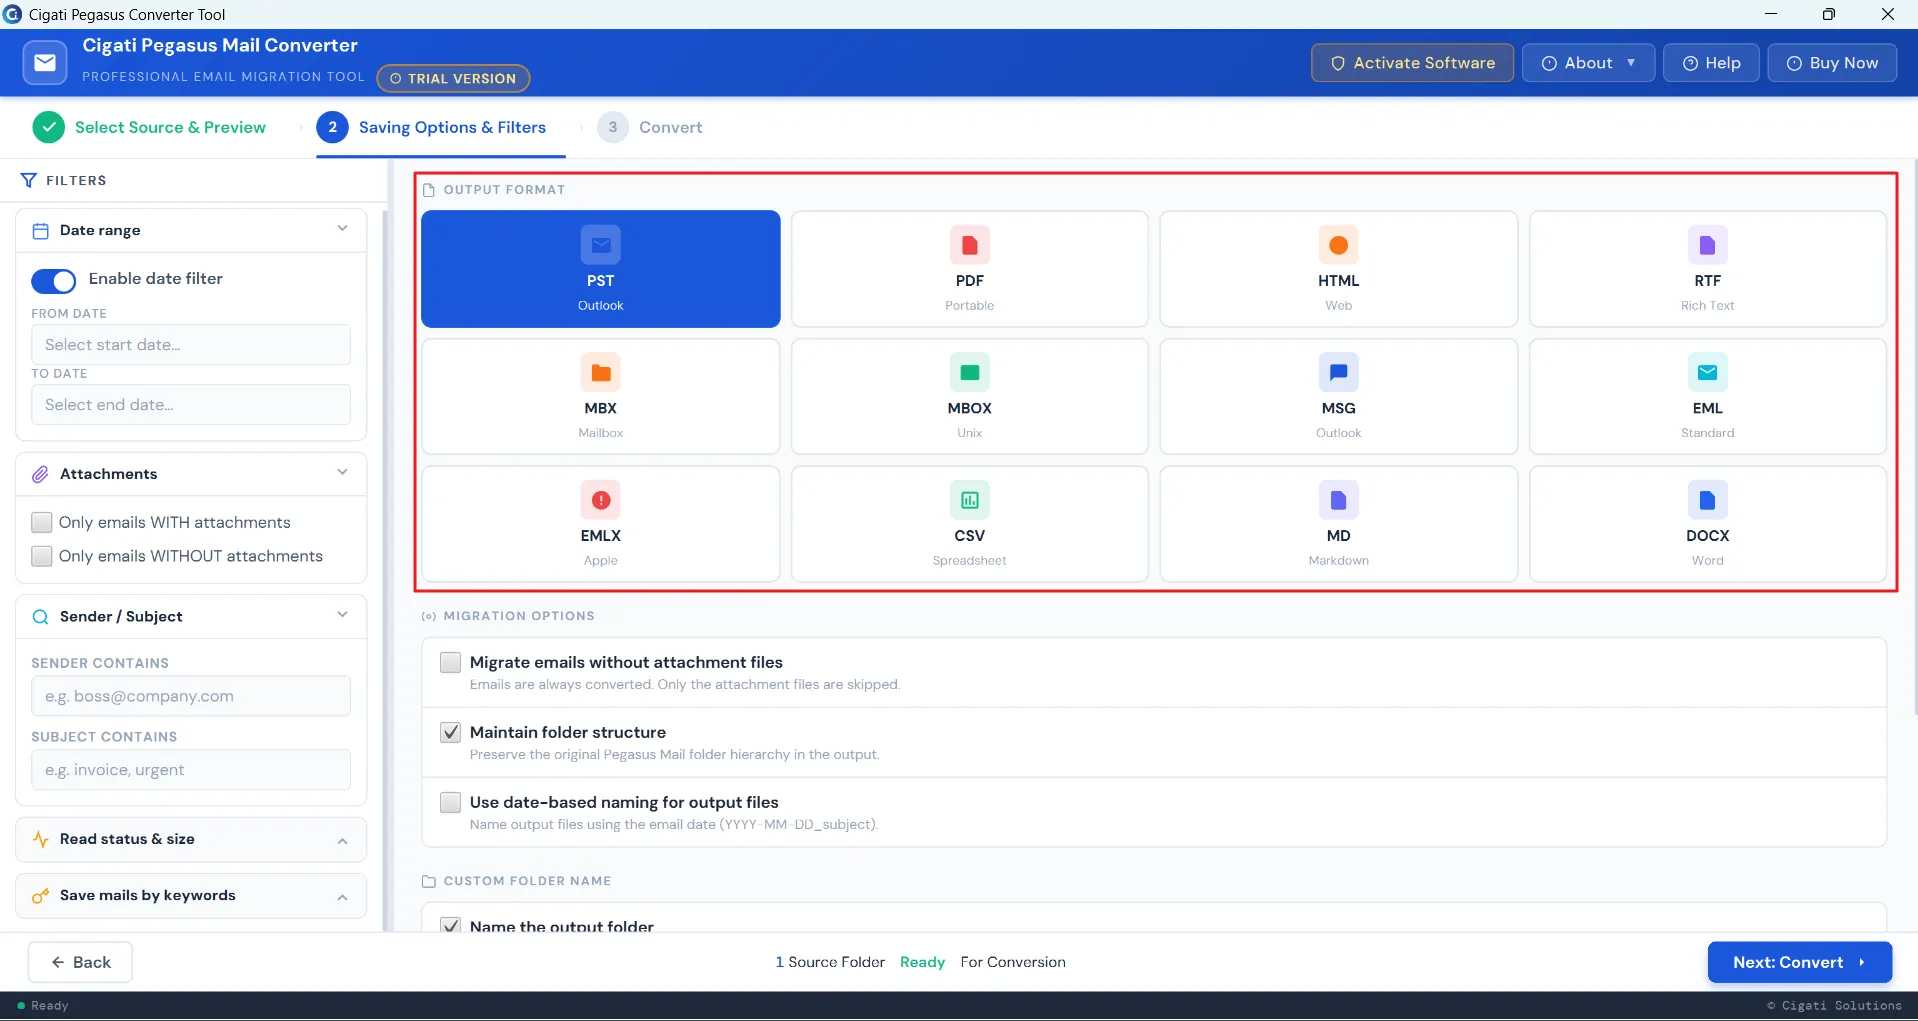
Choose the desired output format (by default, it is set to PST).
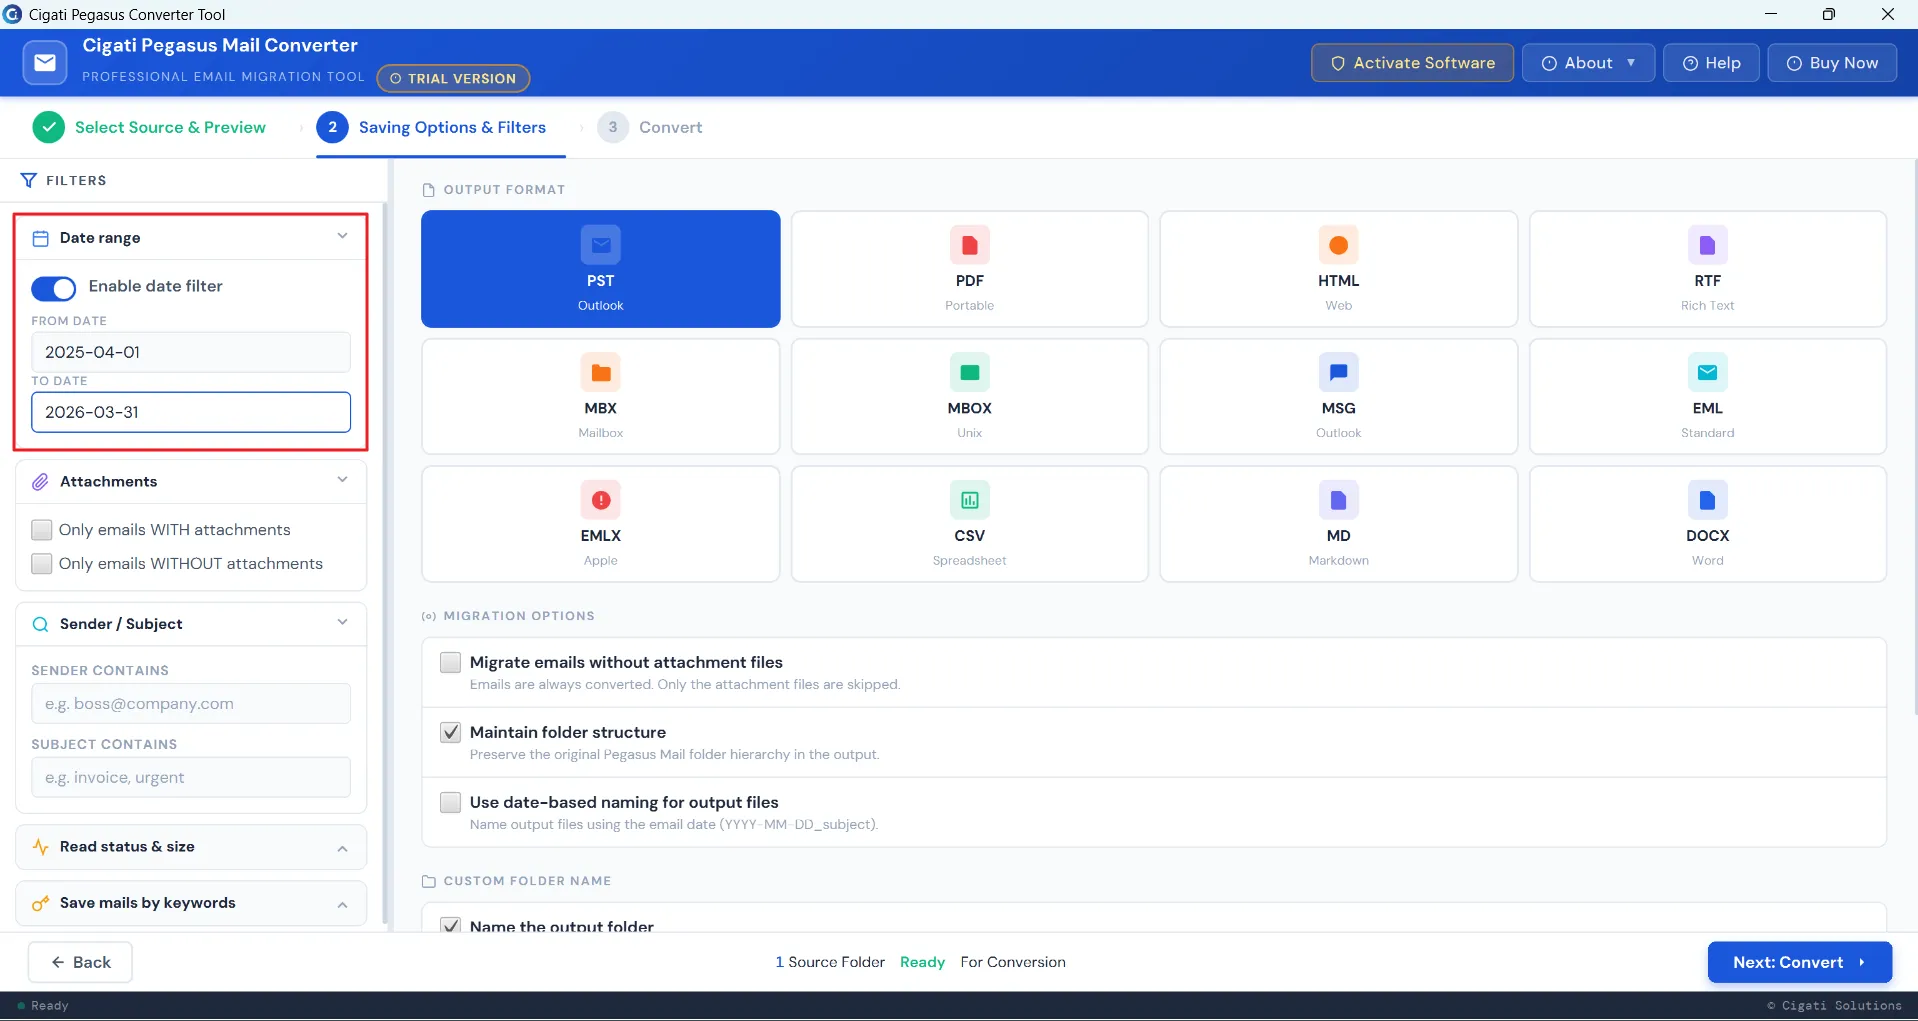
Apply the Date Range Filter to convert emails within a specific date range by setting the Start Date and End Date.
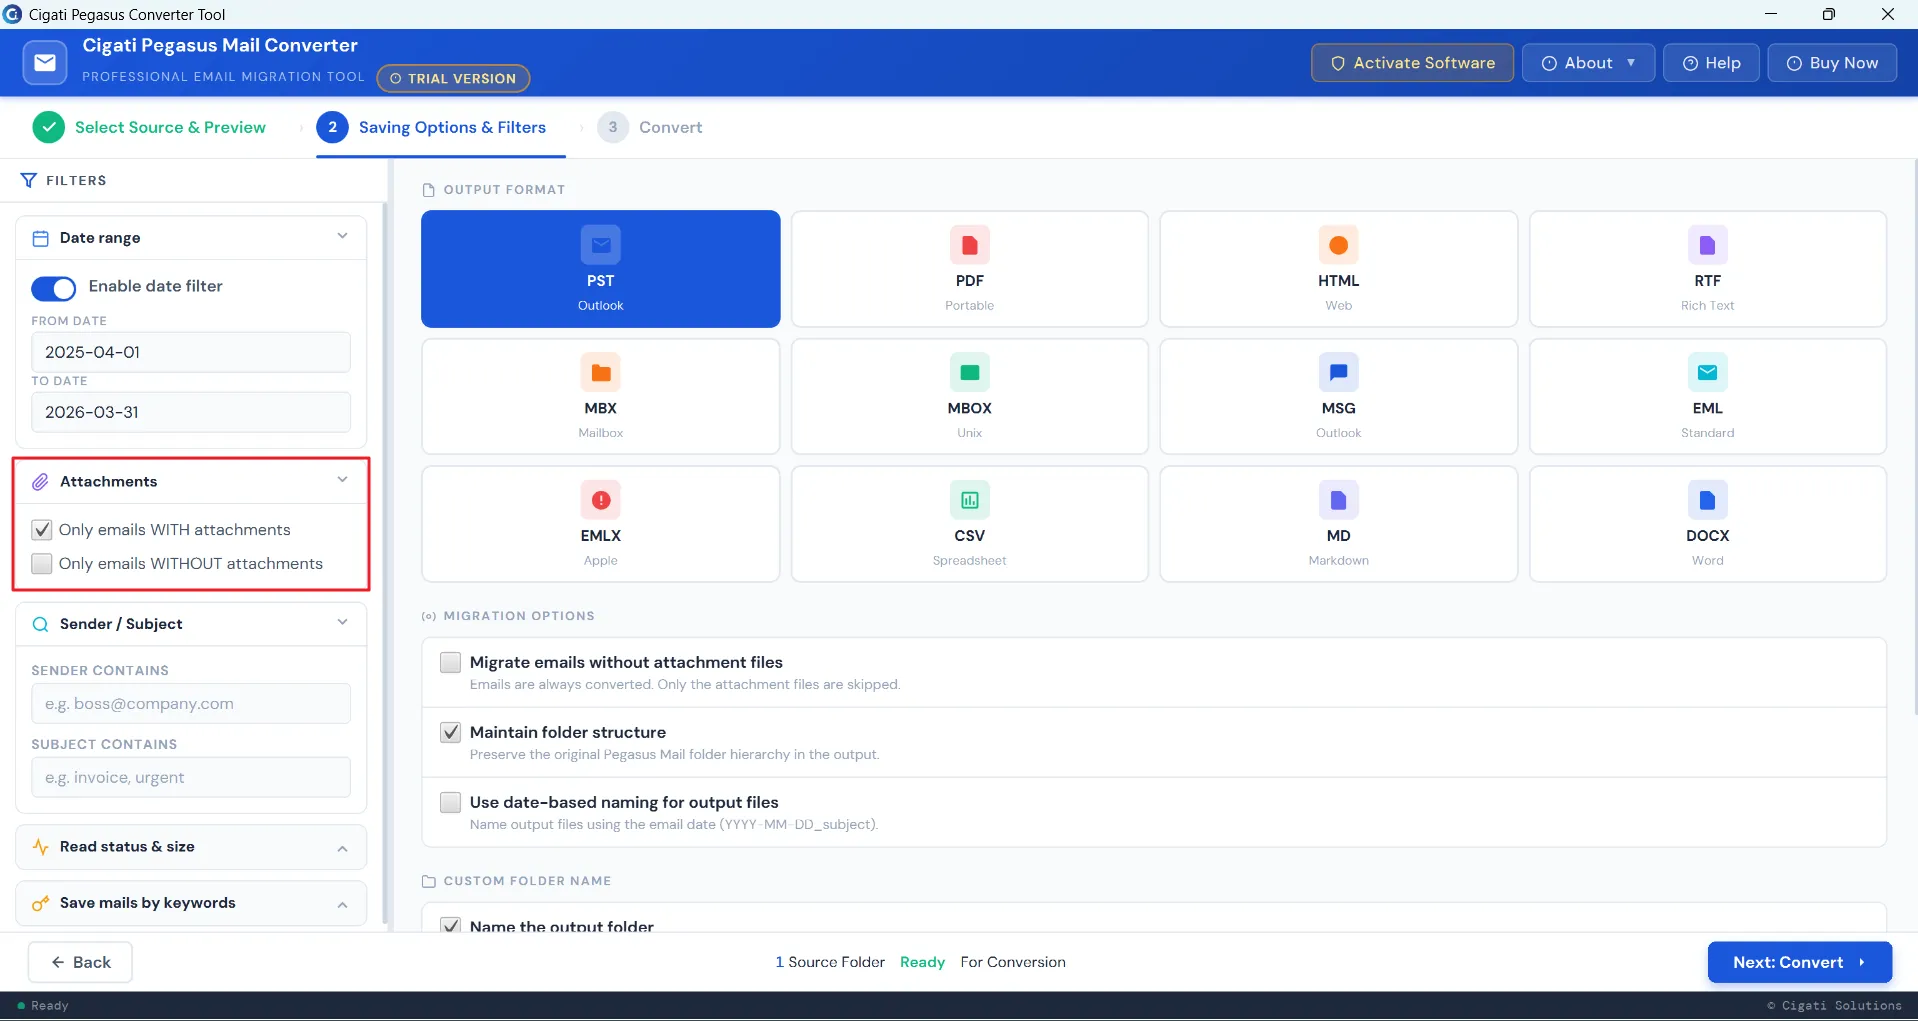
Choose the Attachments Option as needed:
Use the Sender/Subject Filter to extract specific emails based on sender email addresses or subject keywords.
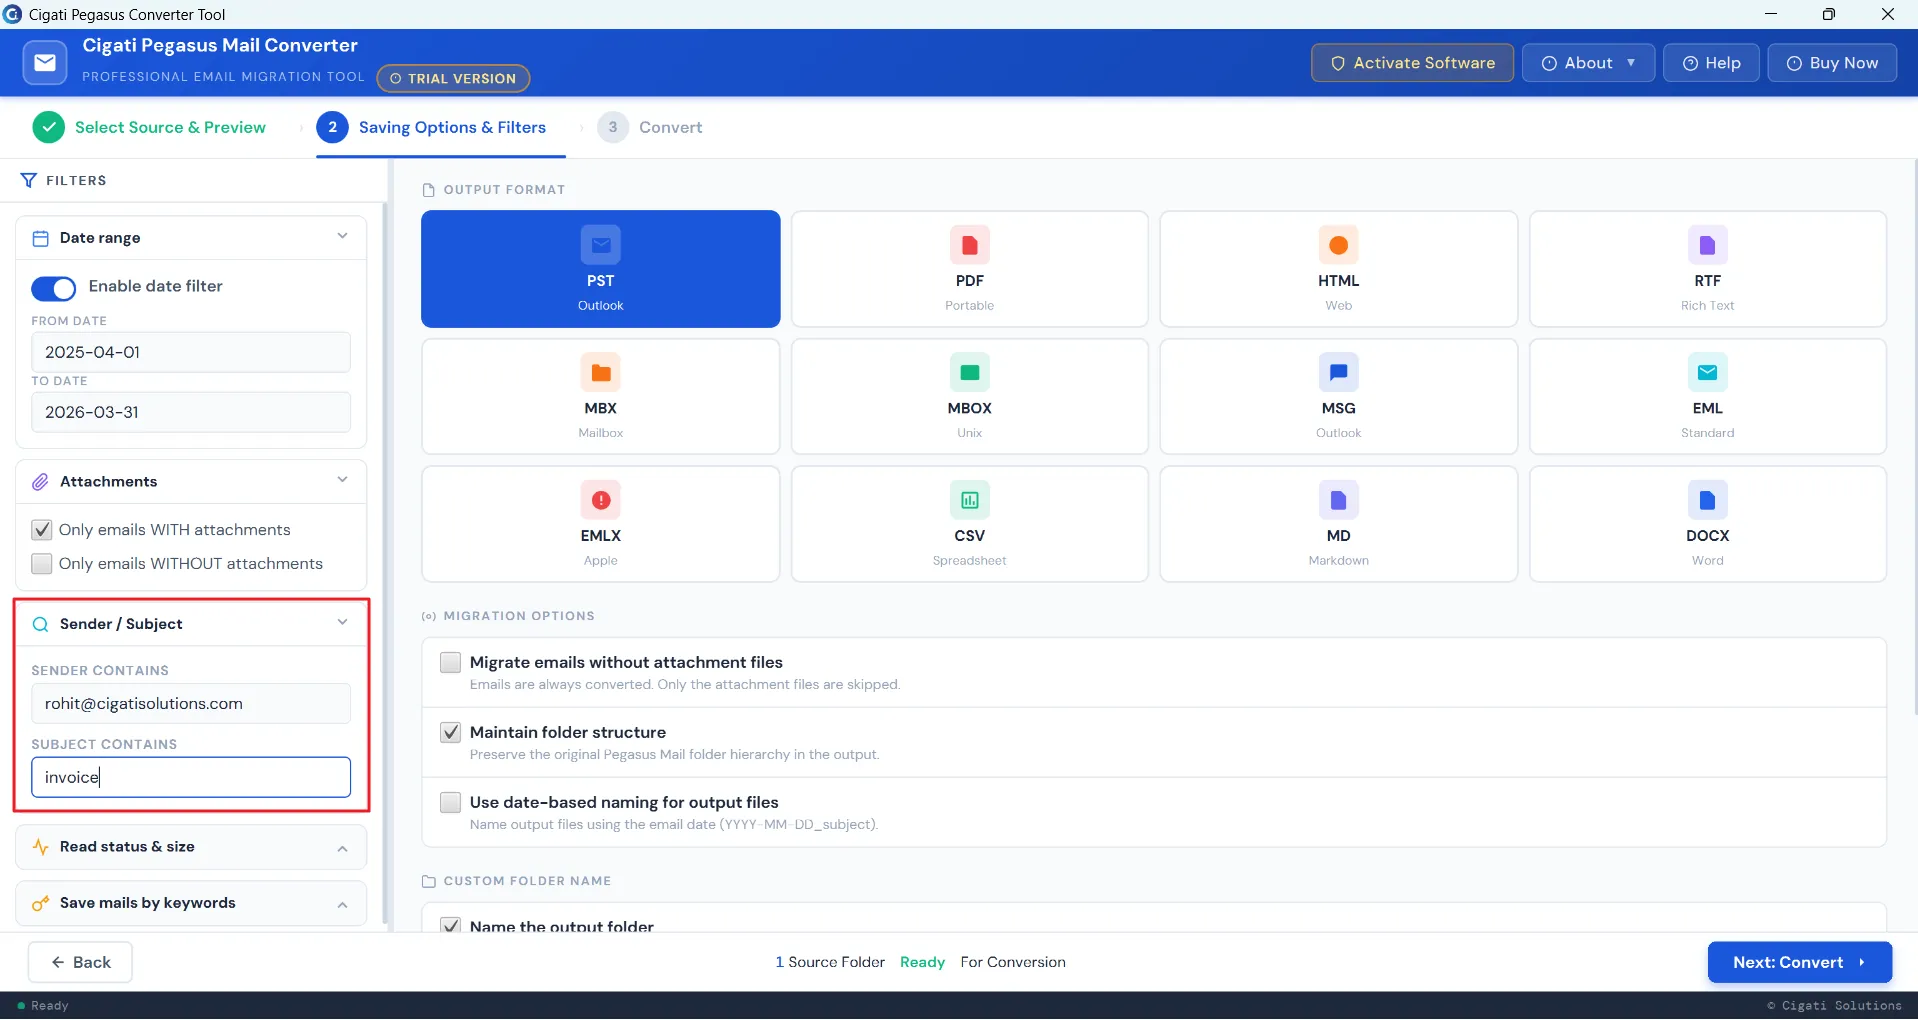
Apply the Read Status & Size Filter to convert only unread emails or filter emails based on size.
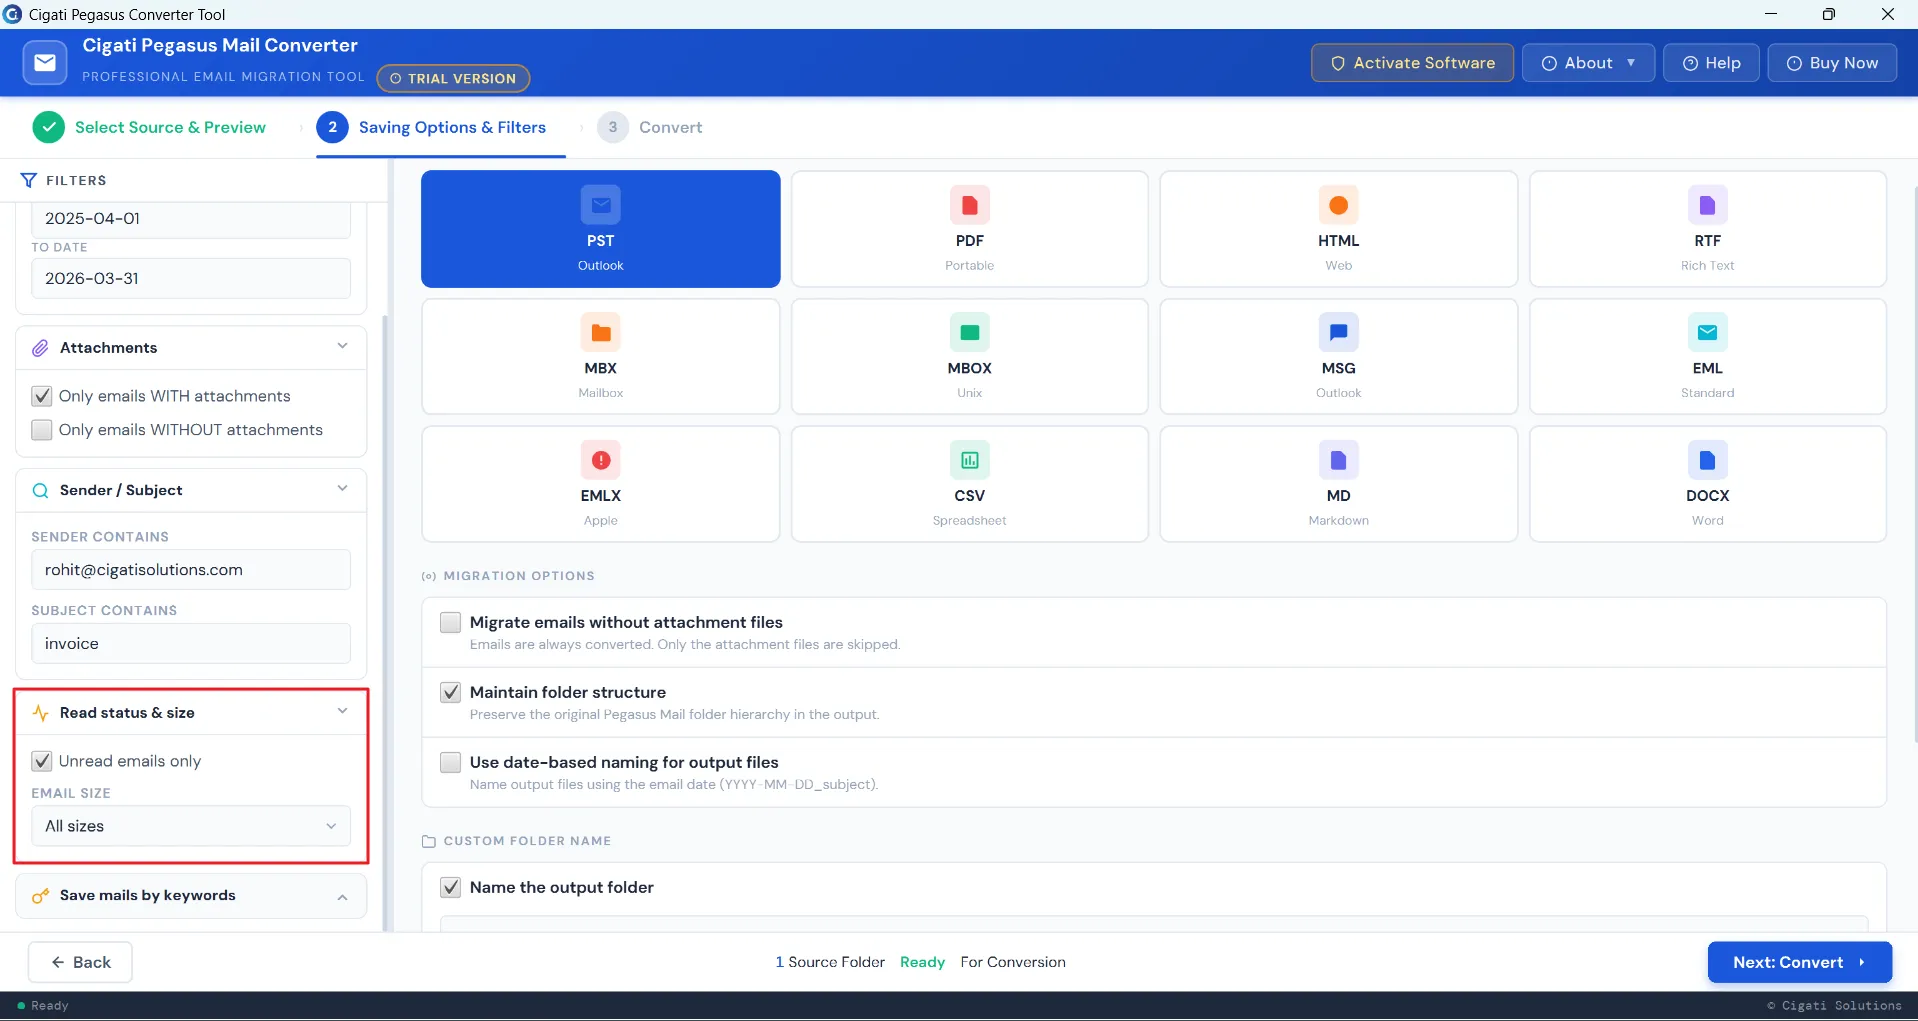
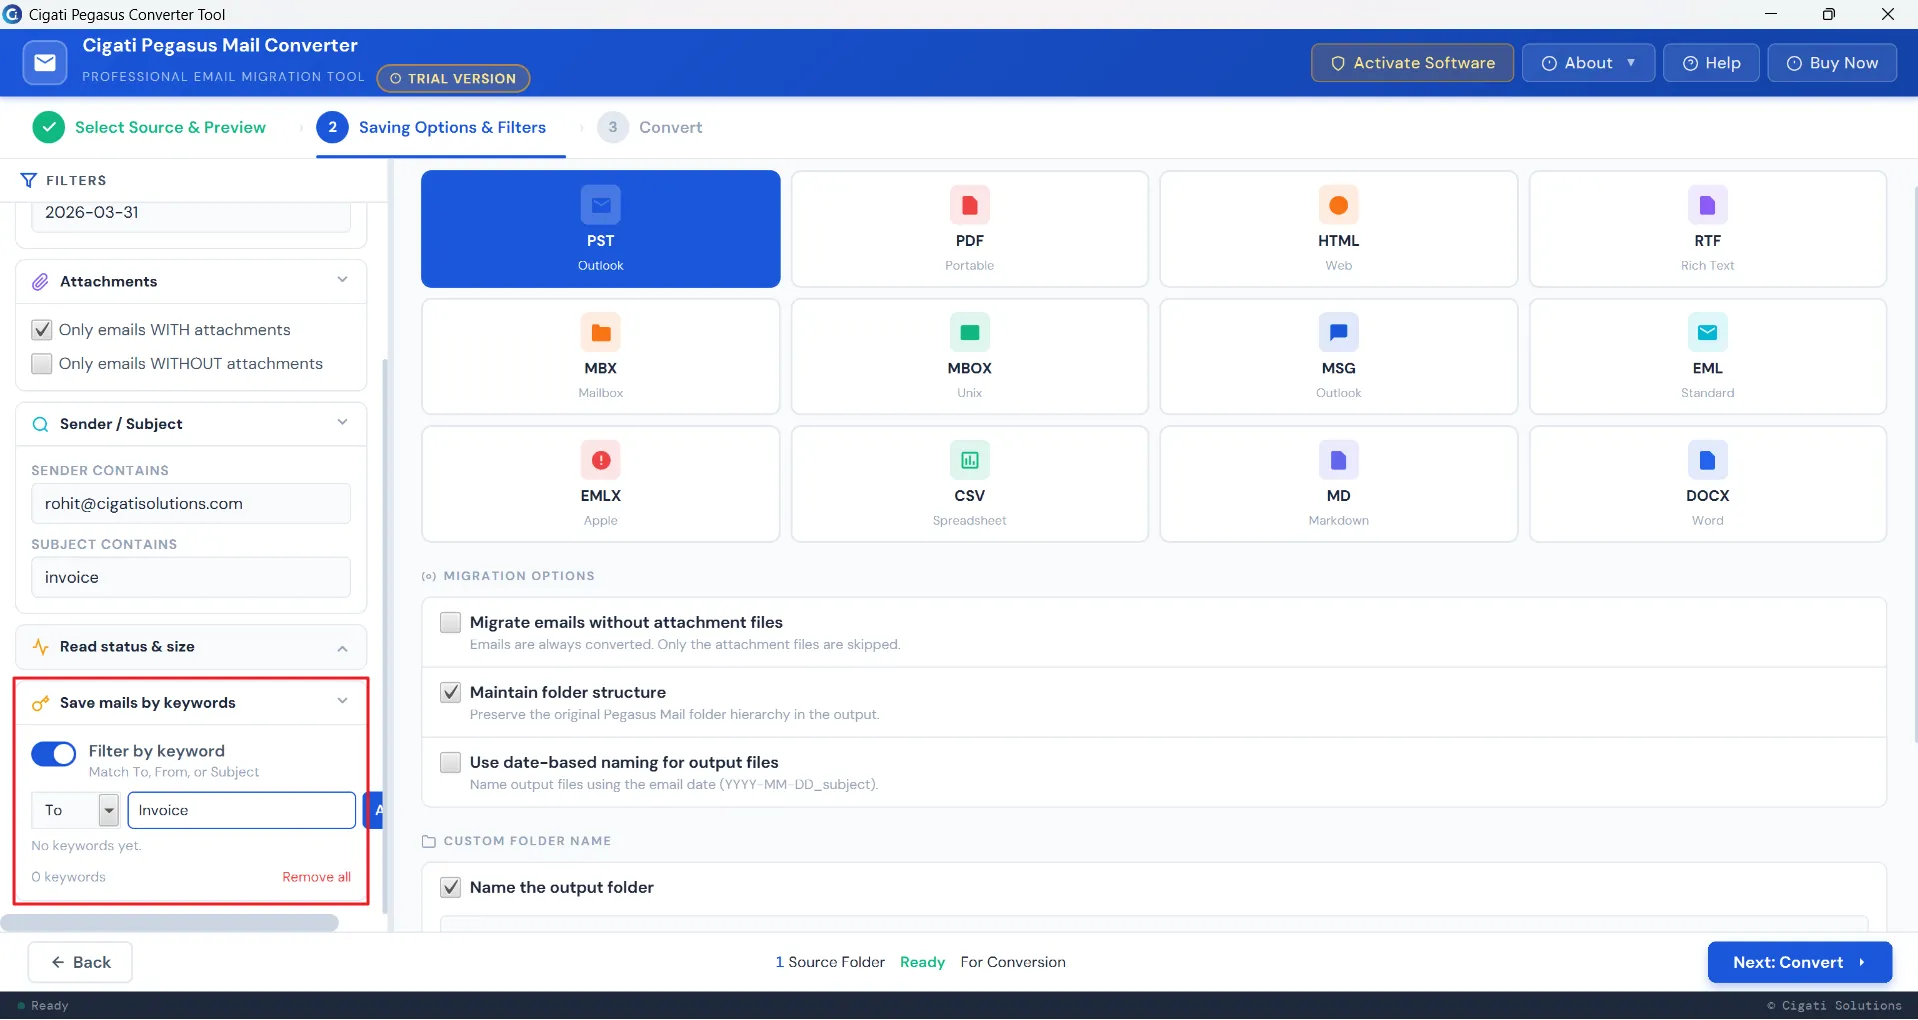
Use the Mail Filter by Keywords option to filter emails from To, From, and Subject fields.
Select the Migration Options as required:
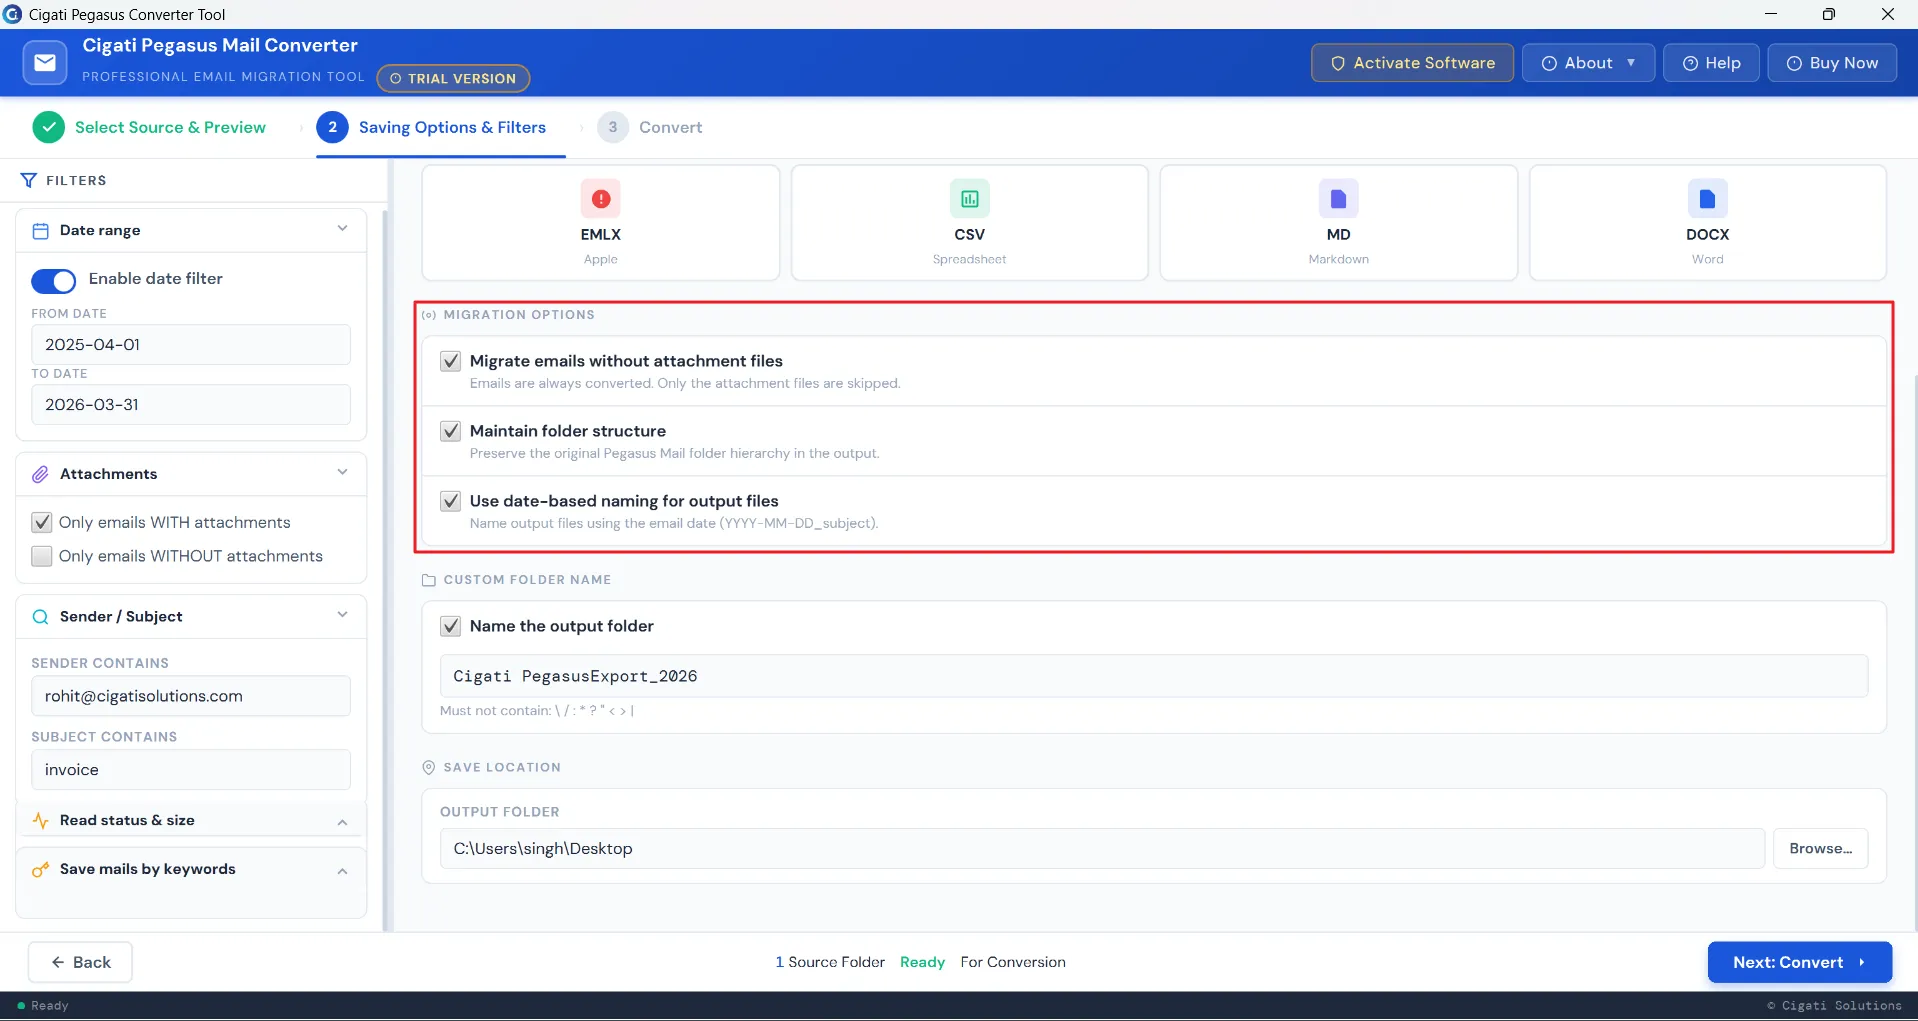
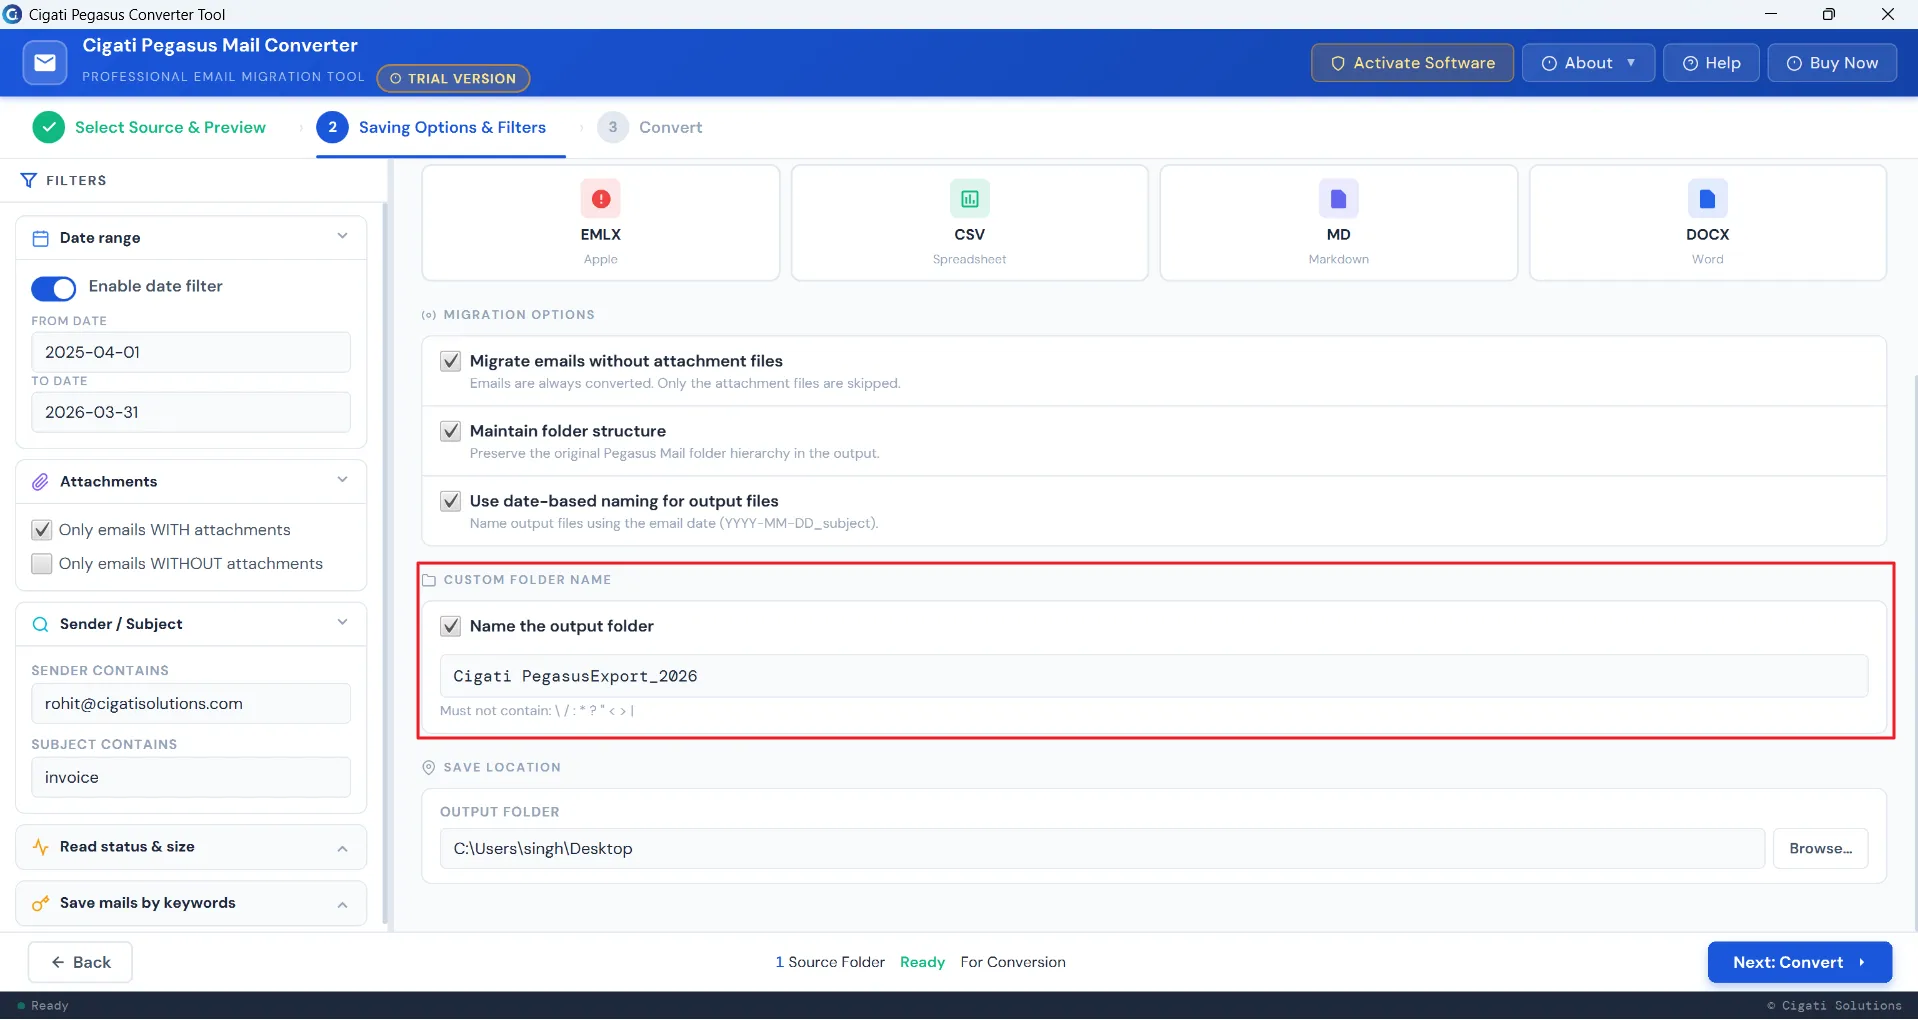
Enable the Custom Folder Name option to assign a specific name to the output folder.
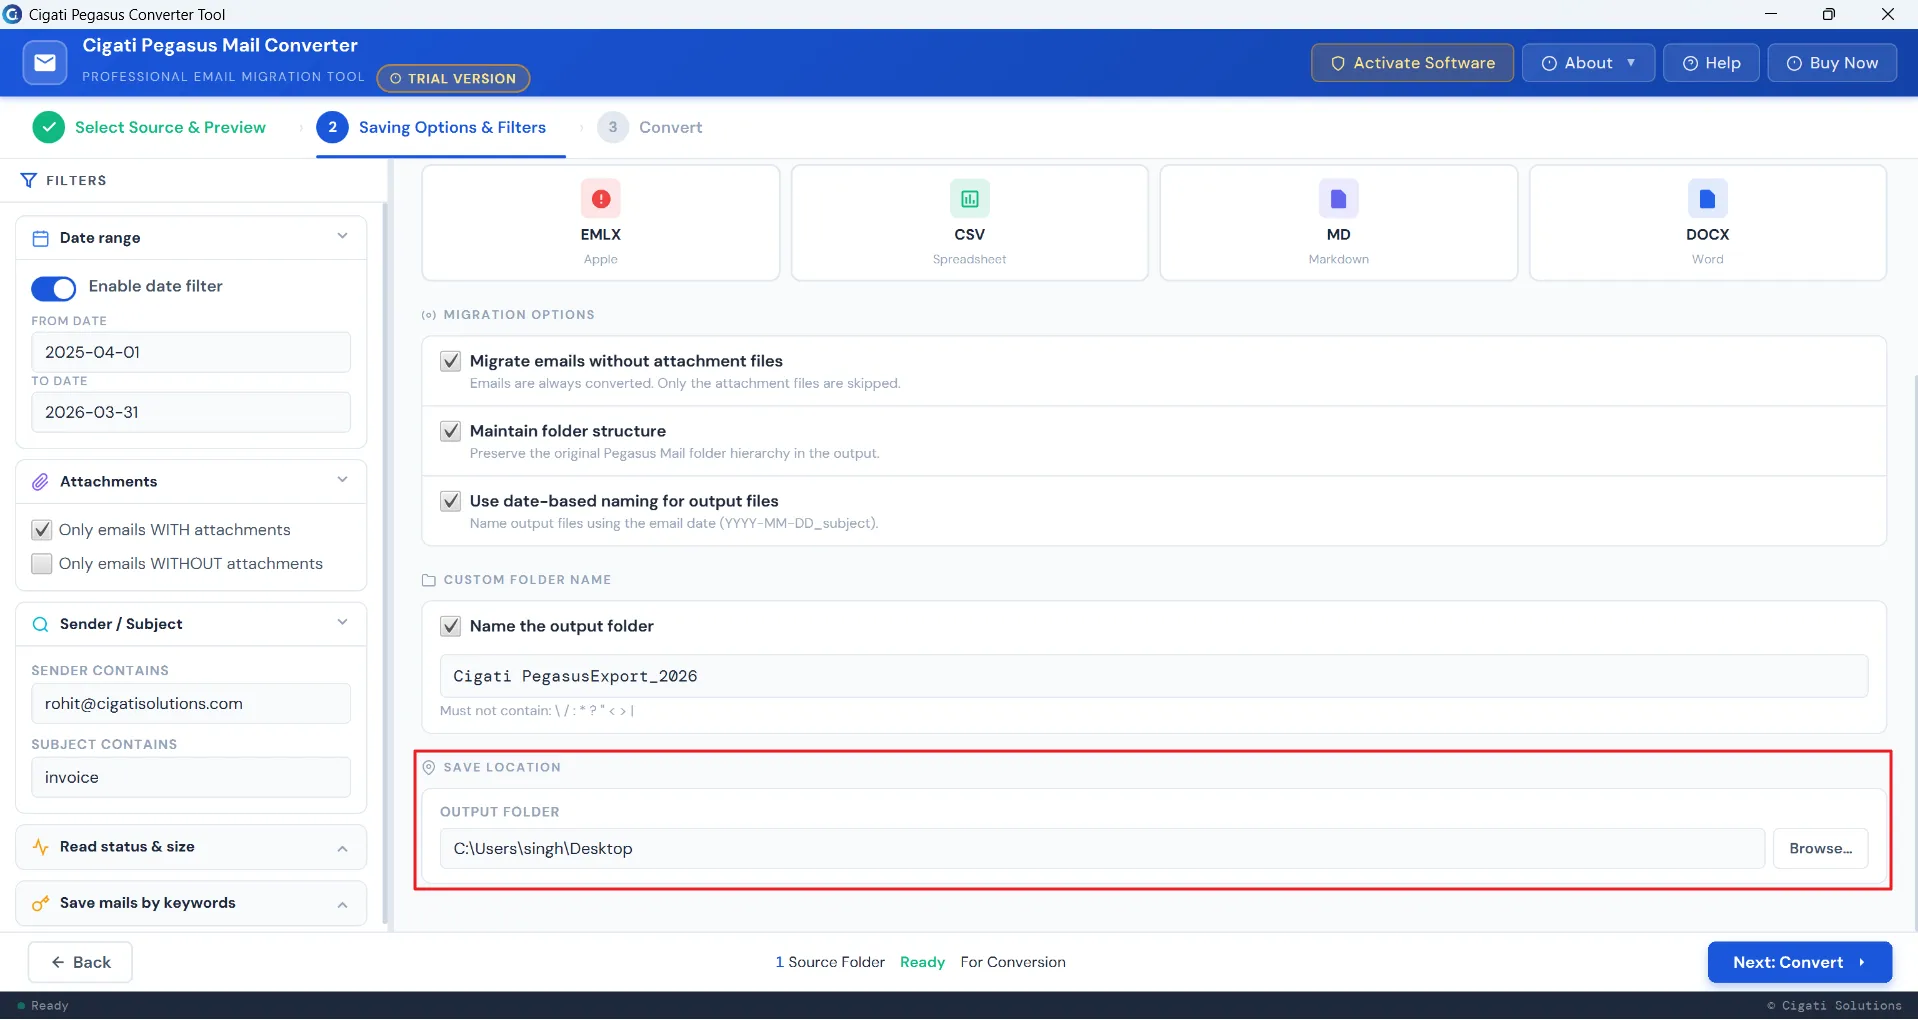
Choose the Destination Path (Save Location) where the converted file will be saved.
Finally, click the Next: Convert button to start the conversion process.