Steps of Screen Resolution in Windows 10, 8, 8.1, 7, Vista
Steps for Screen Resolution in Windows 10
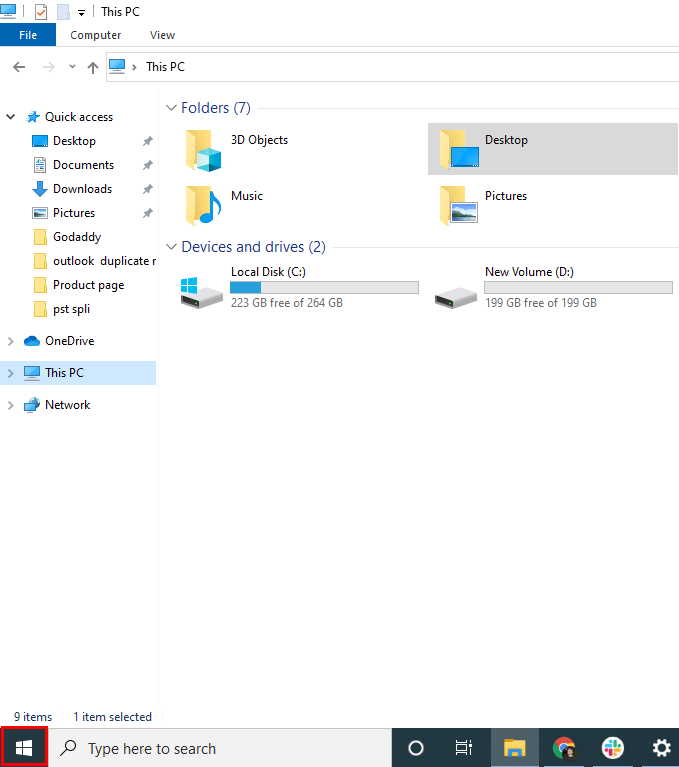
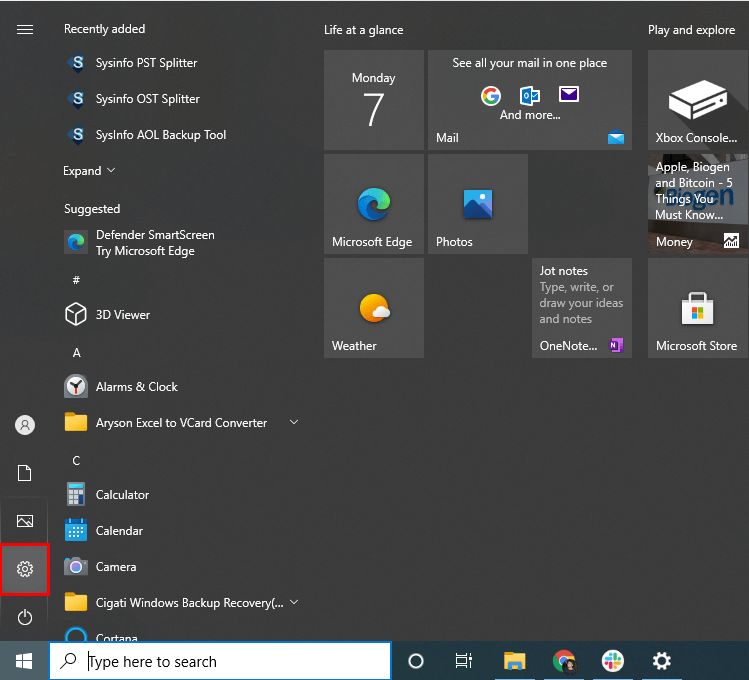
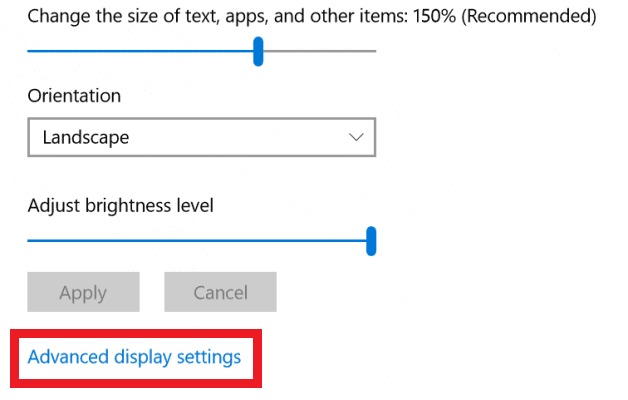
If you need to change the display resolution setting on your Windows 10 PC, Follow the below steps carefully:

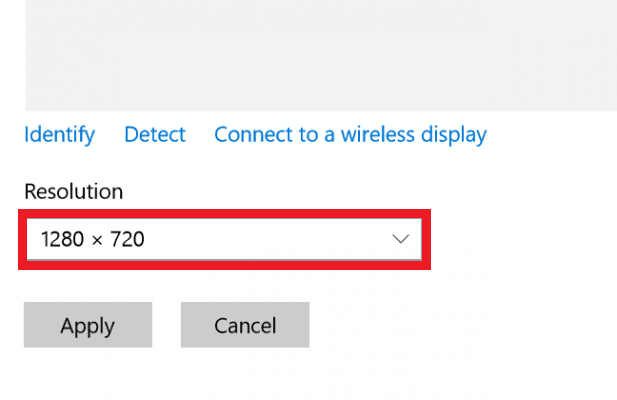
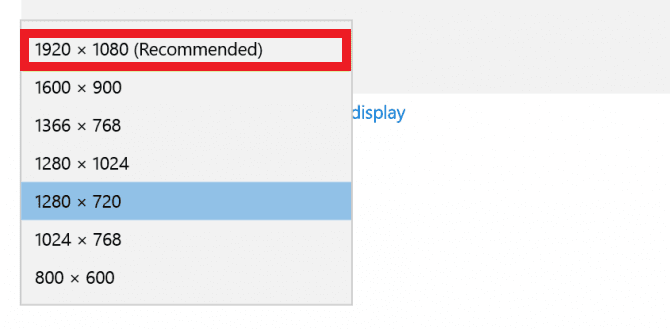
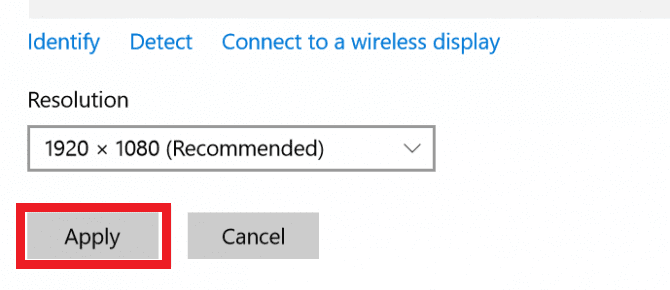
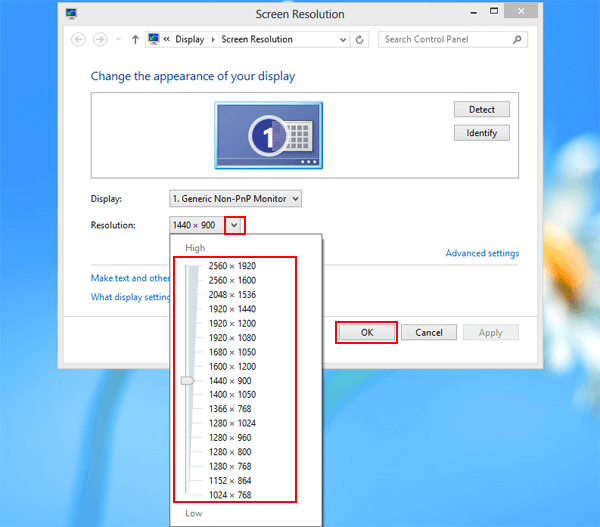
From the Drop-down menu, select the option you want. We strongly recommend going with the one that has (Recommended) next to it.
Steps for Screen Resolution in Windows 8/8.1
Follow the below steps to change screen resolution in Windows 8/8.1 computer:
First of all, Open Screen Resolution.
Here, It consist three option to open screen resolution, choose one according to your choices:
Option 1: Open Screen Resolution Using Control Panel
On the desktop screen, move your cursor over the right edge to open the Charms Menu.
Here, select the Setting option from the list.
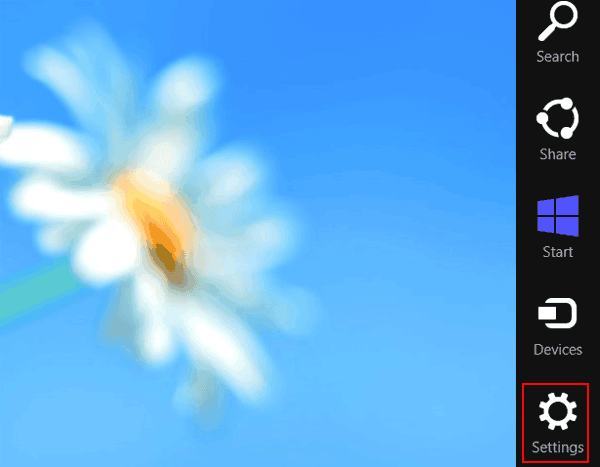
Note:- It should also be open by pressing Windows + C keys.
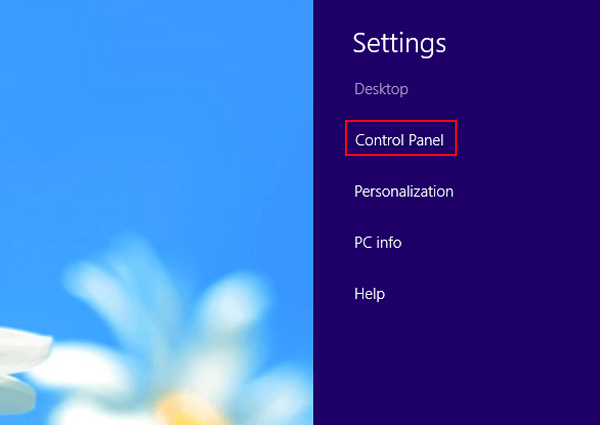
Now, opt with Control Panel from the Settings panel.
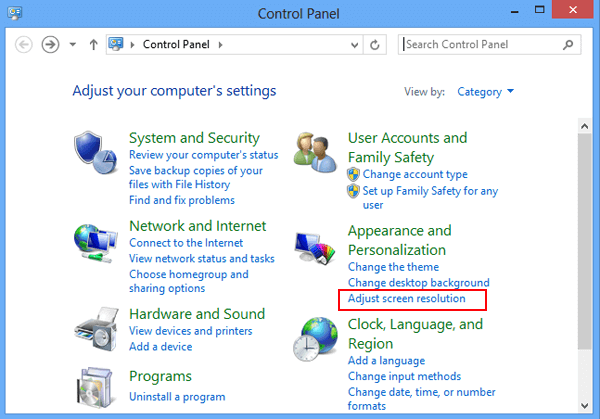
A Control panel wizard opens on the screen, select Adjust screen resolution under Appearance and Personalization.
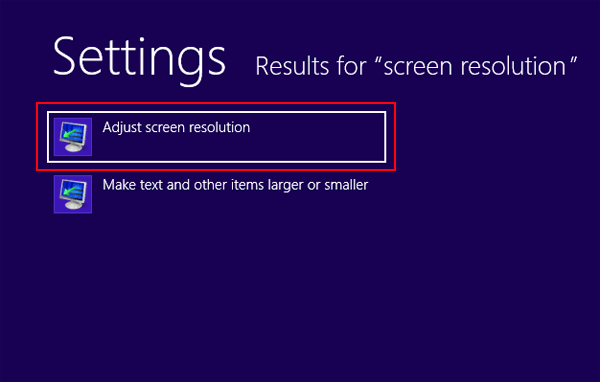
Option 2: Open Screen Resolution With Search Box
Firstly, Click the Windows+ F key on the keyboard to open the search bar.
Here, enter screen resolution in the opening box and select the Setting option.
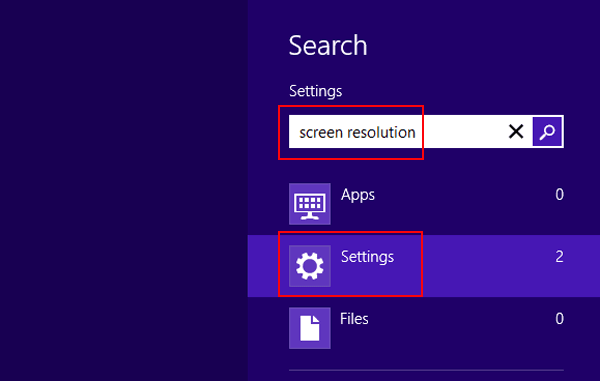
After the search results come out, select Adjust screen resolution and click on it.
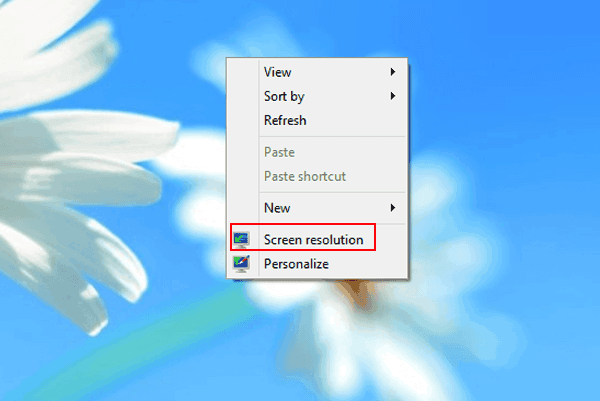
Option 3: Open Screen Resolution Using the context menu on the Desktop.
Select screen resolution from the context menu by right-clicking on the desktop screen.
Steps for Screen Resolution in Windows 7
Follow the given below instruction carefully to implement the changes in the screen resolution:
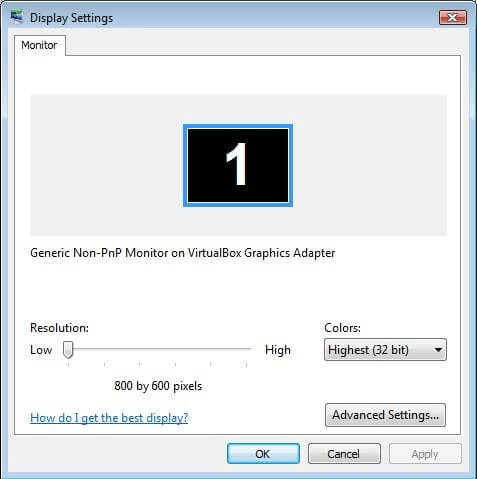
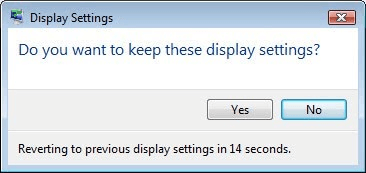
In the next step, click the drop-down list of resolutions and move the slider according to your choices, and then click the Apply button.
Steps For Screen Resolution in Windows Vista
To set the screen resolution properly in Windows Vista, follow the below steps: