SQLite Database Recovery Tool
4.7
Learn How to Use Cigati SQLite Database Recovery for Repairing Corrupt SQLite Database
A user-friendly application with an intuitive design for beginners to navigate effortlessly.
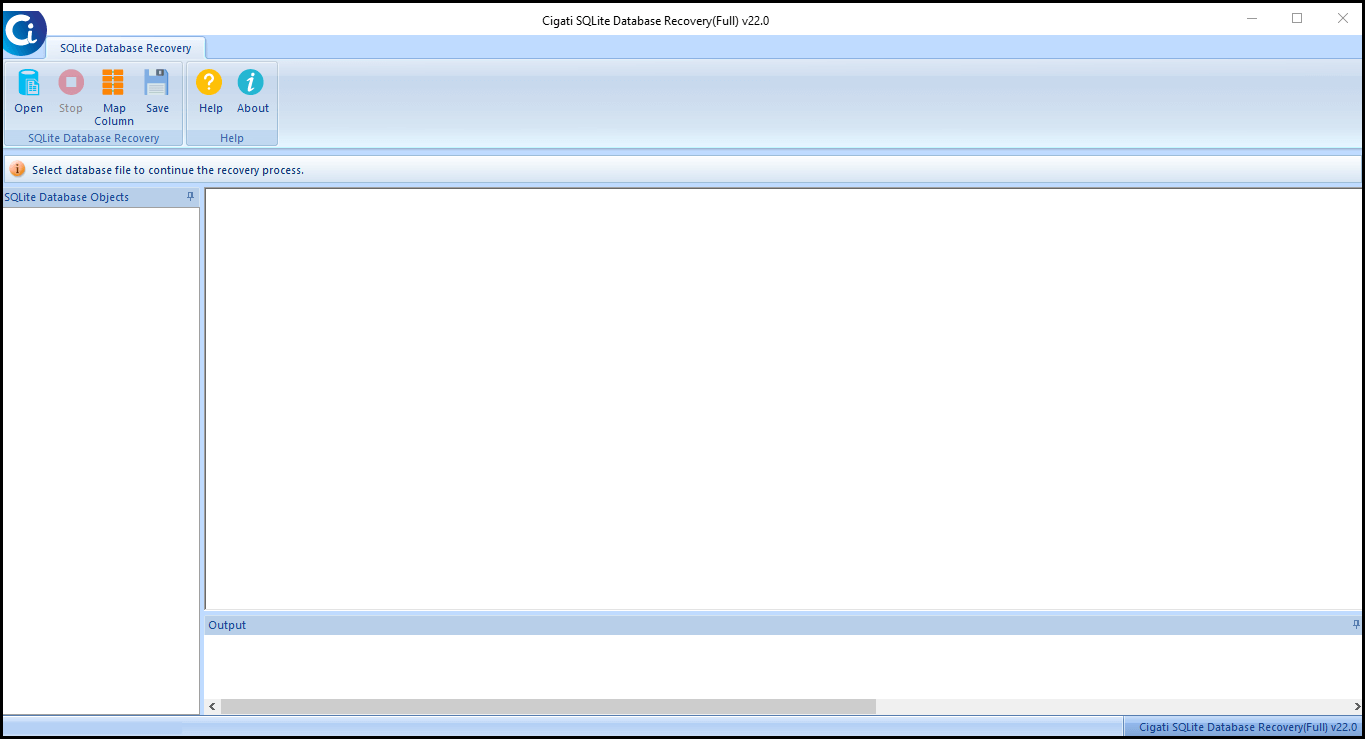
Launch the Cigati SQLite Database Recovery Tool (as administrator).
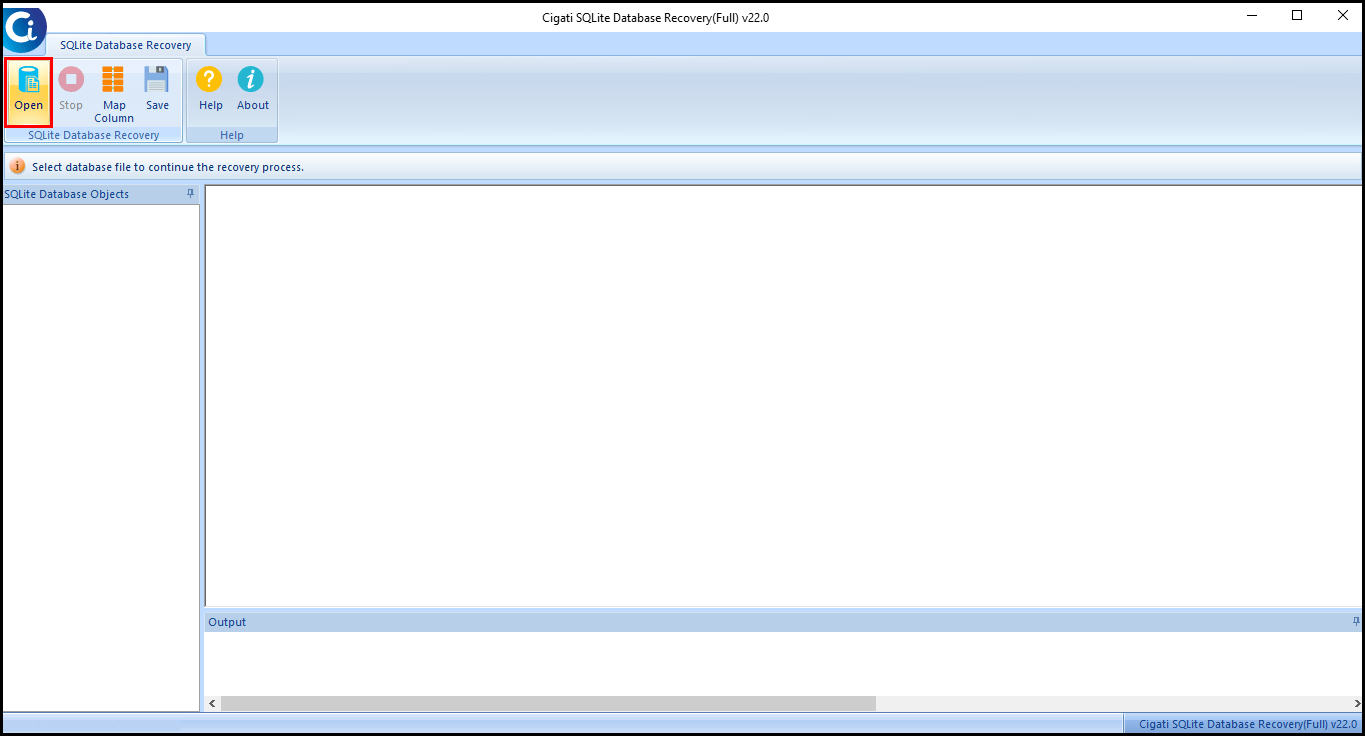
Navigate the Open tab to browse the SQLite Database files.
Click on the Browse option to add the file in the software wizard.
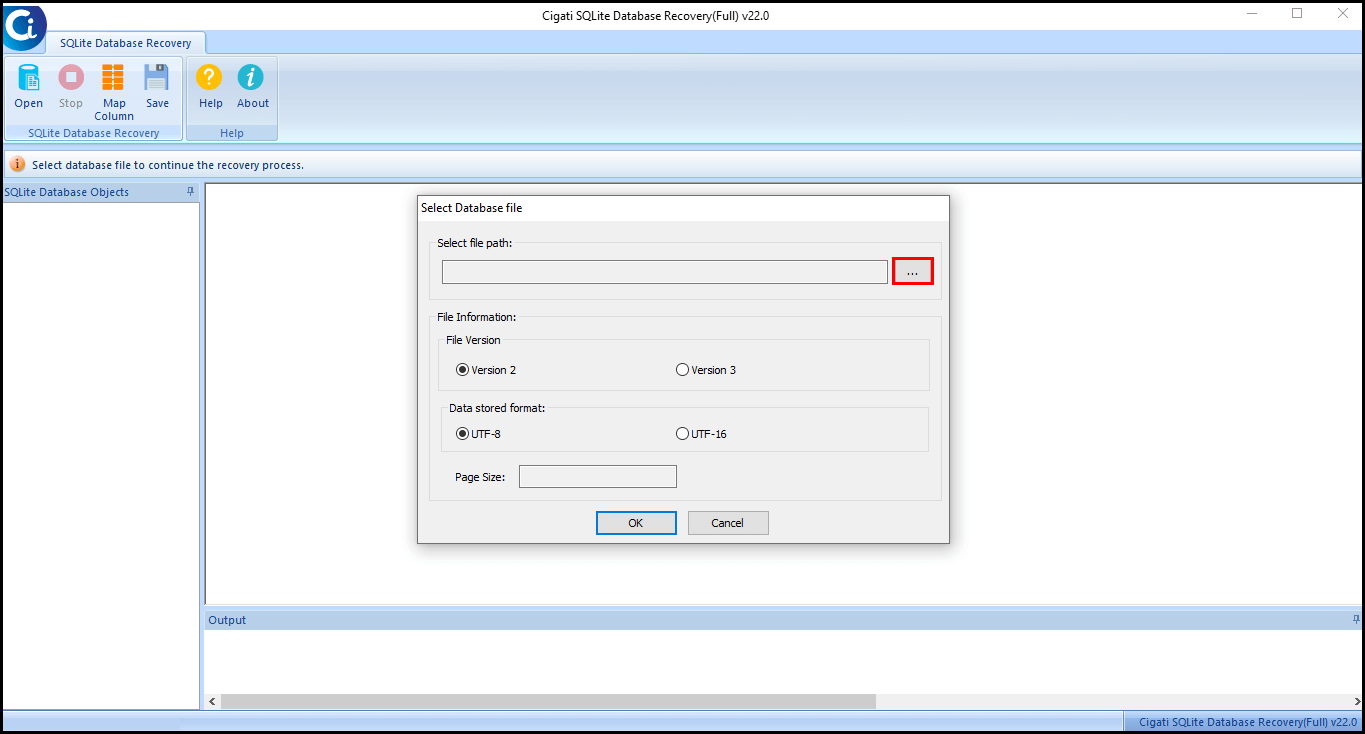
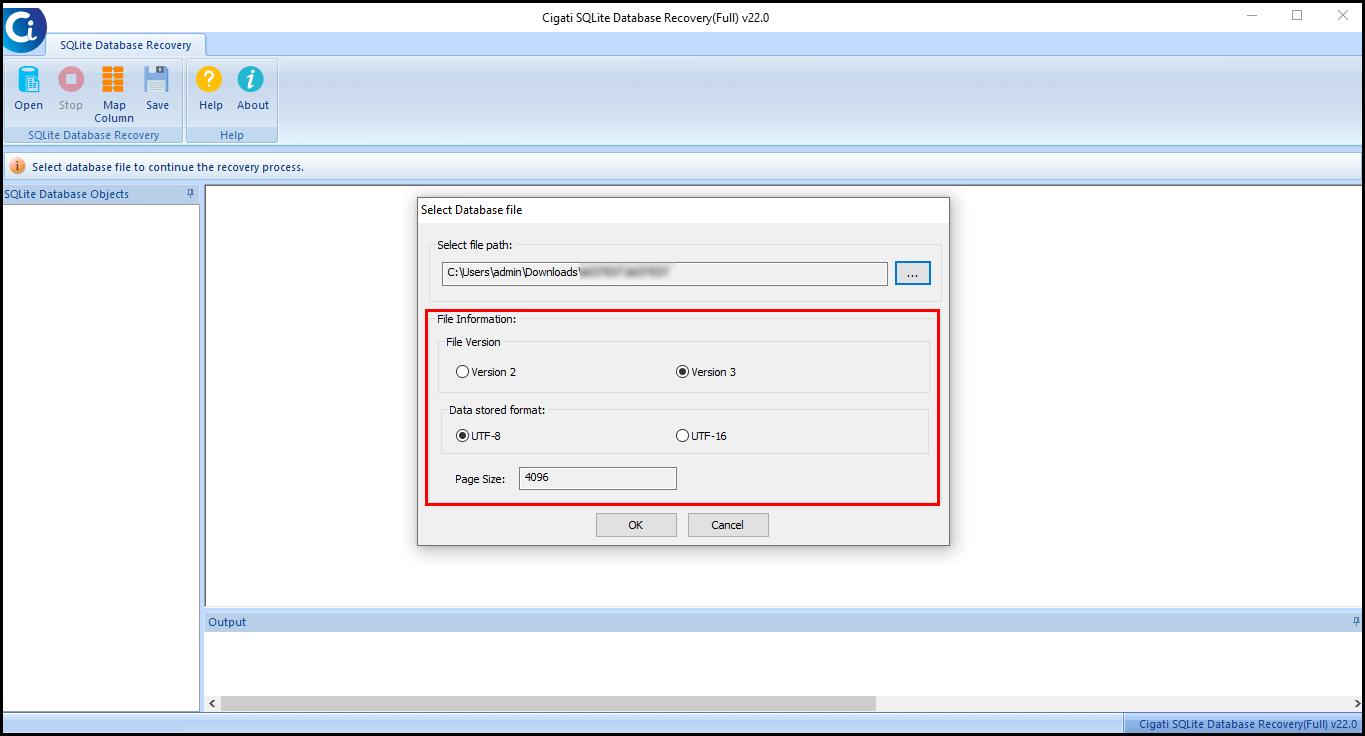
Here the software will automatically detect the file related information like File Version, Data Stored Format, and Page Size. Click Ok.
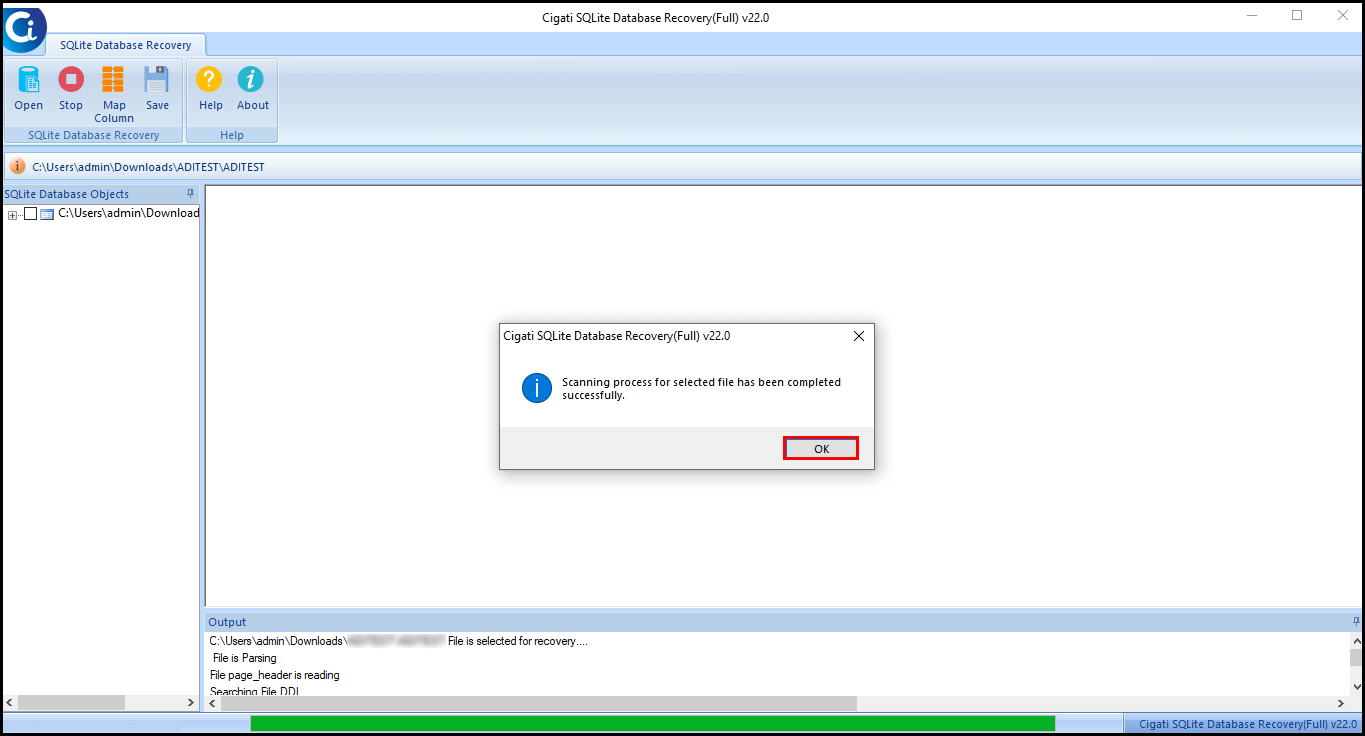
Now, the scanning process of the corrupt SQLite database files gets started and after the completion hits the Ok button.
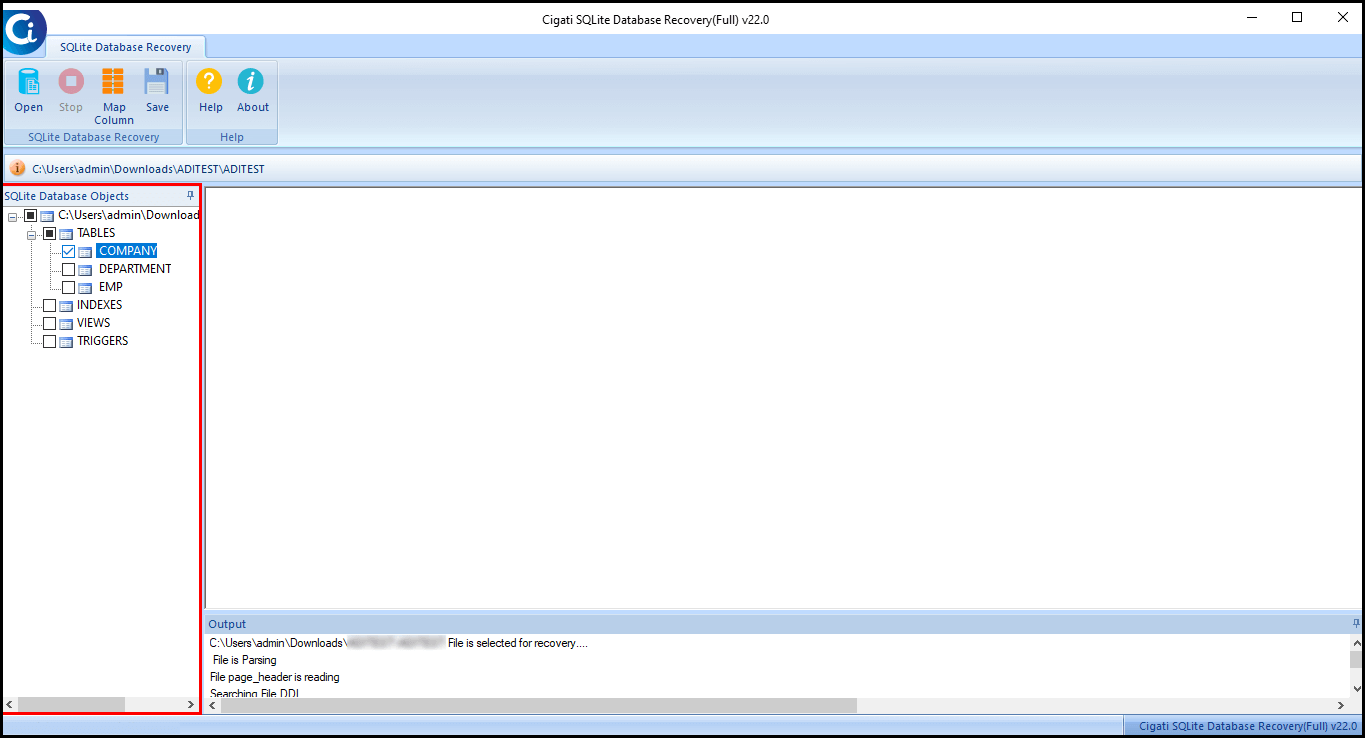
Choose the Folder from the tree structure you want to save.
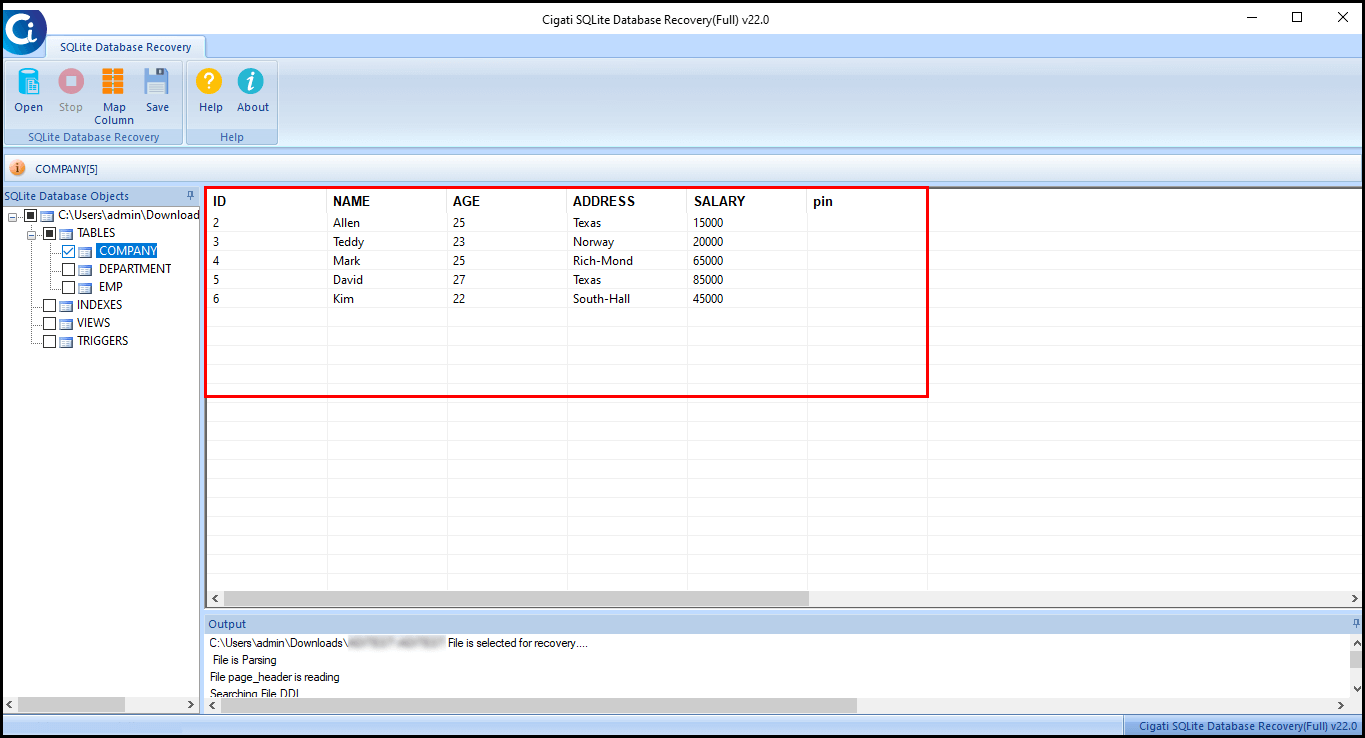
Then, you can Preview the specific table's details.
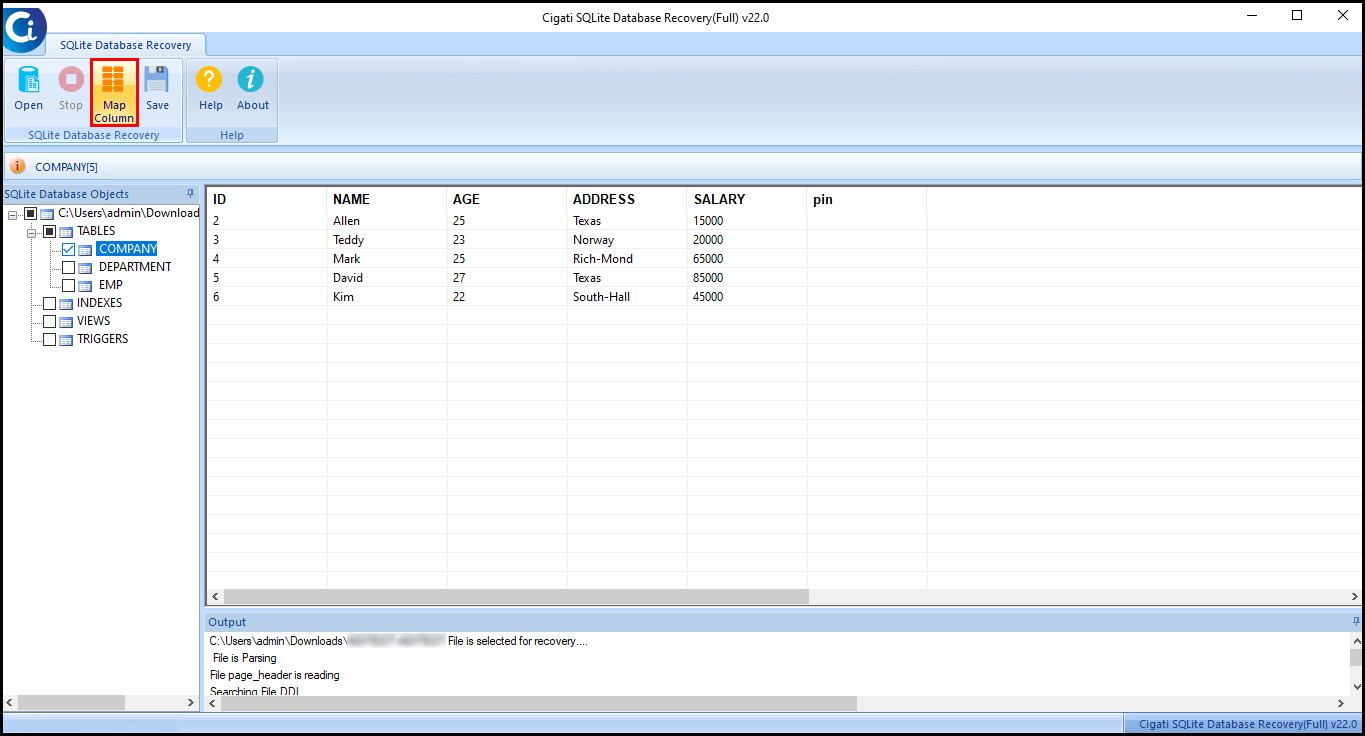
After that, the software allows users to map the column while restoring the data into MDB file format. Some click on the Map Column button.
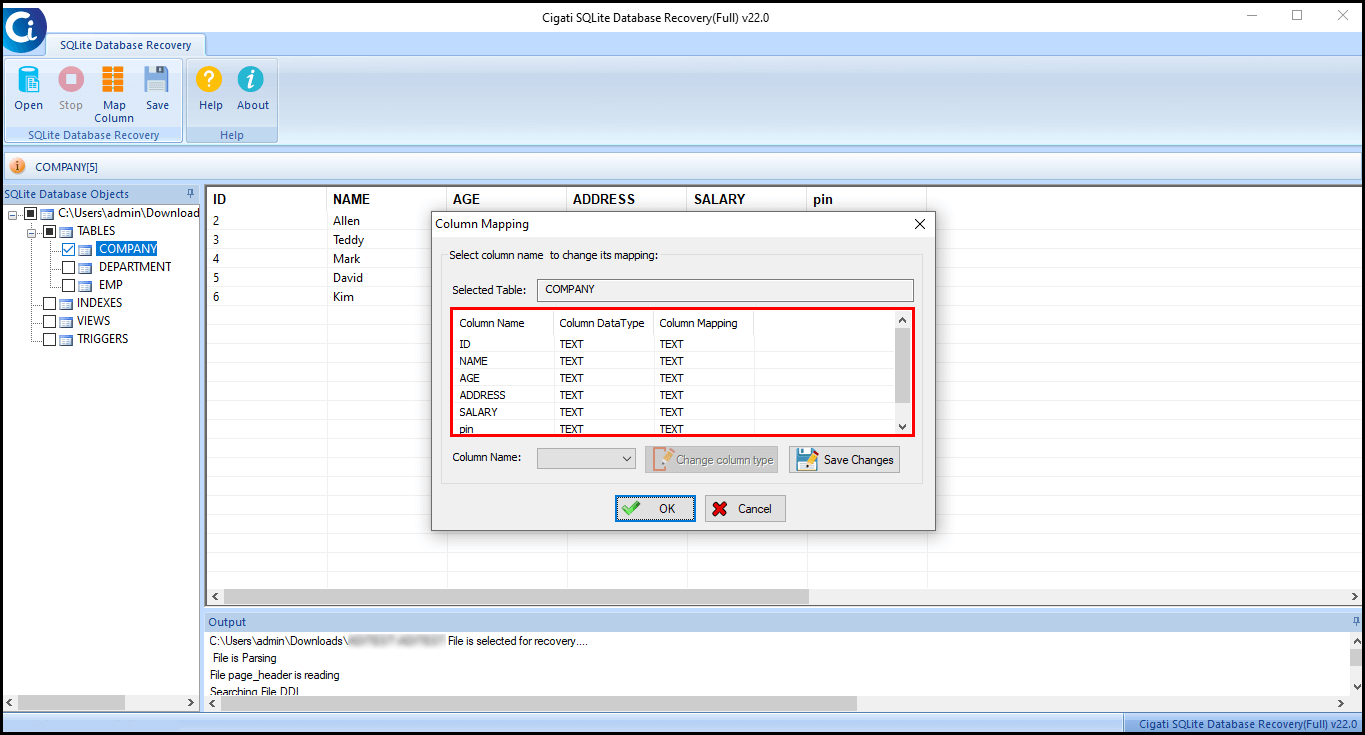
Here a Column Mapping Wizard gets open on your screen; choose the column name in which you want to change the data type.
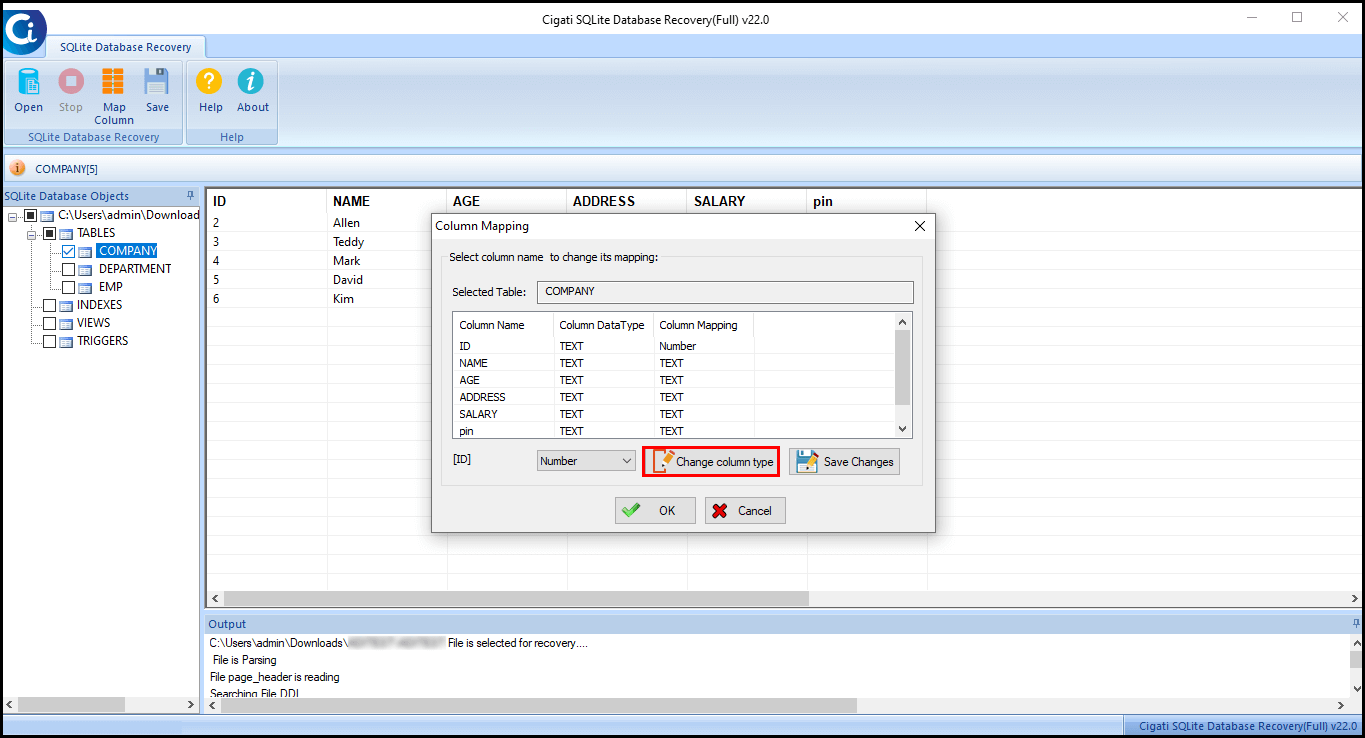
Select the entry you want to change and choose the desired option from the dropdown. click on the Change Column button.
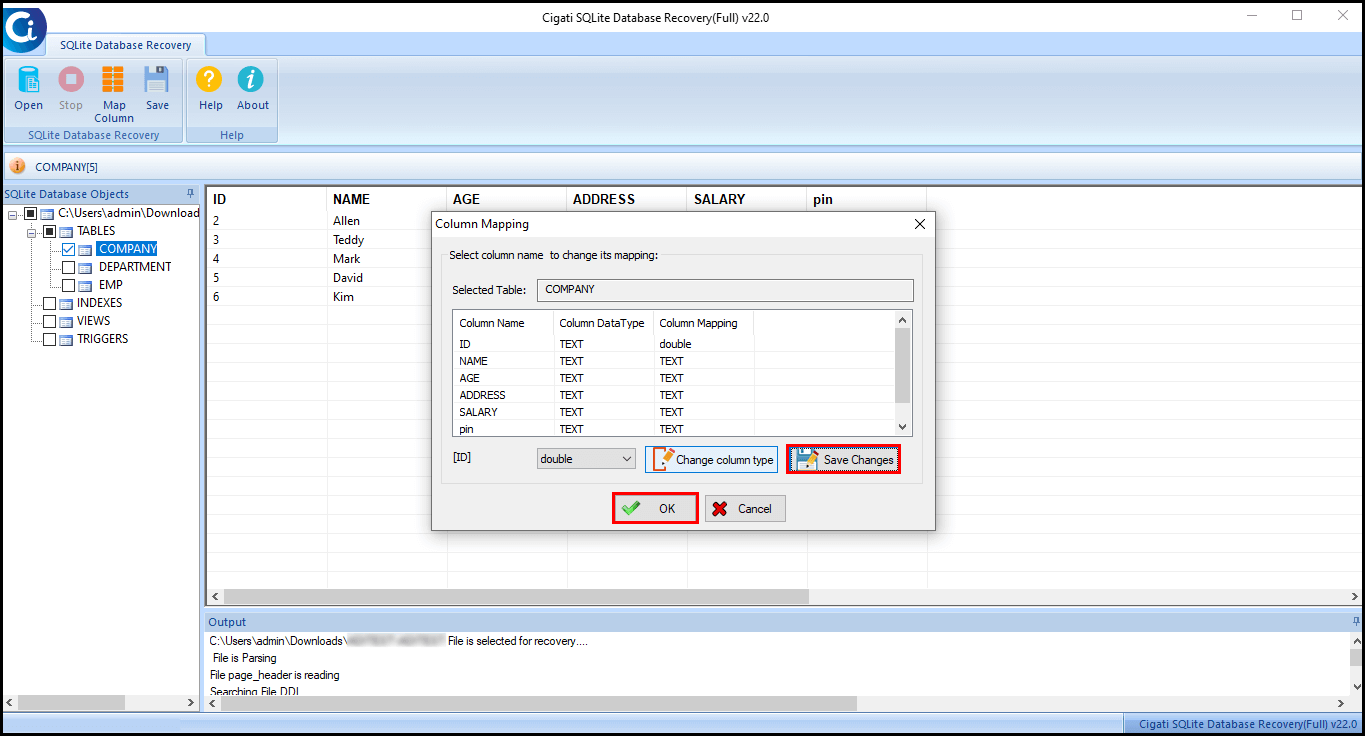
Hit the Save Changes button and then press the Ok button.
Click on the Save button to save recovered data.
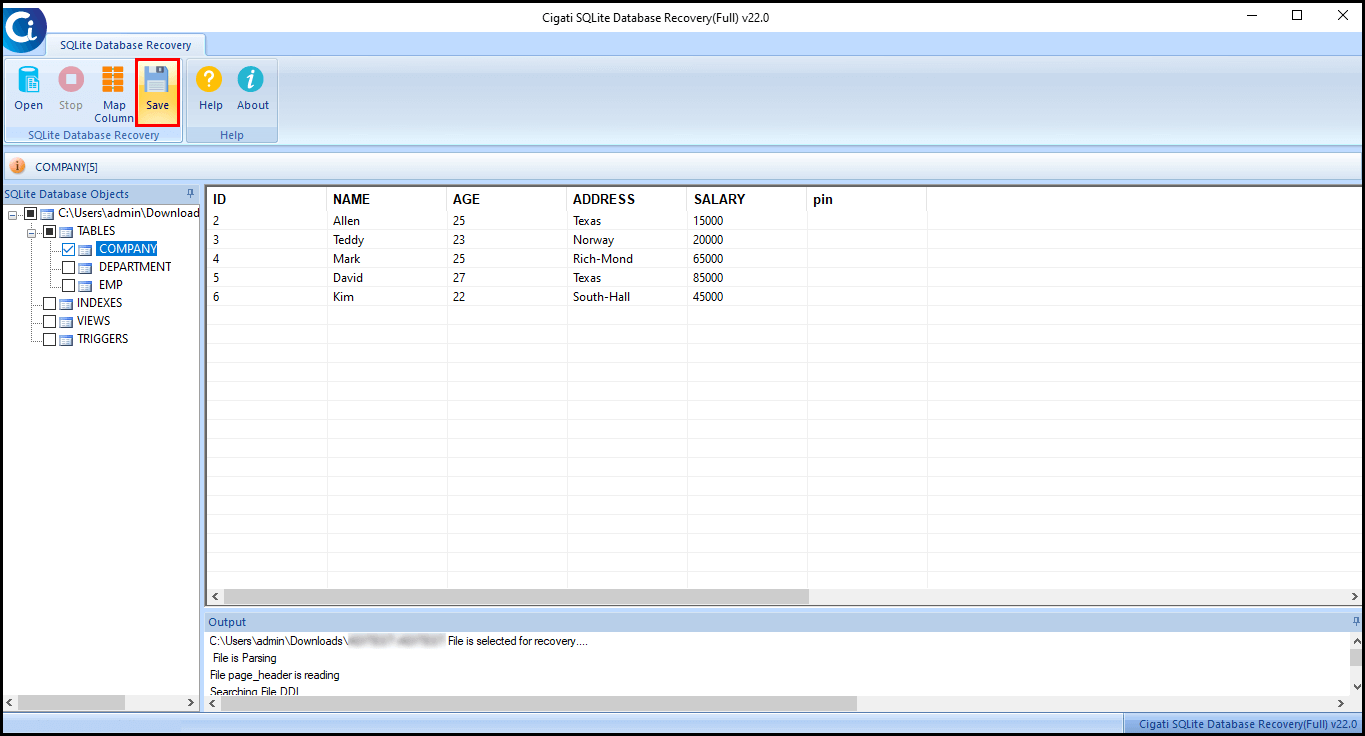
Now, the software shows you two different saving options:
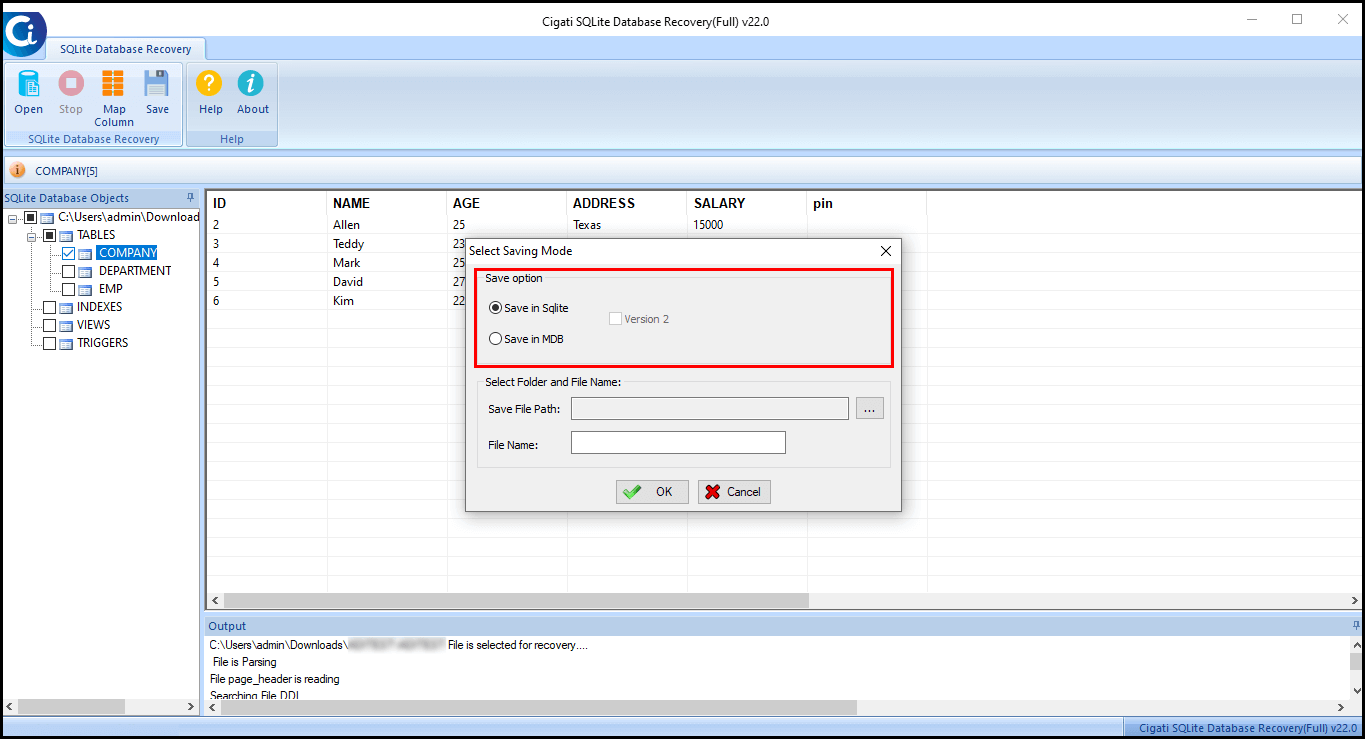
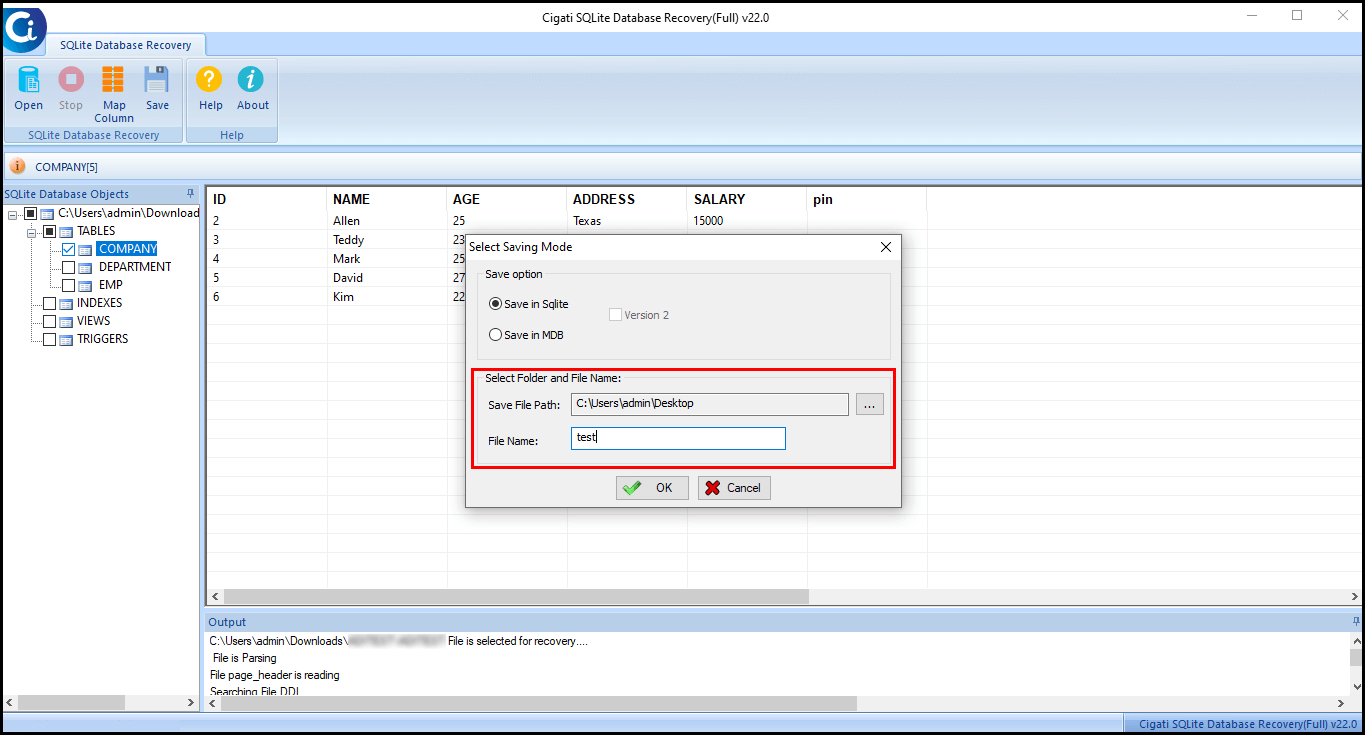
Opt for these options to select the folder or file name.
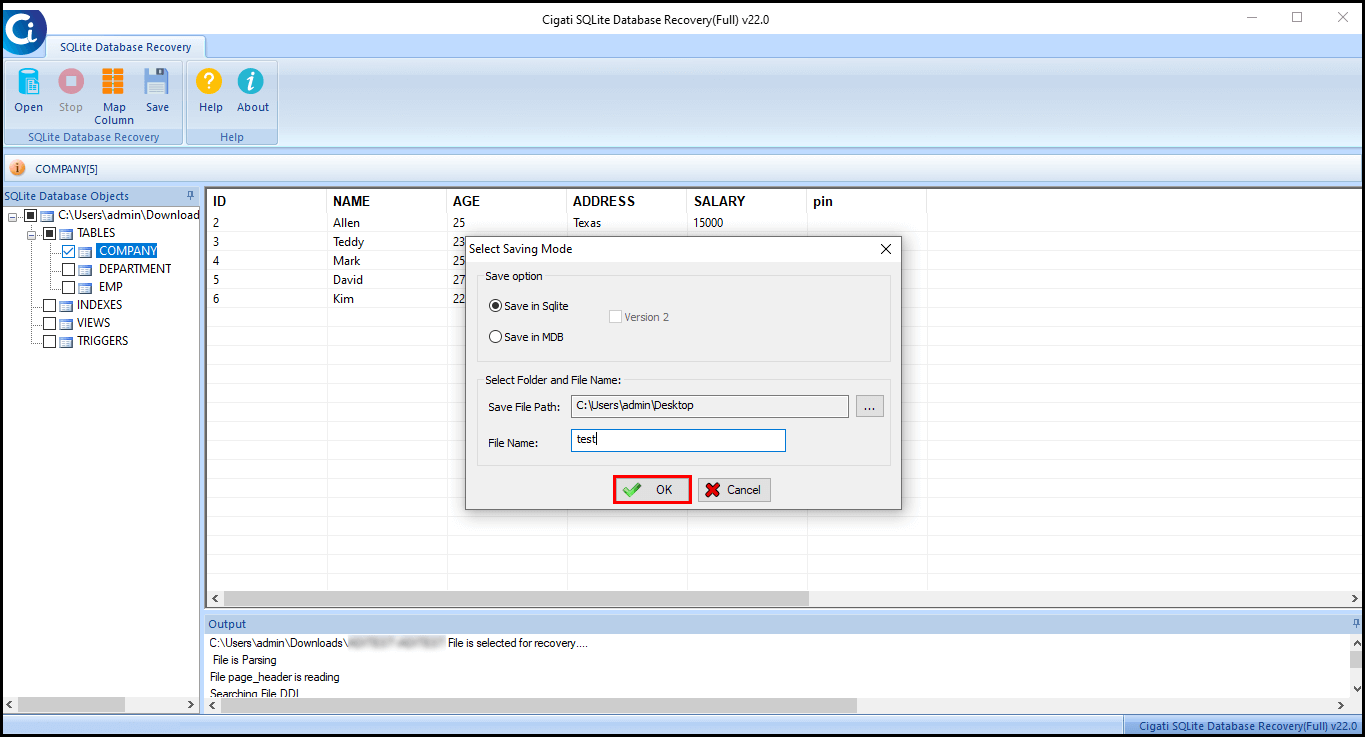
After that, hit the Ok button to begin the saving process.
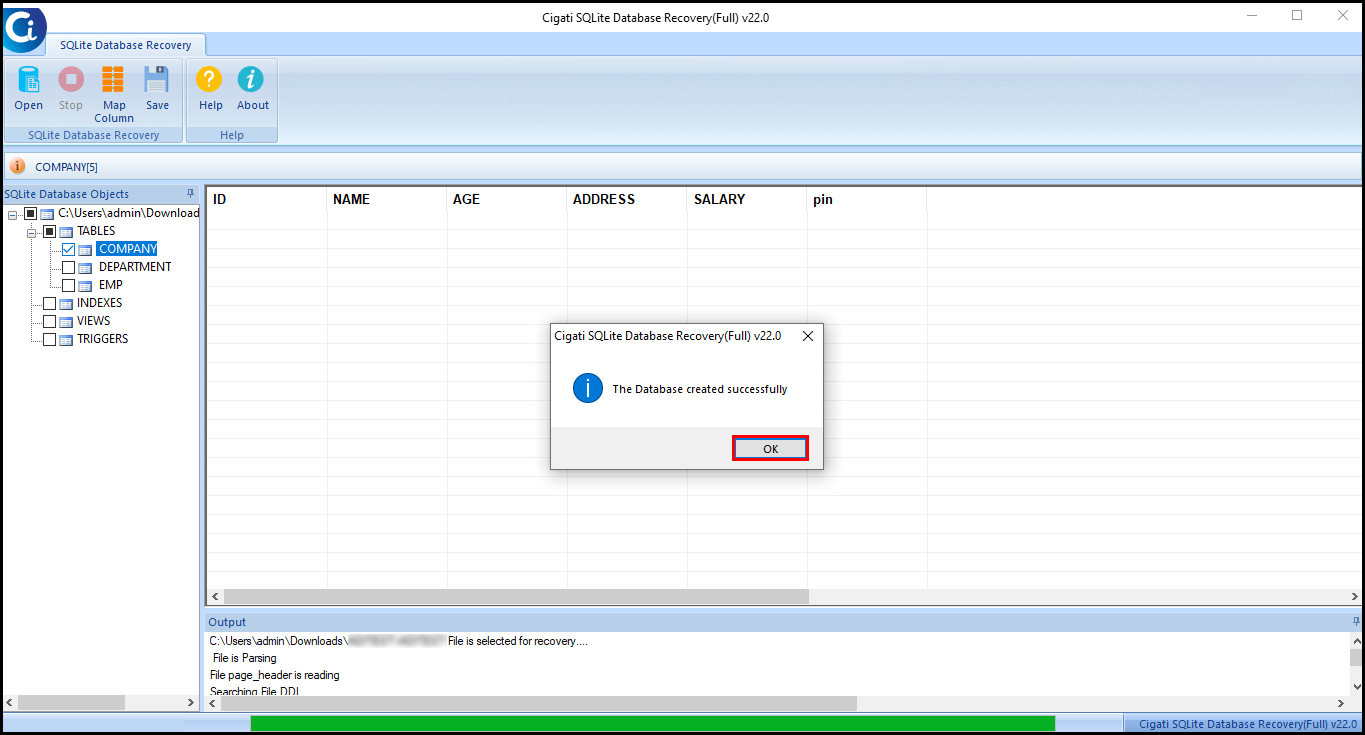
At last, the restoration process gets completed, hit the Ok button.