Webmail Backup Wizard
4.8
A user-friendly application with an intuitive design for beginners to navigate effortlessly.
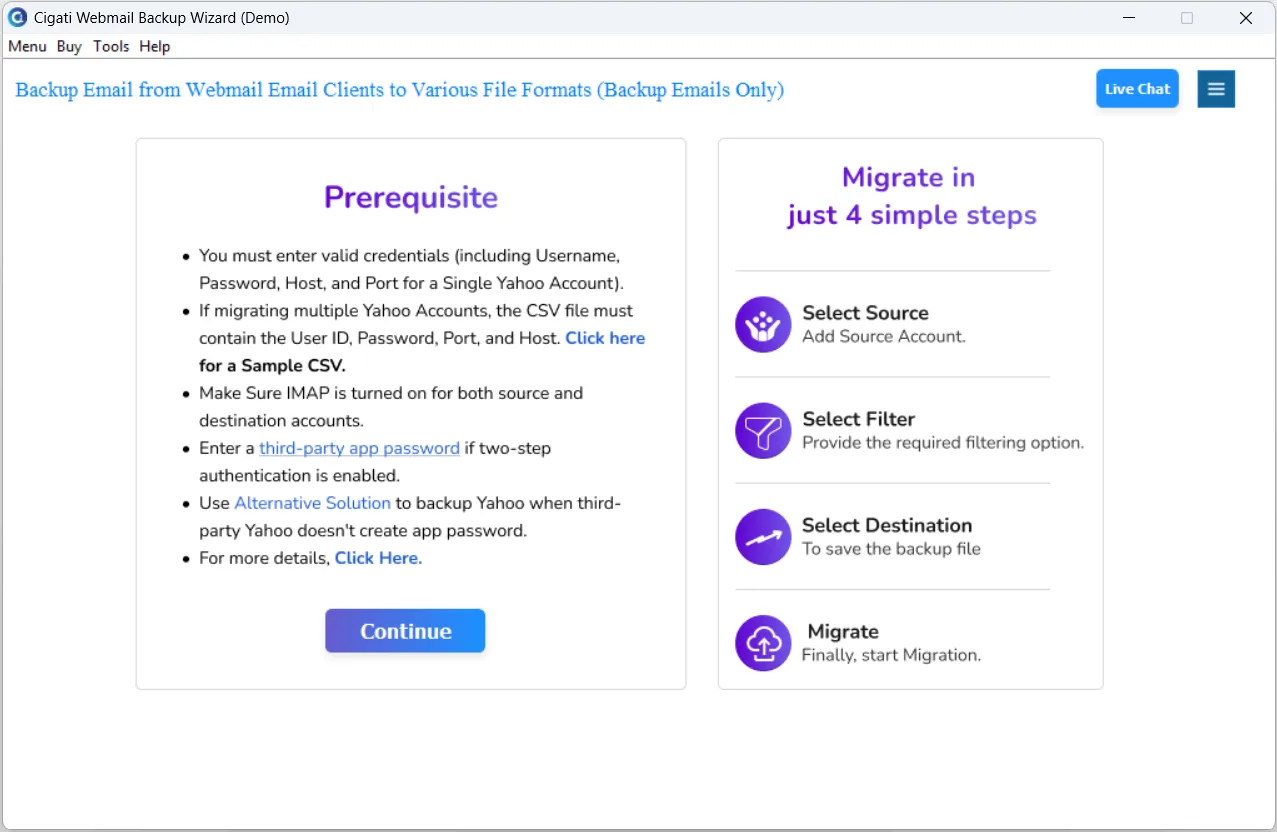
First, download the Cigati Webmail Backup Wizard from the official Cigati Solutions website.
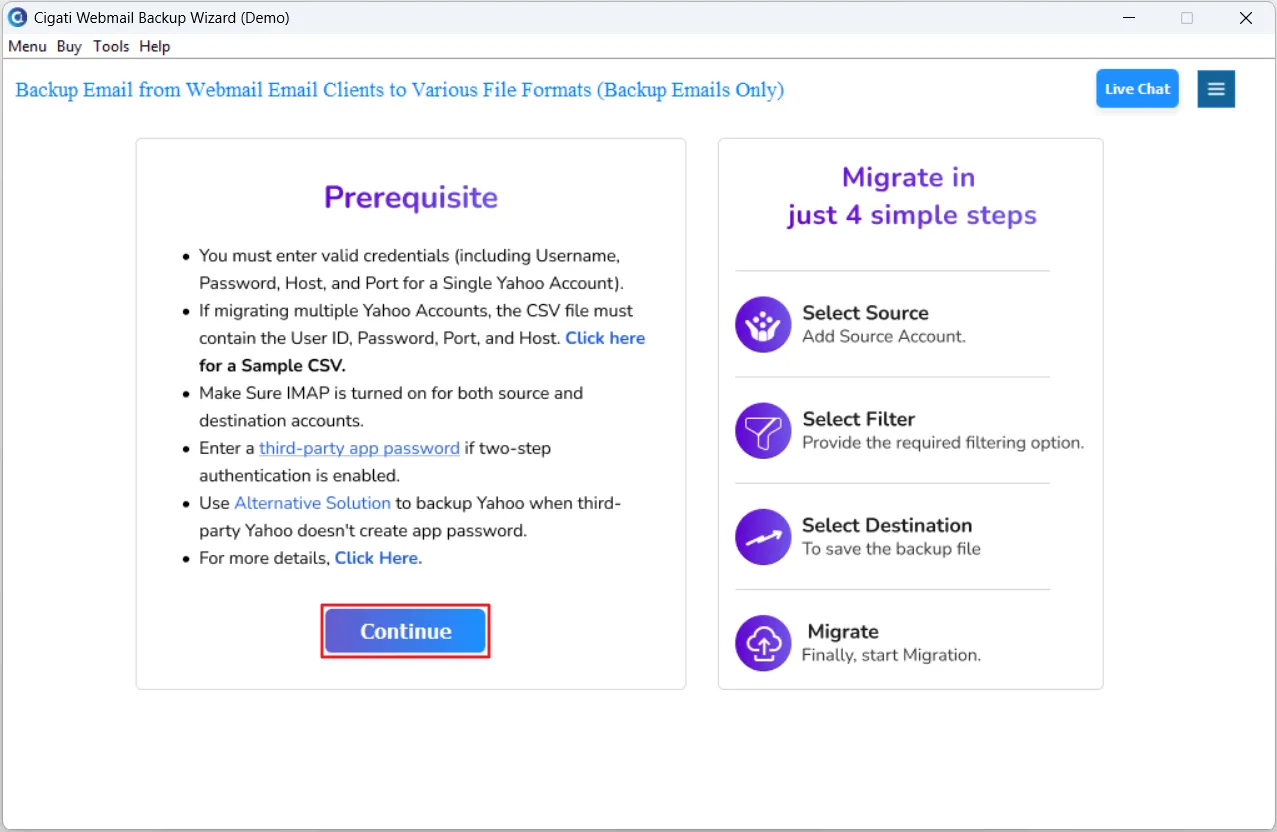
Click on the Continue button to start the conversion process.
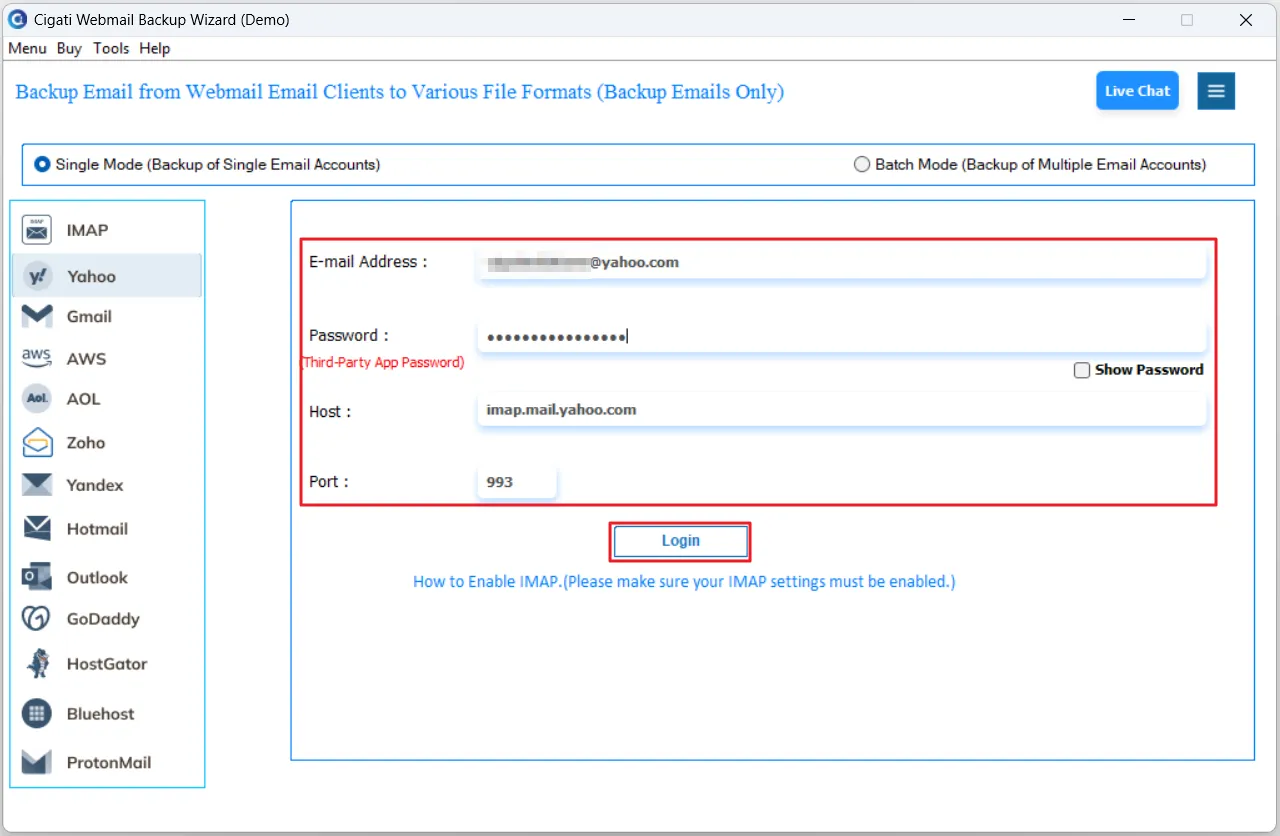
In the software interface's left pane, select the email client you want to back up or convert.
Note: You can also backup multiple accounts by selecting the Batch Mode option.
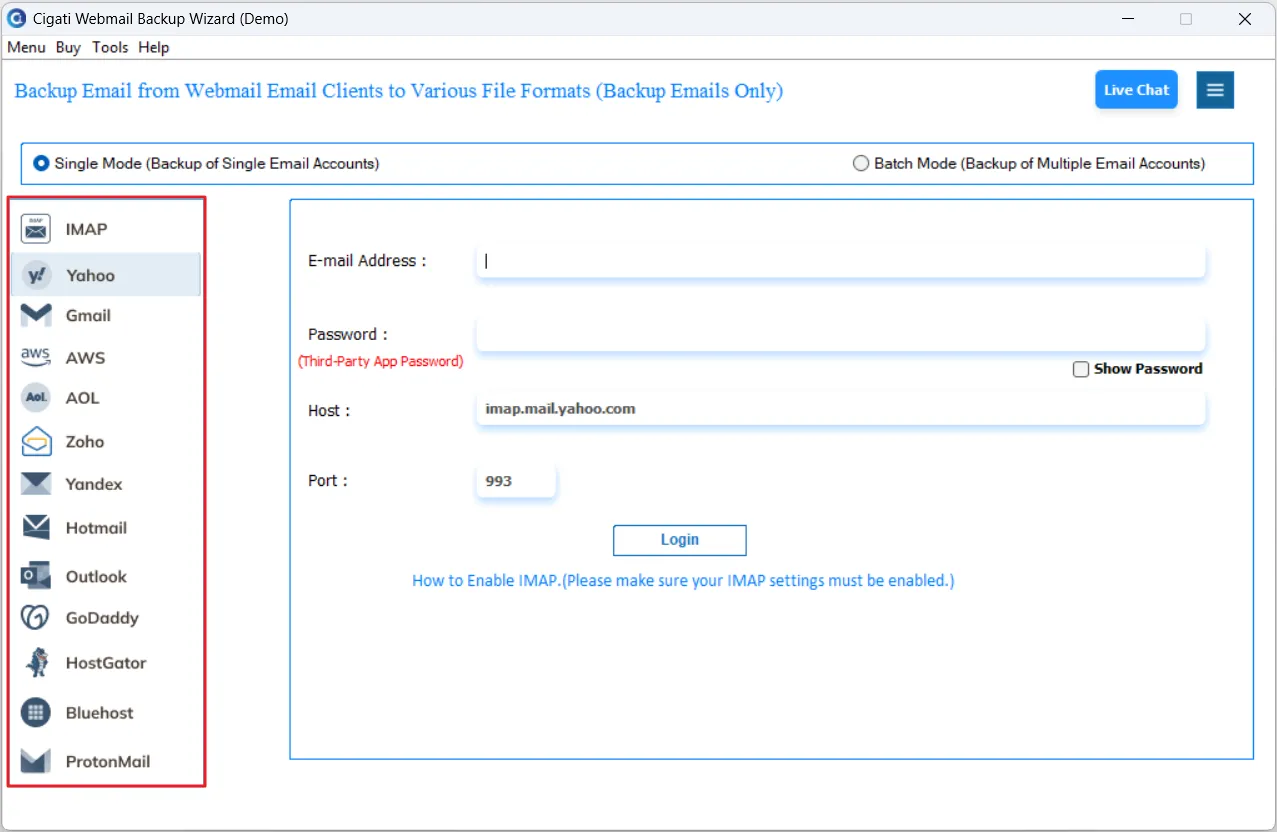
Enter your login credentials for the selected email client. Then, click on the Login button to connect your account securely.
Example Configuration:
Email Address: example@yahoo.com
Password: Password: Use your normal mailbox password or an app-specific password (required for Yahoo, Gmail, AOL Mail, Zoho Mail, and Yandex Mail ).
Host: imap.mail.yahoo.com
Port: 993
Note: If authentication fails, verify that your credentials are correct. Some email clients may require a third-party app password instead of the regular account password. In some cases, you might need to provide additional details like the Host Name and Port Number. For help, refer to the Detailed Login Guide or contact the Chat Support Team.
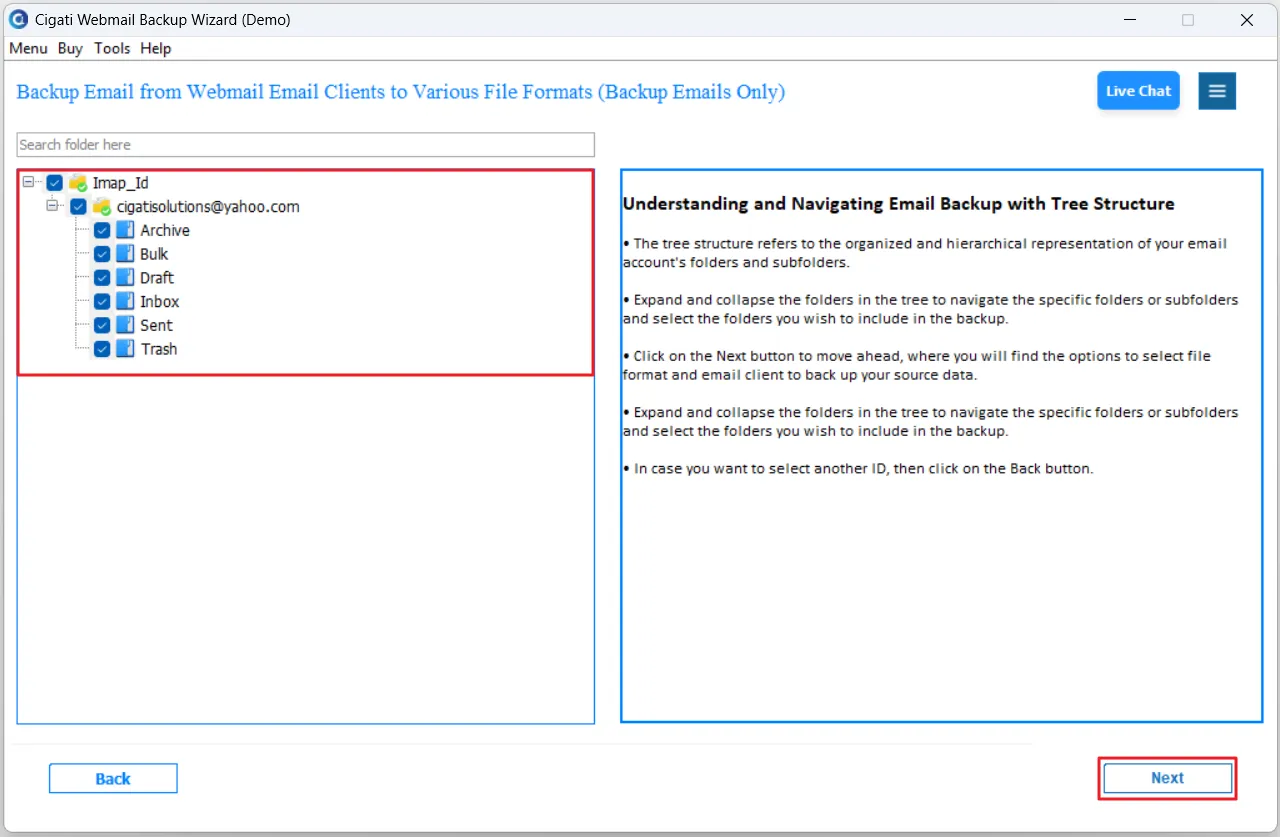
From the tree-structured list, choose the specific files or folders you want to process. After making your selection, click on the Next button to continue.
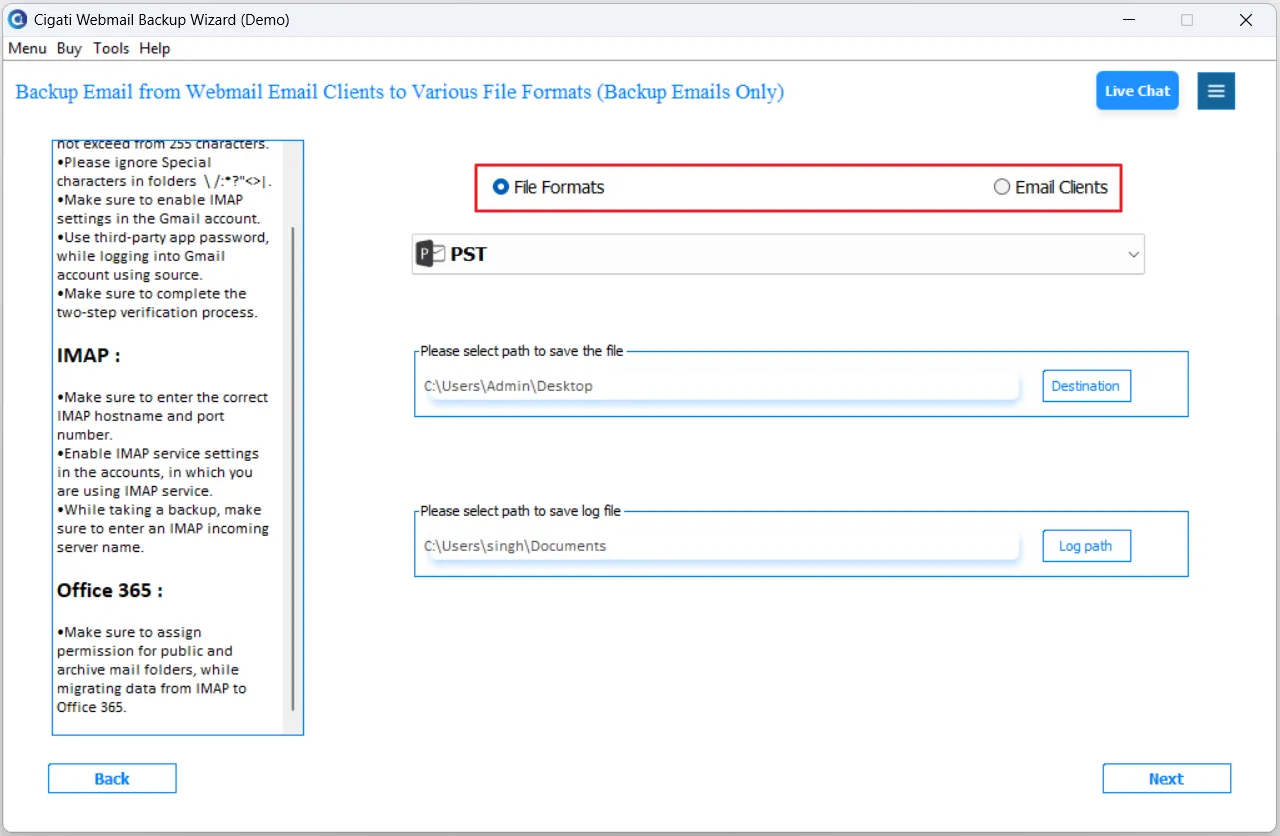
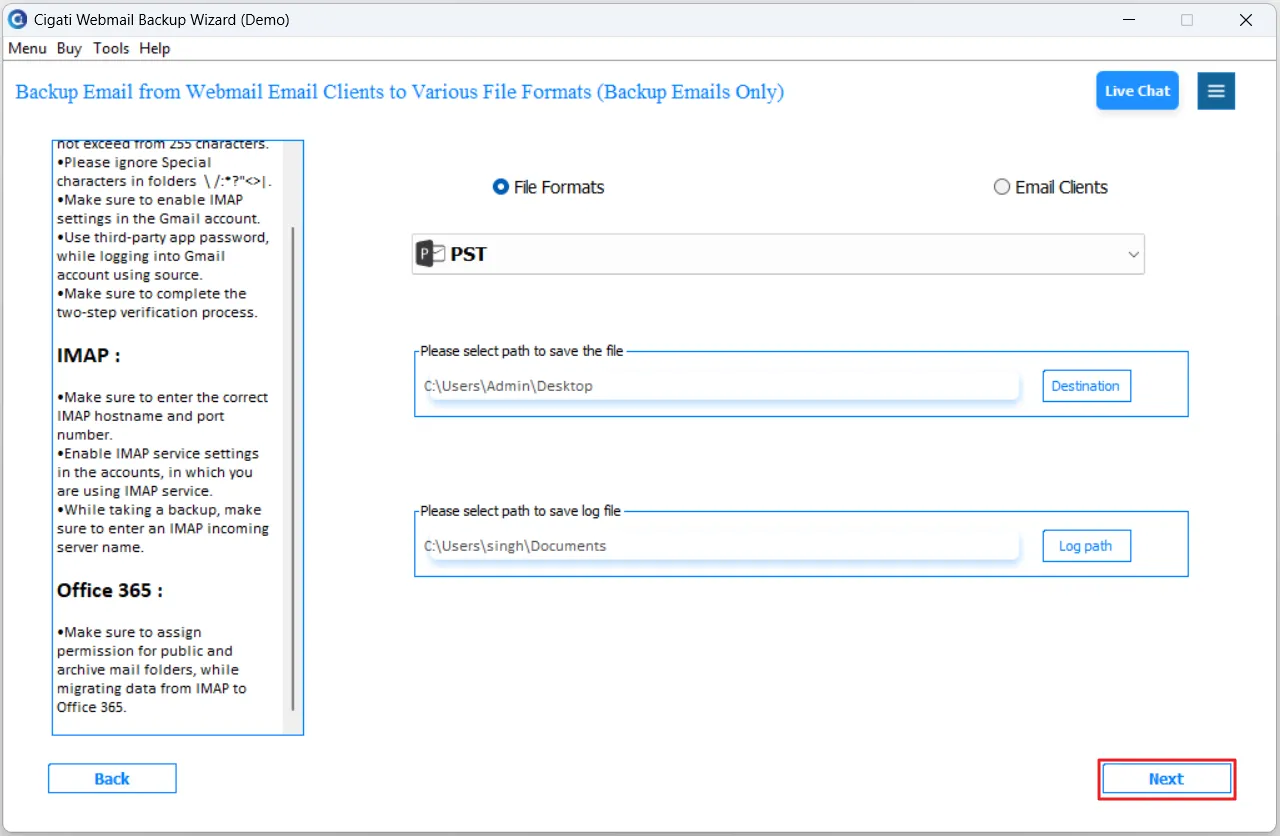
From the drop-down list, choose the File Formats or Email Clients in which you want to save or export your data.
Note: Select the format according to your migration or backup needs. For instance, if you wish to open the data in Outlook, choose the PST format. Similarly, you can opt for MBOX, EML, PDF, MSG, or other supported formats depending on your requirements.
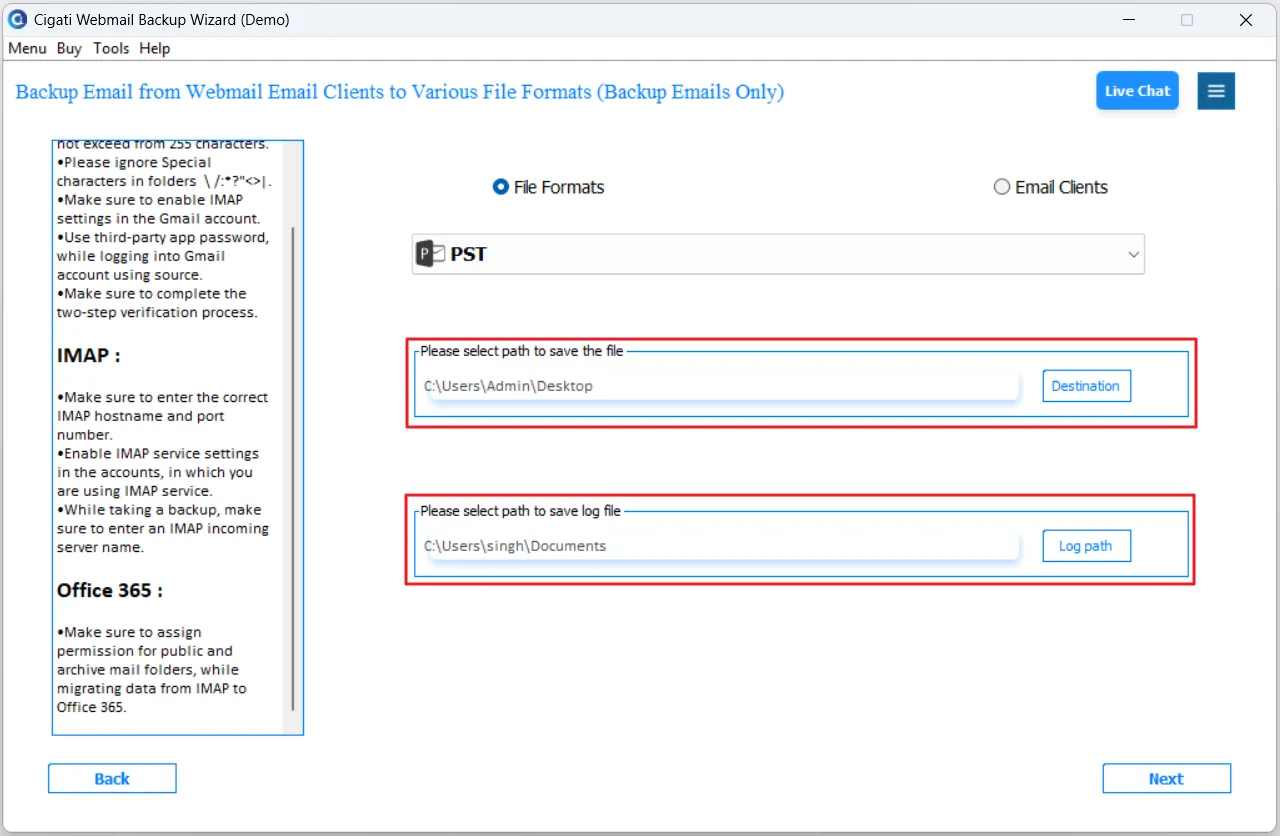
Click on the Log Path & Destination Path button to choose the location where you want to save the log file and the converted data.
Now, click on the Next button to move forward.
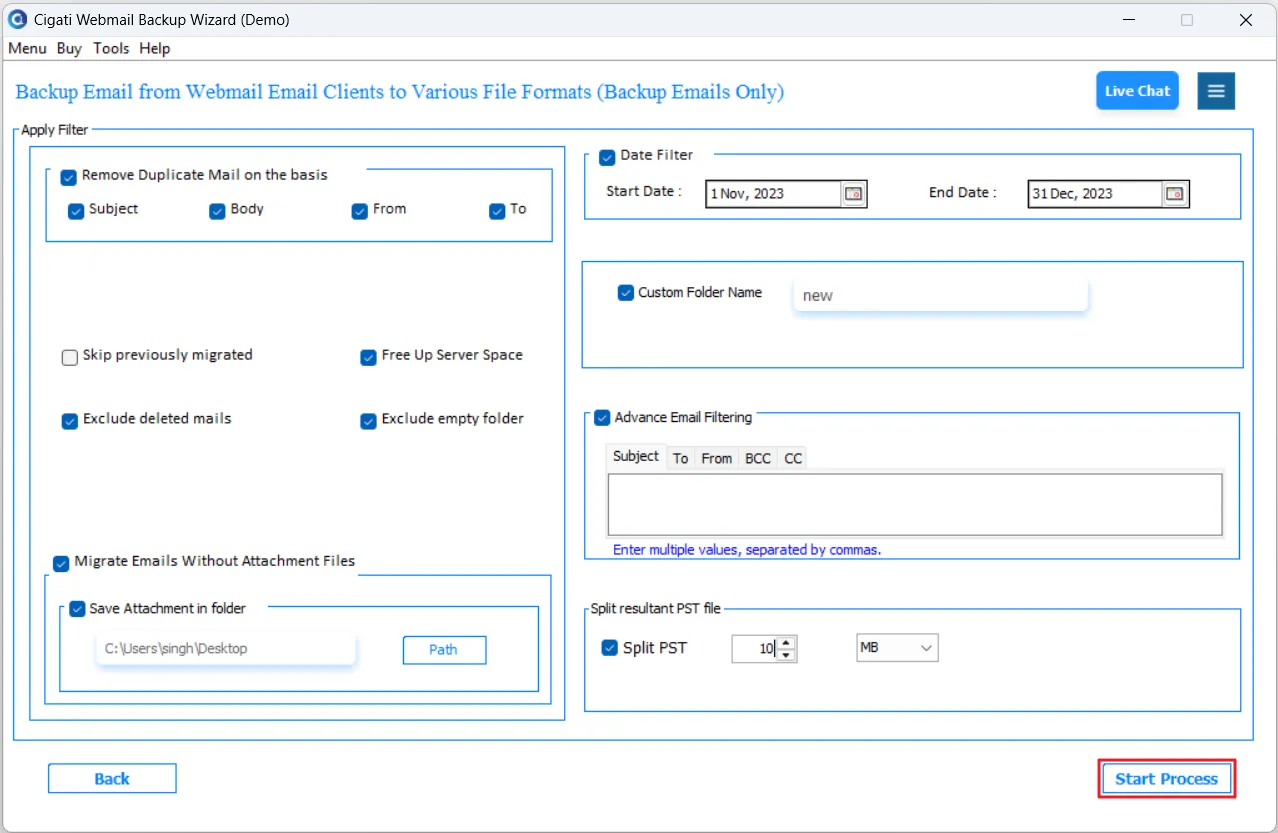
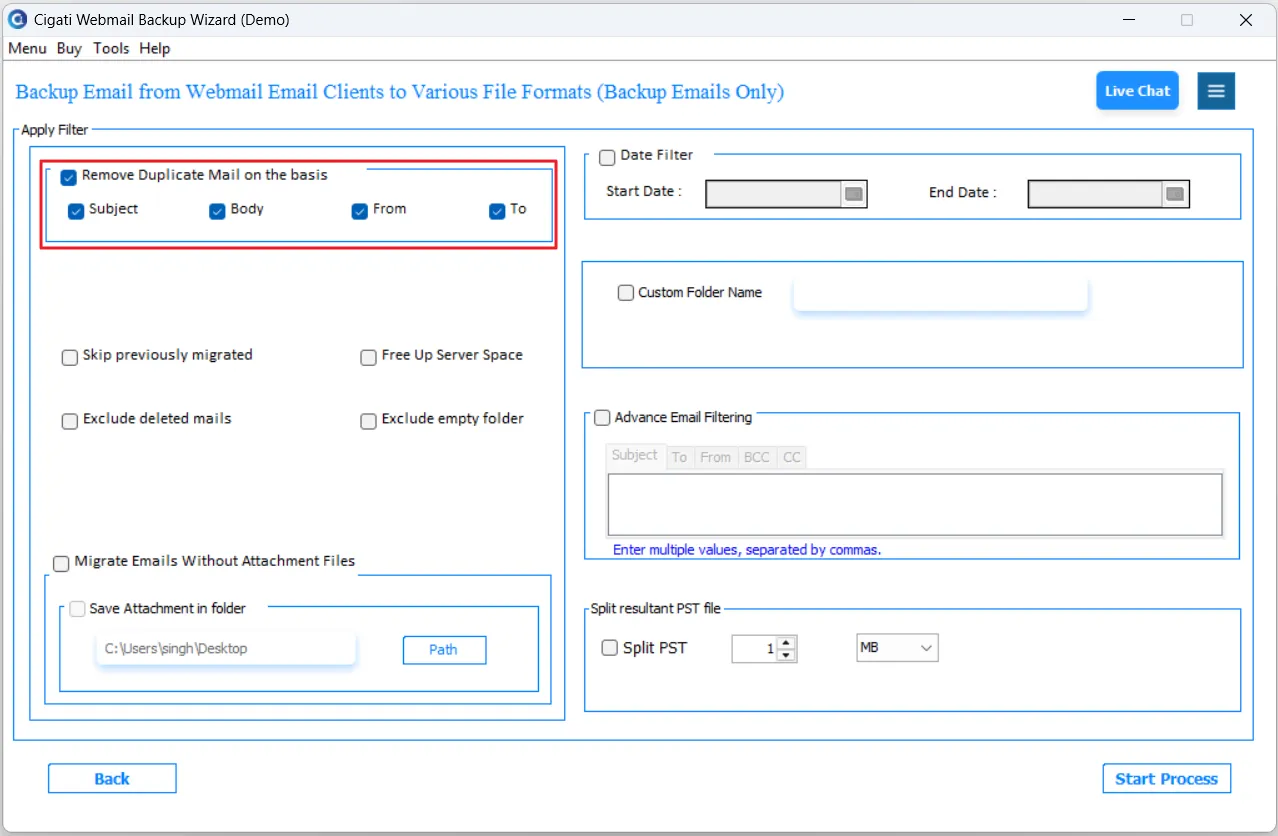
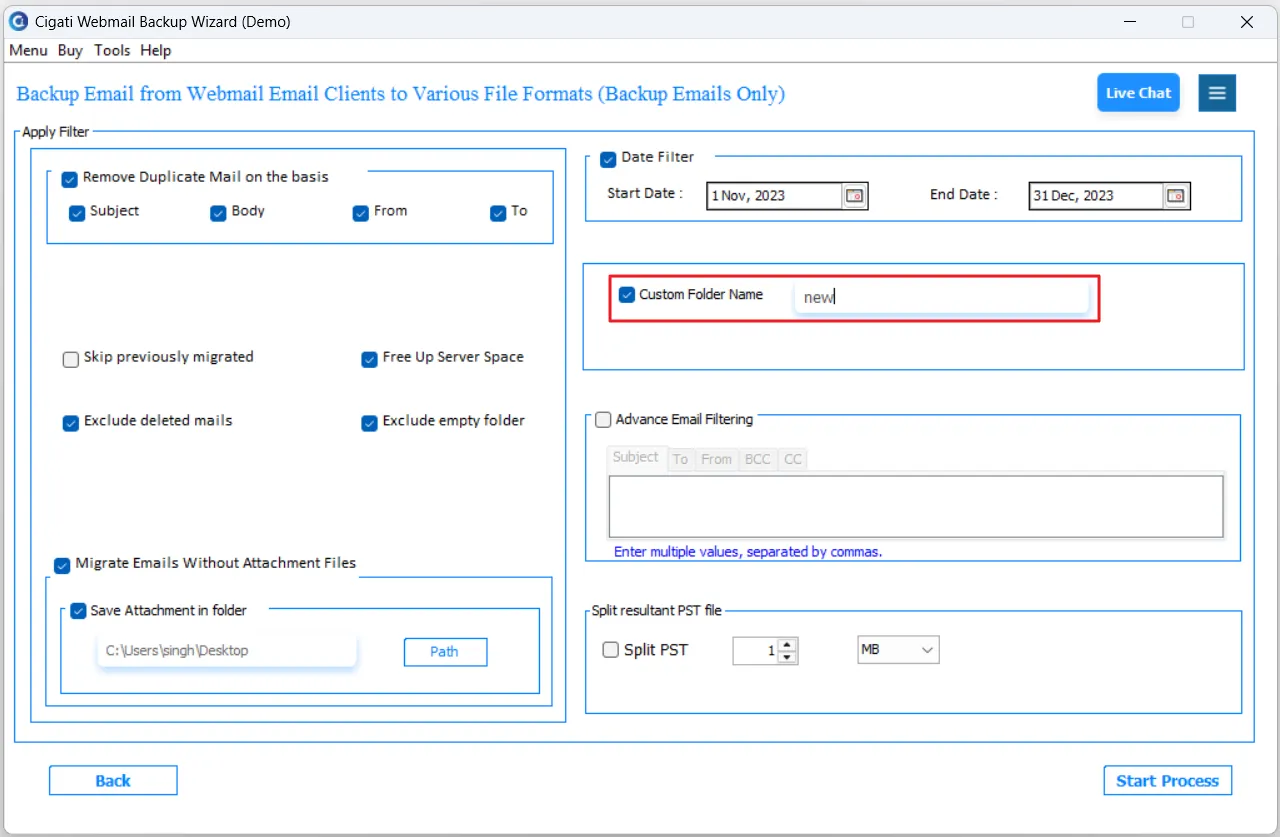
Enable the Remove Duplicate Mail option to avoid saving identical emails multiple times. You can skip duplicates based on Subject, Body, From, or To fields. This keeps your exported data clean and organized.
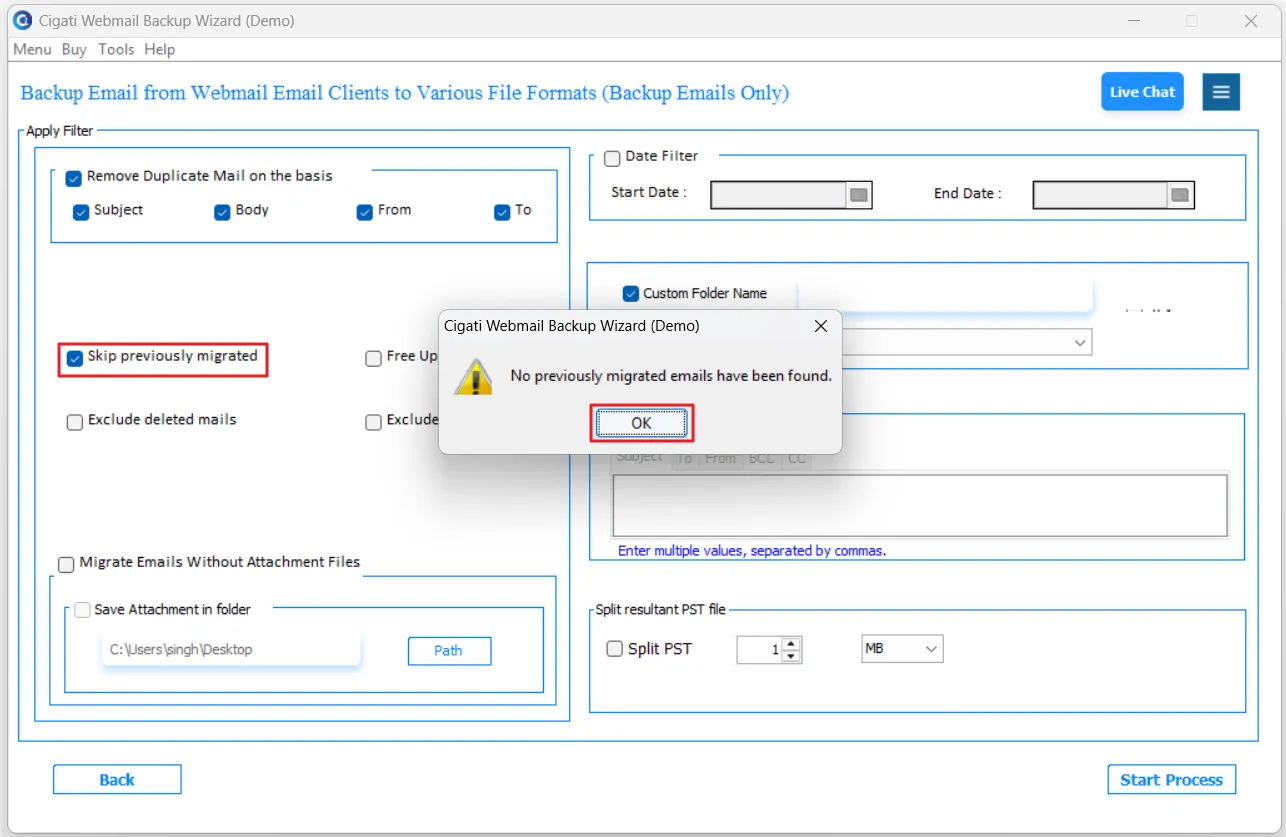
Use the Skip Previously Migrated option to transfer only those emails that were not migrated earlier, helping you avoid duplicate data.
Note: This feature becomes available only if you have previously used the software to migrate the same account, and the process was interrupted due to reasons such as a power outage, system crash, or unexpected shutdown.
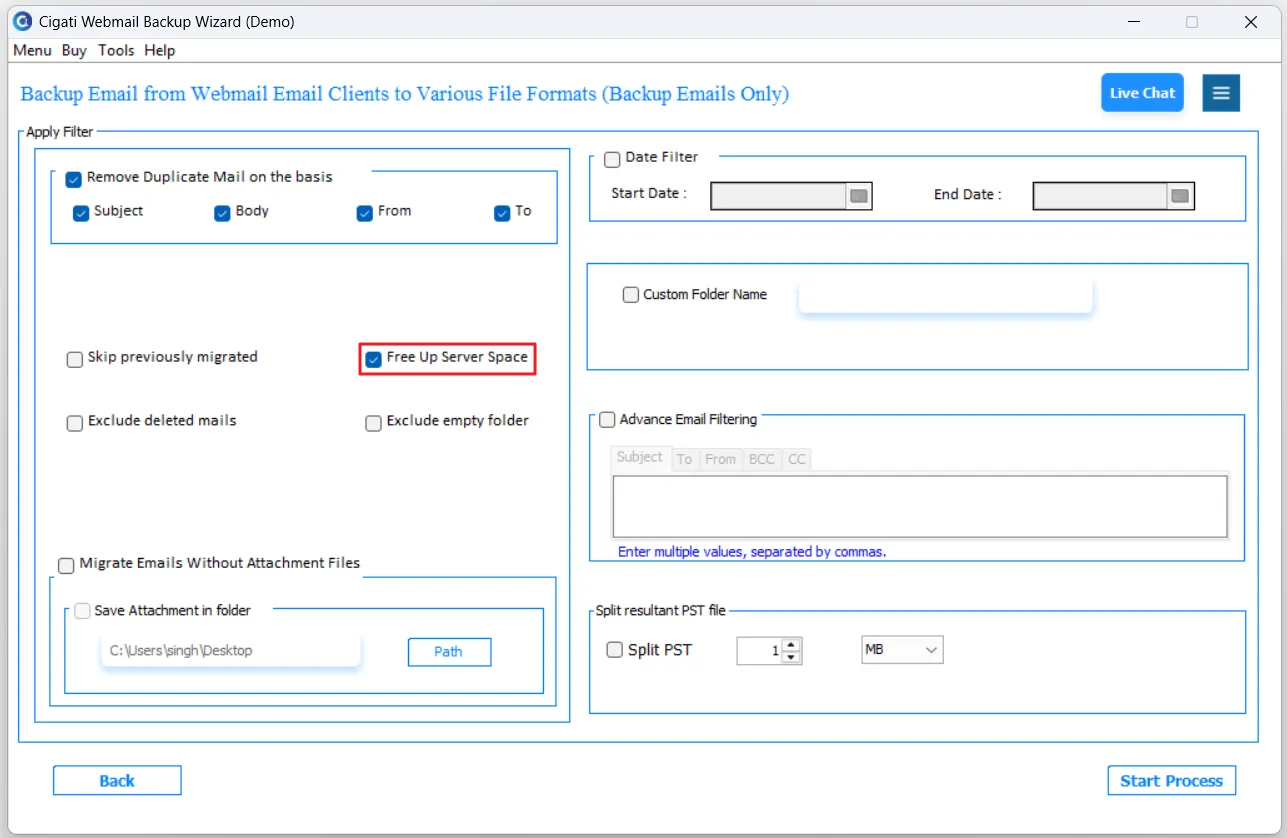
Enable Free Up Server Space to automatically remove backed-up data from the webmail server.
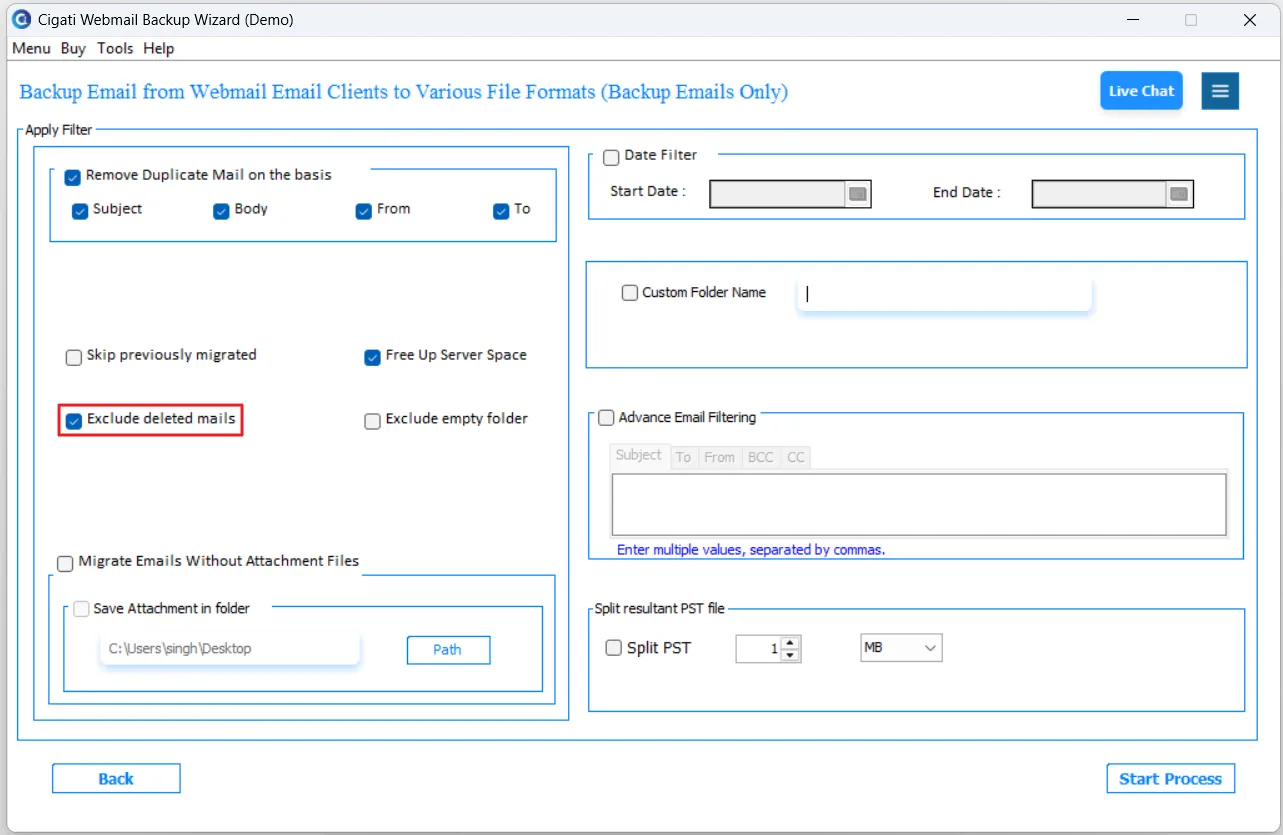
Tick Exclude Deleted Mails to skip all deleted or trashed emails during the backup or migration process.
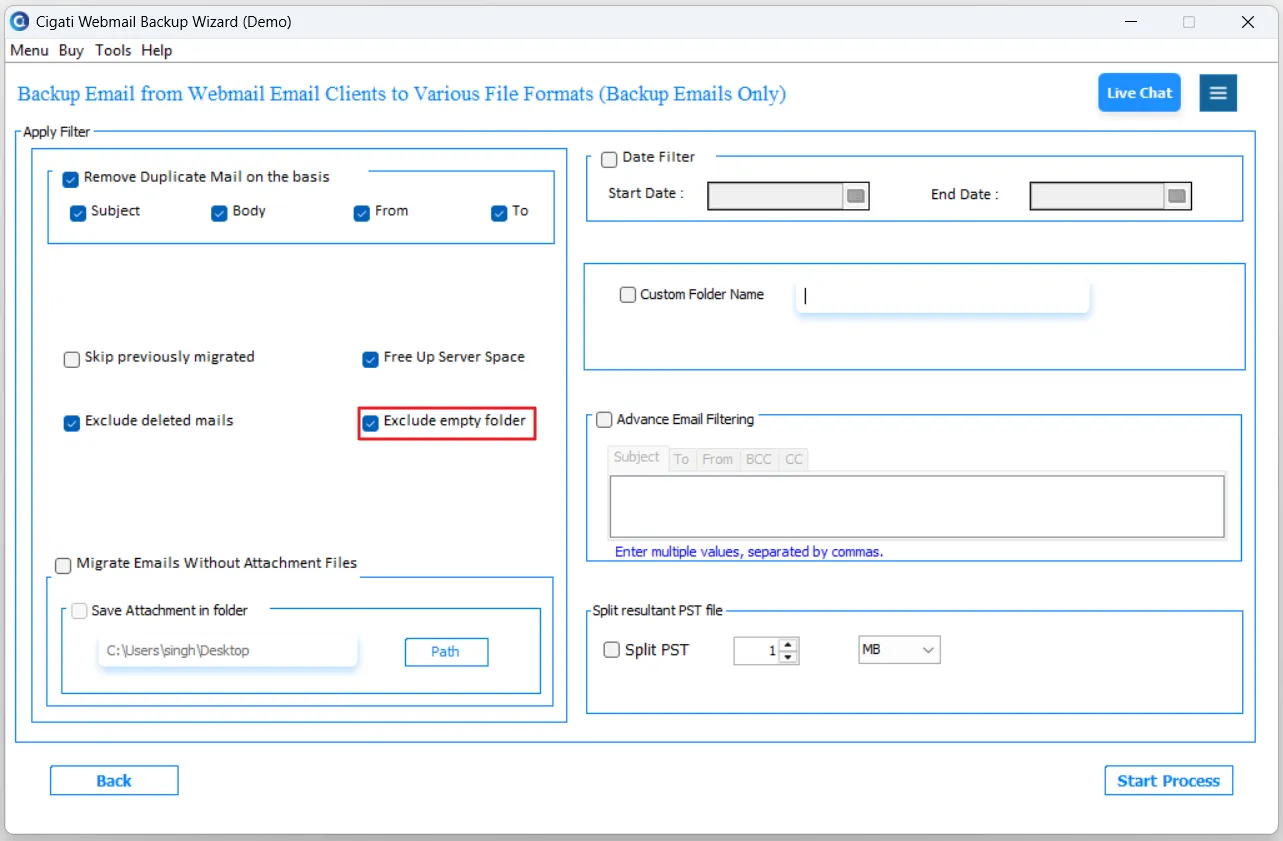
Enable Exclude Empty Folders to skip empty folders. This ensures only folders containing data are included, reducing unnecessary space usage.
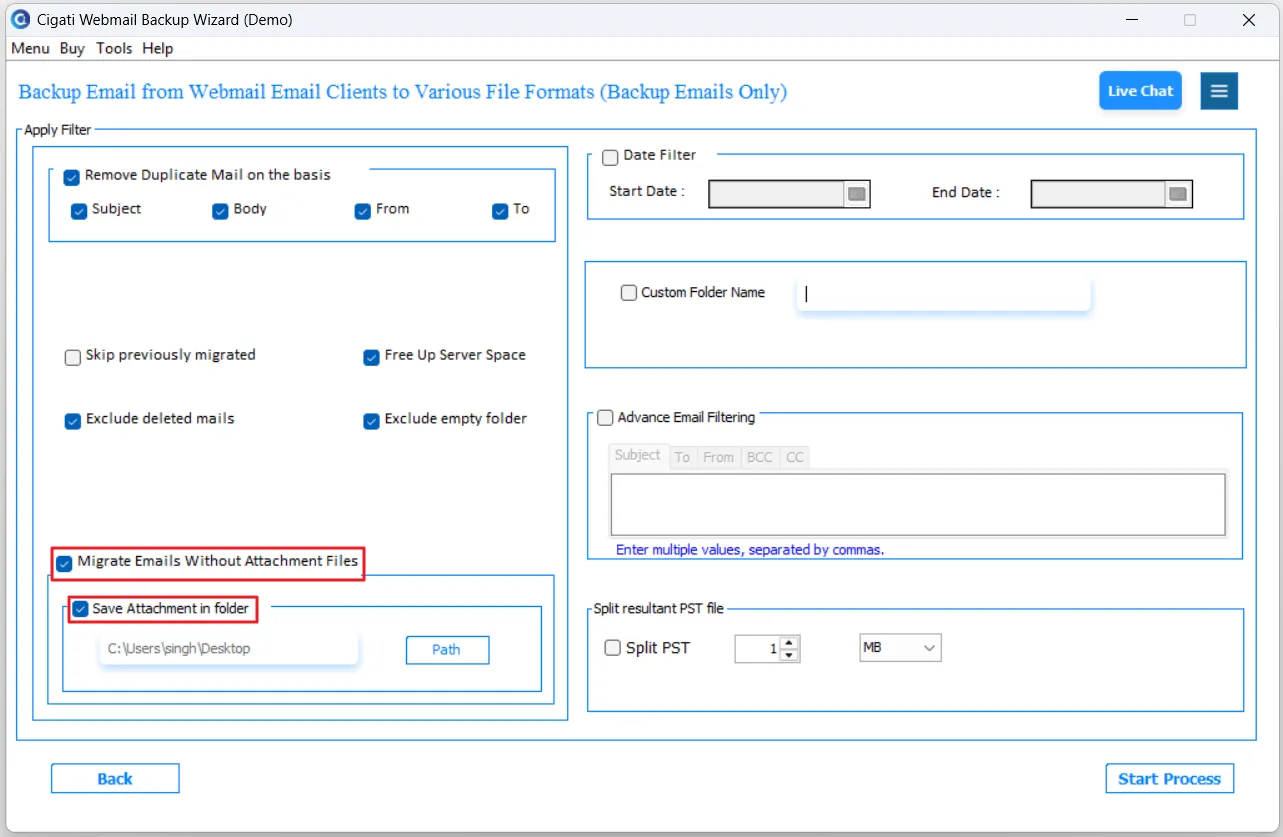
Tick Migrate Emails Without Attachments to exclude attachments during migration. Use Save Attachments in Folder to store attachments separately.
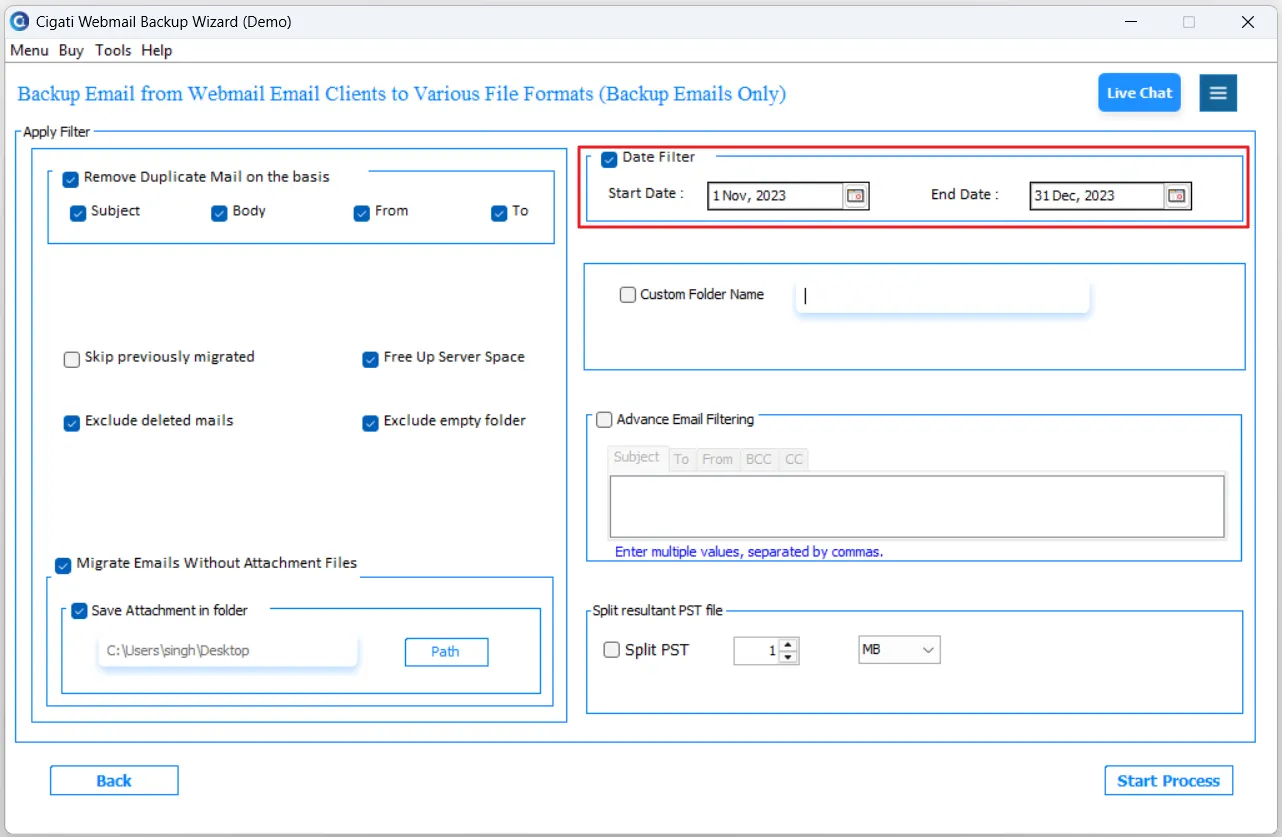
Use the Date Filter option to migrate emails within a specific date range.
Custom Folder Name: Create and assign a personalized name to your folder for easier identification.
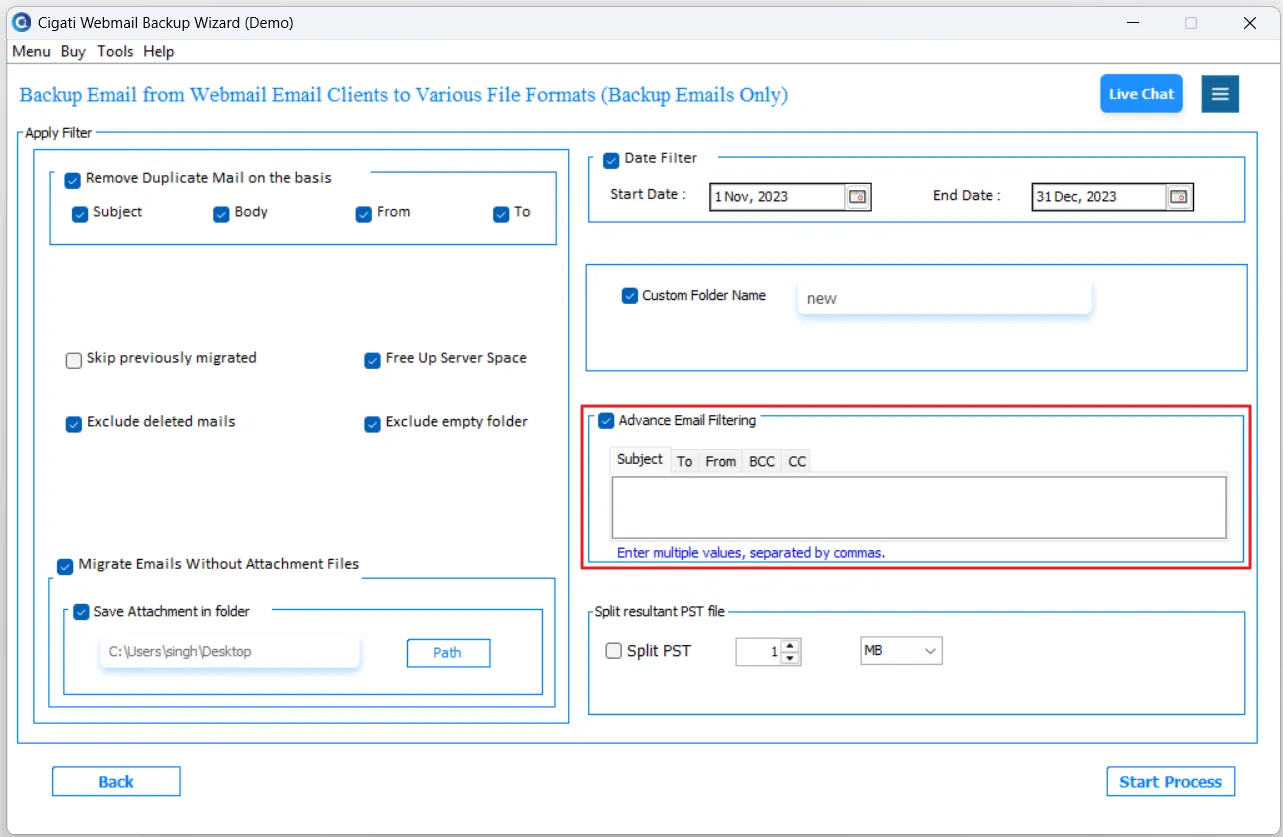
Advanced Email Filtering: Extract emails based on Subject, To, From, CC, and BCC fields.
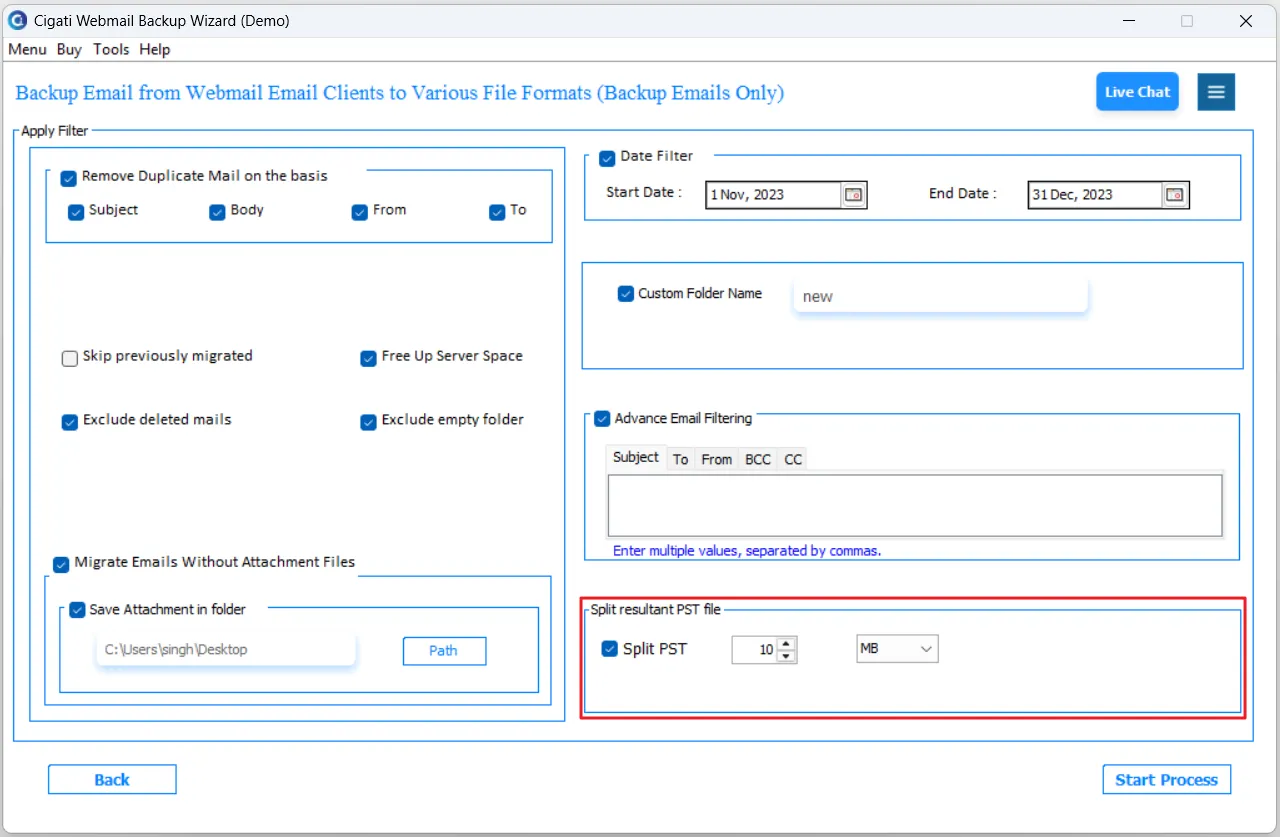
Use the Split Resultant PST File feature to divide the output PST file into smaller, manageable parts.
Click Start Process to begin the migration or conversion.