Office 365 Backup & Restore Tool
4.7
Know Here- How to backup Office 365 emails on the local system or any hard drive.
A user-friendly application with an intuitive design for beginners to navigate effortlessly.
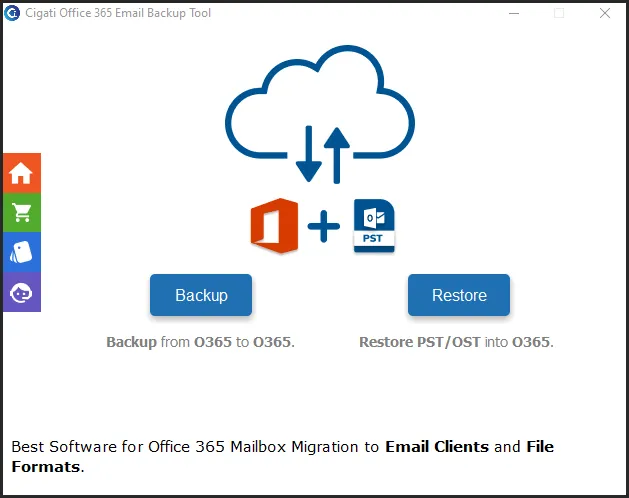
Download and Run the Cigati Office 365 Backup Tool.
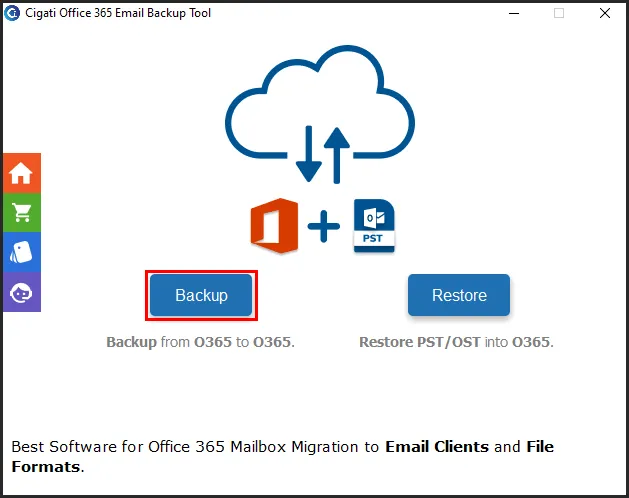
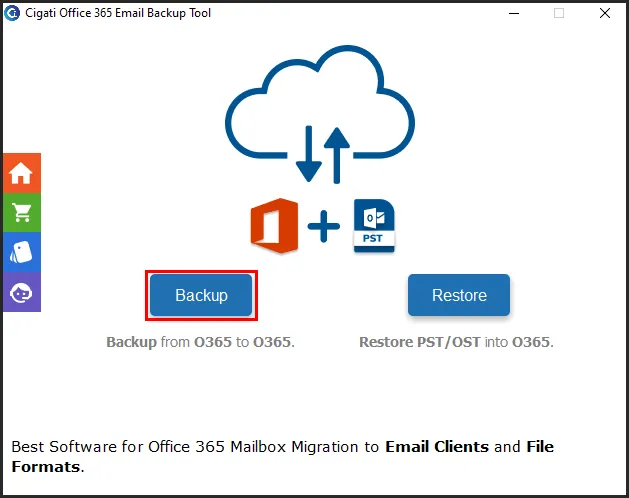
Click the Backup button to proceed with the backup process.
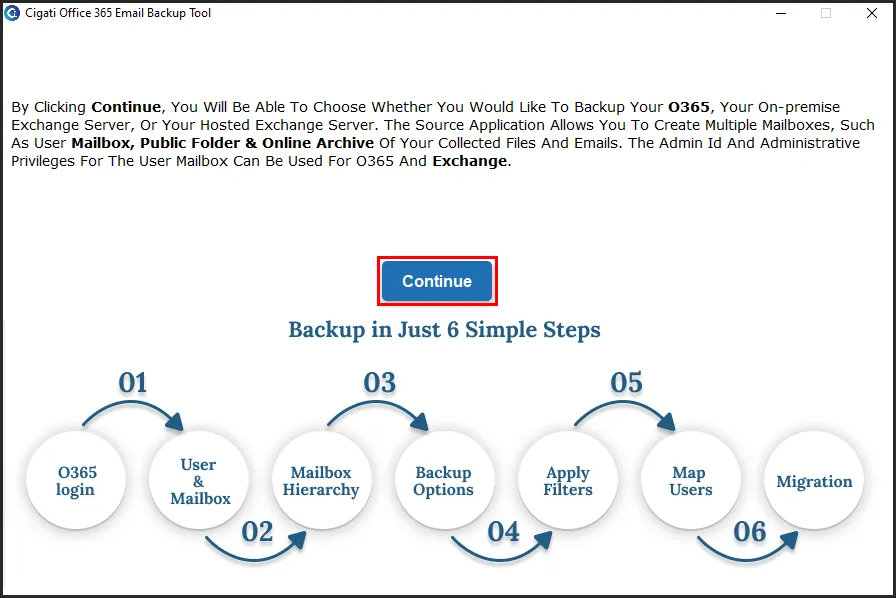
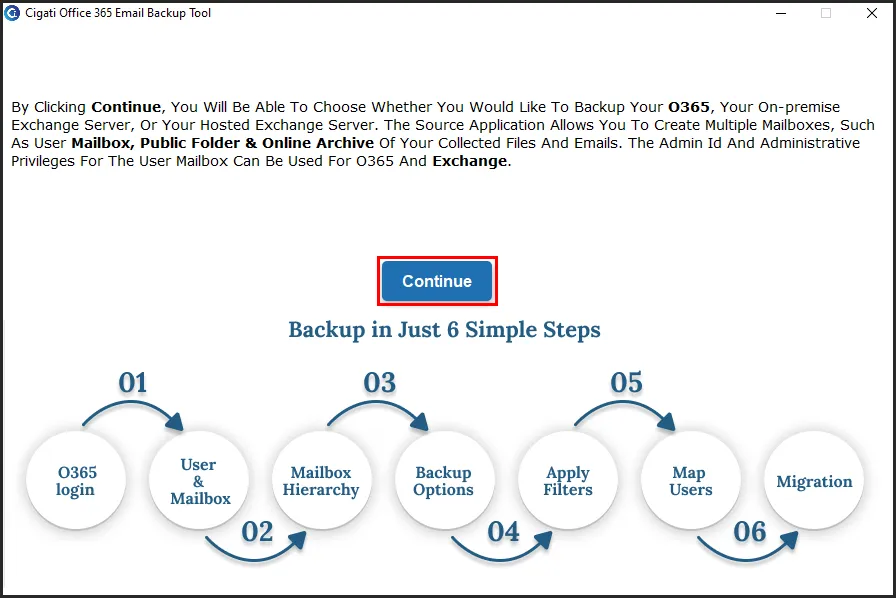
Next, click on the Continue button to move forward.
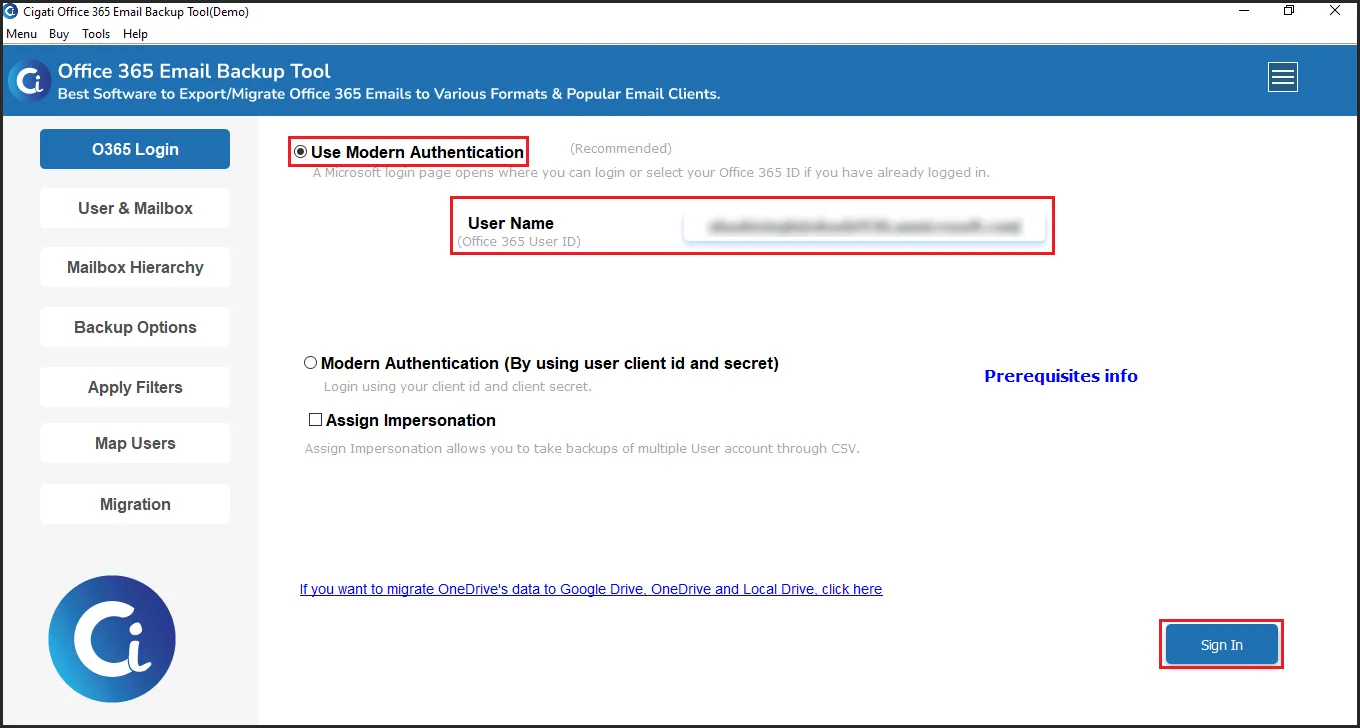
Check the Use Modern Authentication option, enter your Email ID, and then click the Sign In button to log in to your O365 account.
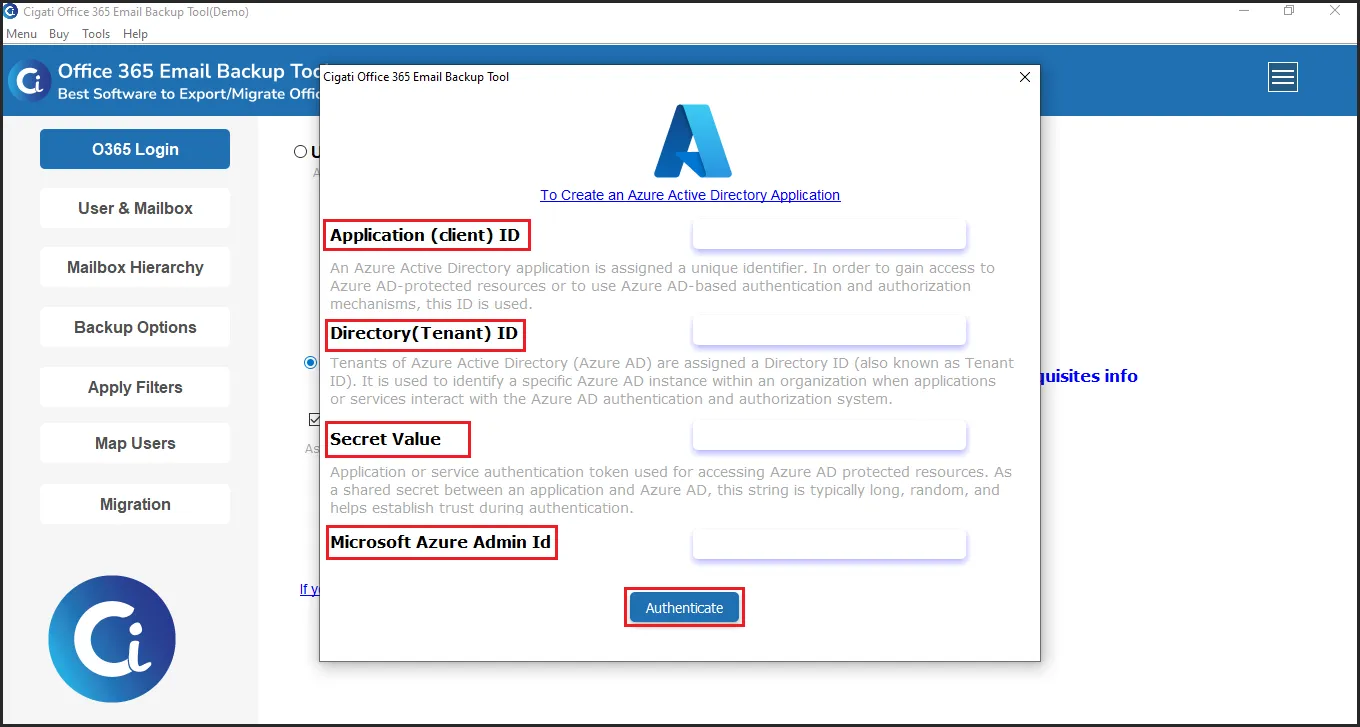
Mark the Modern Authentication option (by using user client ID and secret). Next, enter your Application ID, Directory ID, Secret Value, and Microsoft Azure Admin ID. Finally, click Authenticate.
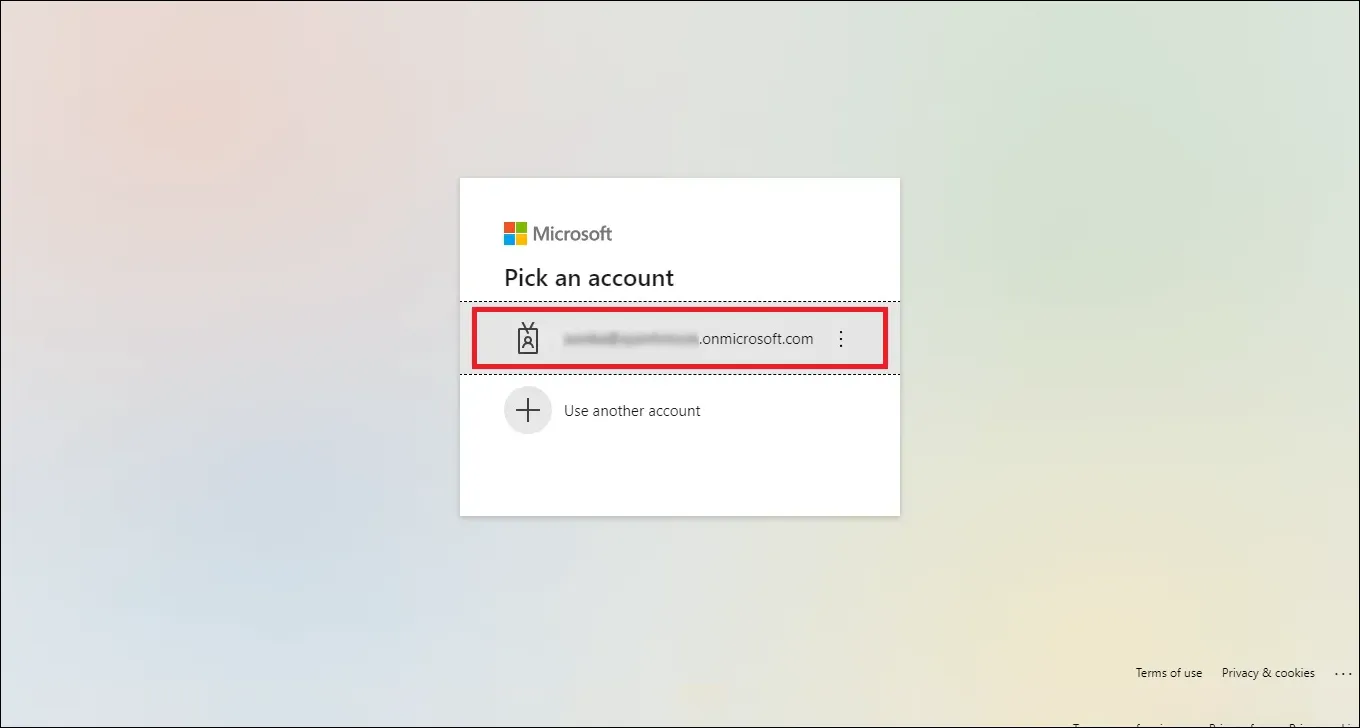
Ensure your Office ID is in your default browser.
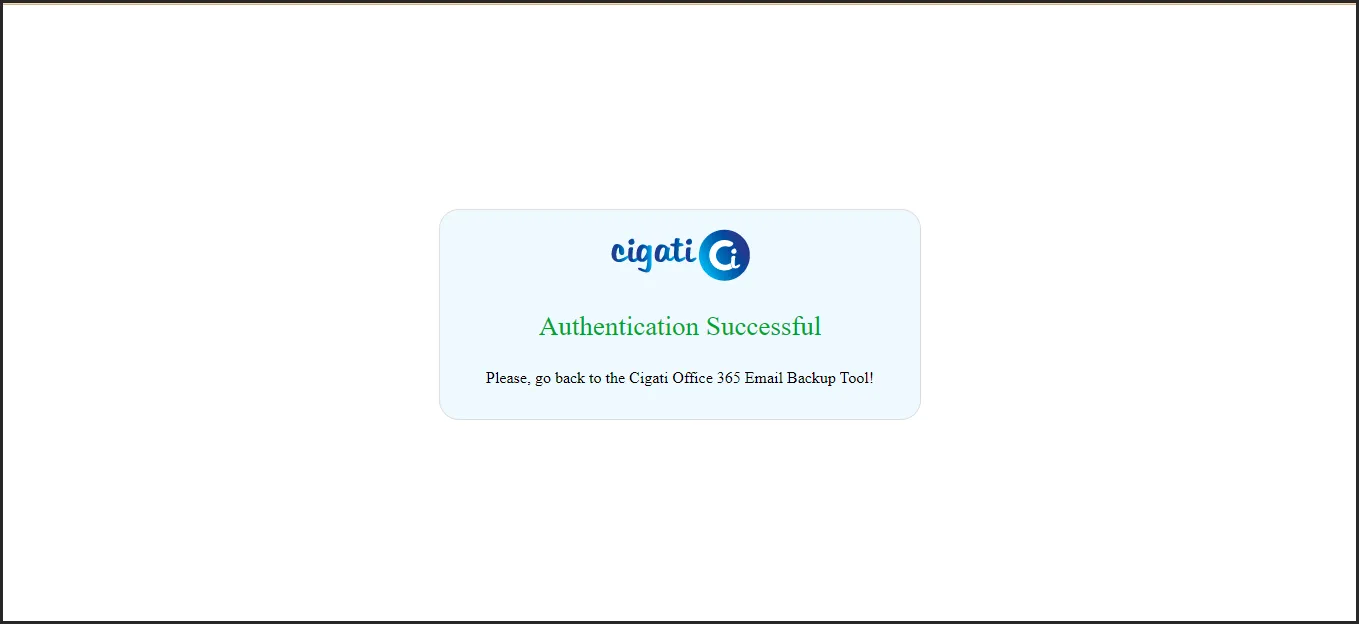
You will receive a confirmation for the login authentication.
Select the backup option you need: Mailbox, Online Archive, or Public Folder.
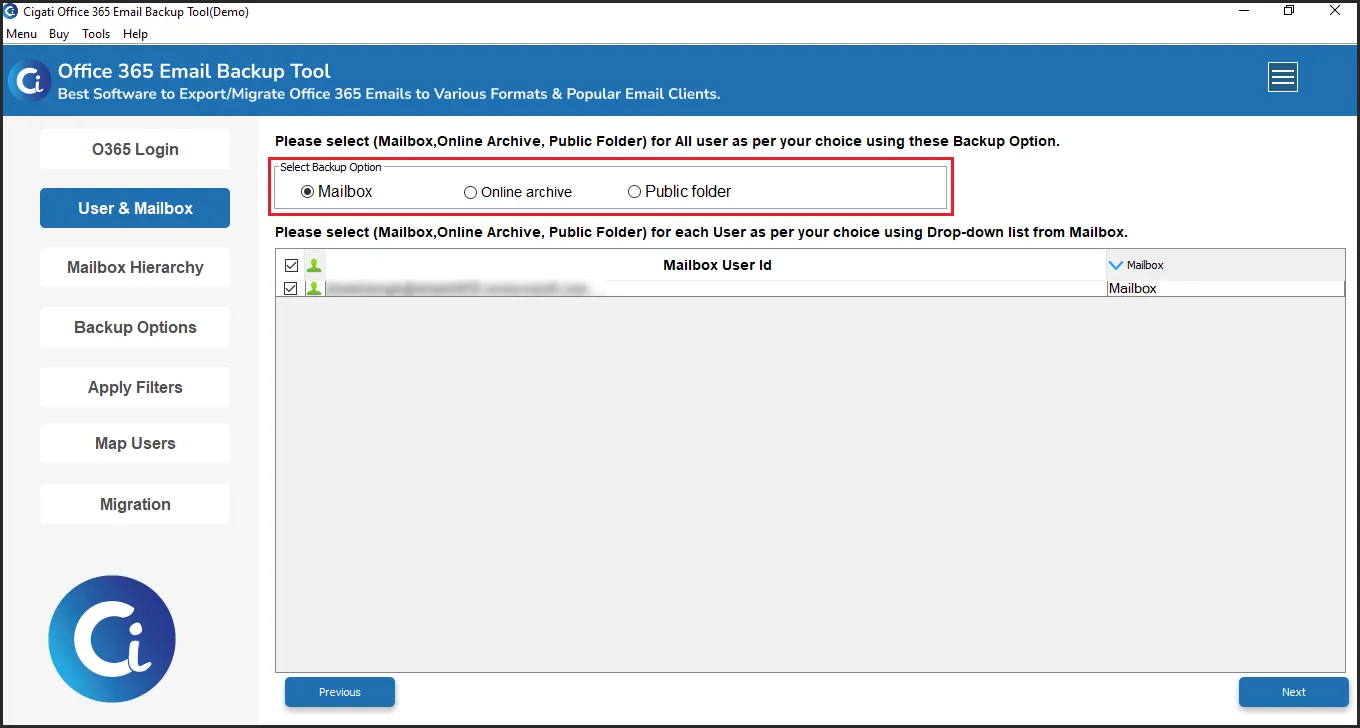
You can select a backup option ( Mailbox, Online Archive, or Public Folder ) for each user using a drop-down list from the Mailbox. Then, click on the Next button.
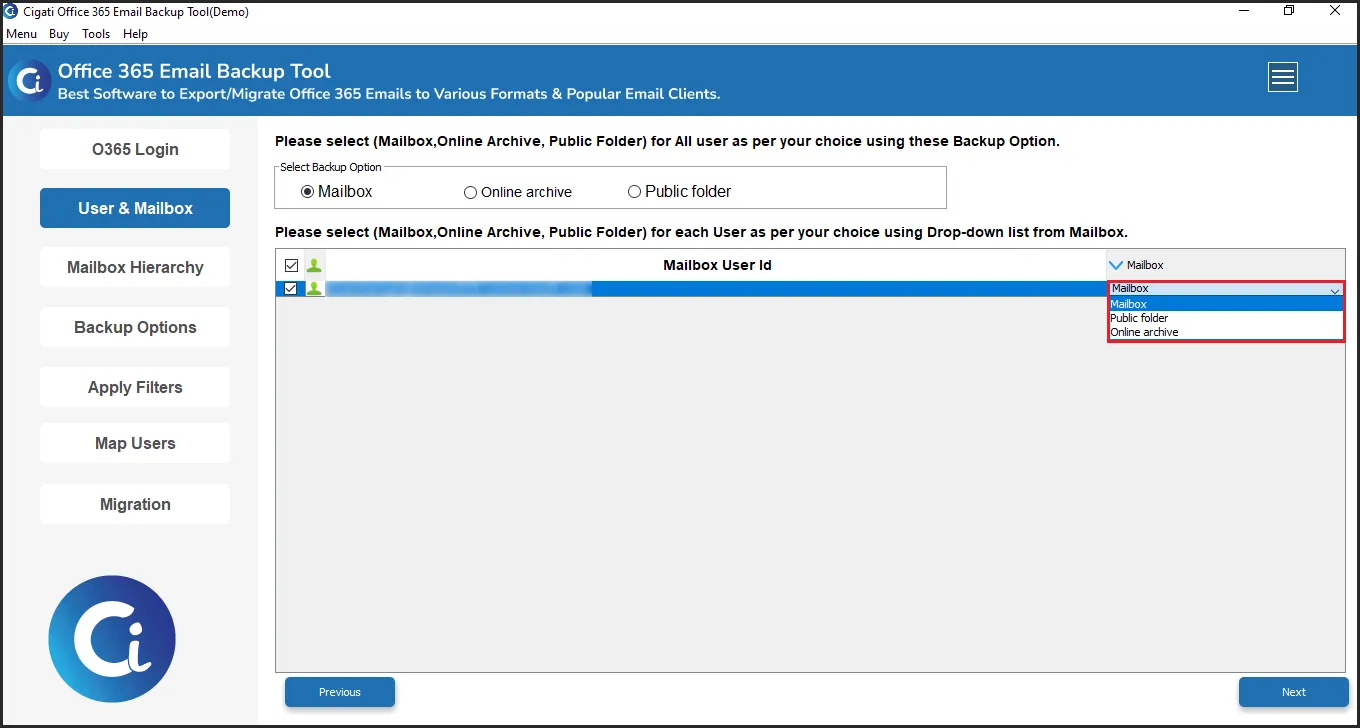
In the software, select the folders you want to back up from the displayed tree structure of your Office 365 account. Then, click Next.
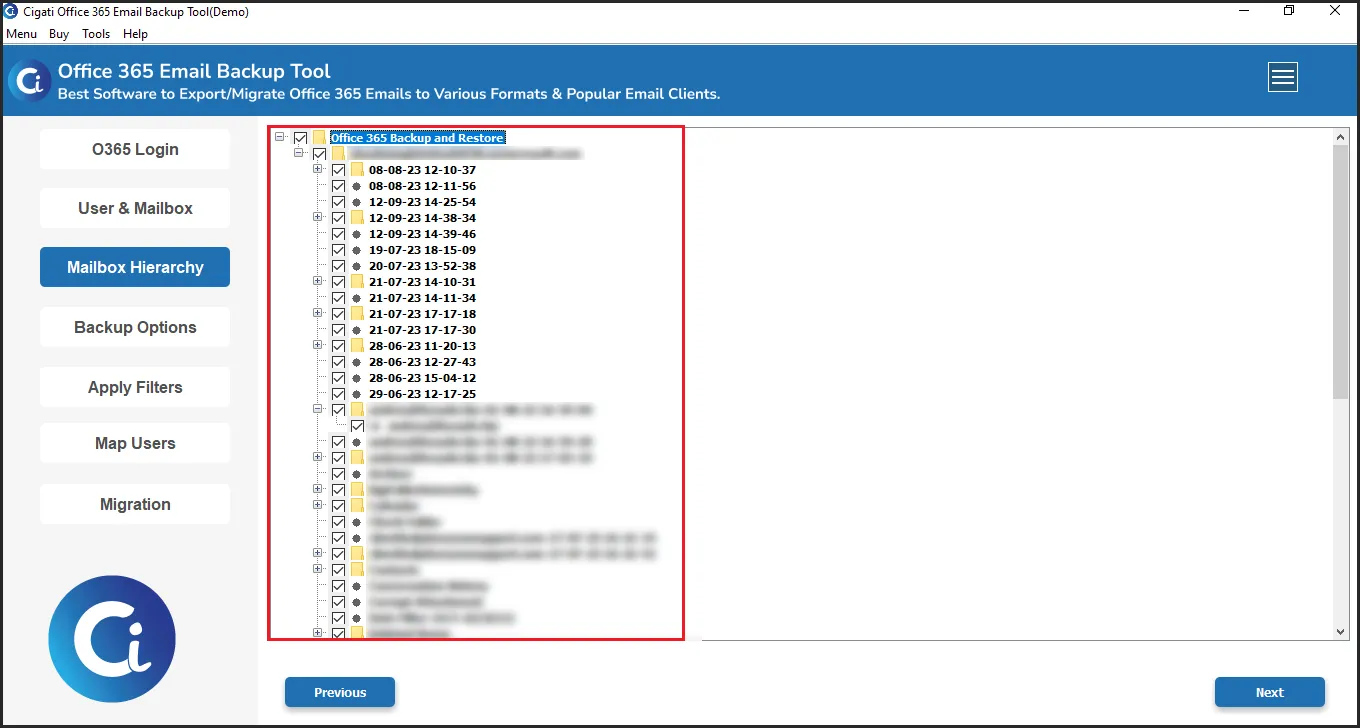
Now, select the PST format as the saving file format.
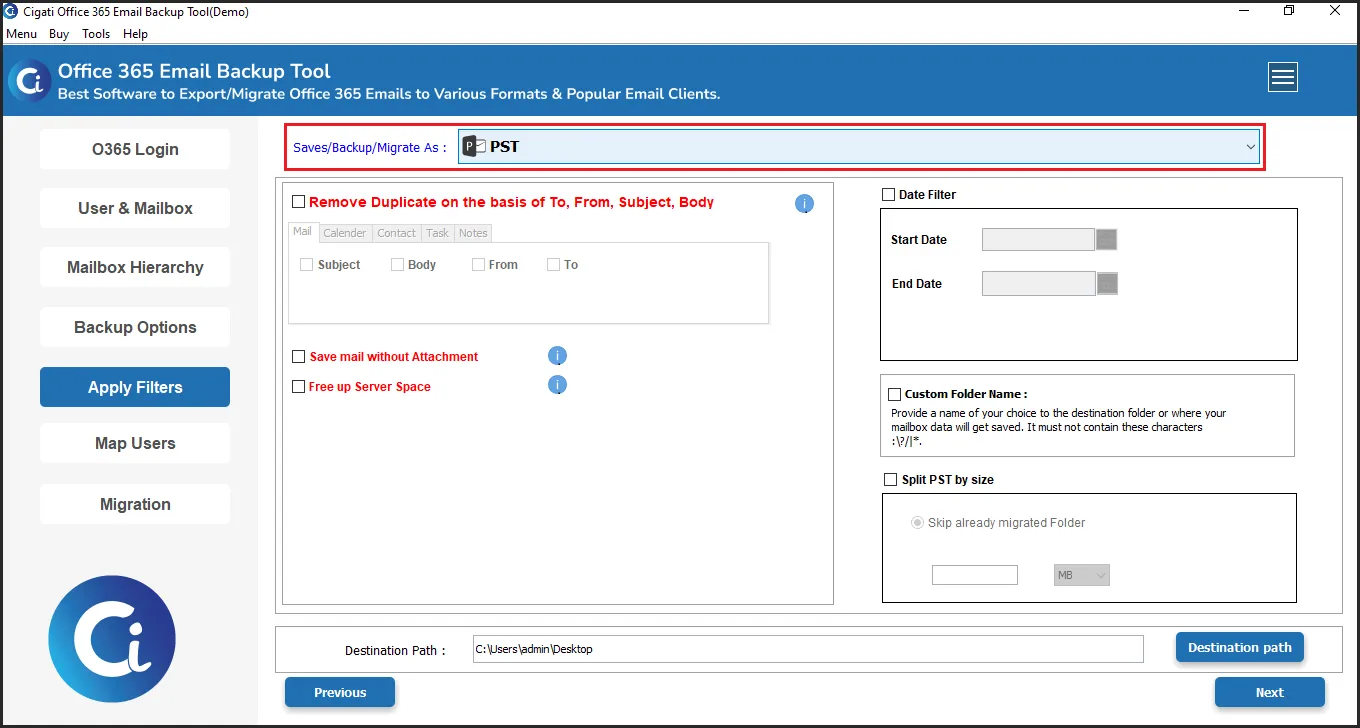
Mark the Remove Duplicate on the basis of To, From, Subject, and Body to remove the duplicate accordingly.
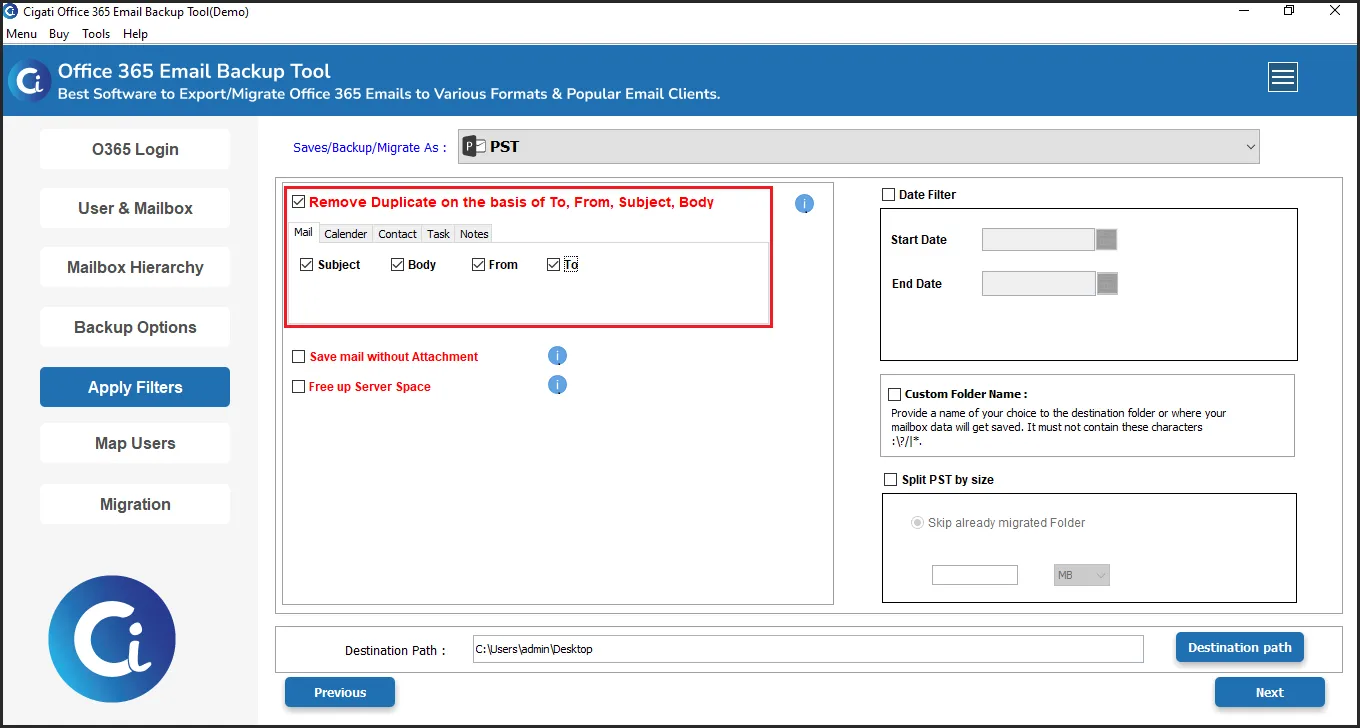
Tick the Save Mail without Attachments option to import emails to Office 365 without attachments.
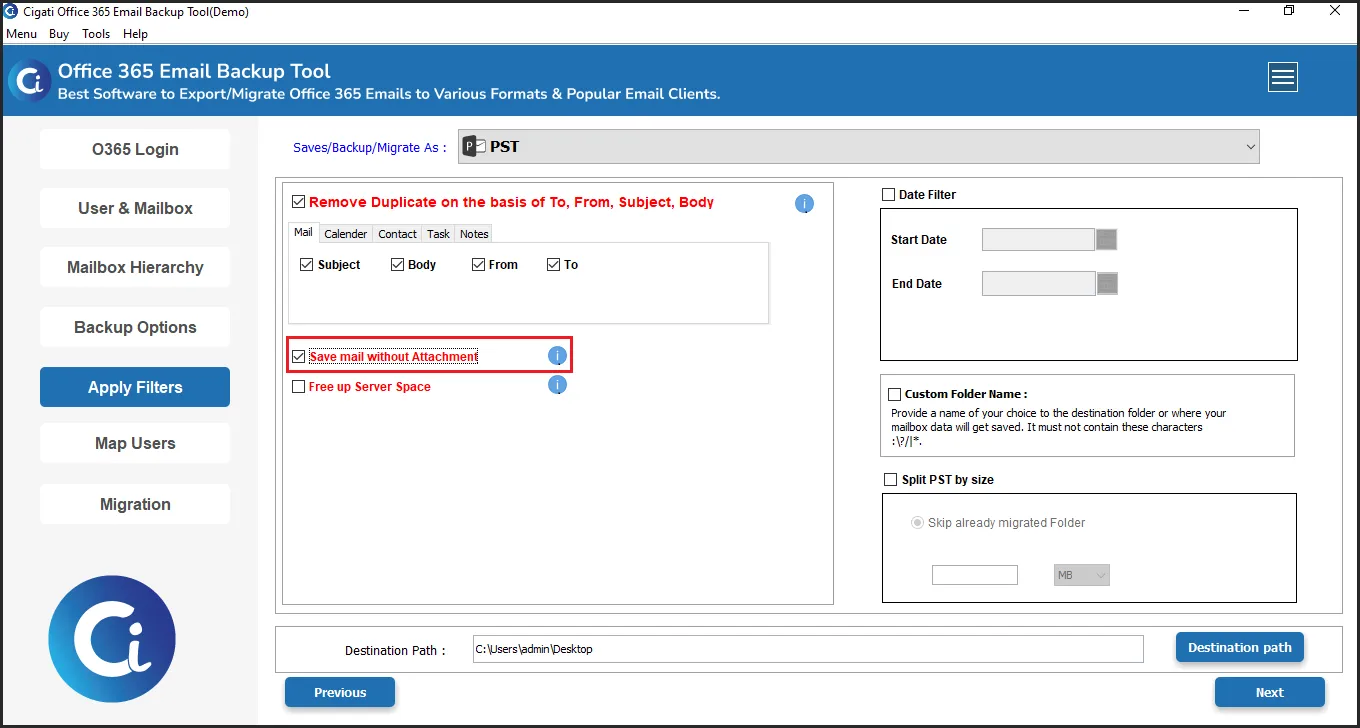
Select the Free Up Server Space option to clear space on your webmail server.
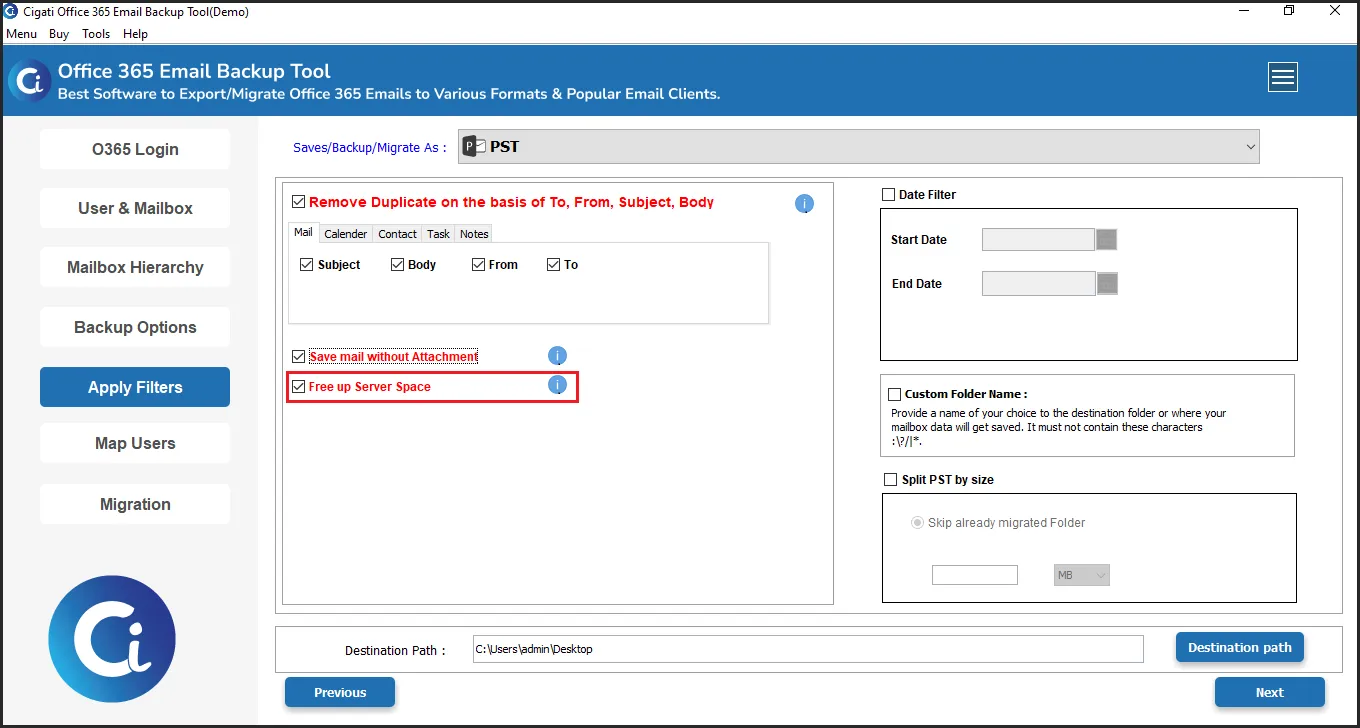
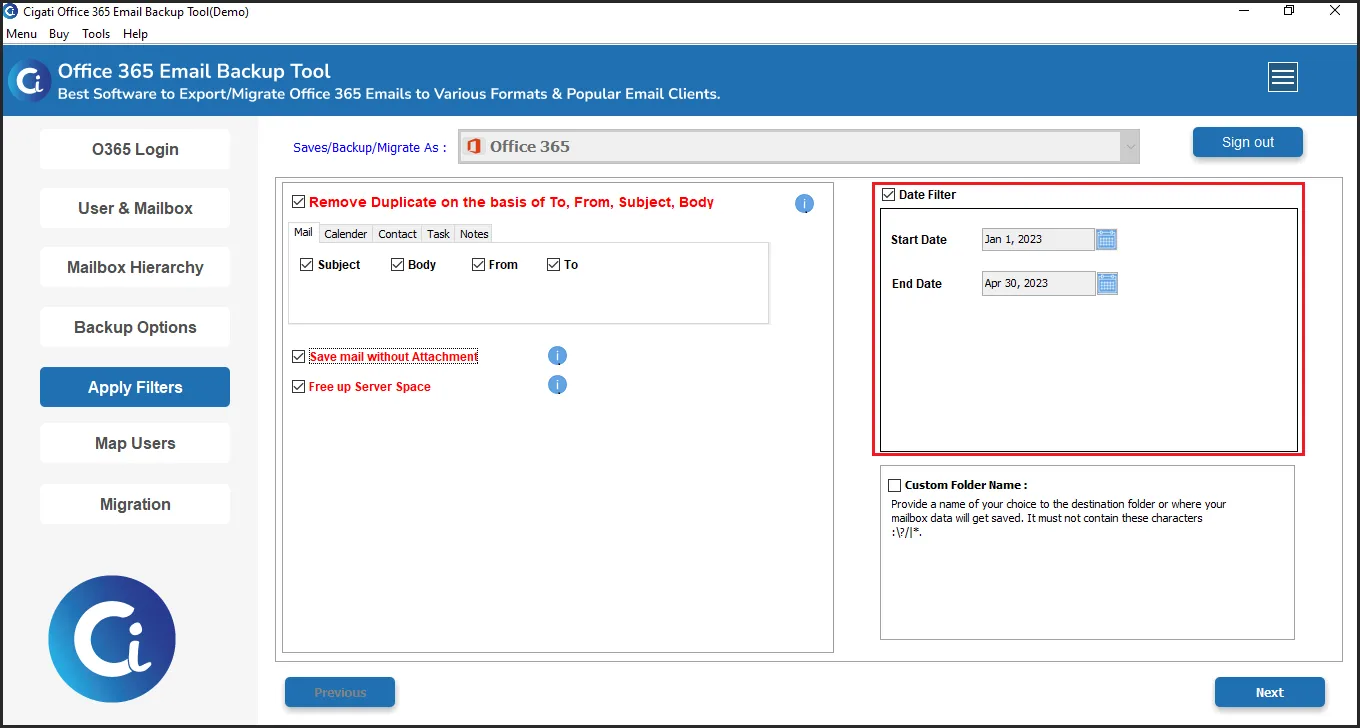
Afterward, select the Date Filter option and define the date range using the appropriate Start and End dates.
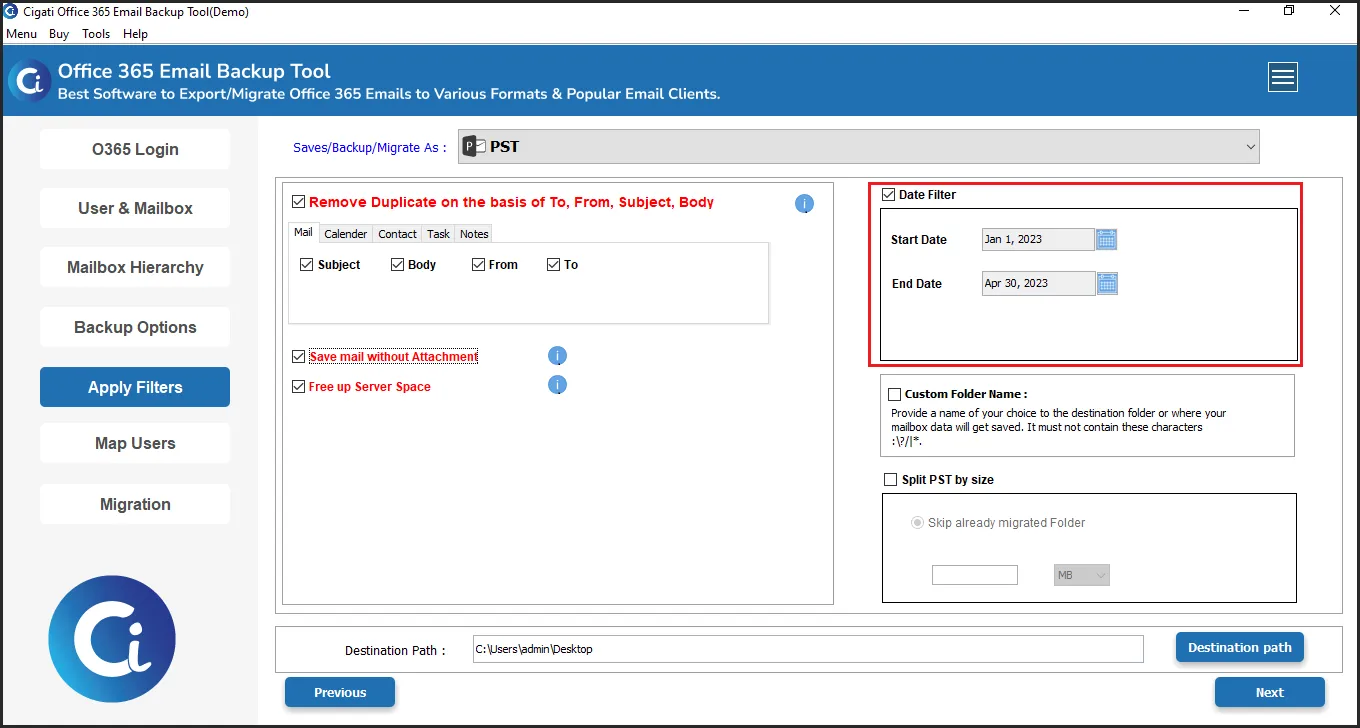
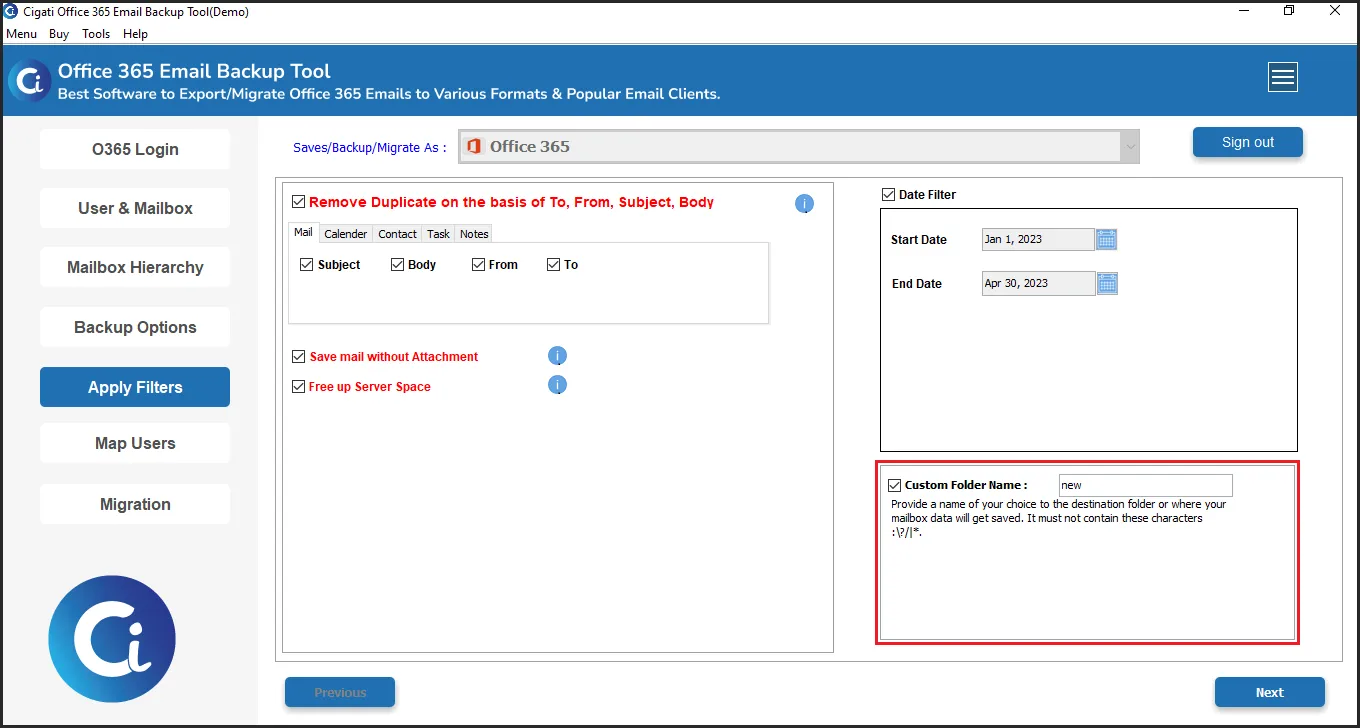
Check the Custom Folder Name option and enter the desired name in the provided field.
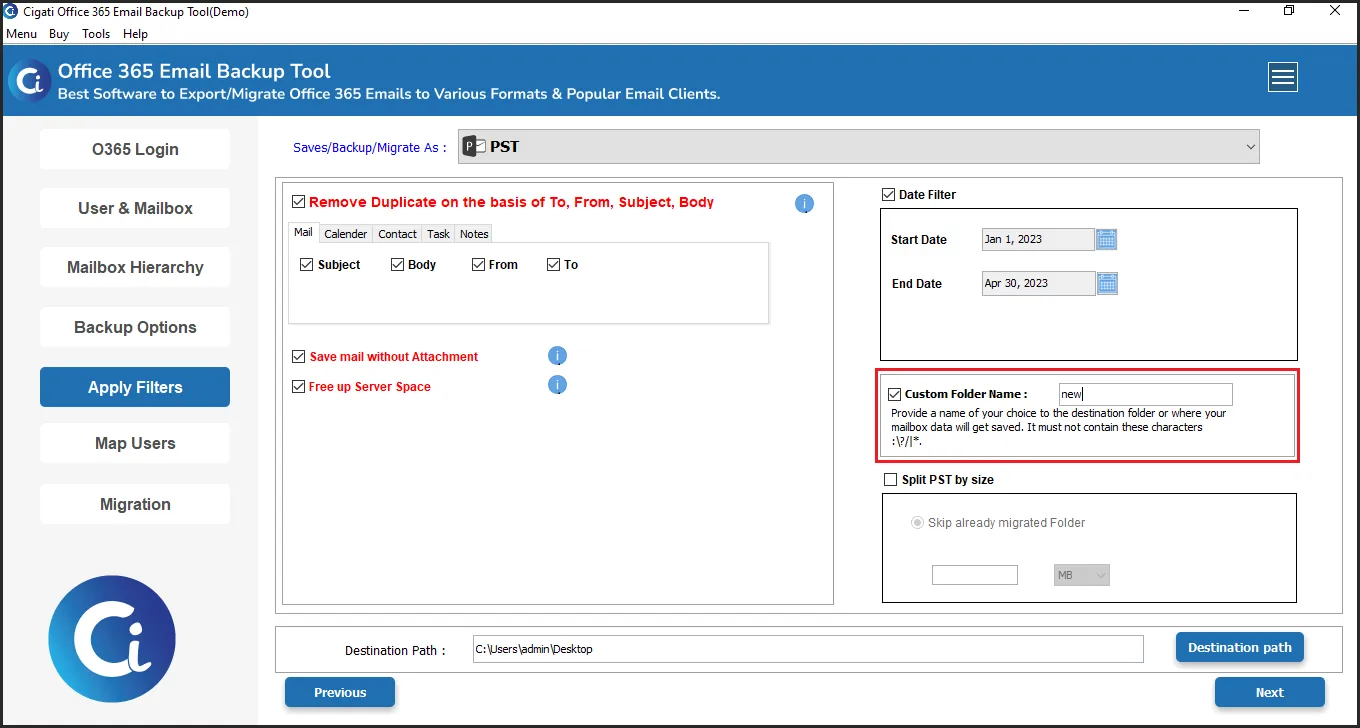
After selecting the Split PST by Size option to divide the resultant file into smaller PSTs, you can also choose to exclude previously migrated folders.
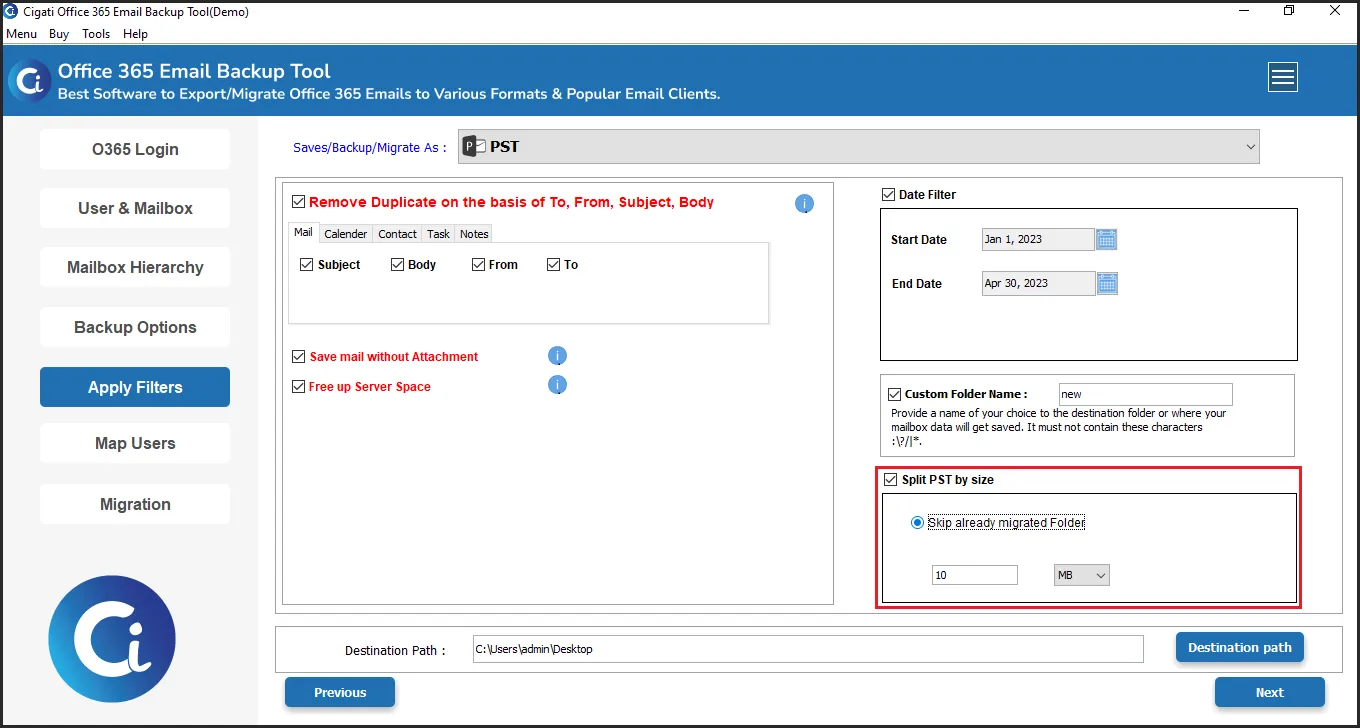
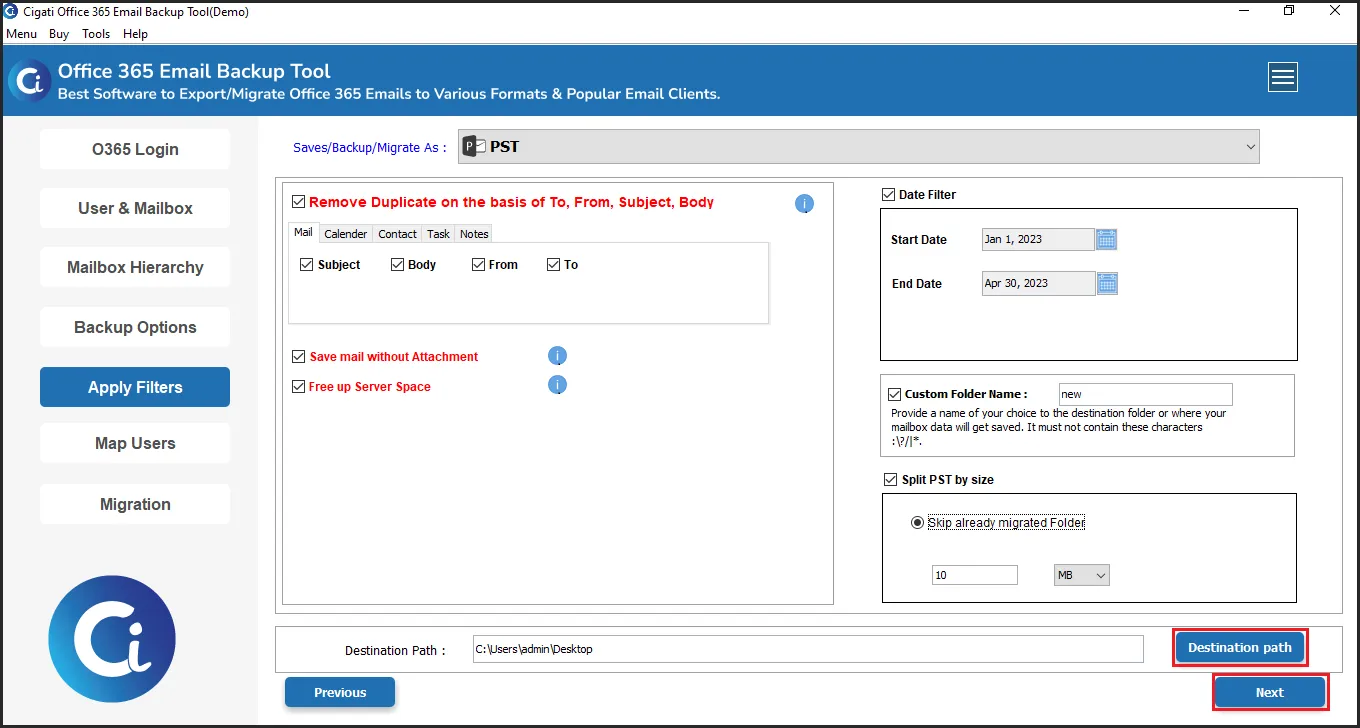
Click on the Destination Path button to specify where you want to save the resulting file, then click Next.
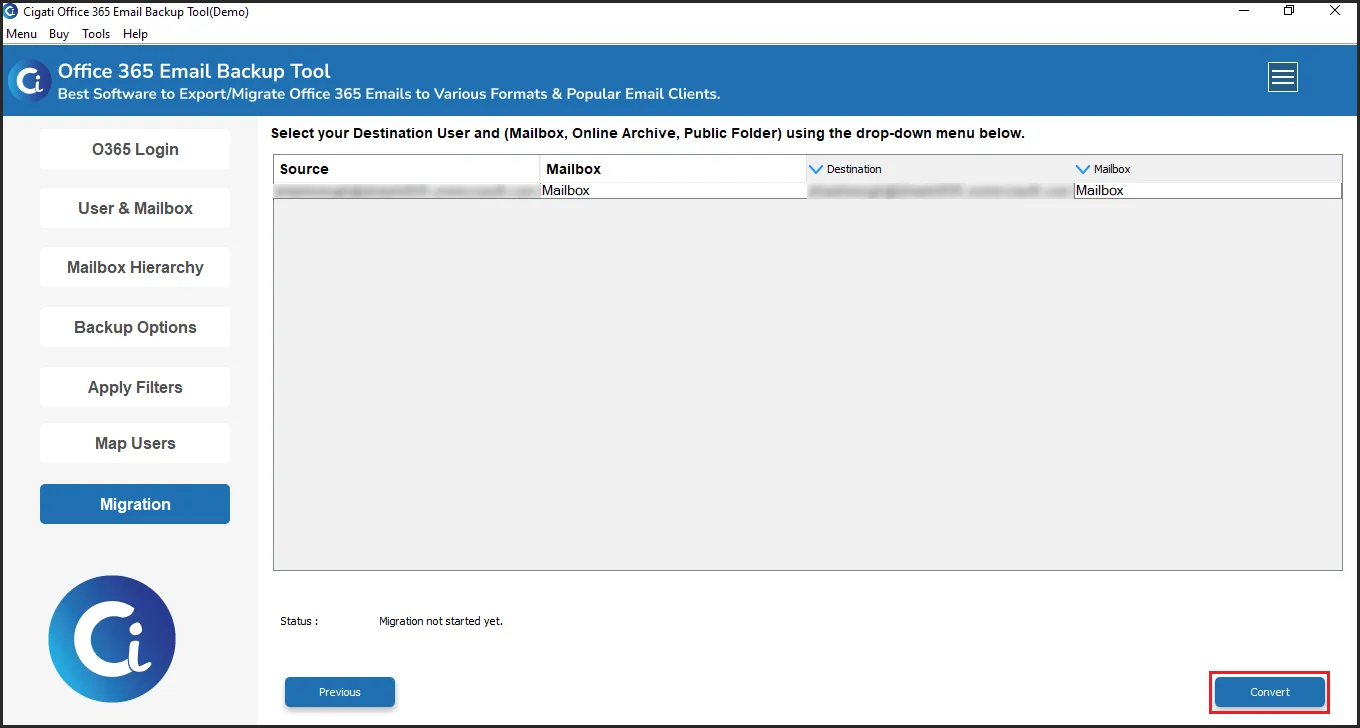
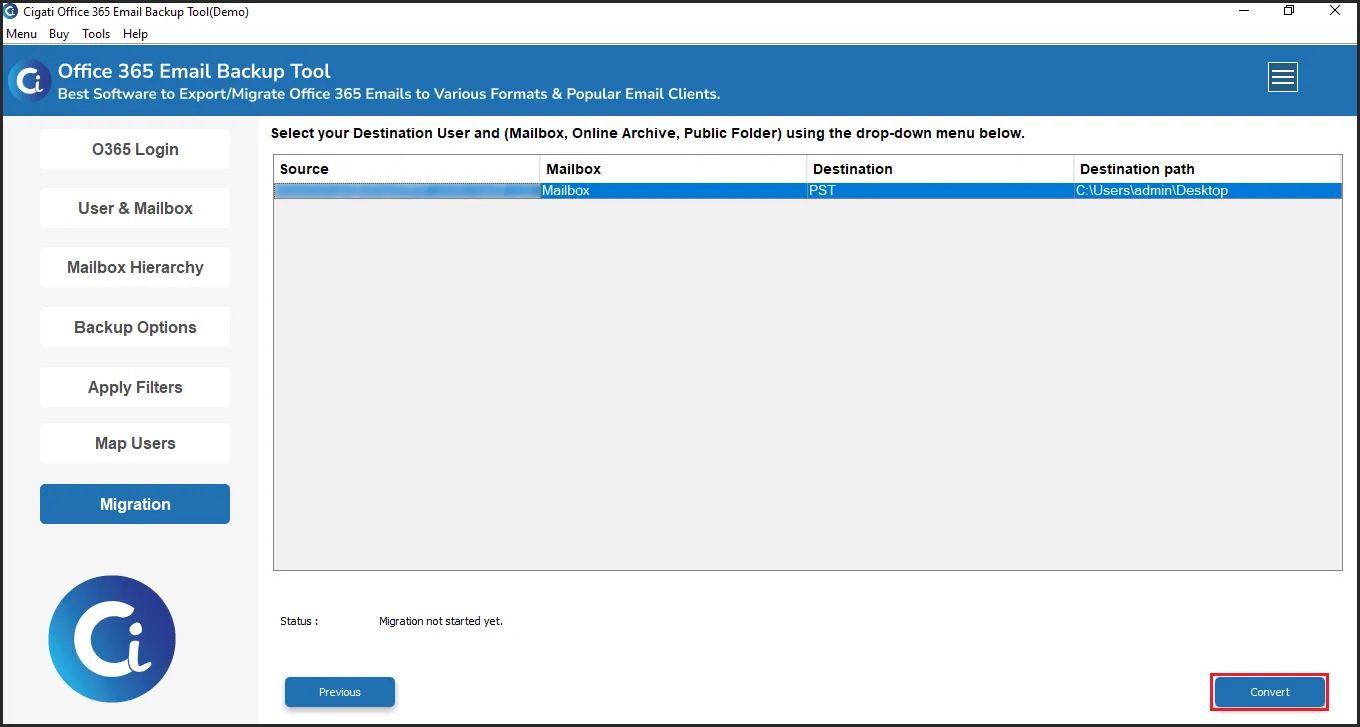
You can preview the export details in the table.
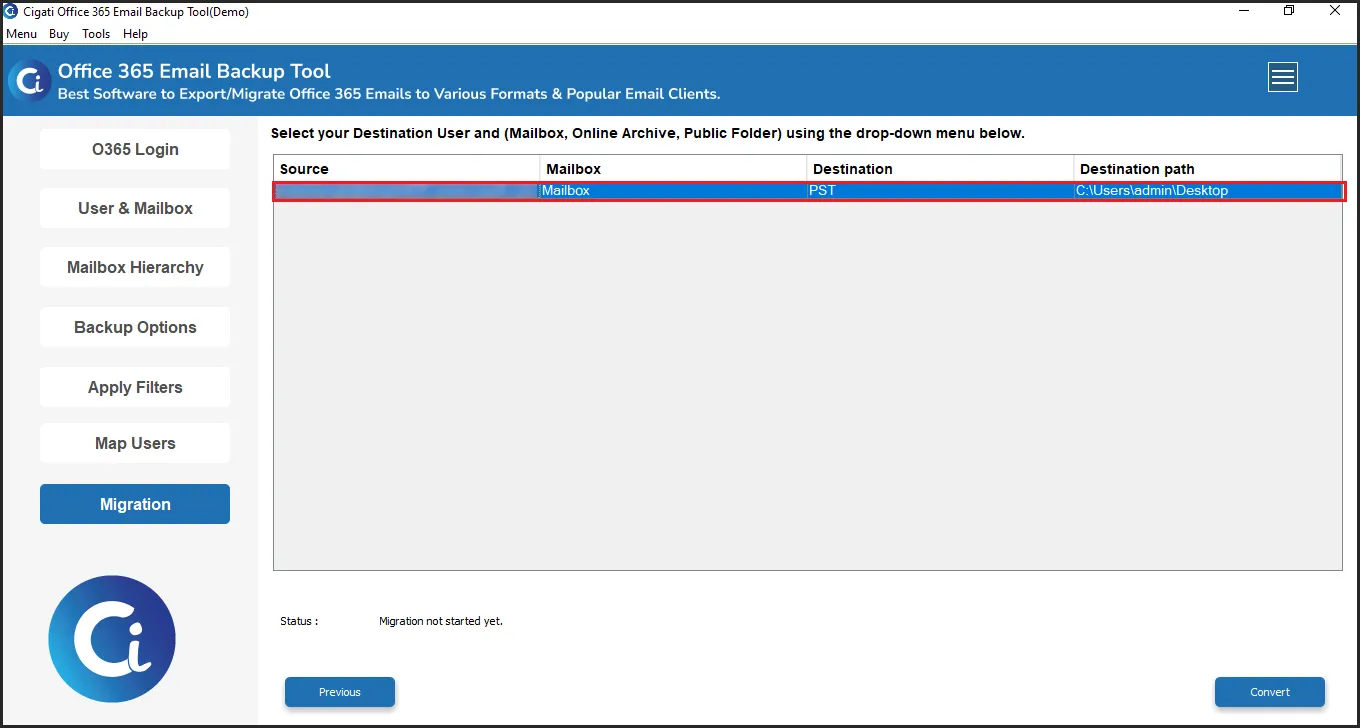
Finally, click the Convert button to begin the exporting procedure.
Download and Run the Cigati Office 365 Backup Tool.
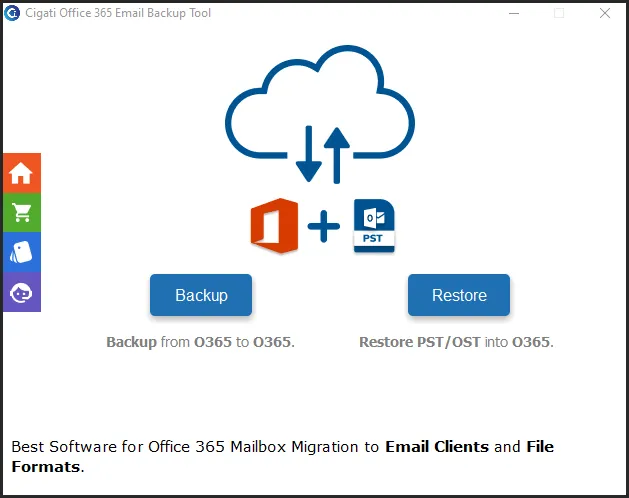
Click the Backup button to proceed with the backup process.
Next, click on the Continue button to move forward.
Check the Use Modern Authentication option to log in to your Office 365 account. Then, click the Sign In button.
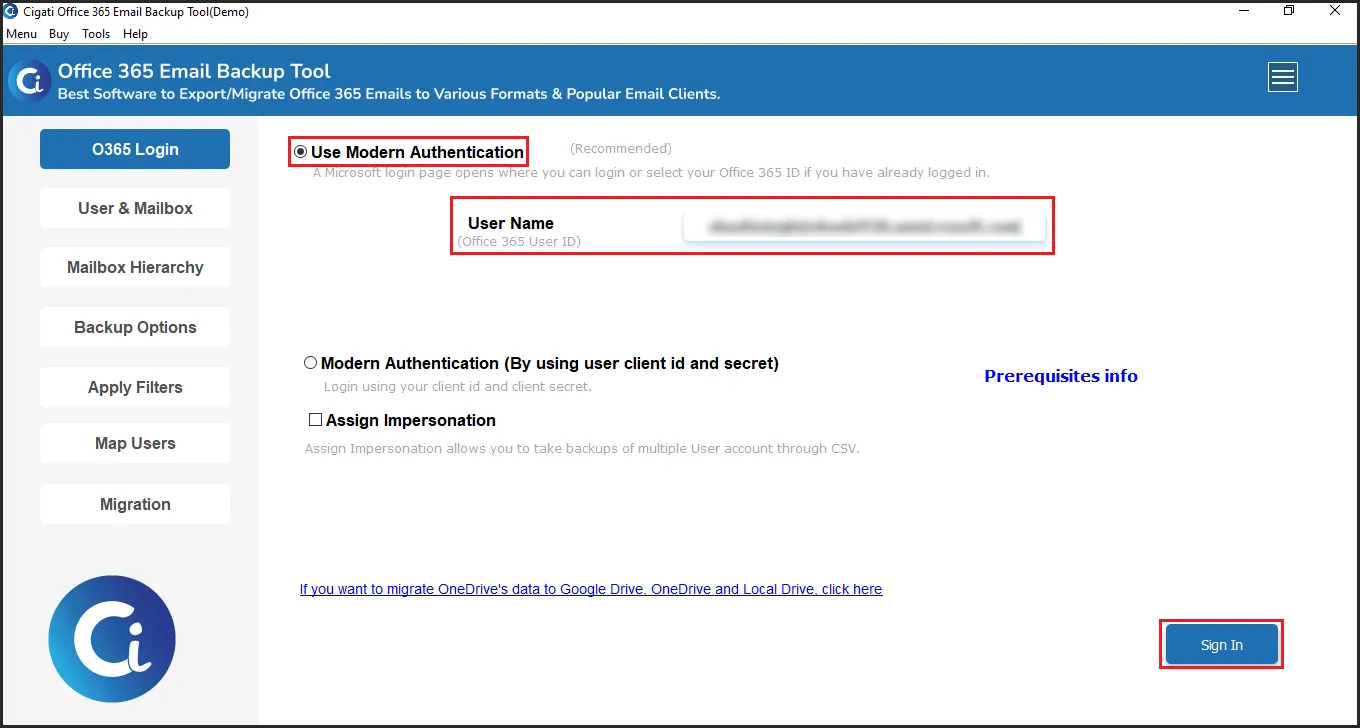
Mark the Modern Authentication option (by using user client ID and secret). Next, enter your Application ID, Directory ID, Secret Value, and Microsoft Azure Admin ID. Finally, click Authenticate.
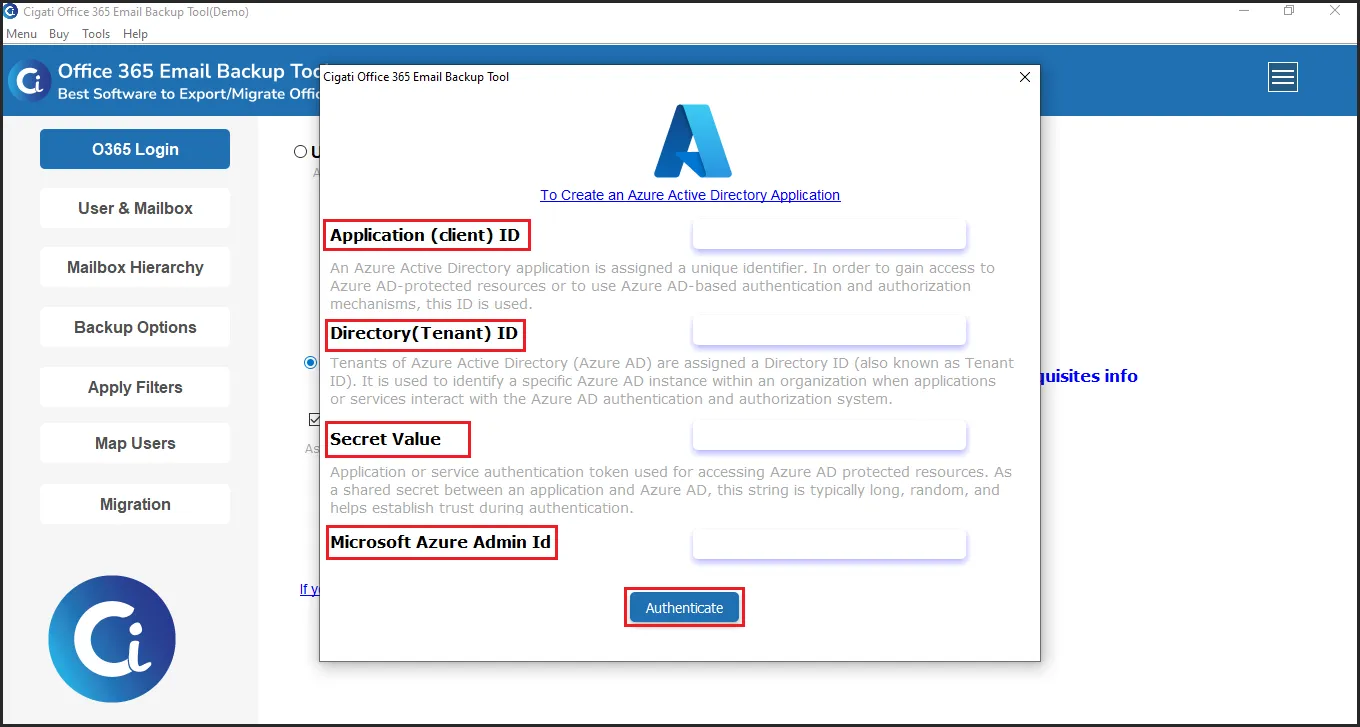
Ensure your Office ID is in your default browser
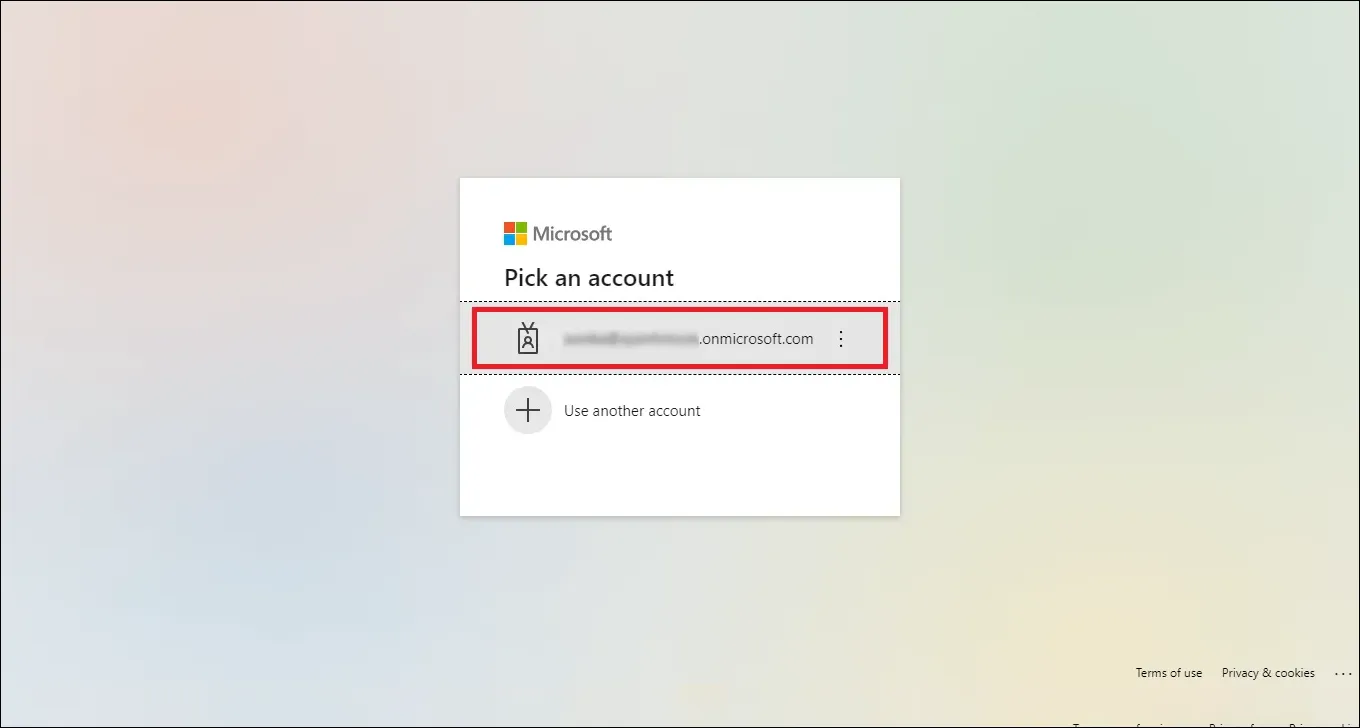
You will receive a confirmation for the login authentication.
Select the backup option you need: Mailbox, Online Archive, or Public Folder.
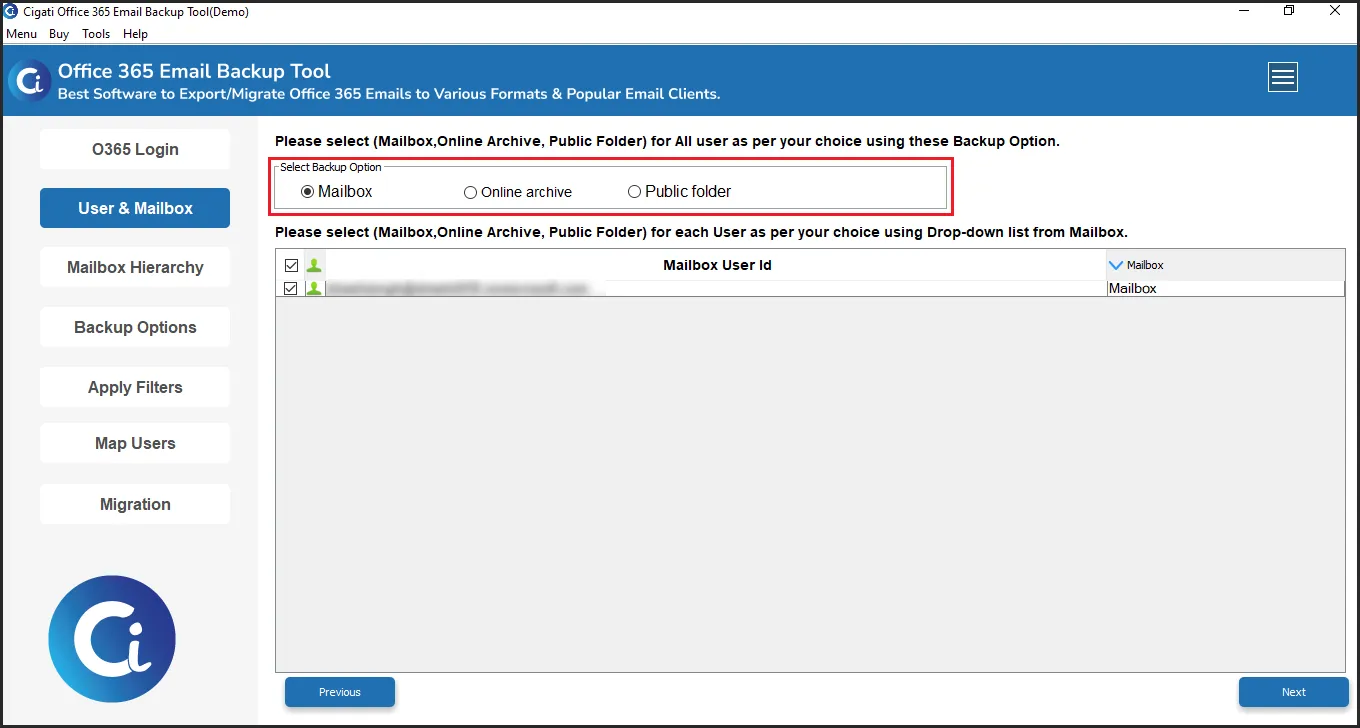
You can select a backup option ( Mailbox, Online Archive, or Public Folder ) for each user using a drop-down list from the Mailbox. Then, click on the Next button.
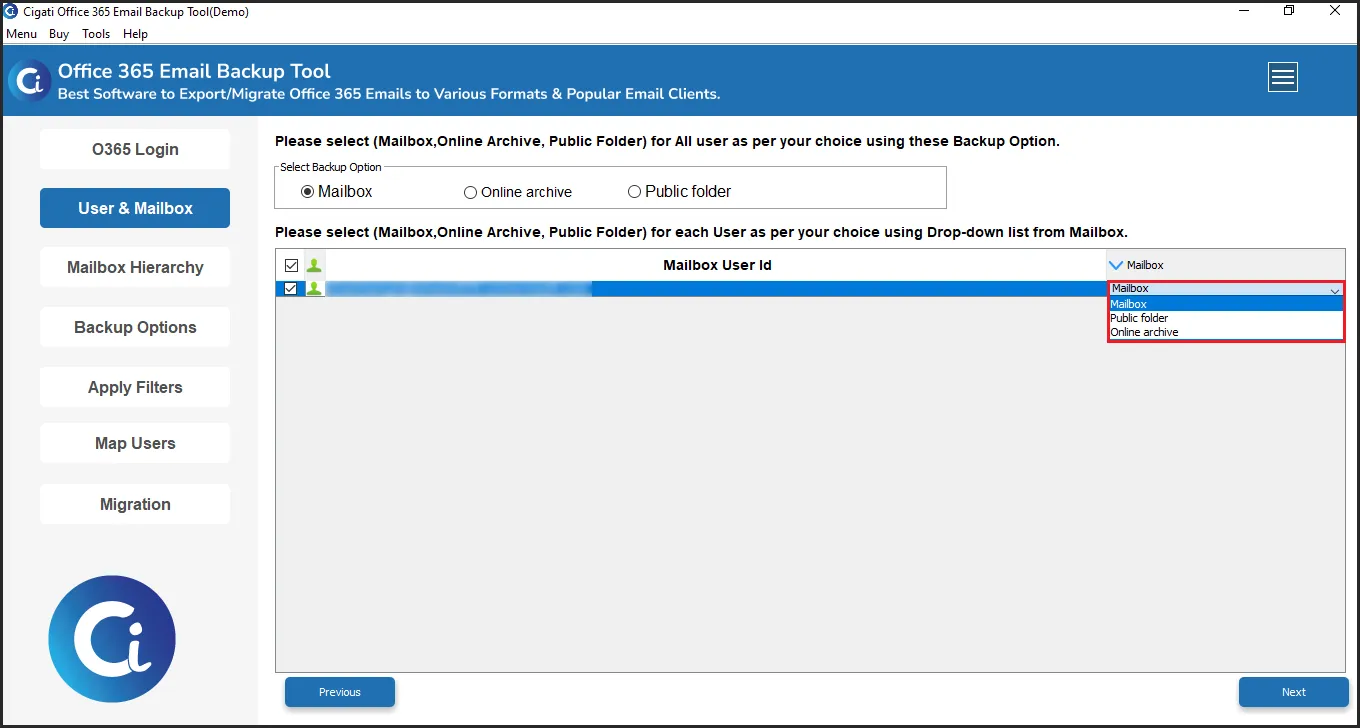
In the software, select the folders you want to back up from the displayed tree structure of your Office 365 account. Then, click Next.
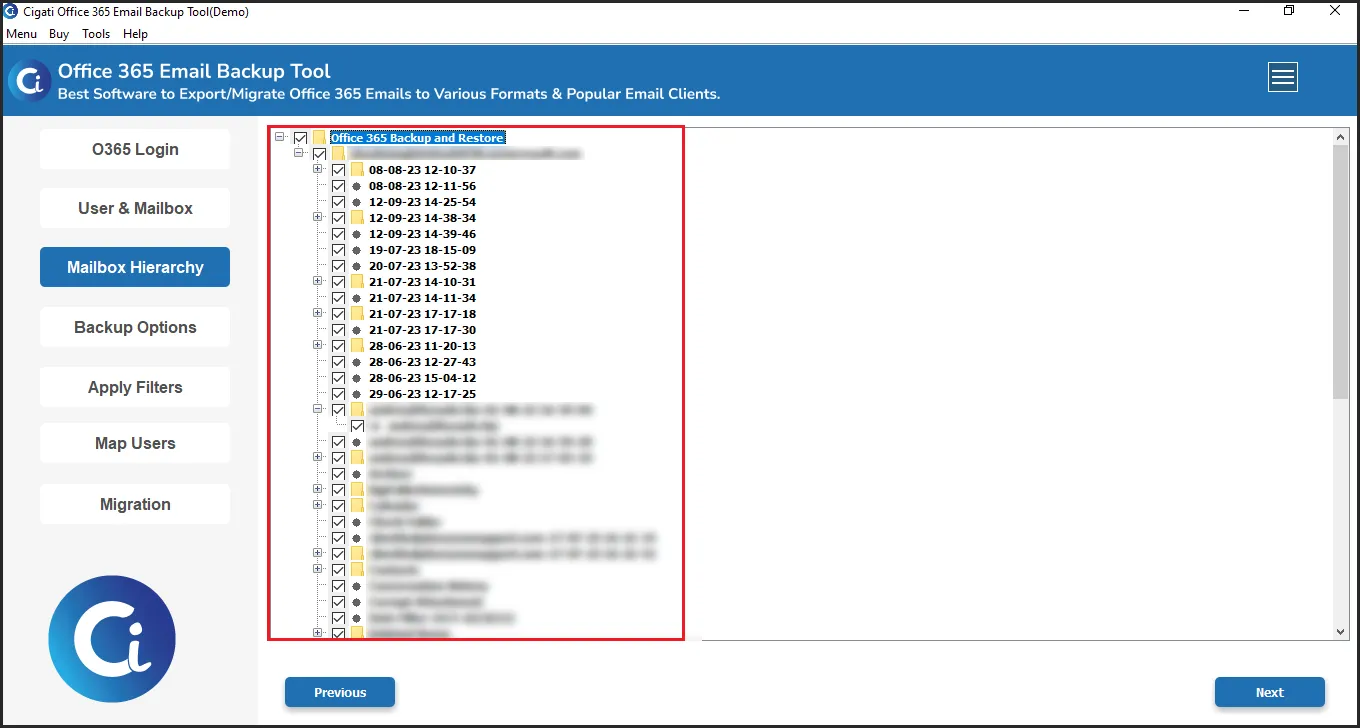
Now, select the Office 365 Email client as the saving option.
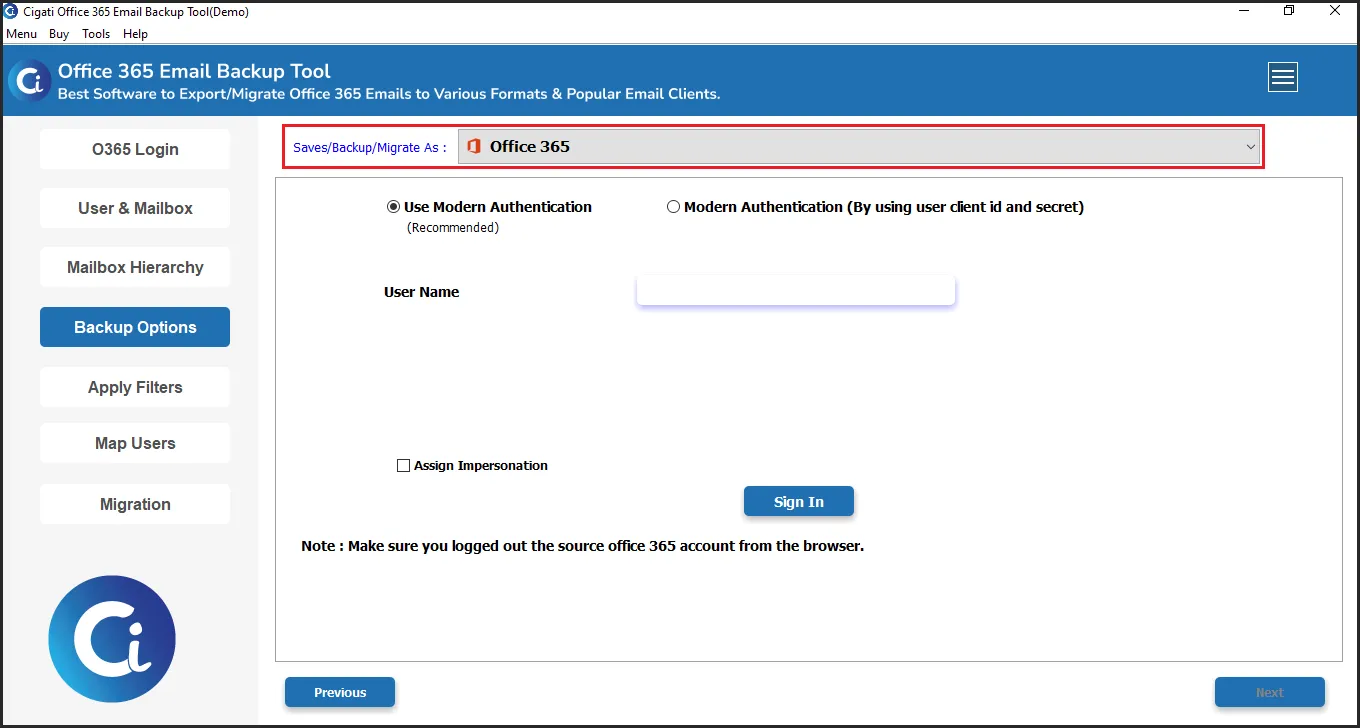
Enter the Email ID of your O365 and click the Sign in button.
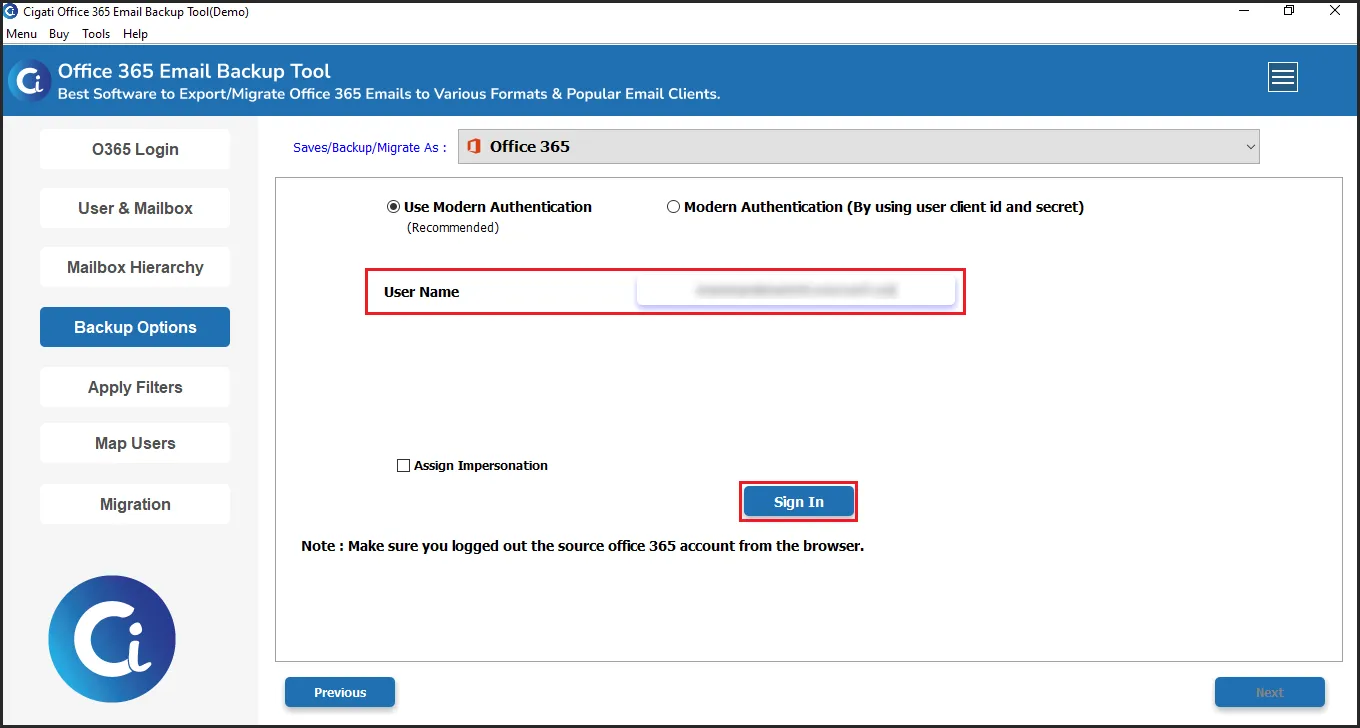
Ensure your Office ID is in your default browser.
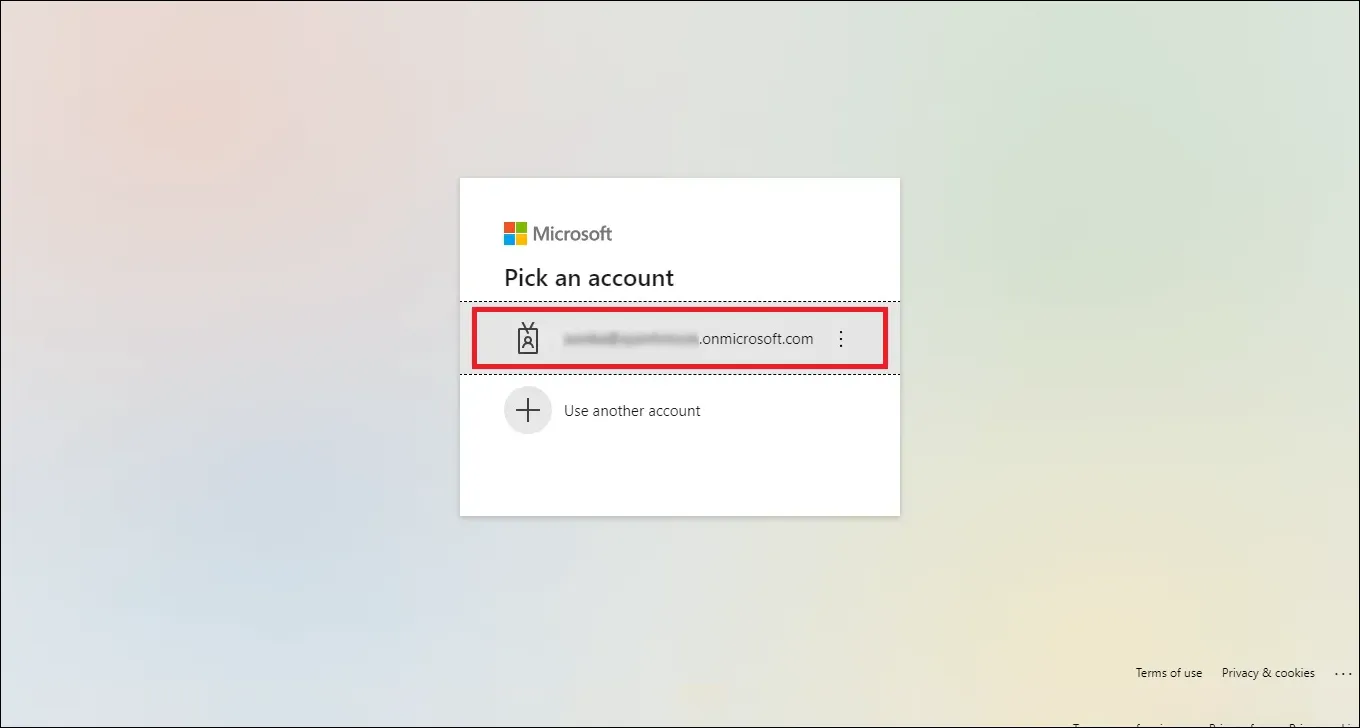
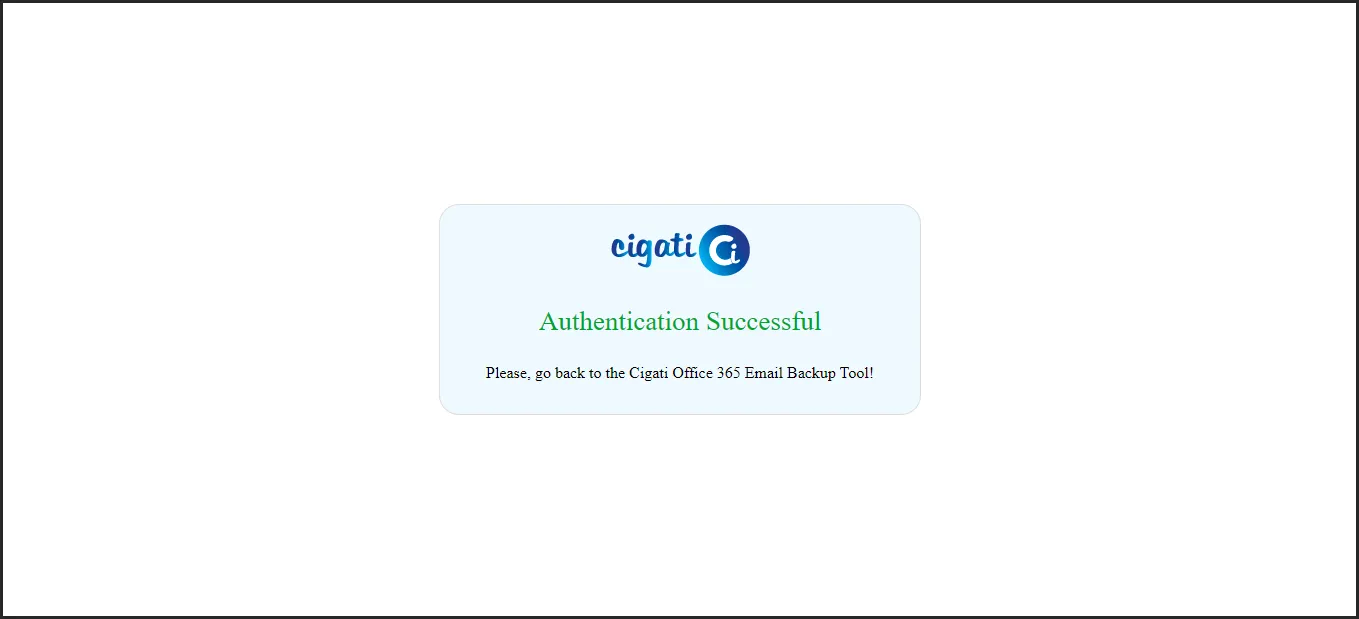
You will receive a confirmation for the login authentication.
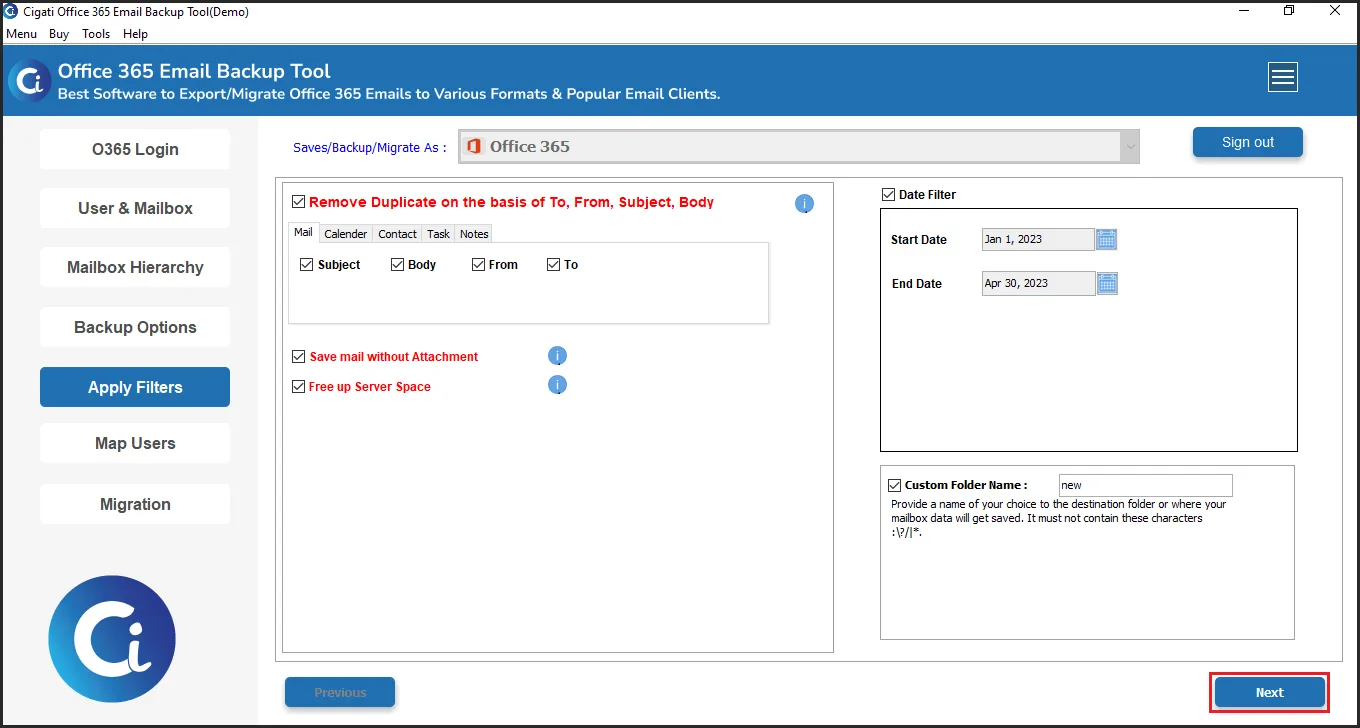
Mark the Remove Duplicate on the basis of To, From, Subject, and Body to remove the duplicate accordingly.
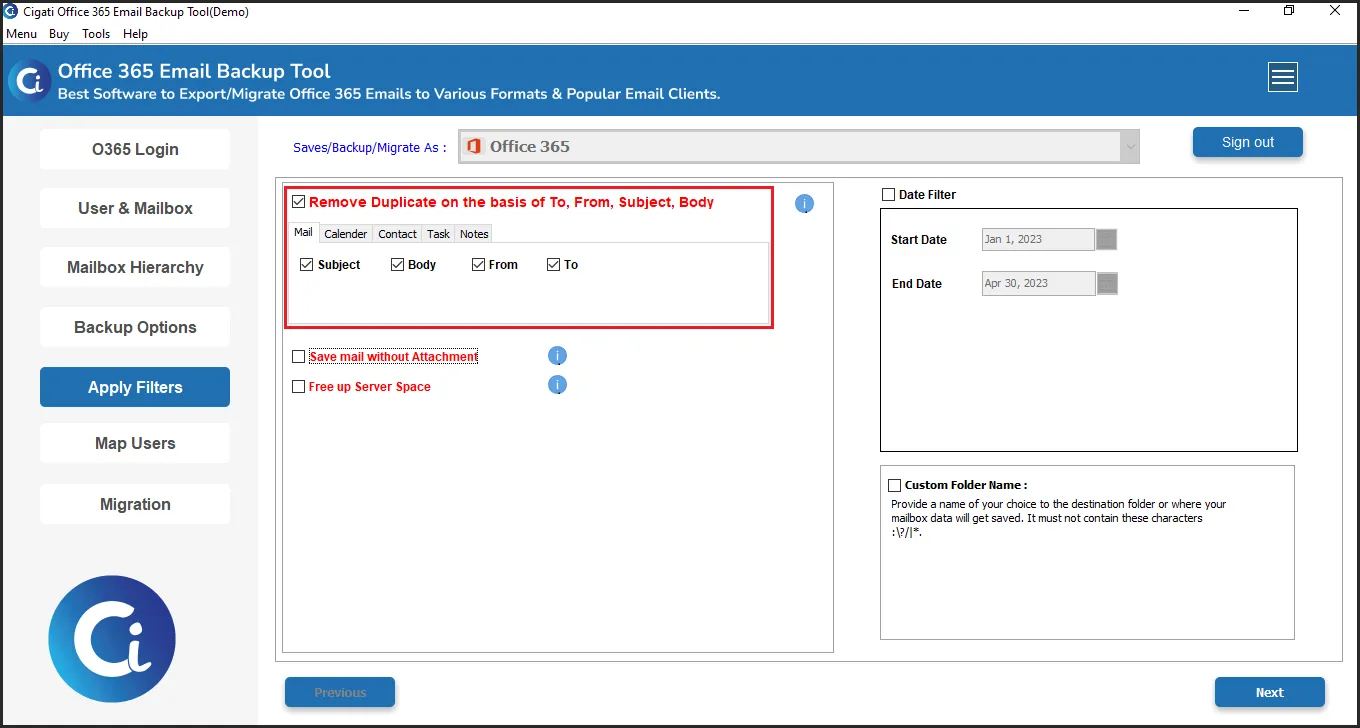
Tick the Save Mail without Attachments option to import emails to Office 365 without attachments.
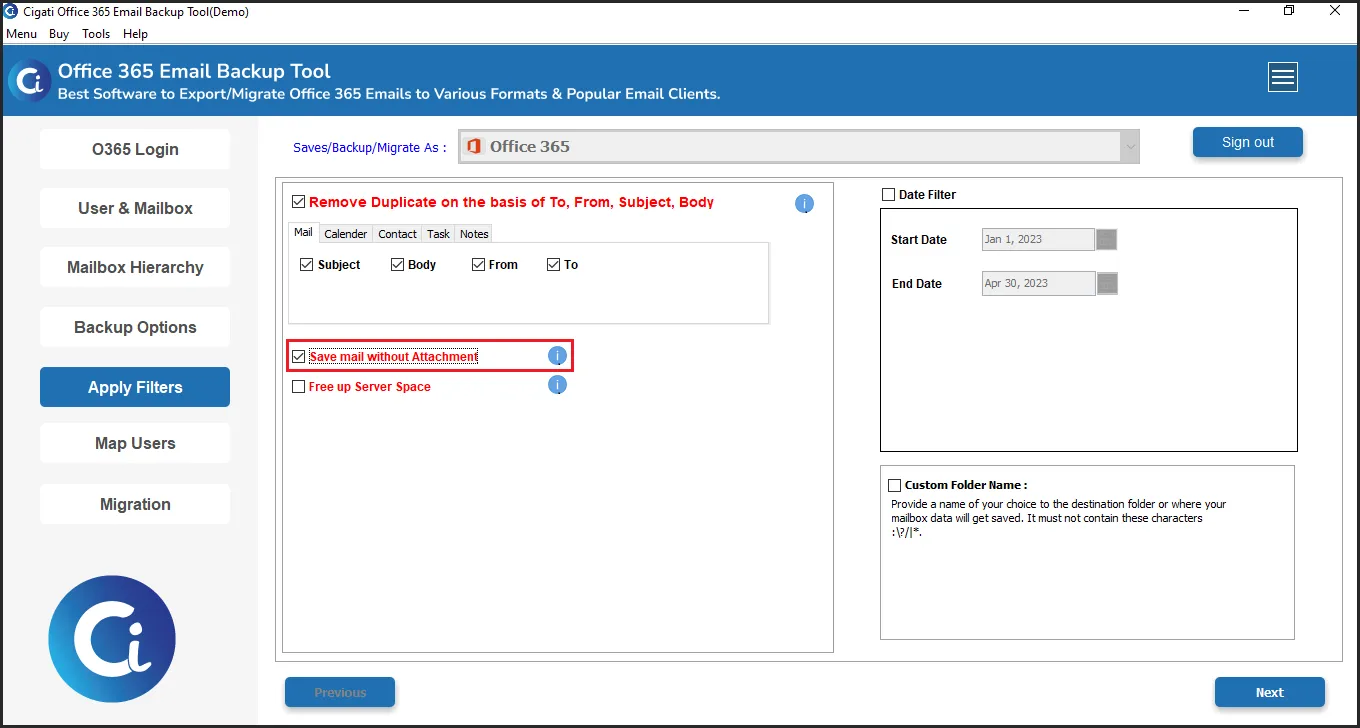
Select the Free Up Server Space option to clear space on your webmail server.
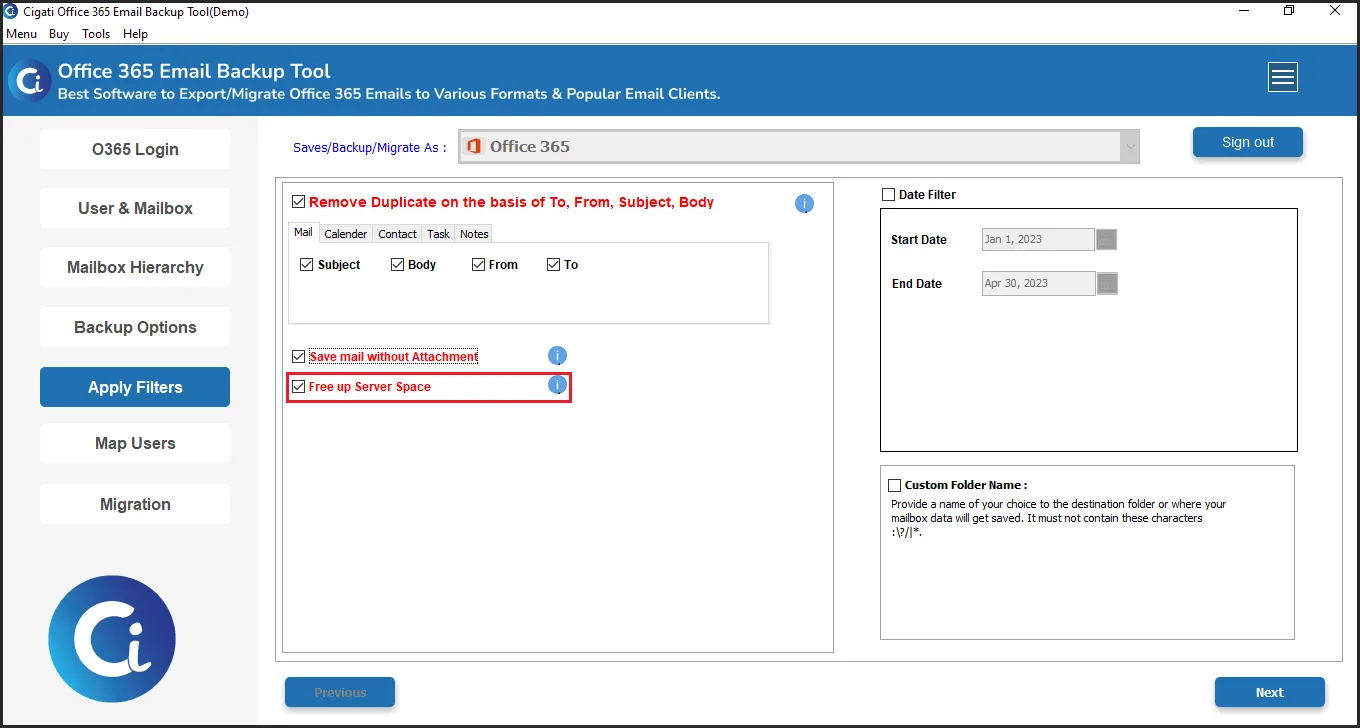
Afterward, select the Date Filter option and define the date range using the appropriate Start and End dates.
Check the Custom Folder Name option and enter the desired name in the provided field.
Now, click on the Next button to proceed further.
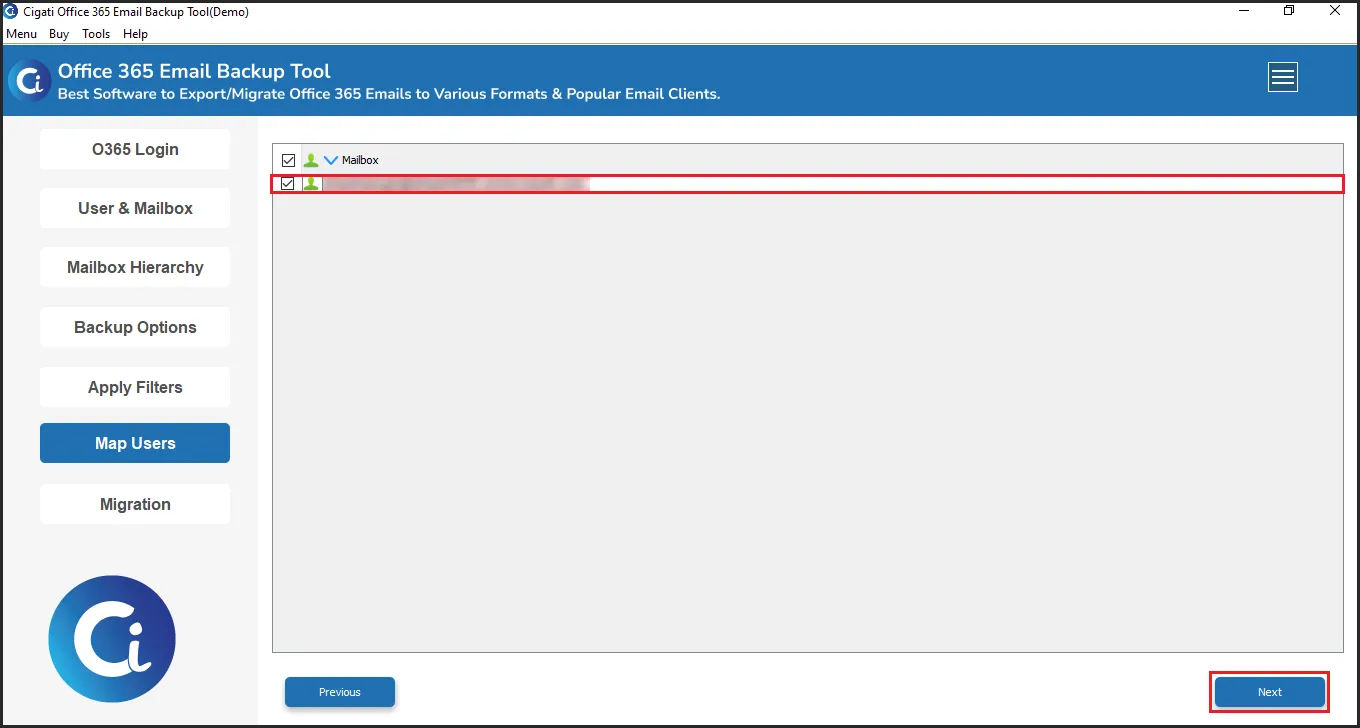
Select the Mailbox from the Mail List in which you want to migrate and click the Next button.
Finally, click the Convert button to begin the migration process.